Mistakes Manifesto

Window Oops As I continue work on my tiny house, The Lucky Penny, I think a lot about the mistakes I'm making and what I can learn from them.

When I taught the Tiny House Design-Build class at Yestermorrow this summer, my co-instructor Lizabeth Moniz encouraged us to share mistakes and solutions with each other in our evening and morning construction reviews so that we could all benefit from the lessons learned. Ever since, I've been thinking a lot about mistakes.

Over the past sixteen years I've assisted with the construction of 23 houses, including 12 tiny houses on wheels. In the process I've learned an enormous amount about building. I've also learned a great deal about myself.

And one of the things I've learned about myself is that I wish I were already a better designer and builder. I wish I didn't make so many mistakes. I want to be better at this already, thank you very much. But mastery takes time. And a willingness to make mistakes and learn from them. (My host family in Italy could vouch for this philosophy. I said all sorts of preposterous things in my efforts to communicate in Italian. But I got better at it in leaps and bounds because I was willing to be wrong - over and over again!)

I worked with some builders once who refused to talk about the mistakes they made. They didn't want anyone to believe they ever made mistakes. And I can understand that feeling. It's about pride. And it's about reputation. But wouldn't it be nice if addressing our mistakes and lessons learned was better for our reputation than trying to hide our imperfections?

I'd rather all of us could fess up and say "Oops! Look at that. I messed that up big time!"

Because the great thing is that a mistake that's confessed and addressed has a fix along with it. Occasionally the fixes are just redos. And it's obnoxious to tear out a hard day's work to redo it. But often the fixes are innovations. The solution we come up with after we've made a blunder is often better than the original idea. (Plan F: Take 2, for instance, was better than Plan A!)

Maybe it's working as a woman in the male-predominate construction industry that makes me both hesitant to admit my mistakes and also too quick to downplay my expertise. On the other hand, perhaps it's precisely that same gender conditioning that compels me to share these challenges for the greater good. I know several other female tiny house builders and bloggers - like Kate from NajHaus and Laura from Laura's Blog who have been brave enough to share their struggles and successes.

So when I wrap up construction of The Lucky Penny this fall, I plan to share ALL The Mistakes, because maybe you can learn from mine. I figure if I can save you some time you can make plenty of your own mistakes. Just be sure to tell me about them so I can learn from your mistakes, too.

Hurry up! Make some mistakes. Than confess and address them. Let's learn from each other!

Doing Life

I’ve been doing life. And I haven’t been making the time to post about it.

This summer, Life involved a five-week break from building The Lucky Penny. First I took a long weekend to make My Annual Pilgrimage to the Oregon Country Fair. Next I headed to Vermont to teach a 2-week Tiny House Design-Build class at Yestermorrow. Then I headed to Seattle, my hometown, to catch up with one of my sisters, my best friend from high school, and several other old friends.

This is the little life.

And it’s a good one. So I won’t apologize for a moment for living my life instead of talking about it. But considering how many of you have asked me for an update in the past week, I suppose I probably should have said something.

The quick version is this:

  • I’ve moved into The Big House in tiny house community where I’ll be bringing The Lucky Penny once it’s complete

  • I’ve helped my friend Ben who is finishing up his tiny house (and will also be moving it to this great little tiny house community!)
  • I’ve built My Front Porch (which is already much better than a Shrinky-Dink Porch and solves the problem of Tiny Houses Turn Their Backs on the Street)
  • I’ve been working on Fancy Shingles
  • I’m planning Tiny House Work Parties all through September to get as much done on the Lucky Penny as I can before the rains return
  • I’ll be hosting a Tiny Open House in early October to thank My Tiny House Helpers and show off The Lucky Penny (in whatever state of completeness she is at that point!)

In retrospect, I realize it probably would have been a good idea to officially take the month of August off from blogging. After all, I knew that things would get busy once I resumed construction of The Lucky Penny while simultaneously ramping up to full-time work as the Living Building Coordinator for the Breathe Building. I might have imagined that blogging would be a good thing to set aside for a few weeks. But, alas, hindsight is 20-20.

Chances are, you were out there having fun and didn’t miss me anyhow. You were Doing Life, too, right? (If not, get out there and have some fun in the sun!)

On the other hand, those of you who have been following along for a while probably know that me not posting doesn’t necessarily mean I’m not writing. After all, writing is one of the best ways I know to process my experiences. So stay tuned for some backlogged blog posts to appear in the coming weeks! Meanwhile, Happy Summer!

Tiny House Shingles

Front Shingles It was another gorgeous August weekend in Portland. Perfect for working on my tiny house. I spent it running errands, helping with a work party at Simply Home Community, and playing with siding and shingles for The Lucky Penny.

On Saturday Ashley Lane was my right hand woman. In the morning she helped me pick up my tansu, a beautiful Japanese storage cabinet that I'll use in my little house. And in the afternoon we hung shingles on the front of my house. I met Ashley Lane in a PAD Tiny House Basics workshop and then got to know much better when she took the Tiny House Design-Build class at Yestermorrow this summer. Next summer she and her partner plan to build their own little house (inspired by the Minim House at Boneyard Studios). On Sunday Hanah came to lend me a hand. She and her sister are both interested in building their own tiny houses, so it was fun to hear about her tiny house dreams.

It's been fun to work alongside so many Tiny House Helpers this summer who have either built their own wee homes or plan to. It was also nice to work solo for part of the weekend. I've hosted so many work parties that it was nice to have a few hours all to myself to figure out next steps and savor the sensations of building at Green Anchors on a beautiful summer day.

door over the tongue, before porch

When I worked on my Tiny House Trim & Siding back in June I put up my first row of half rounds and arrows to make circles with my shingles. I was thinking about doing this the whole way up, but I decided it would be overkill. So instead I decided to make the rounds an accent by alternating them with rows of raked shingles. I think the effect is quite lovely!

Now that My Flip-Up Front Porch is done, we were able to position the ladders right on it for shingle hanging. How convenient! Hanging shingles (especially when you're jigging out for A Beautiful Arched Door and My Arched Rafters) takes some puzzling. And I do enjoy puzzle piecing it together. I like the way I can feel that part of my brain working hard. But it's sure nice to be on the straights and just slip into the meditative practice of staining and hanging shingles!  (By the way, we're staining all six sides of each shingles before installing them because they will be less likely to cup and warp and they should hold up much longer this way. It takes forever, but hopefully they'll last forever, too!)

We didn't quite finish the shingles on the front of the house and, of course, there are three more sides of the house to shingle. But let me assure you, it's really rewarding to see my house begin to look like I've envisioned it!

My Flip-Up Front Porch

ta da! my front porch! After taking a break from The Lucky Penny for a few weeks because I was Doing Life, it felt good to get back to building this weekend. On Friday I helped Ben who has been building his tiny house at ADX. You can see his progress at Ben Builds a Tiny House. Ben is on the home stretch so he rallied a bunch of people – including Dee Williams, Angela Ramseyer, and Derin Williams – to help him out this weekend. I got to help with siding on the front of his house and finishing out his wheel well boxes. It’s coming along nicely and I’m so excited that Ben and I will be neighbors soon at our Tiny Cohousing Community, Simply Home!

On Saturday I worked on my front porch. As many of you know from my post Tiny Houses Turn Their Backs on the Street, I have been planning for years to build my little house so that the porch is over the tongue of the trailer. This way whenever I back my tiny house into a new driveway (and just about any other parking spot) my front door will greet the street. I also didn’t want a Shrinky-Dink Porch. It has to be substantial enough that I could actually use it.

It’s been awkward climbing into and out of my little house without a porch for the past couple months because I’ve had to clamber up over the tongue. It seemed high time to get my front porch built. Now that I have, I wish I’d done it sooner. But, as usual, there is an order of operations. I wanted to have My Arched Door in and my Siding on so I could arrange the details of attaching my porch since it will flip-up for transport.

I used a Getaround truck to pick up my supplies and got to work. My build buddy Laura was around this morning and she’s at a pause point on her own tiny house build so she helped me construct the frame for my porch with 2x2s. Then I laid out 1x4s and 1x6s over it, alternating them to create a little visual interest. I attached the decking to the frame with star drive decking screws. I added additional framing as necessary to strengthen the frame. It’s certainly not as beefy as it could be, but then again, I don’t really need it to be. I plan to sit on my porch plenty and I plan to put My Chiller: A Natural Refrigerator out there in the cool months, but I’ll probably host my dance parties just a few steps away in the great outdoors.

When I was done attaching the planks I had scraggle-toothed edge to my porch. And since this is The Lucky Penny and I’m obsessed with curves, I wasn’t done yet. So Laura helped me hold a piece of lath against the edge of the porch in a lovely arc. We marked this on the boards and I used a jigsaw to cut the ends of the boards. Then I added supports in both corners so that my porch is ready for the hoards of people who have registered for PAD’s Tiny House Mixer at Green Anchors on Thursday.

The porch isn’t quite done yet. I plan to add a fascia board around the edge to hide the hitch. I still need to stain the wood. And, of course, I need to add my hinges so that it will flip up for transport. But all-in-all, it was a good day’s work and it was fun to sit on my porch this evening to celebrate!

Musings on My Vardo Roof Box

Skylight box went up the third day of my build, getting dried in took over a month! 
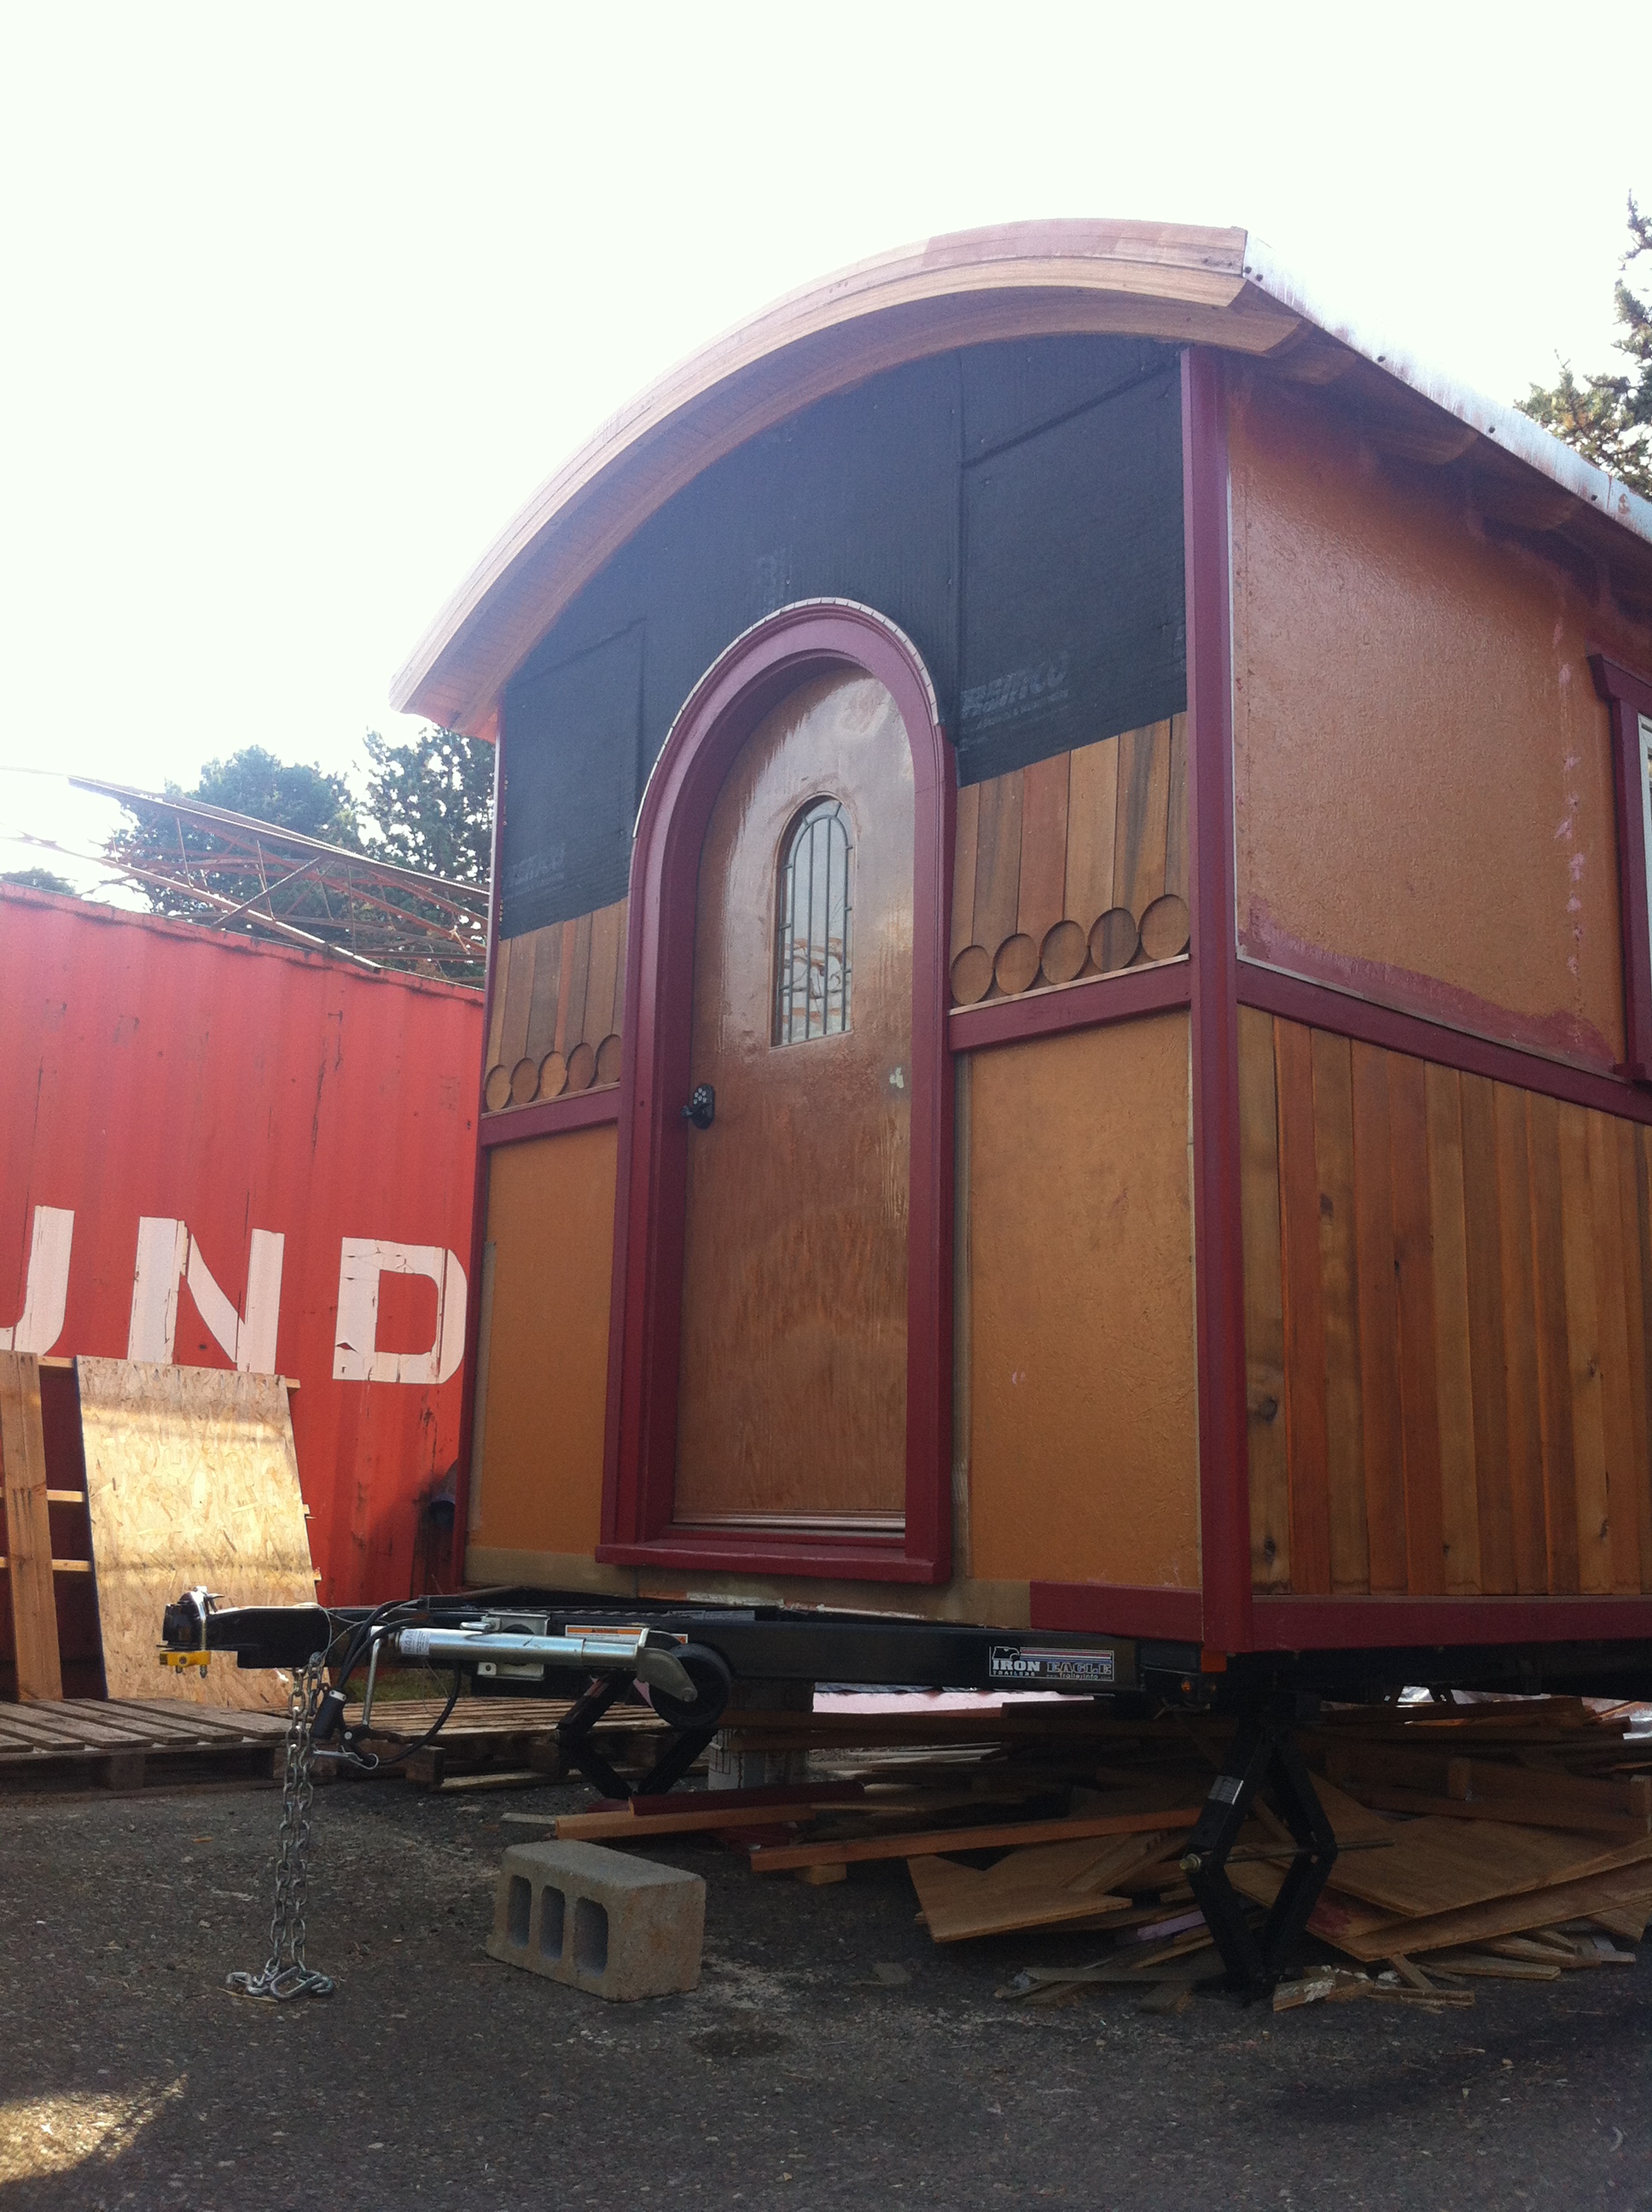
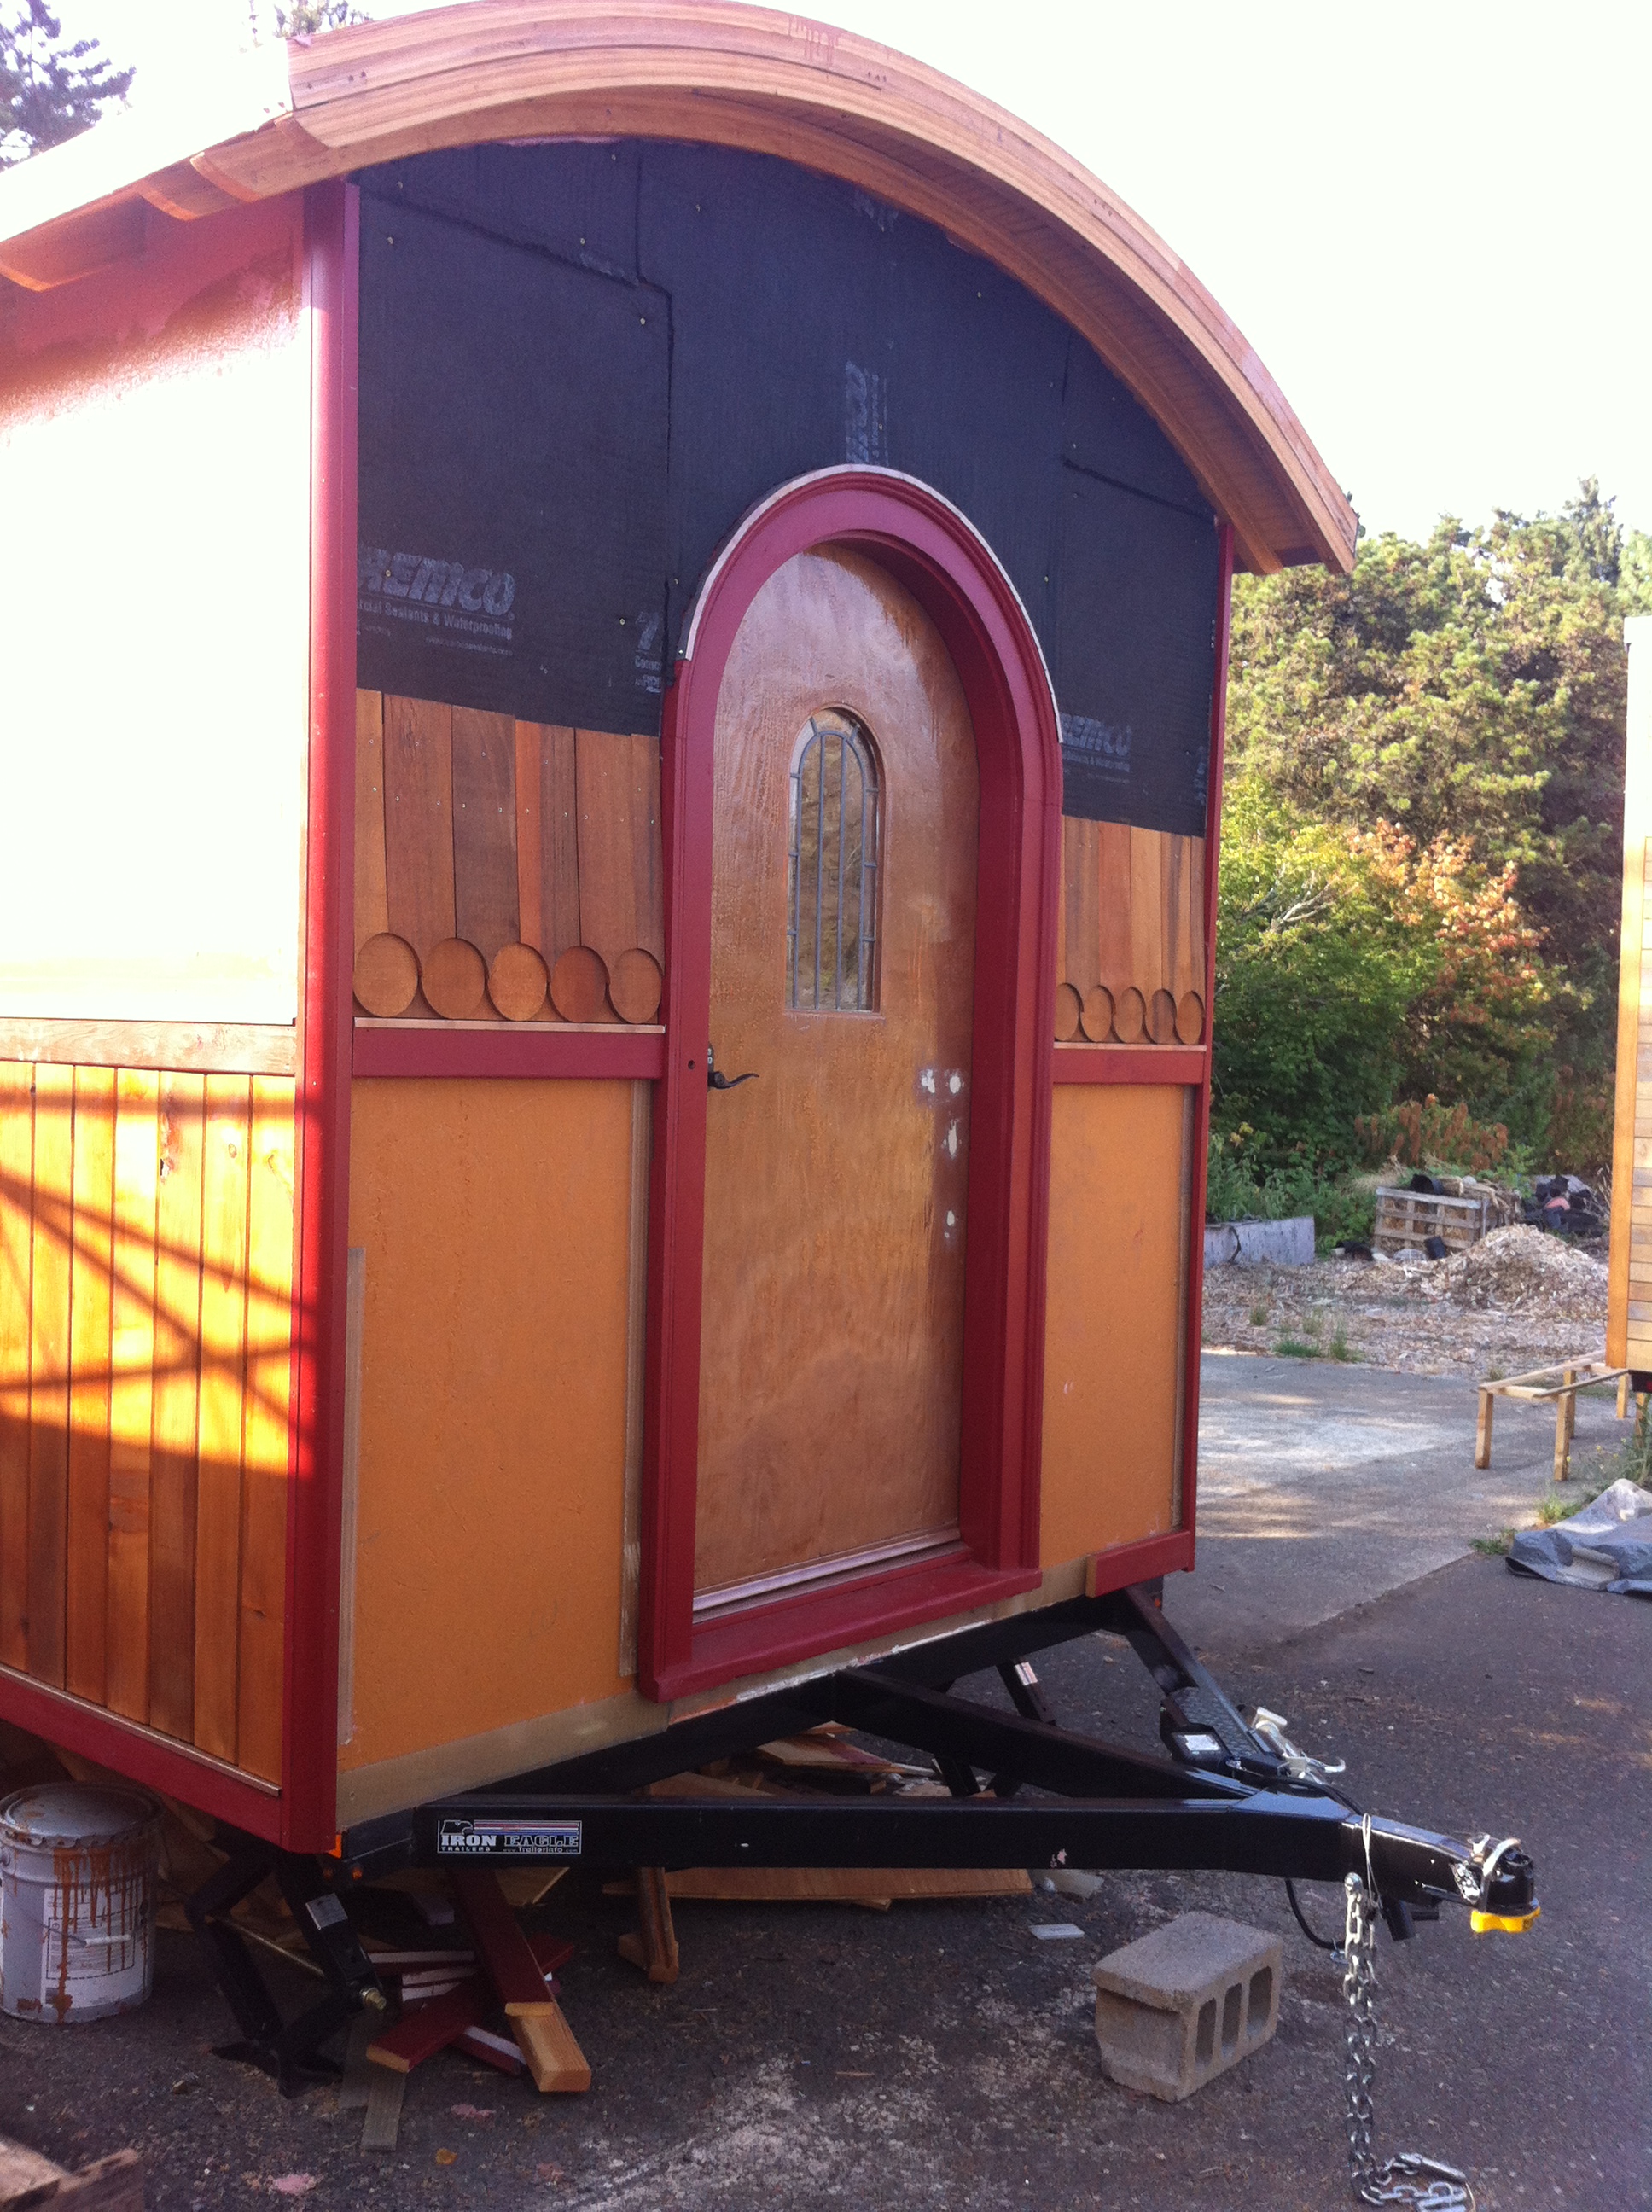
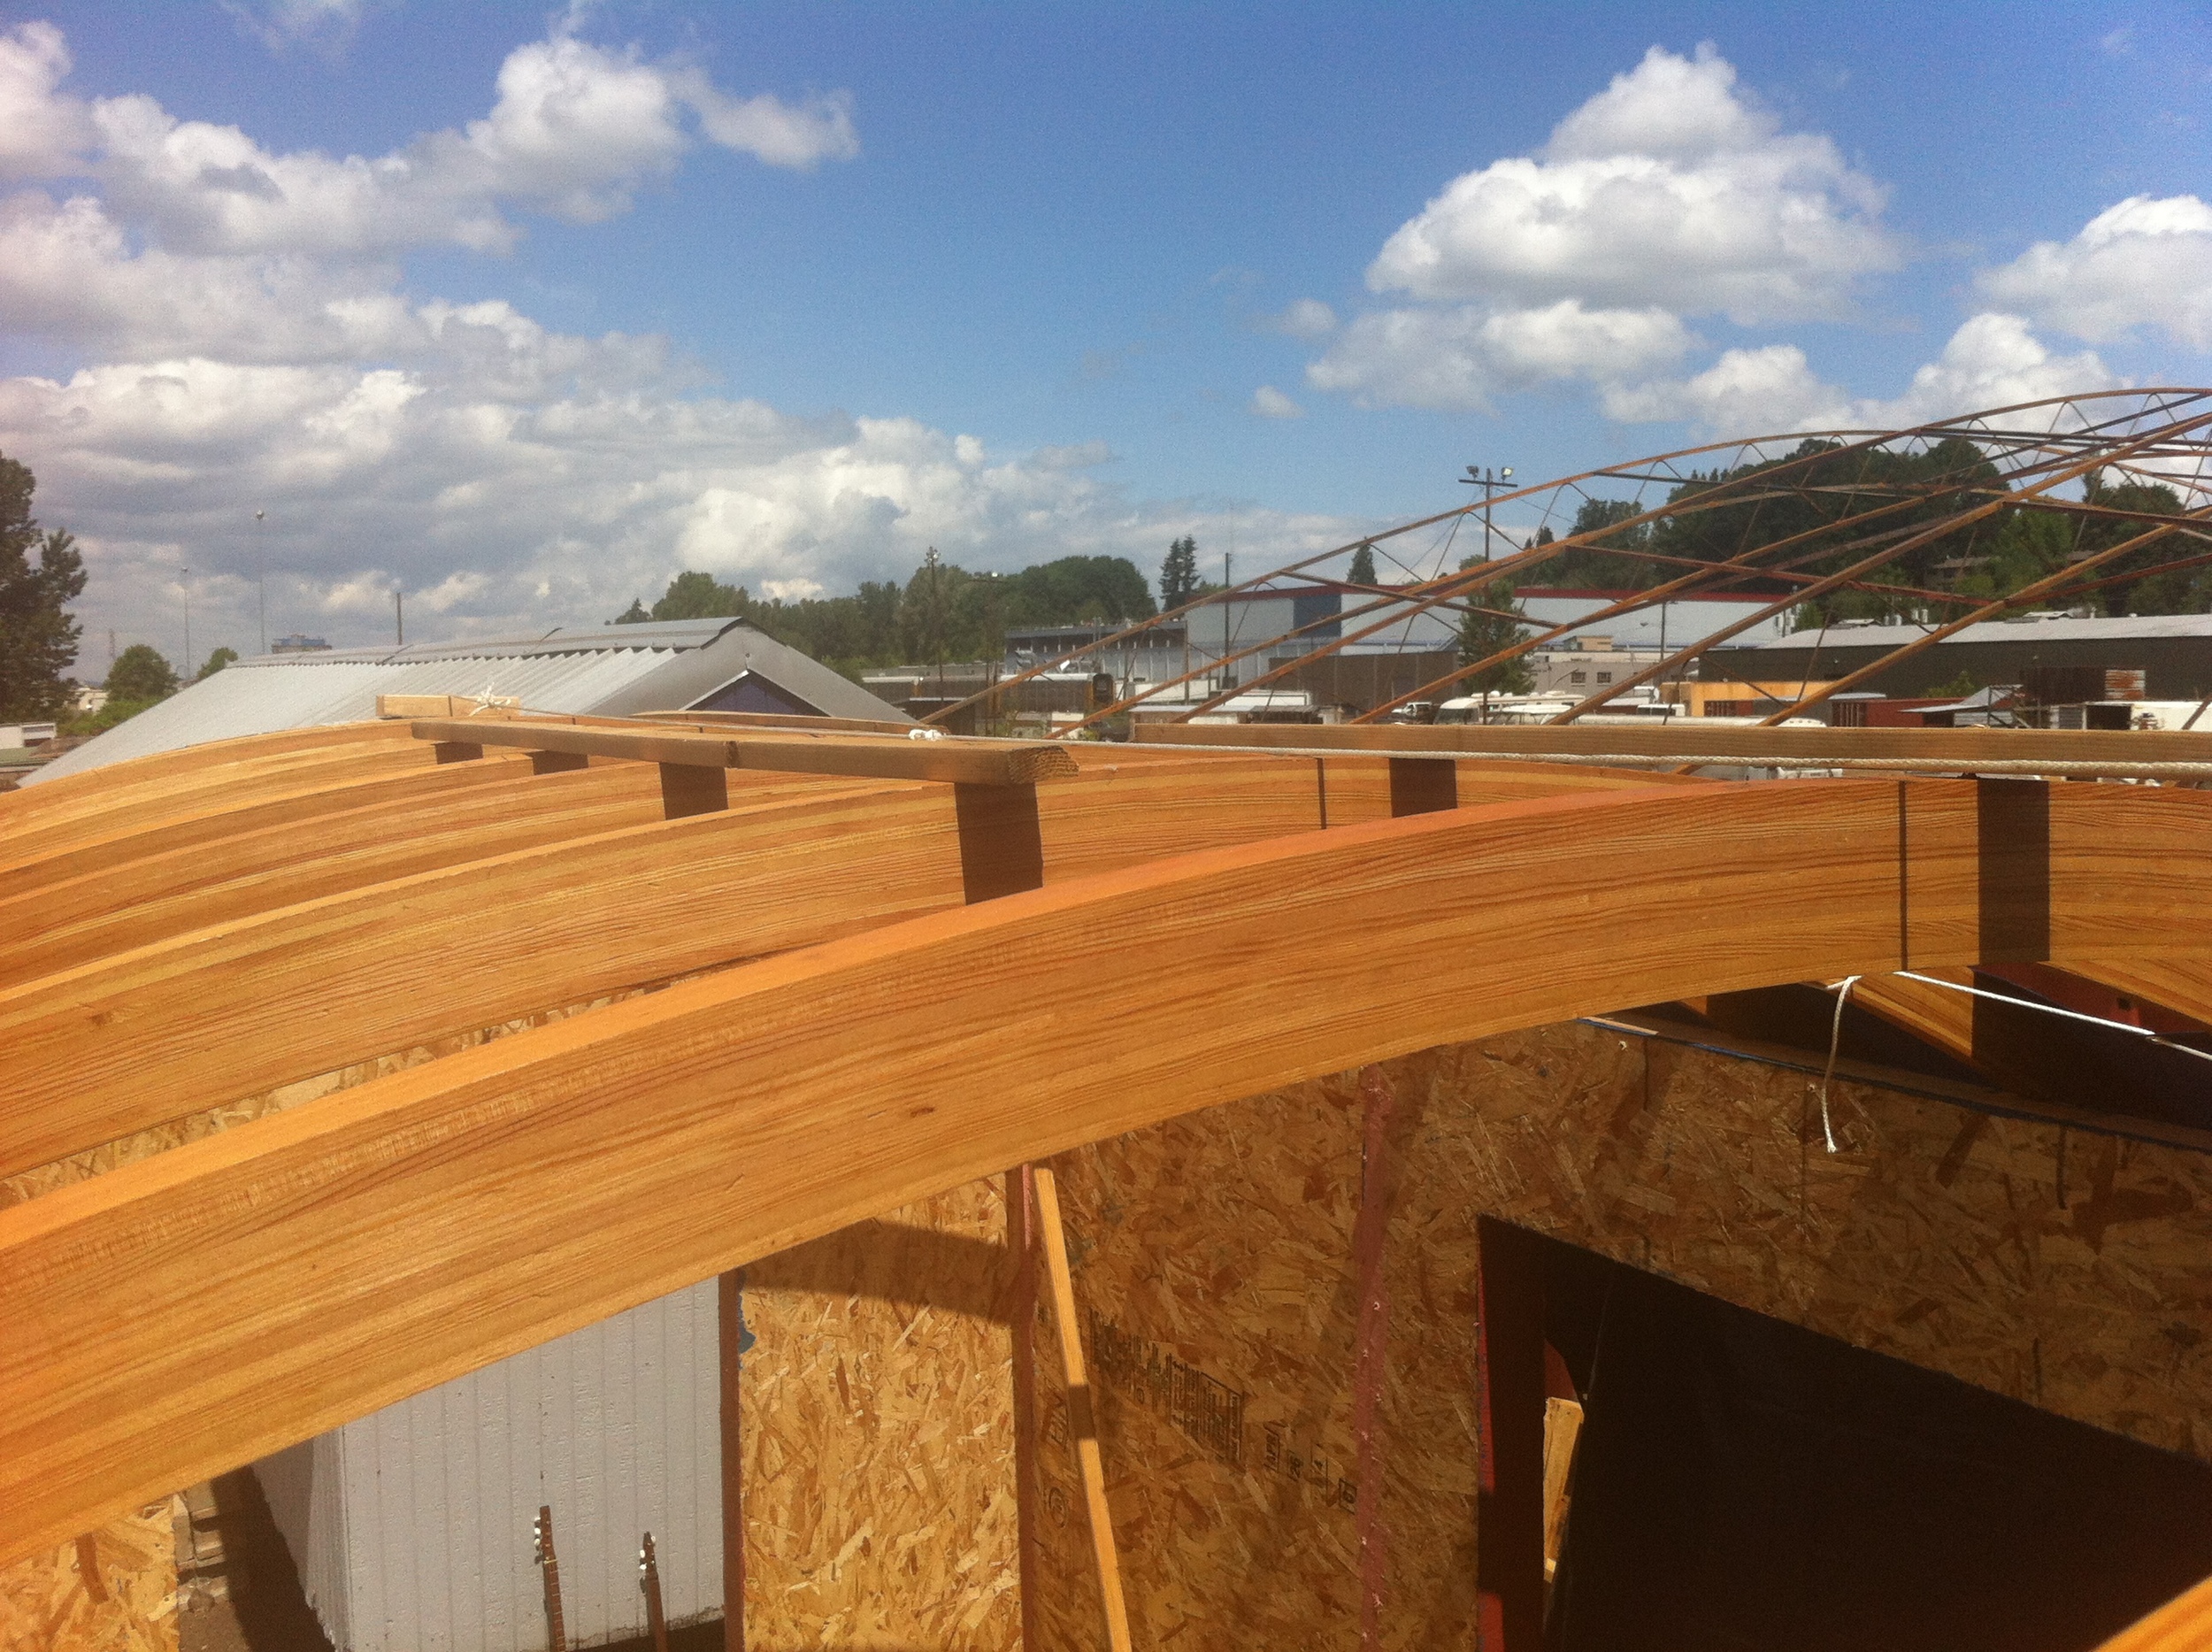
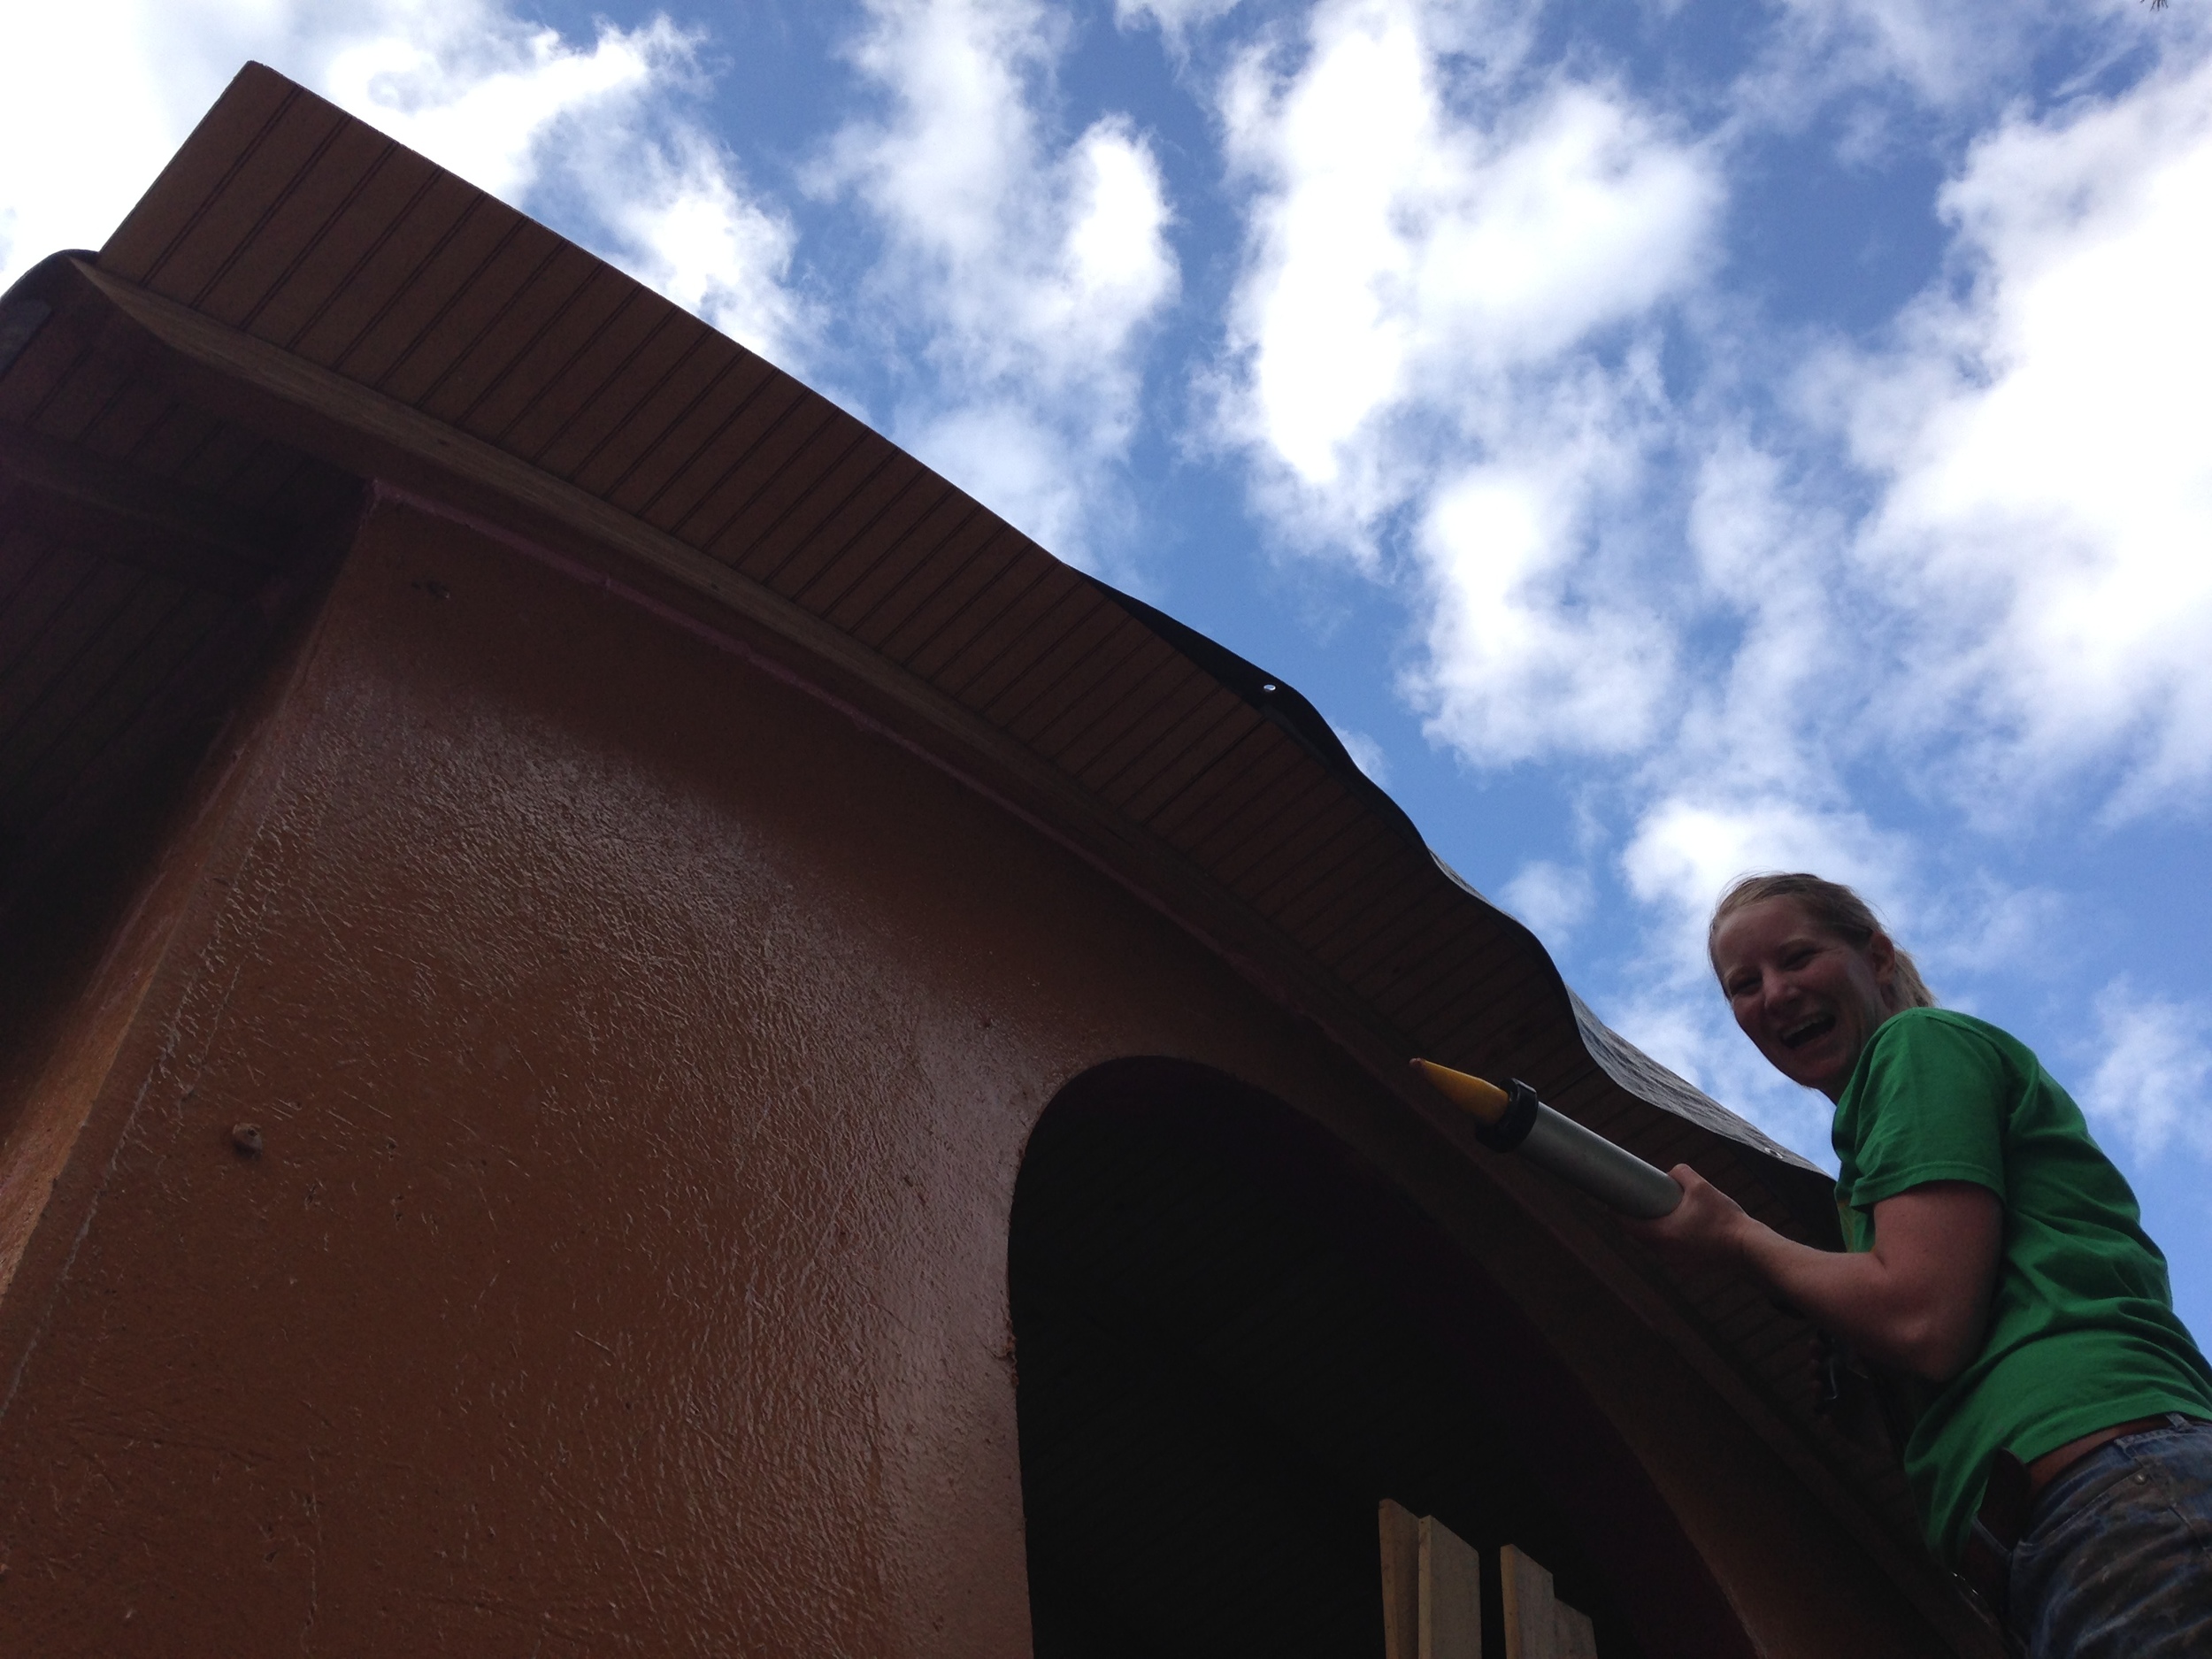
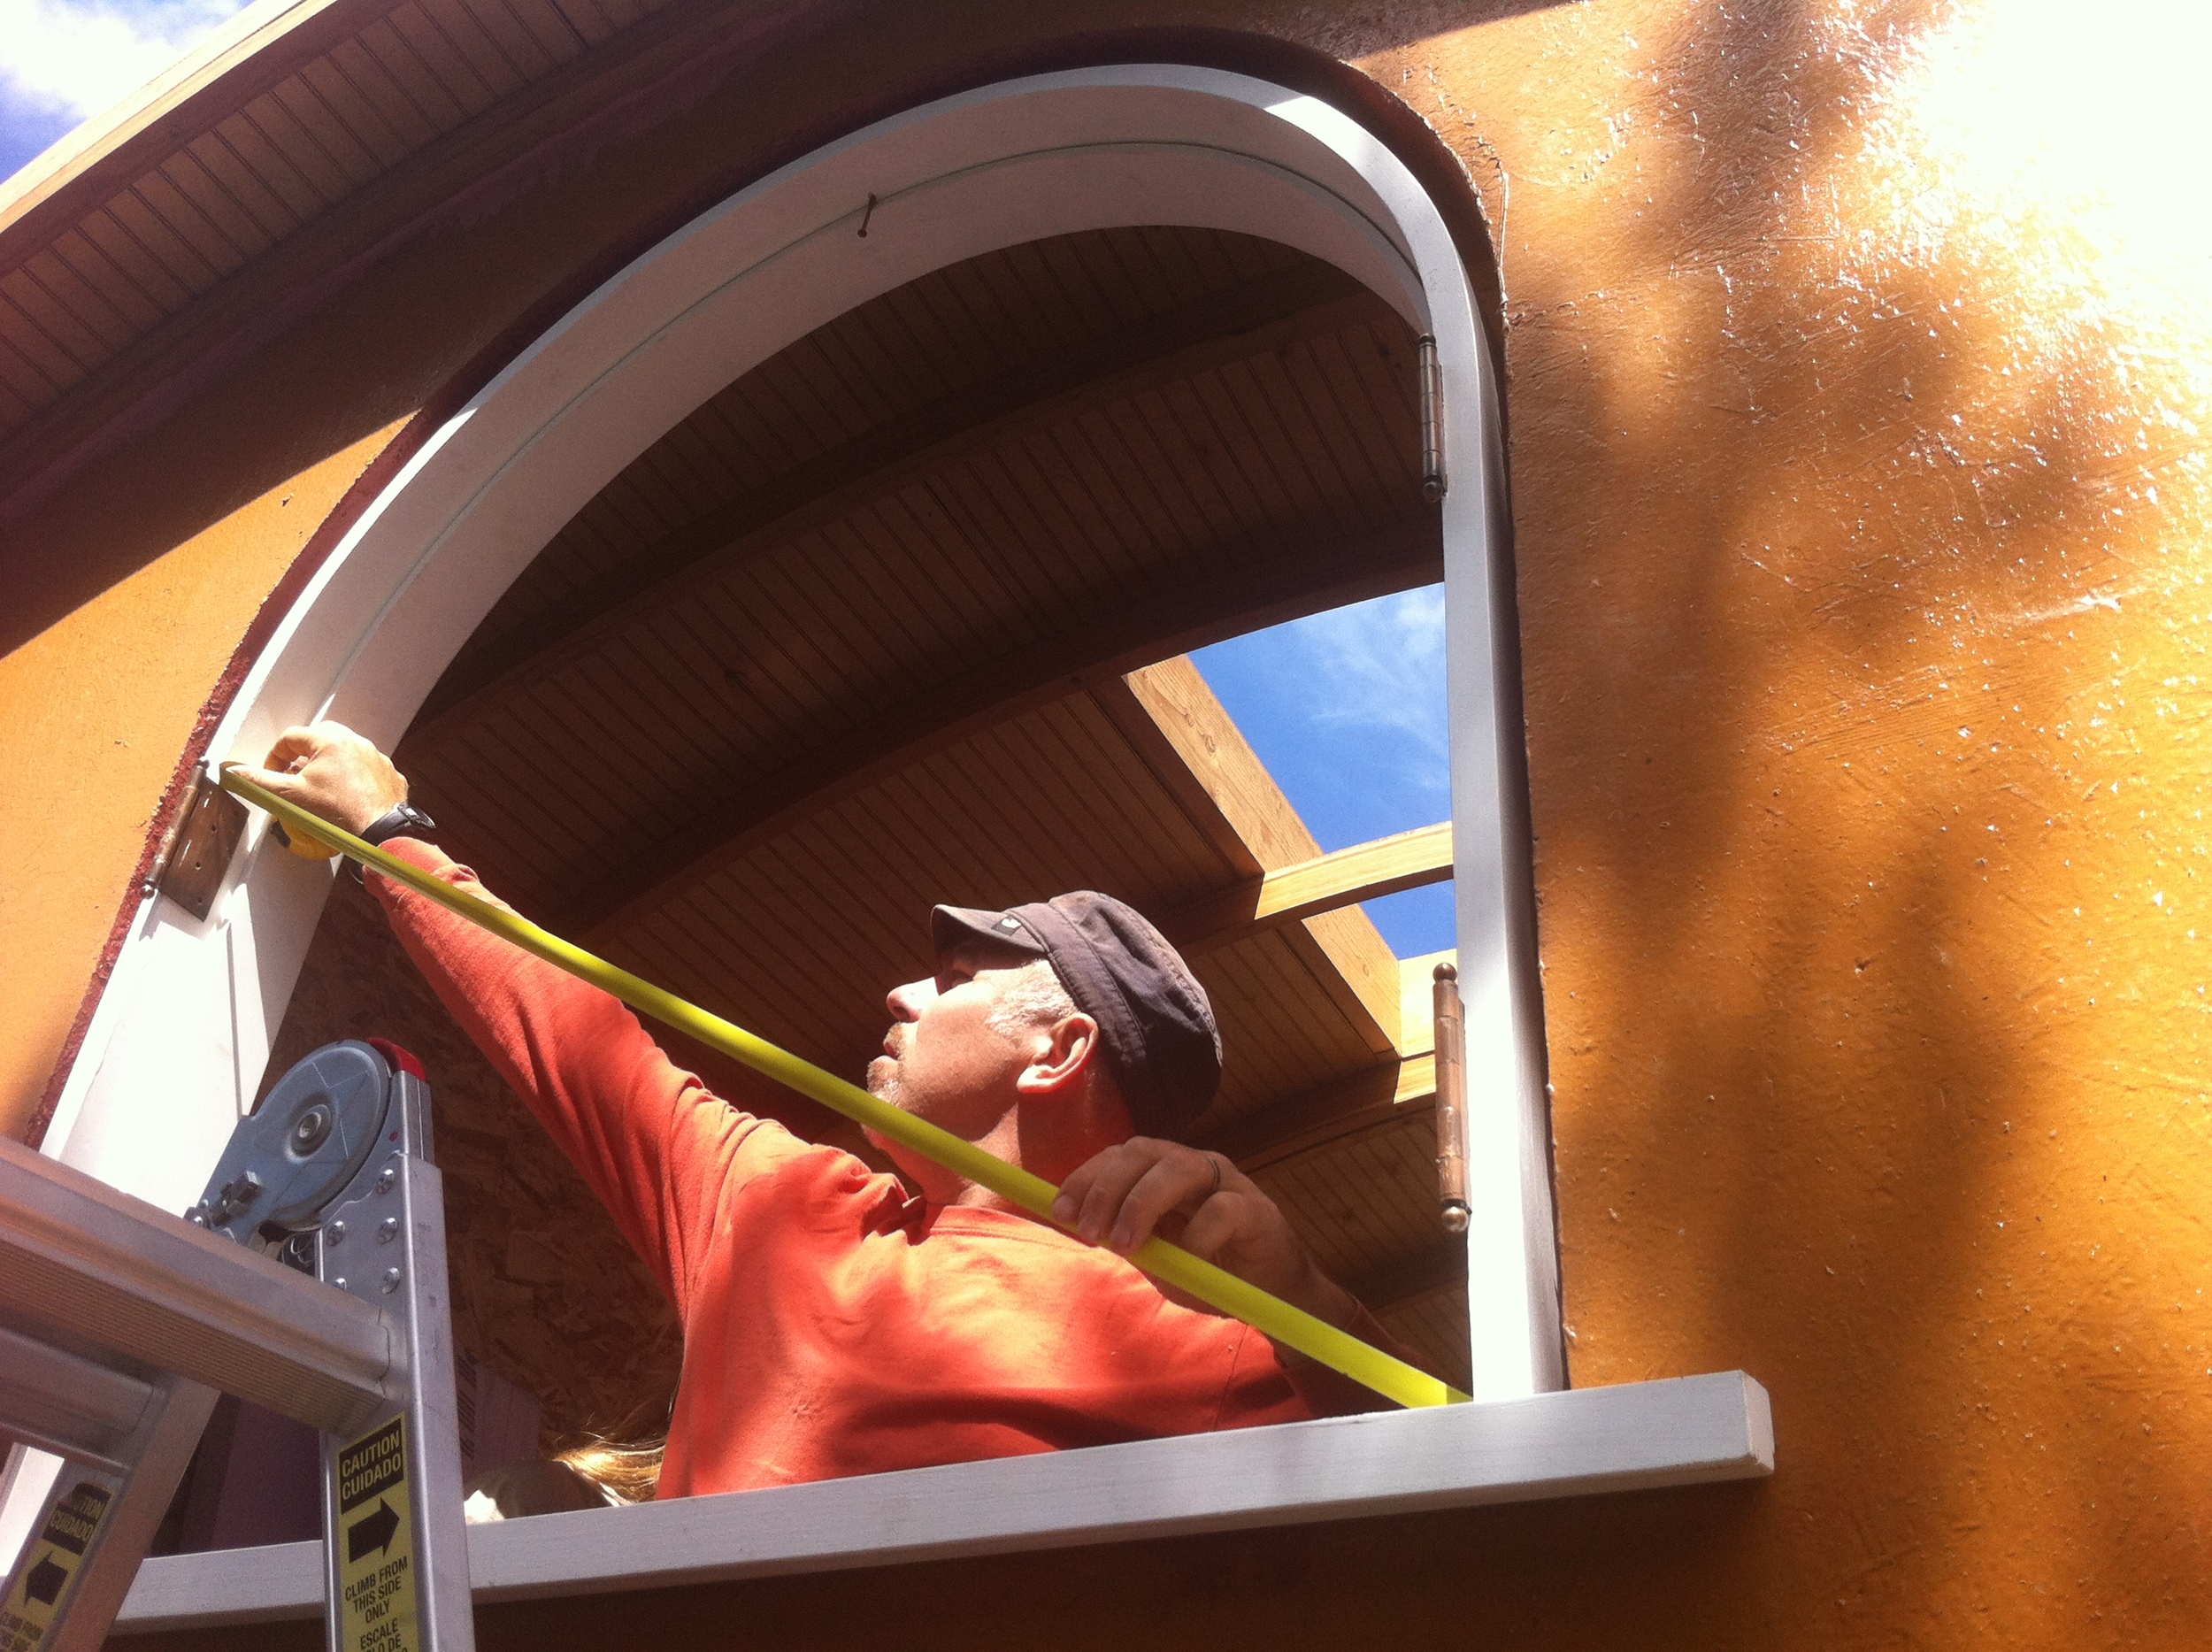
Today I met with Fred at Taylor Metal Products and Tim Bancke, the roofer who recently completed the beautiful curved roof for Lilypad, a tiny house currently under construction for my friend Anita by Walt Quade of Small Home Oregon. I did the concept design work with Anita and the half-curved roof was my big idea so I'm thrilled it's turned out so nicely! You can read all about it over at Once Upon a Lilypad!)

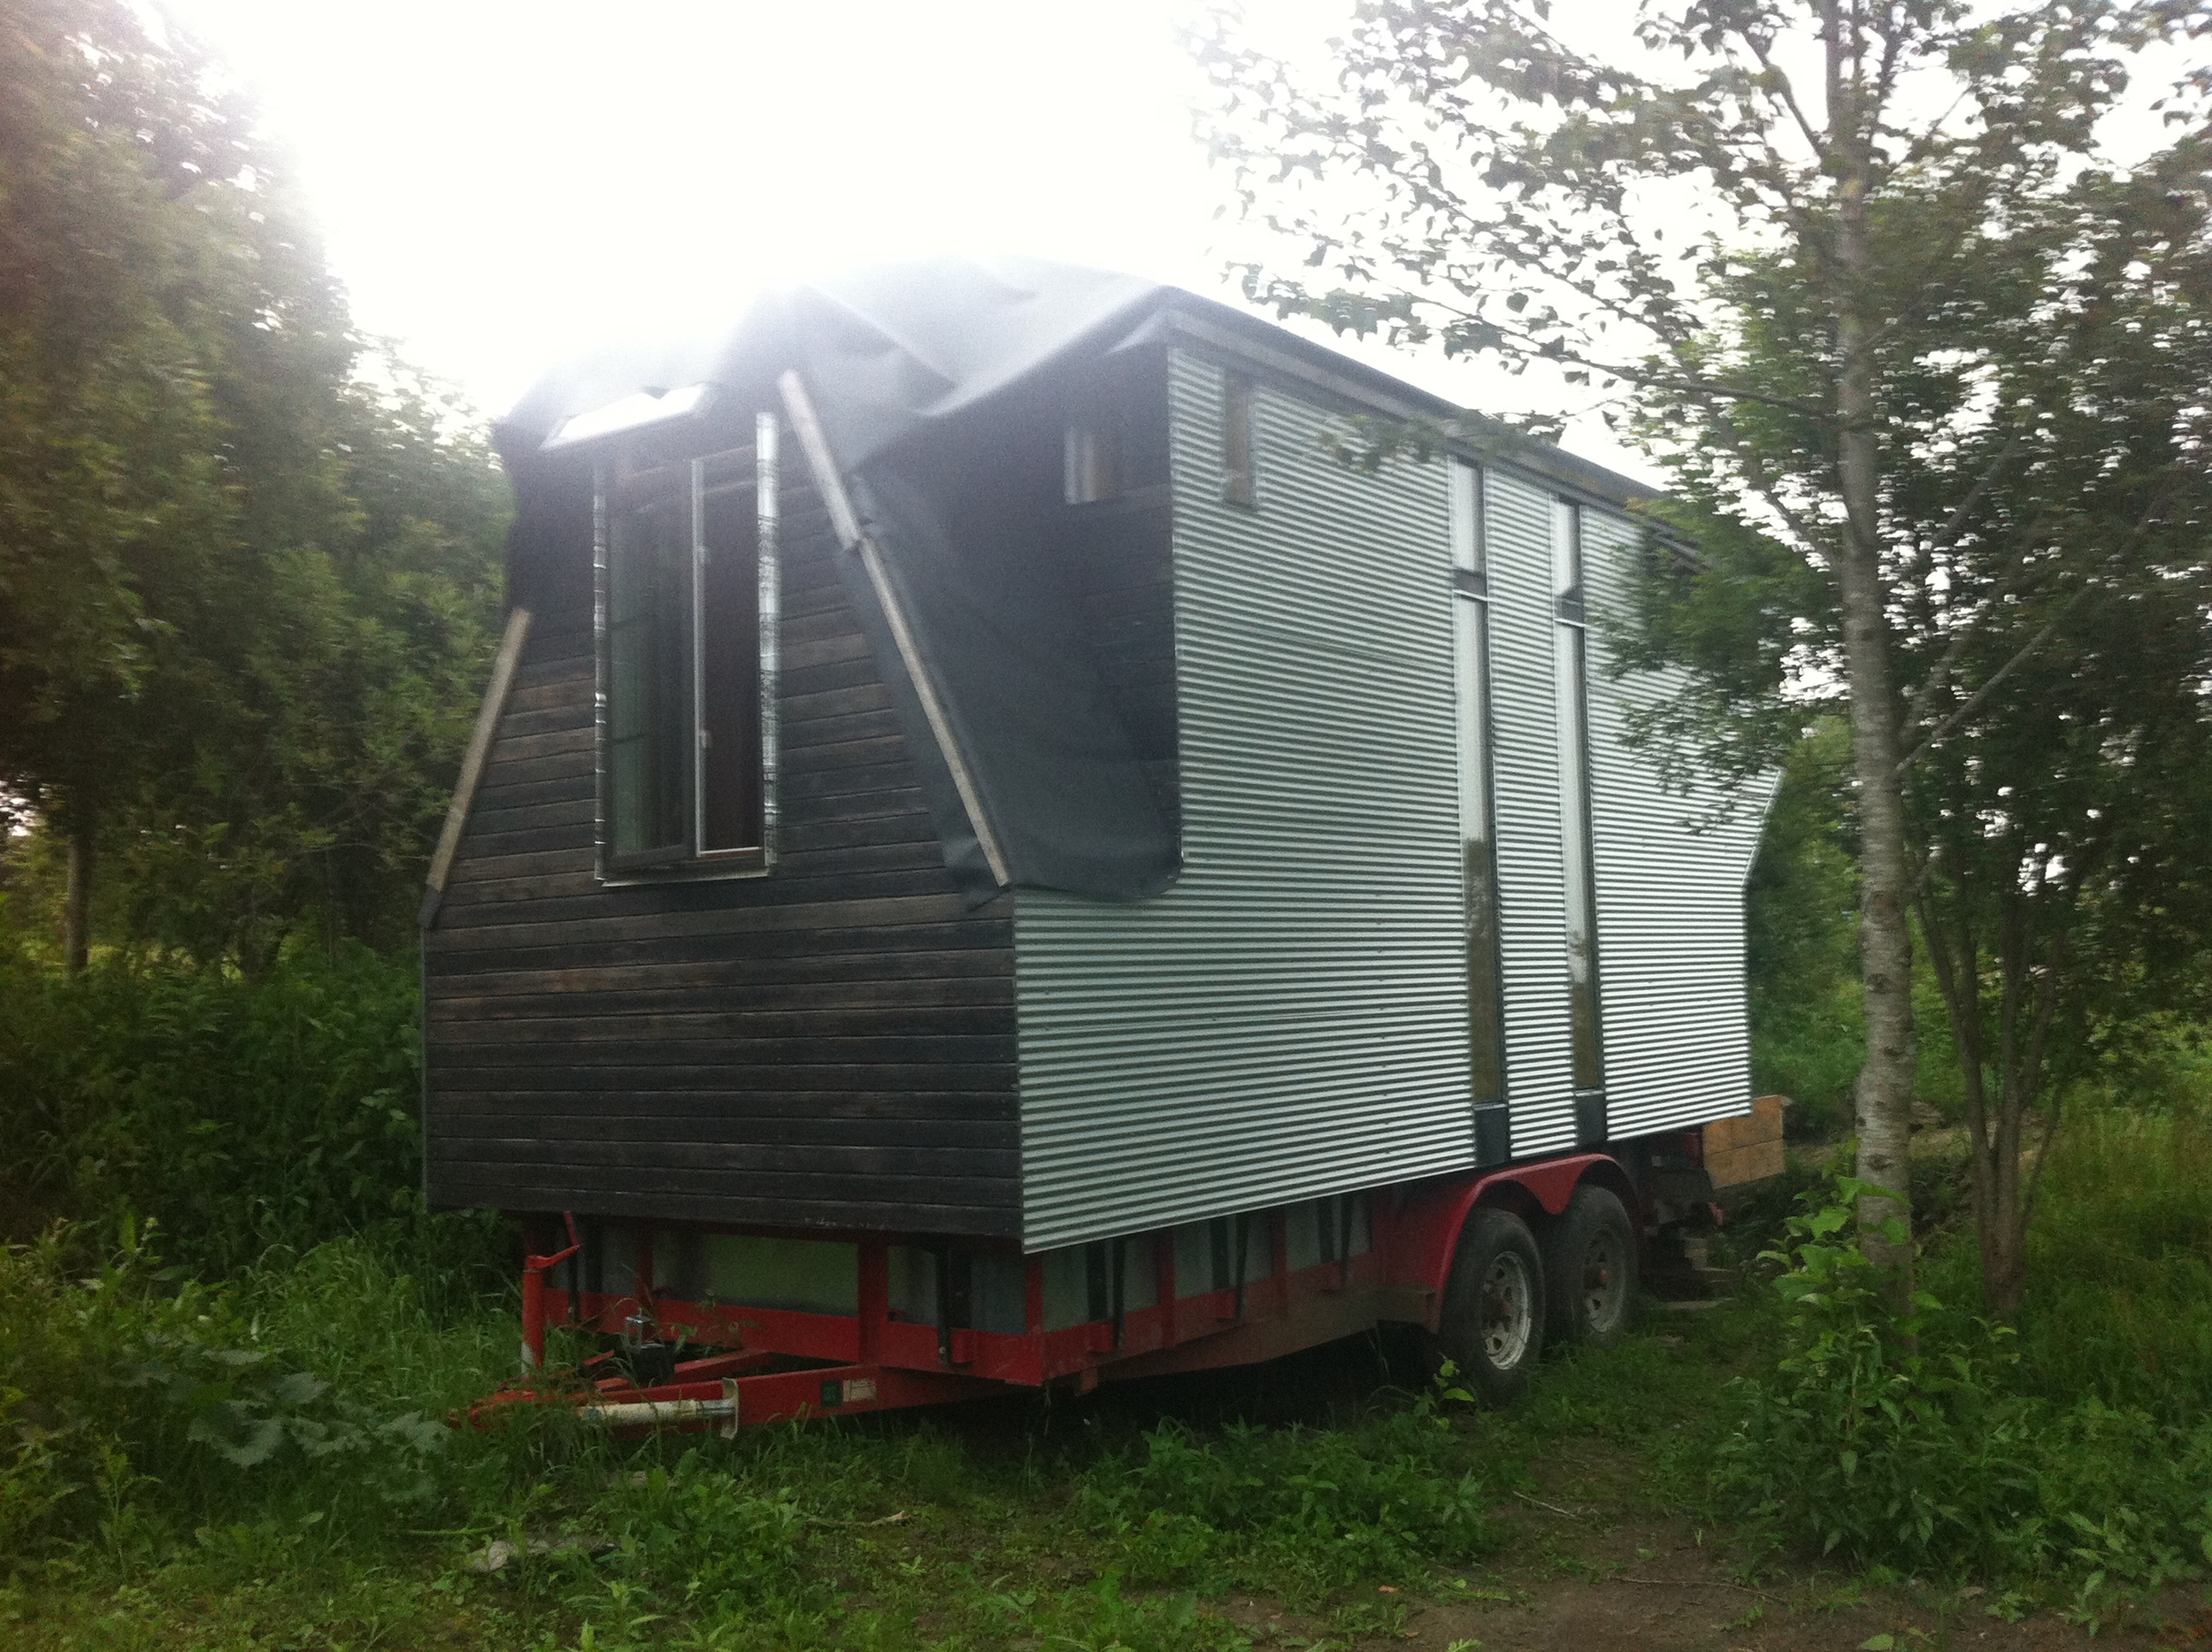
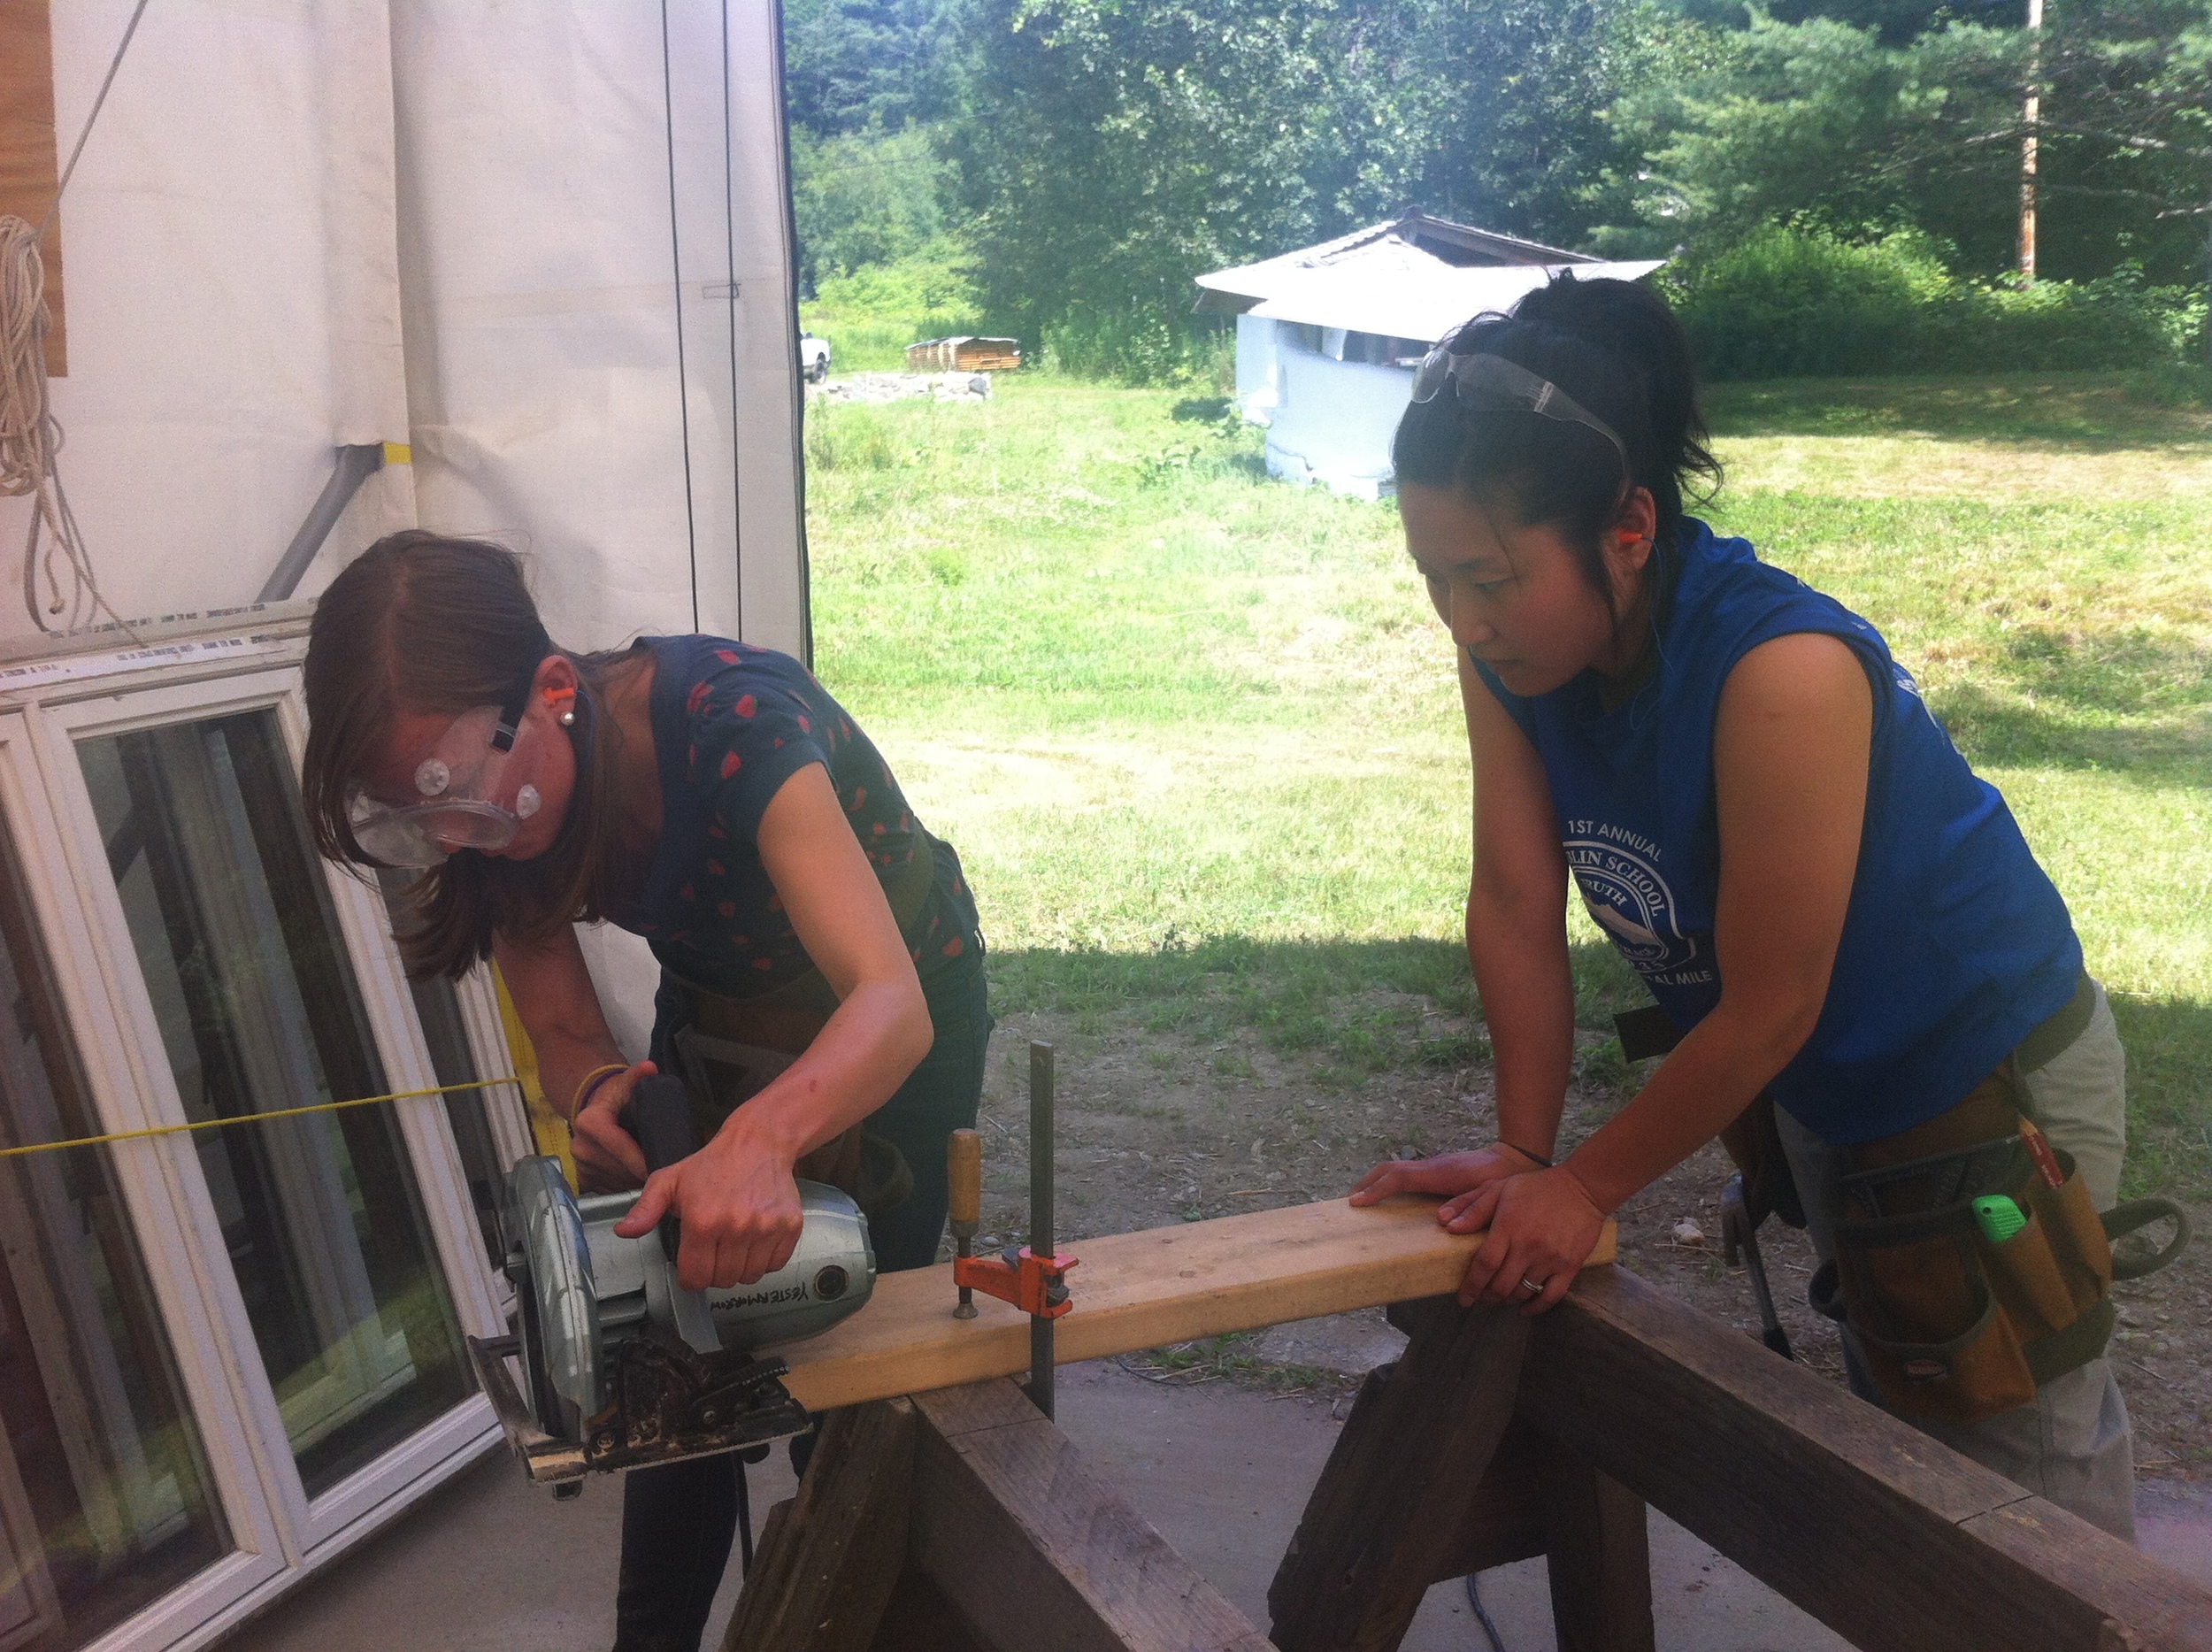
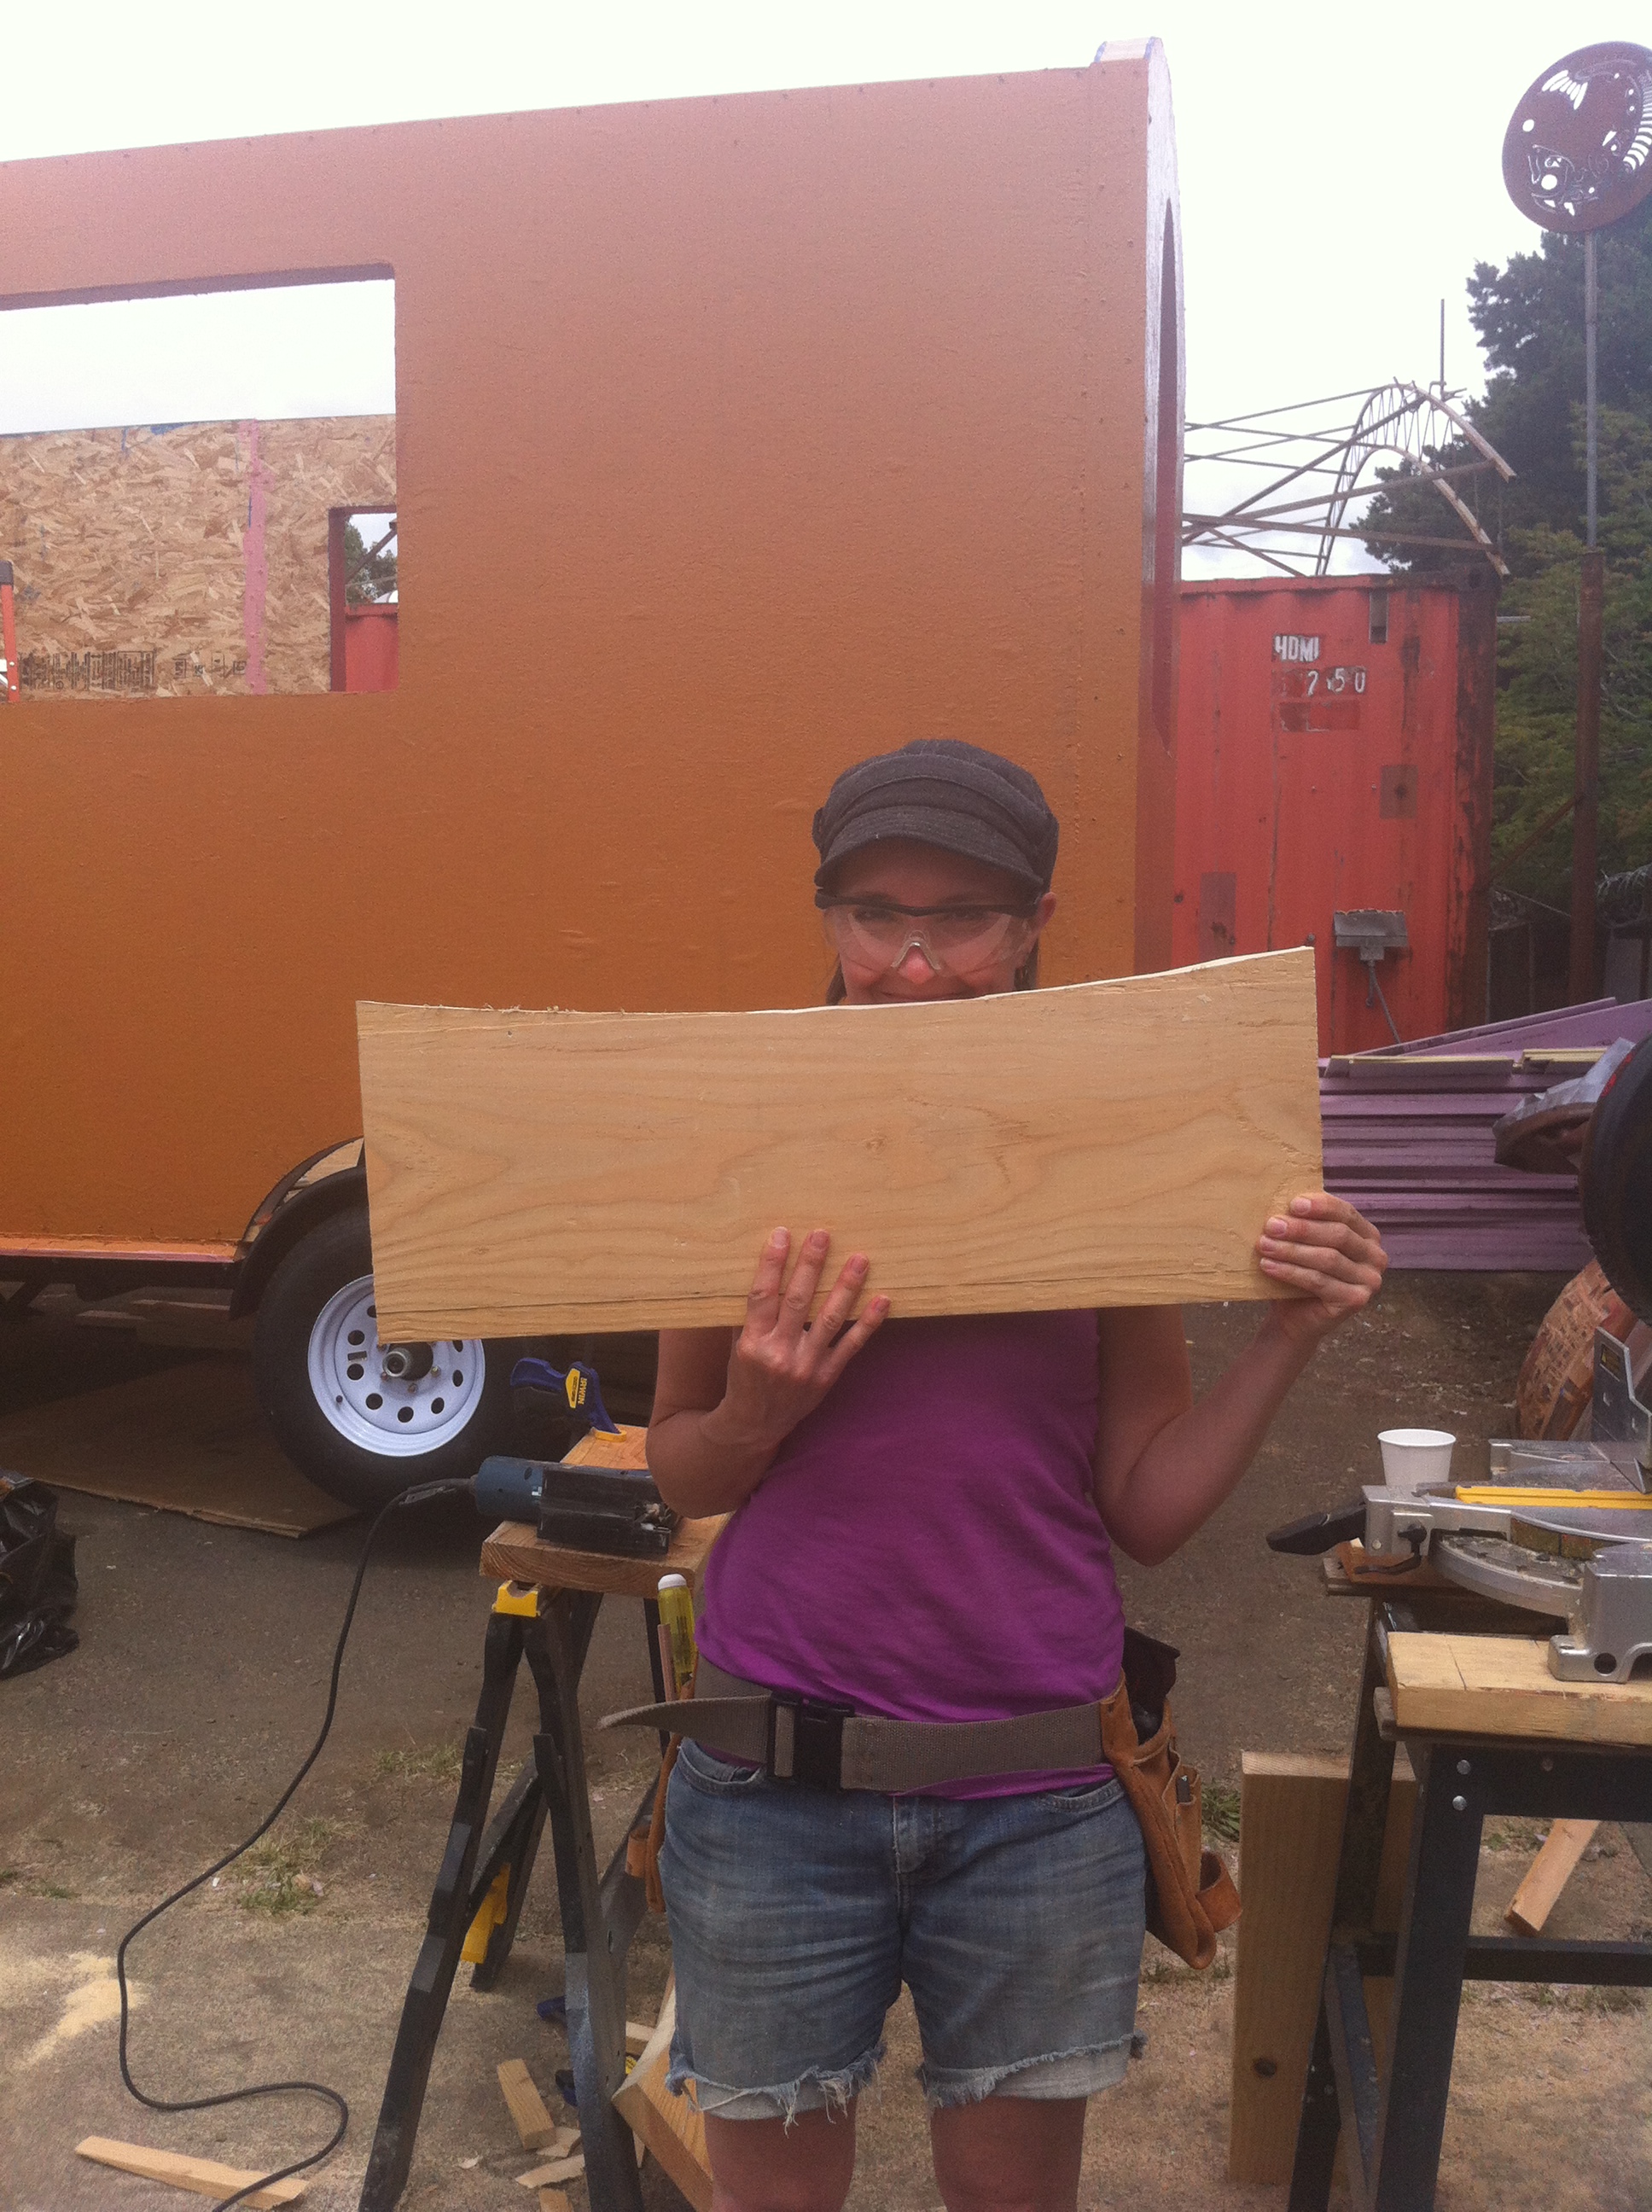
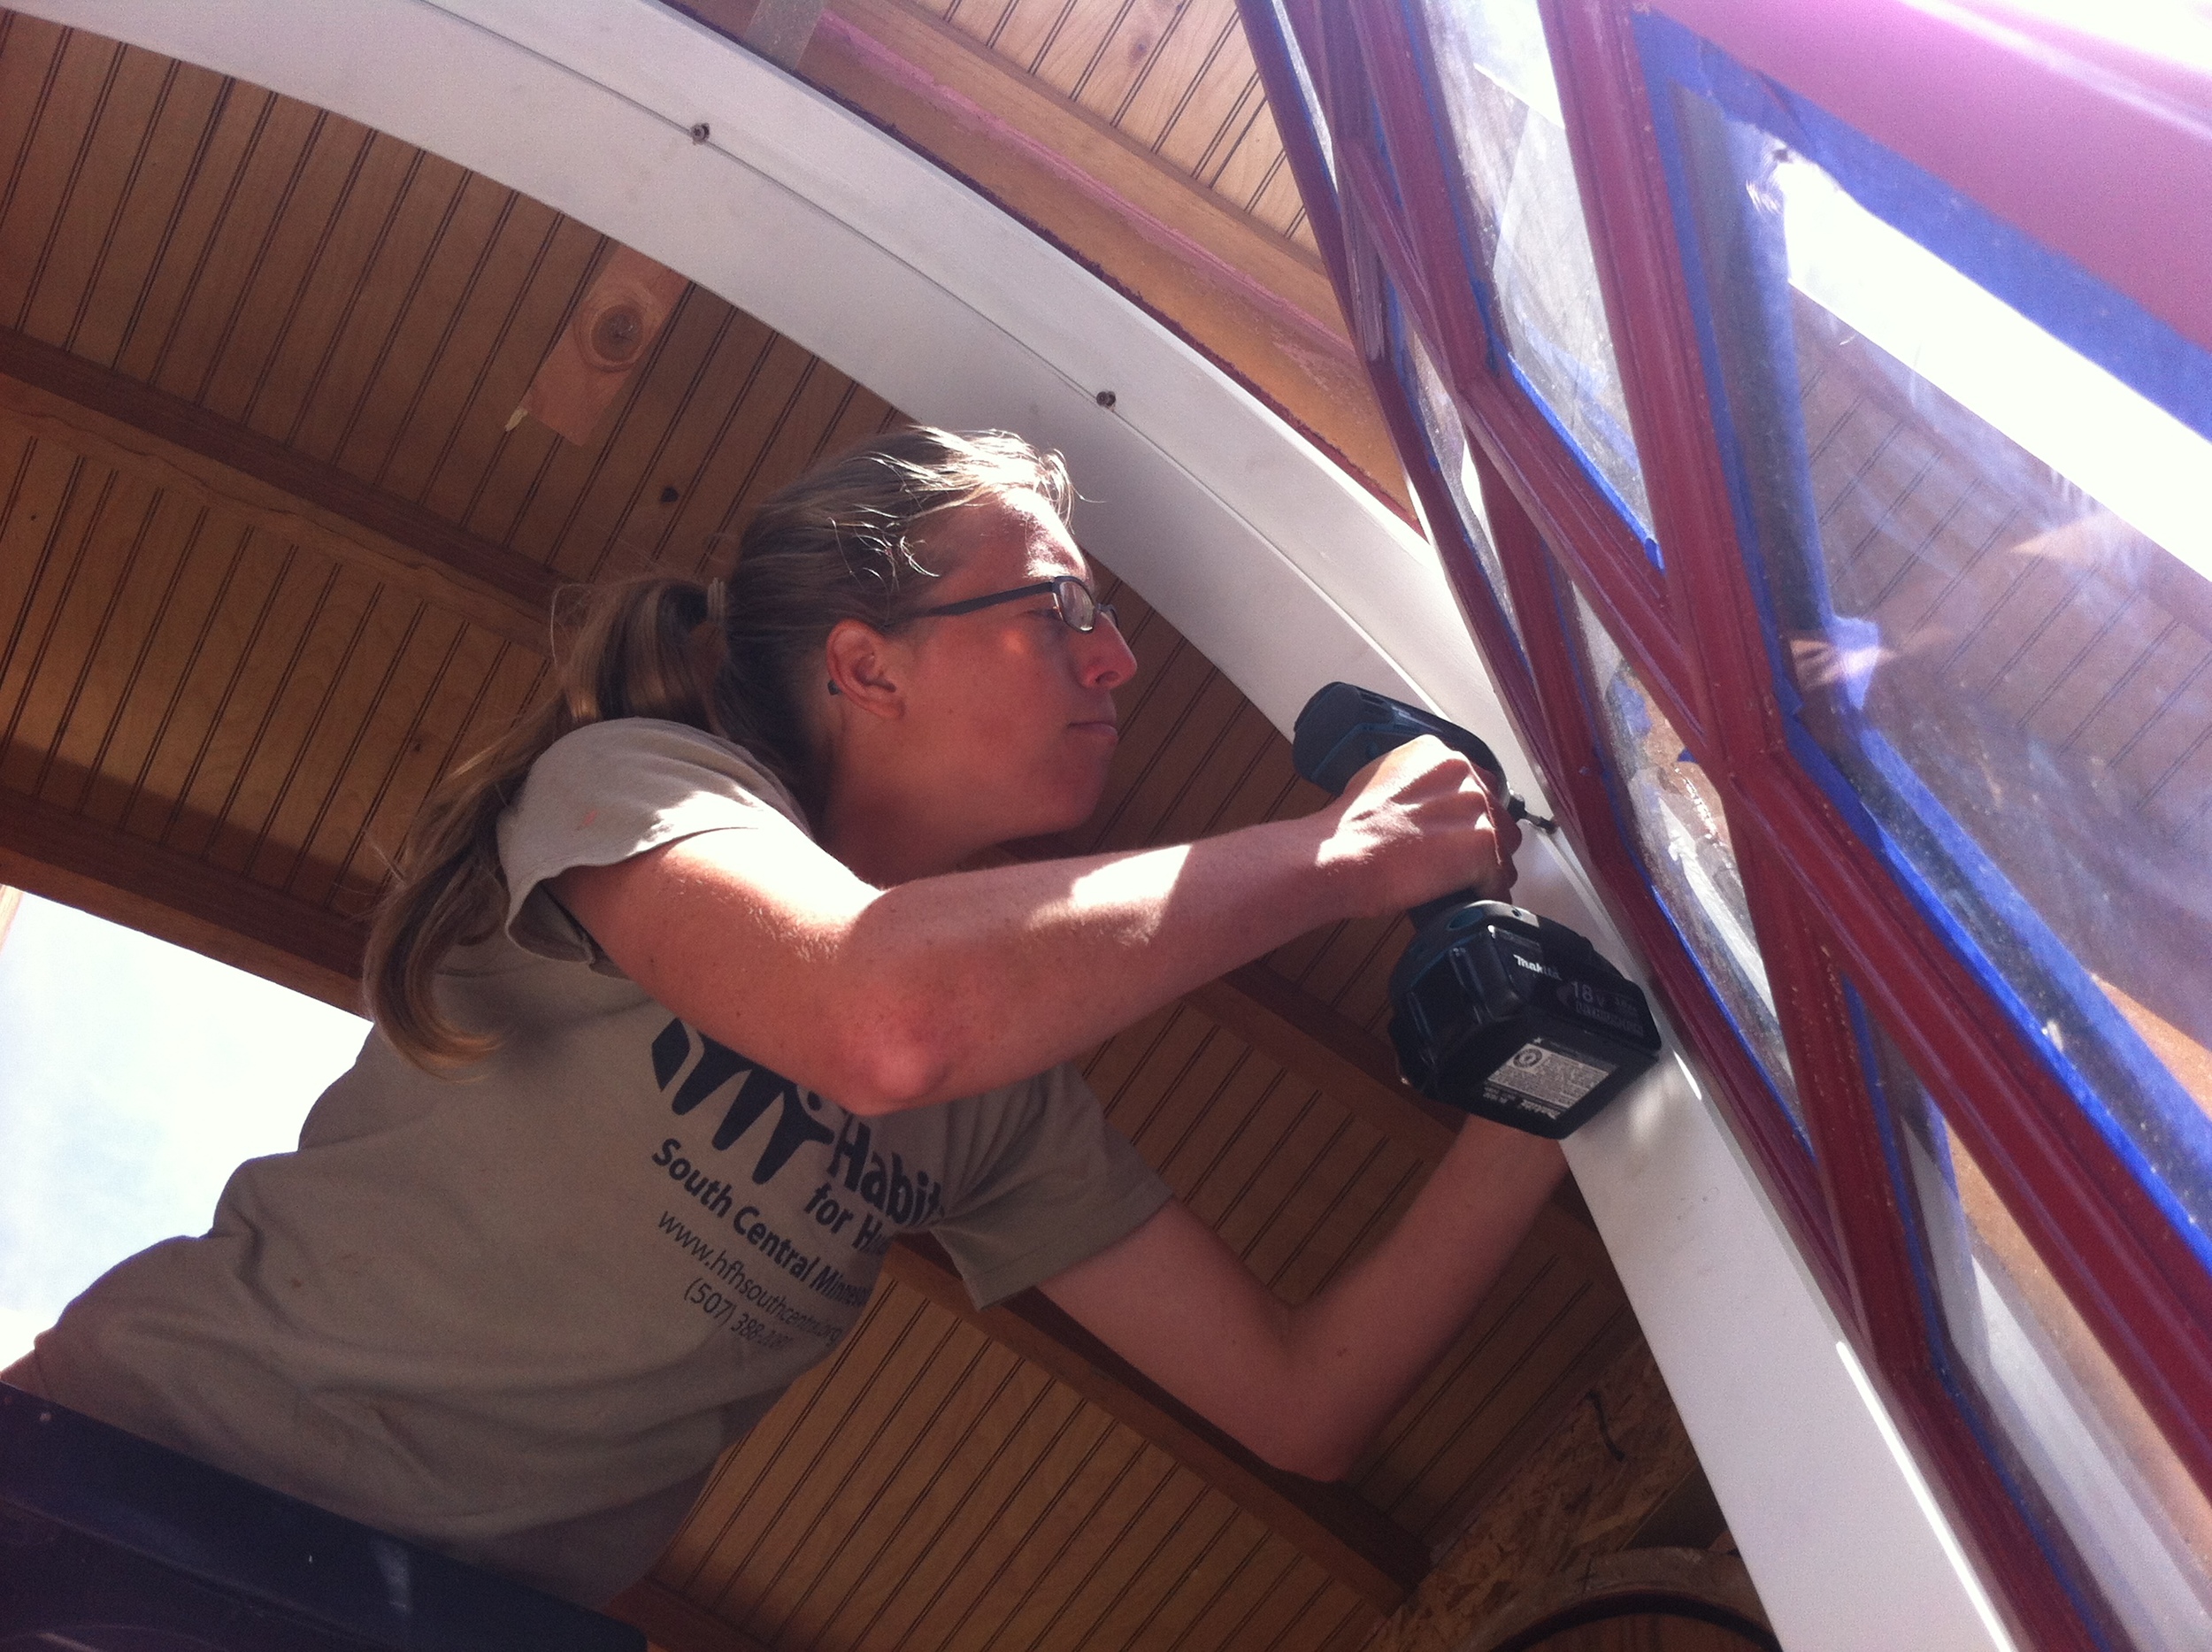
Although I admire folks like Ben Campbell and my build buddy Laura Klement who installed their metal roofs themselves, I've decided to let the pros handle mine. I knew that my vardo's roof would be a design-build challenge, but I am enamored with curved roofs, so I decided it would be worth it. Now that I've finished Sheathing My Vardo Roof, I do still think my curved roof was worth it, but I would have done a few things differently. (For the full list, check out my forthcoming blog post ALL The Mistakes.)

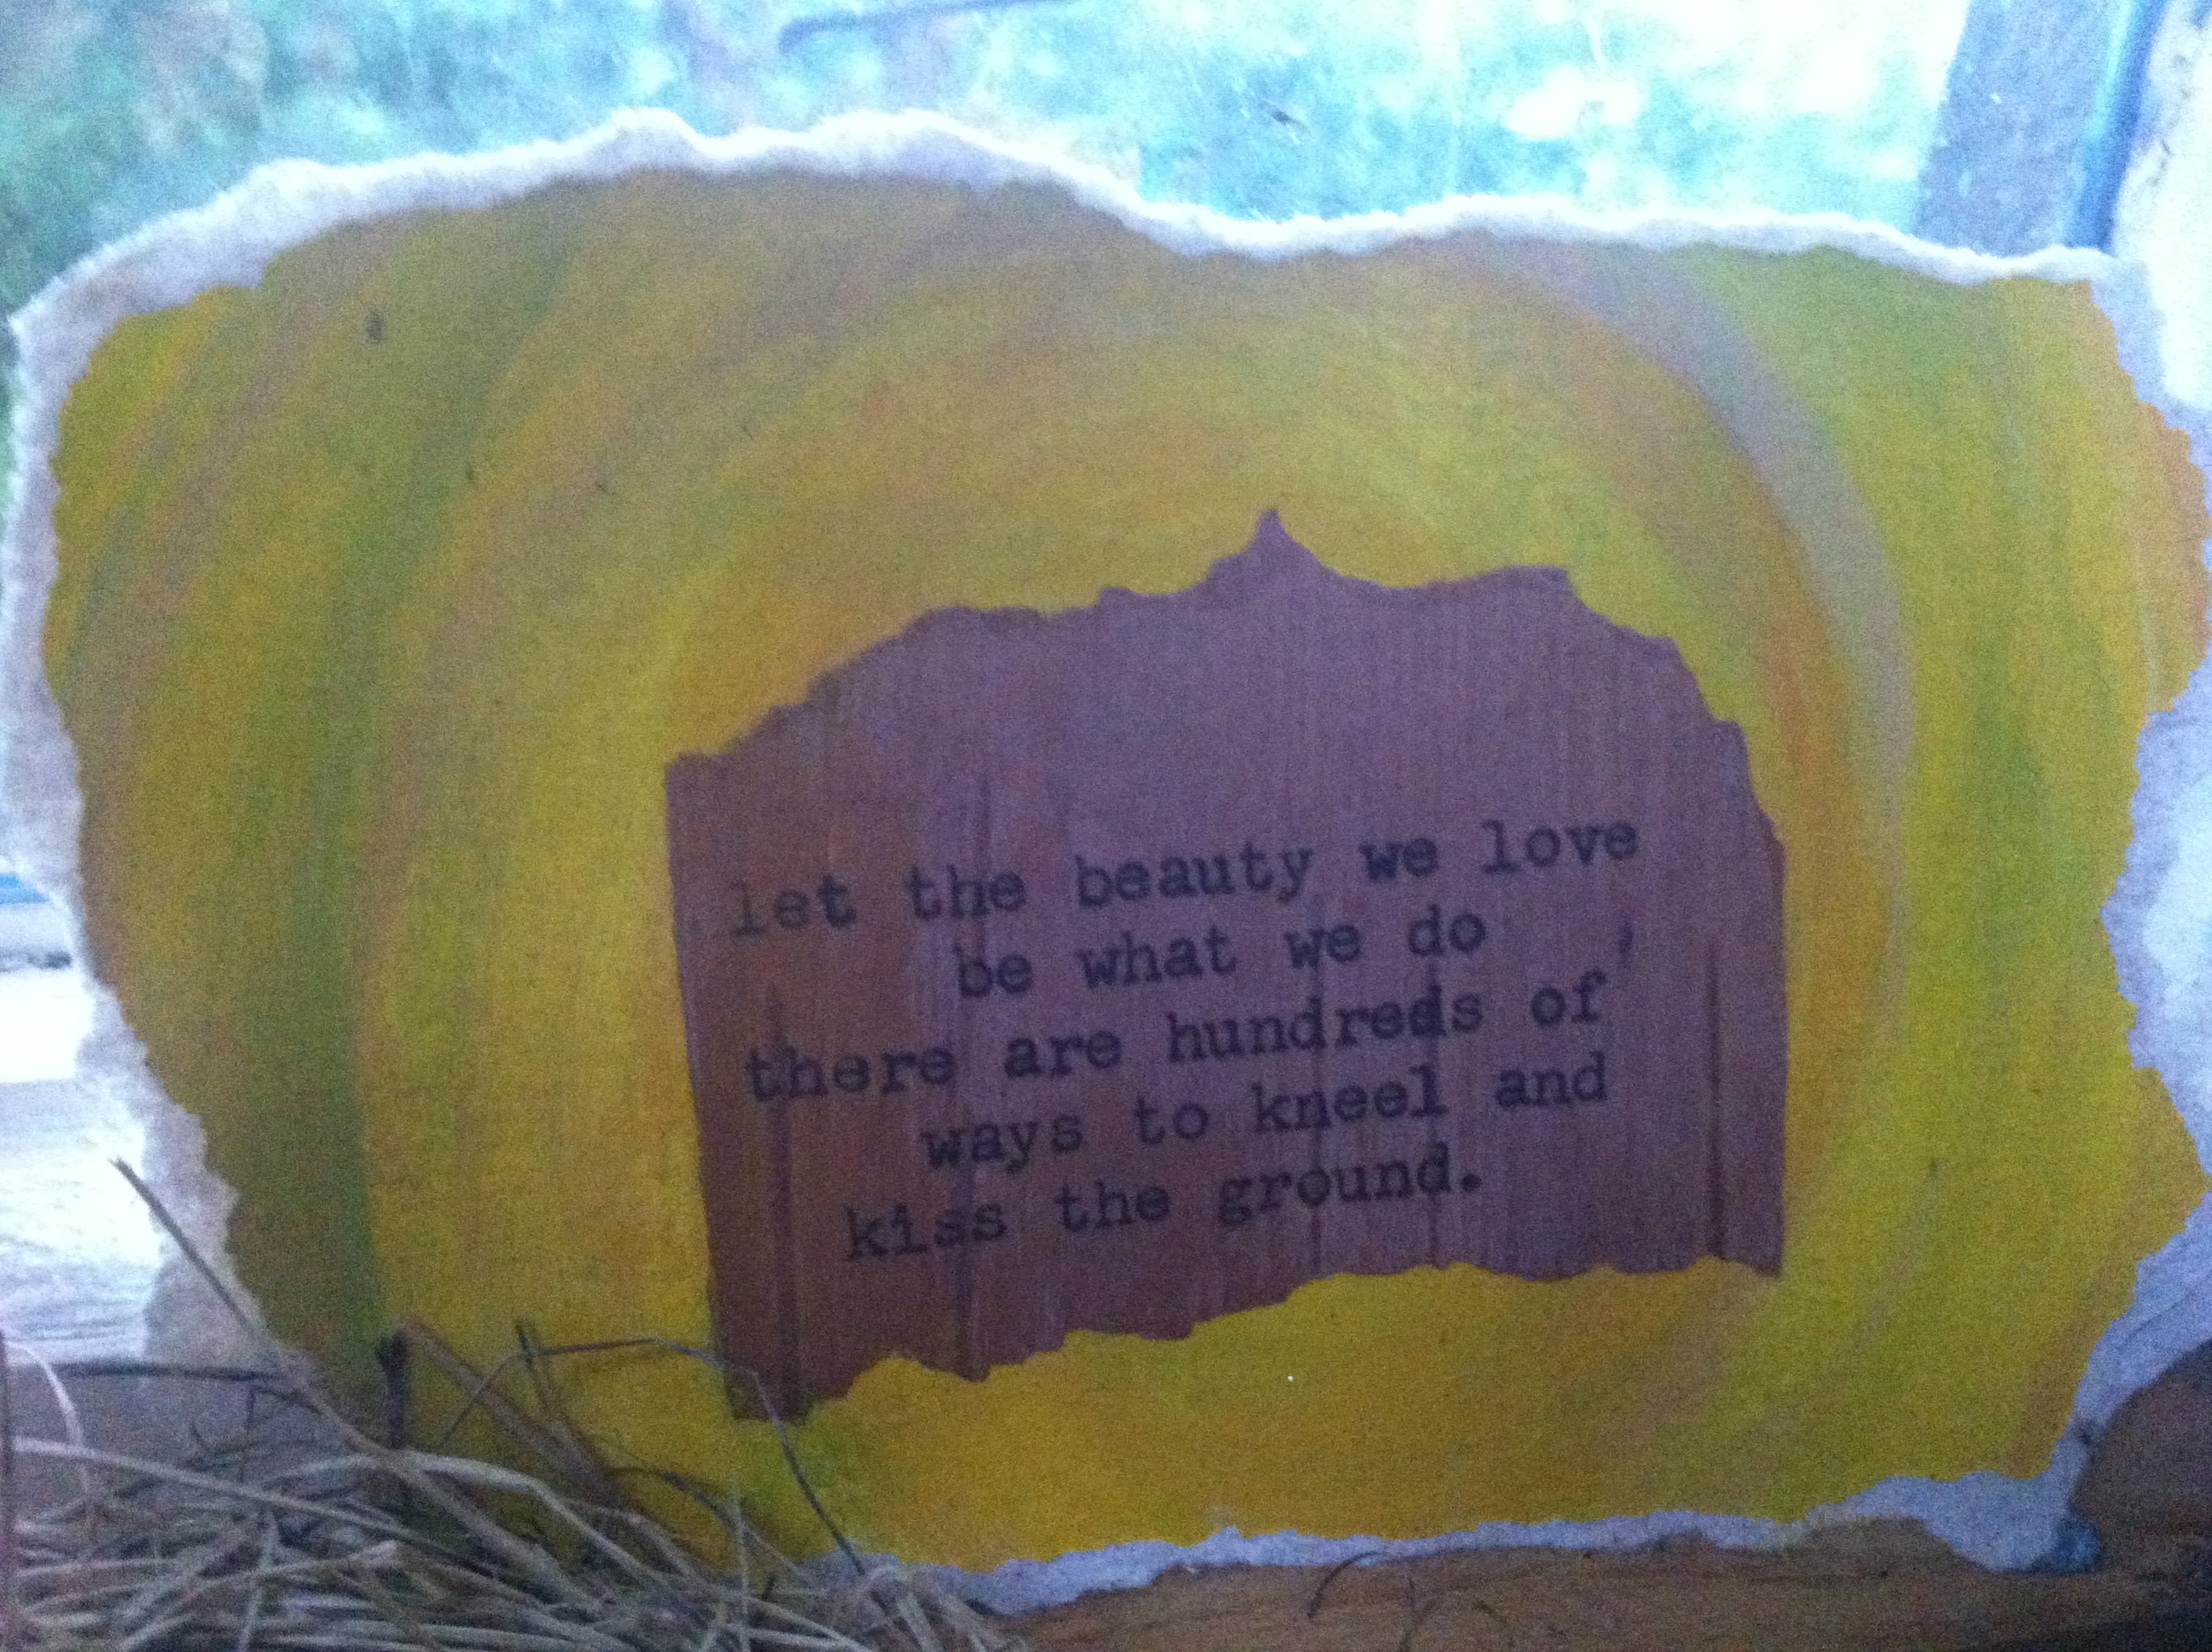
I've found myself drawn to curved roofs for as long as I can remember. Street cars. Gypsy wagons. Sheepherders wagons. Barrel vaulted ceilings. To me this shape means freedom, whimsy, and exploration.

I adore the lovely curved roofs on little houses like Ben Campbell's vardo and Caboose at Caravan - The Tiny House Hotel. And I've been especially inspired by the exposed beautiful arched laminated rafters made by talented craftspeople like Katy Anderson who created PAD's vardo and John who built Big Maroon on the back of a 1949 Federal truck. Exposed rafters remind me of ribs and there's something about that structure that really appeals to me. I decided I wanted a curved roof, too, even though I knew it would take longer and cost more.

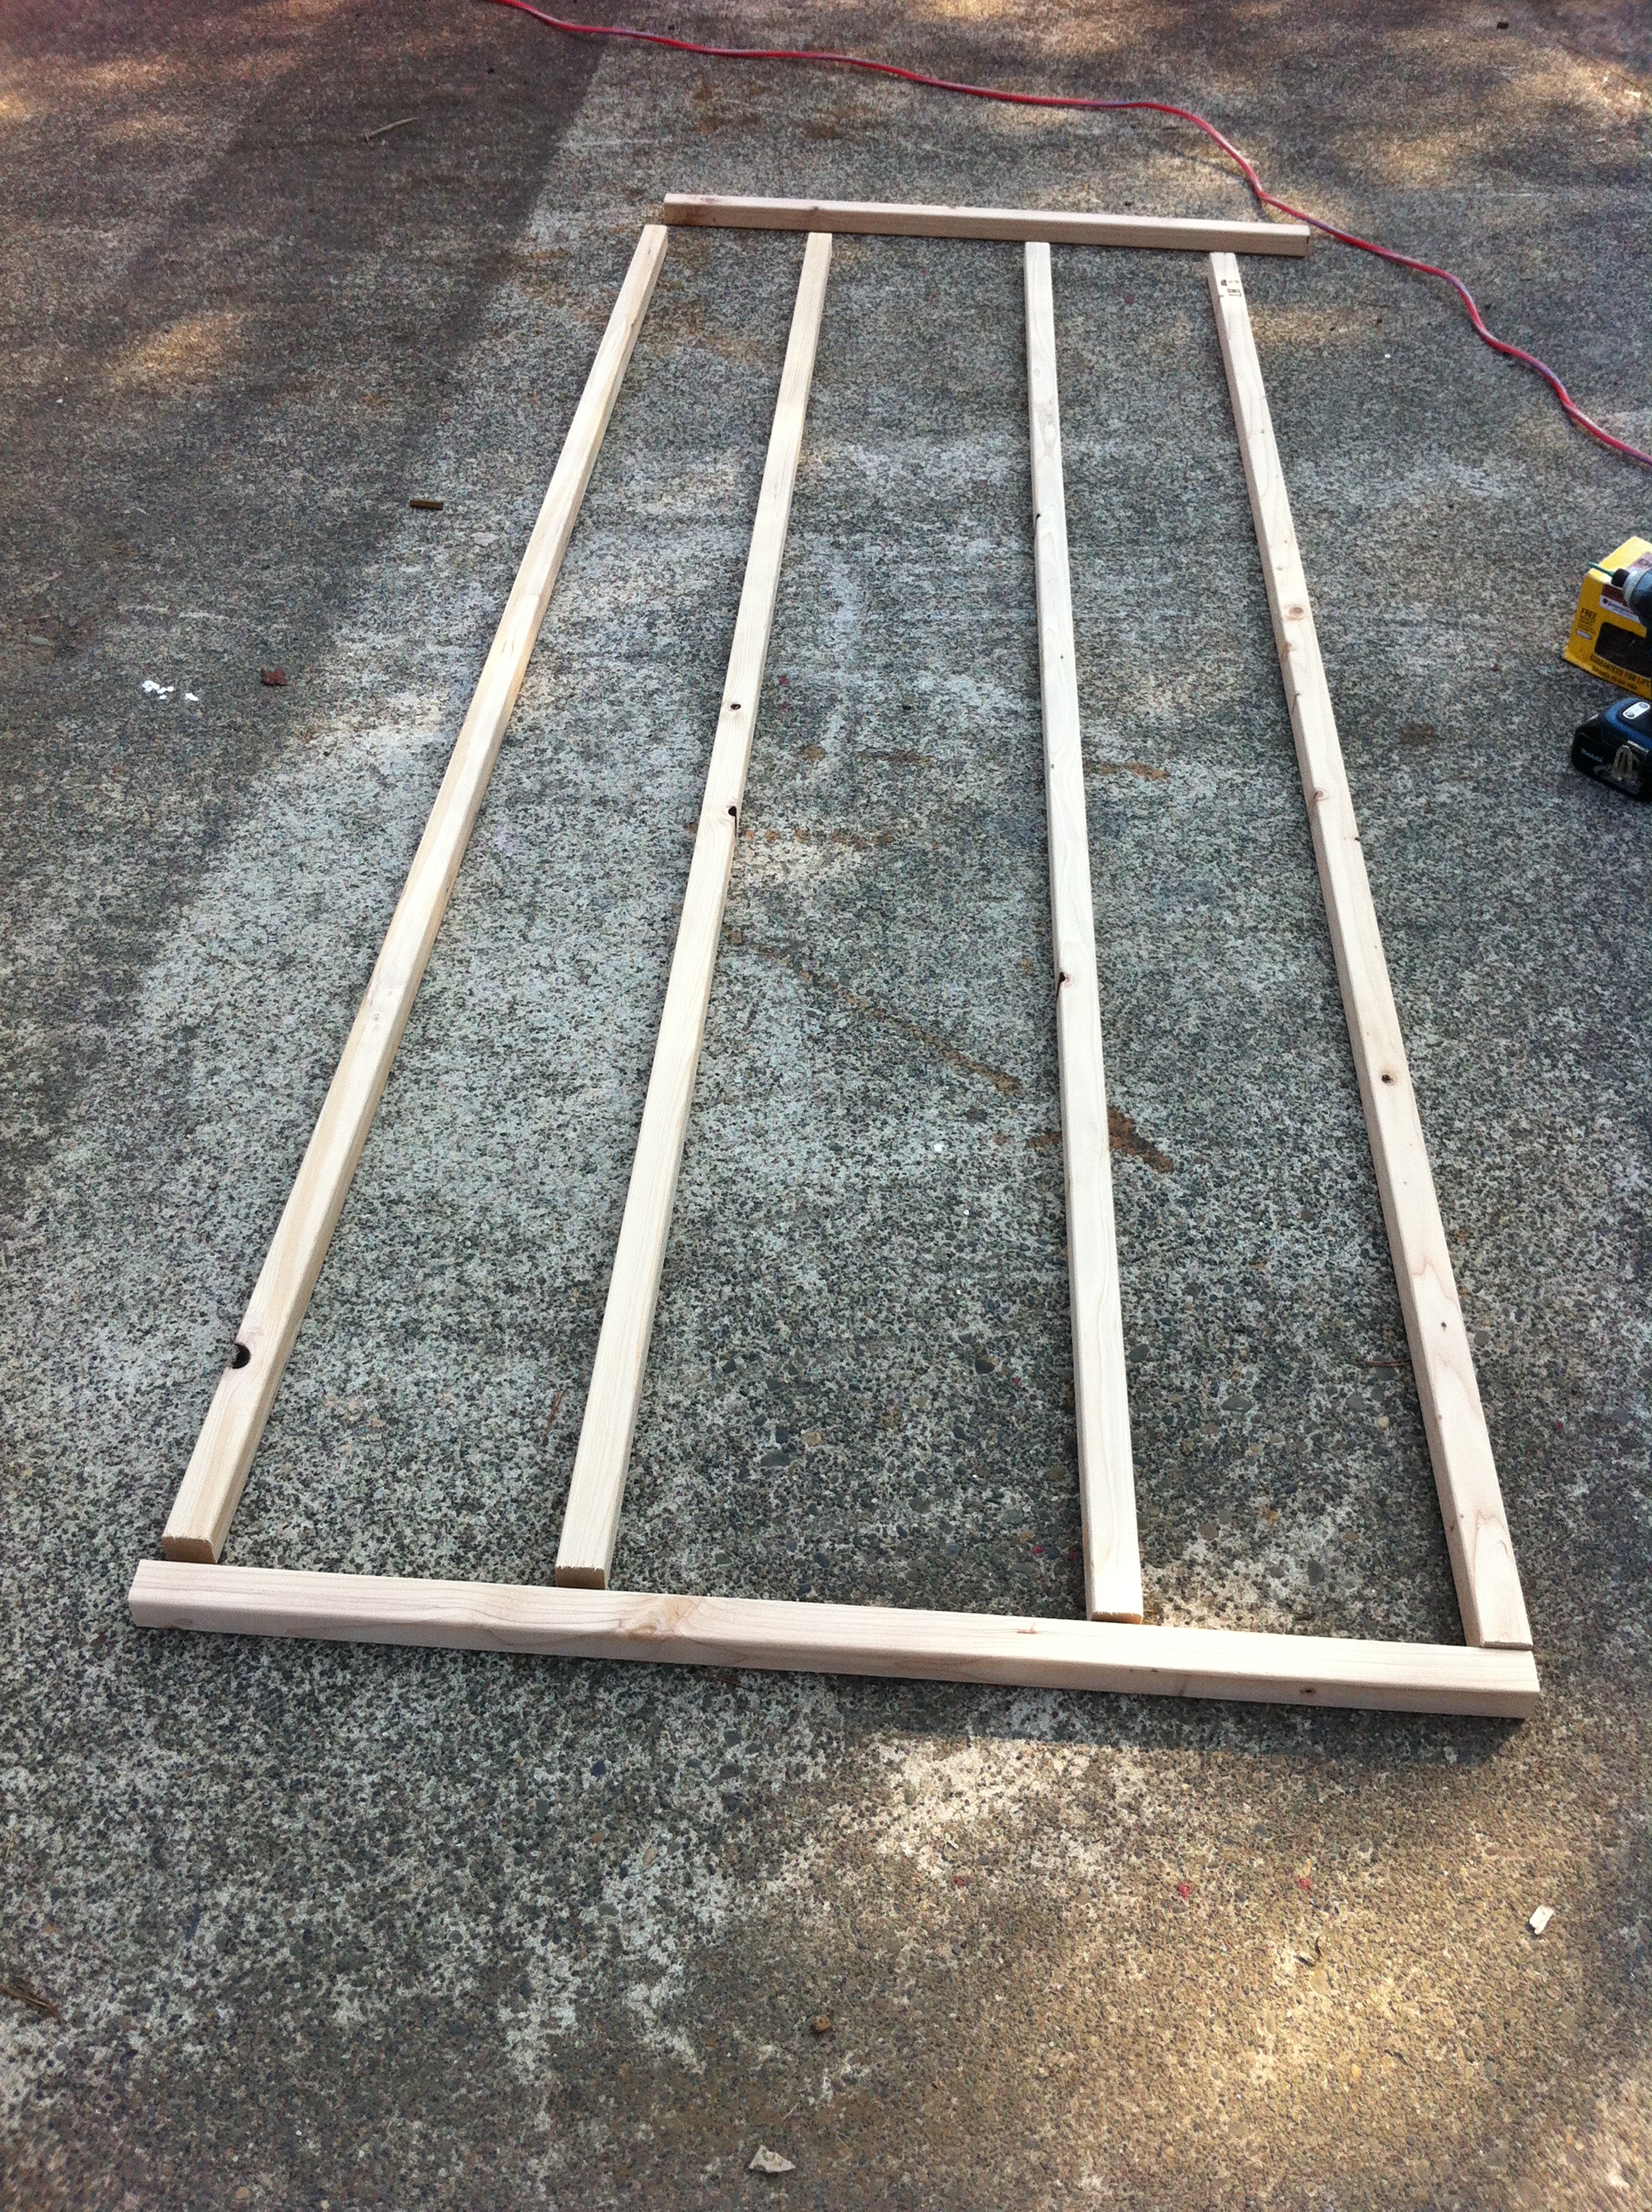
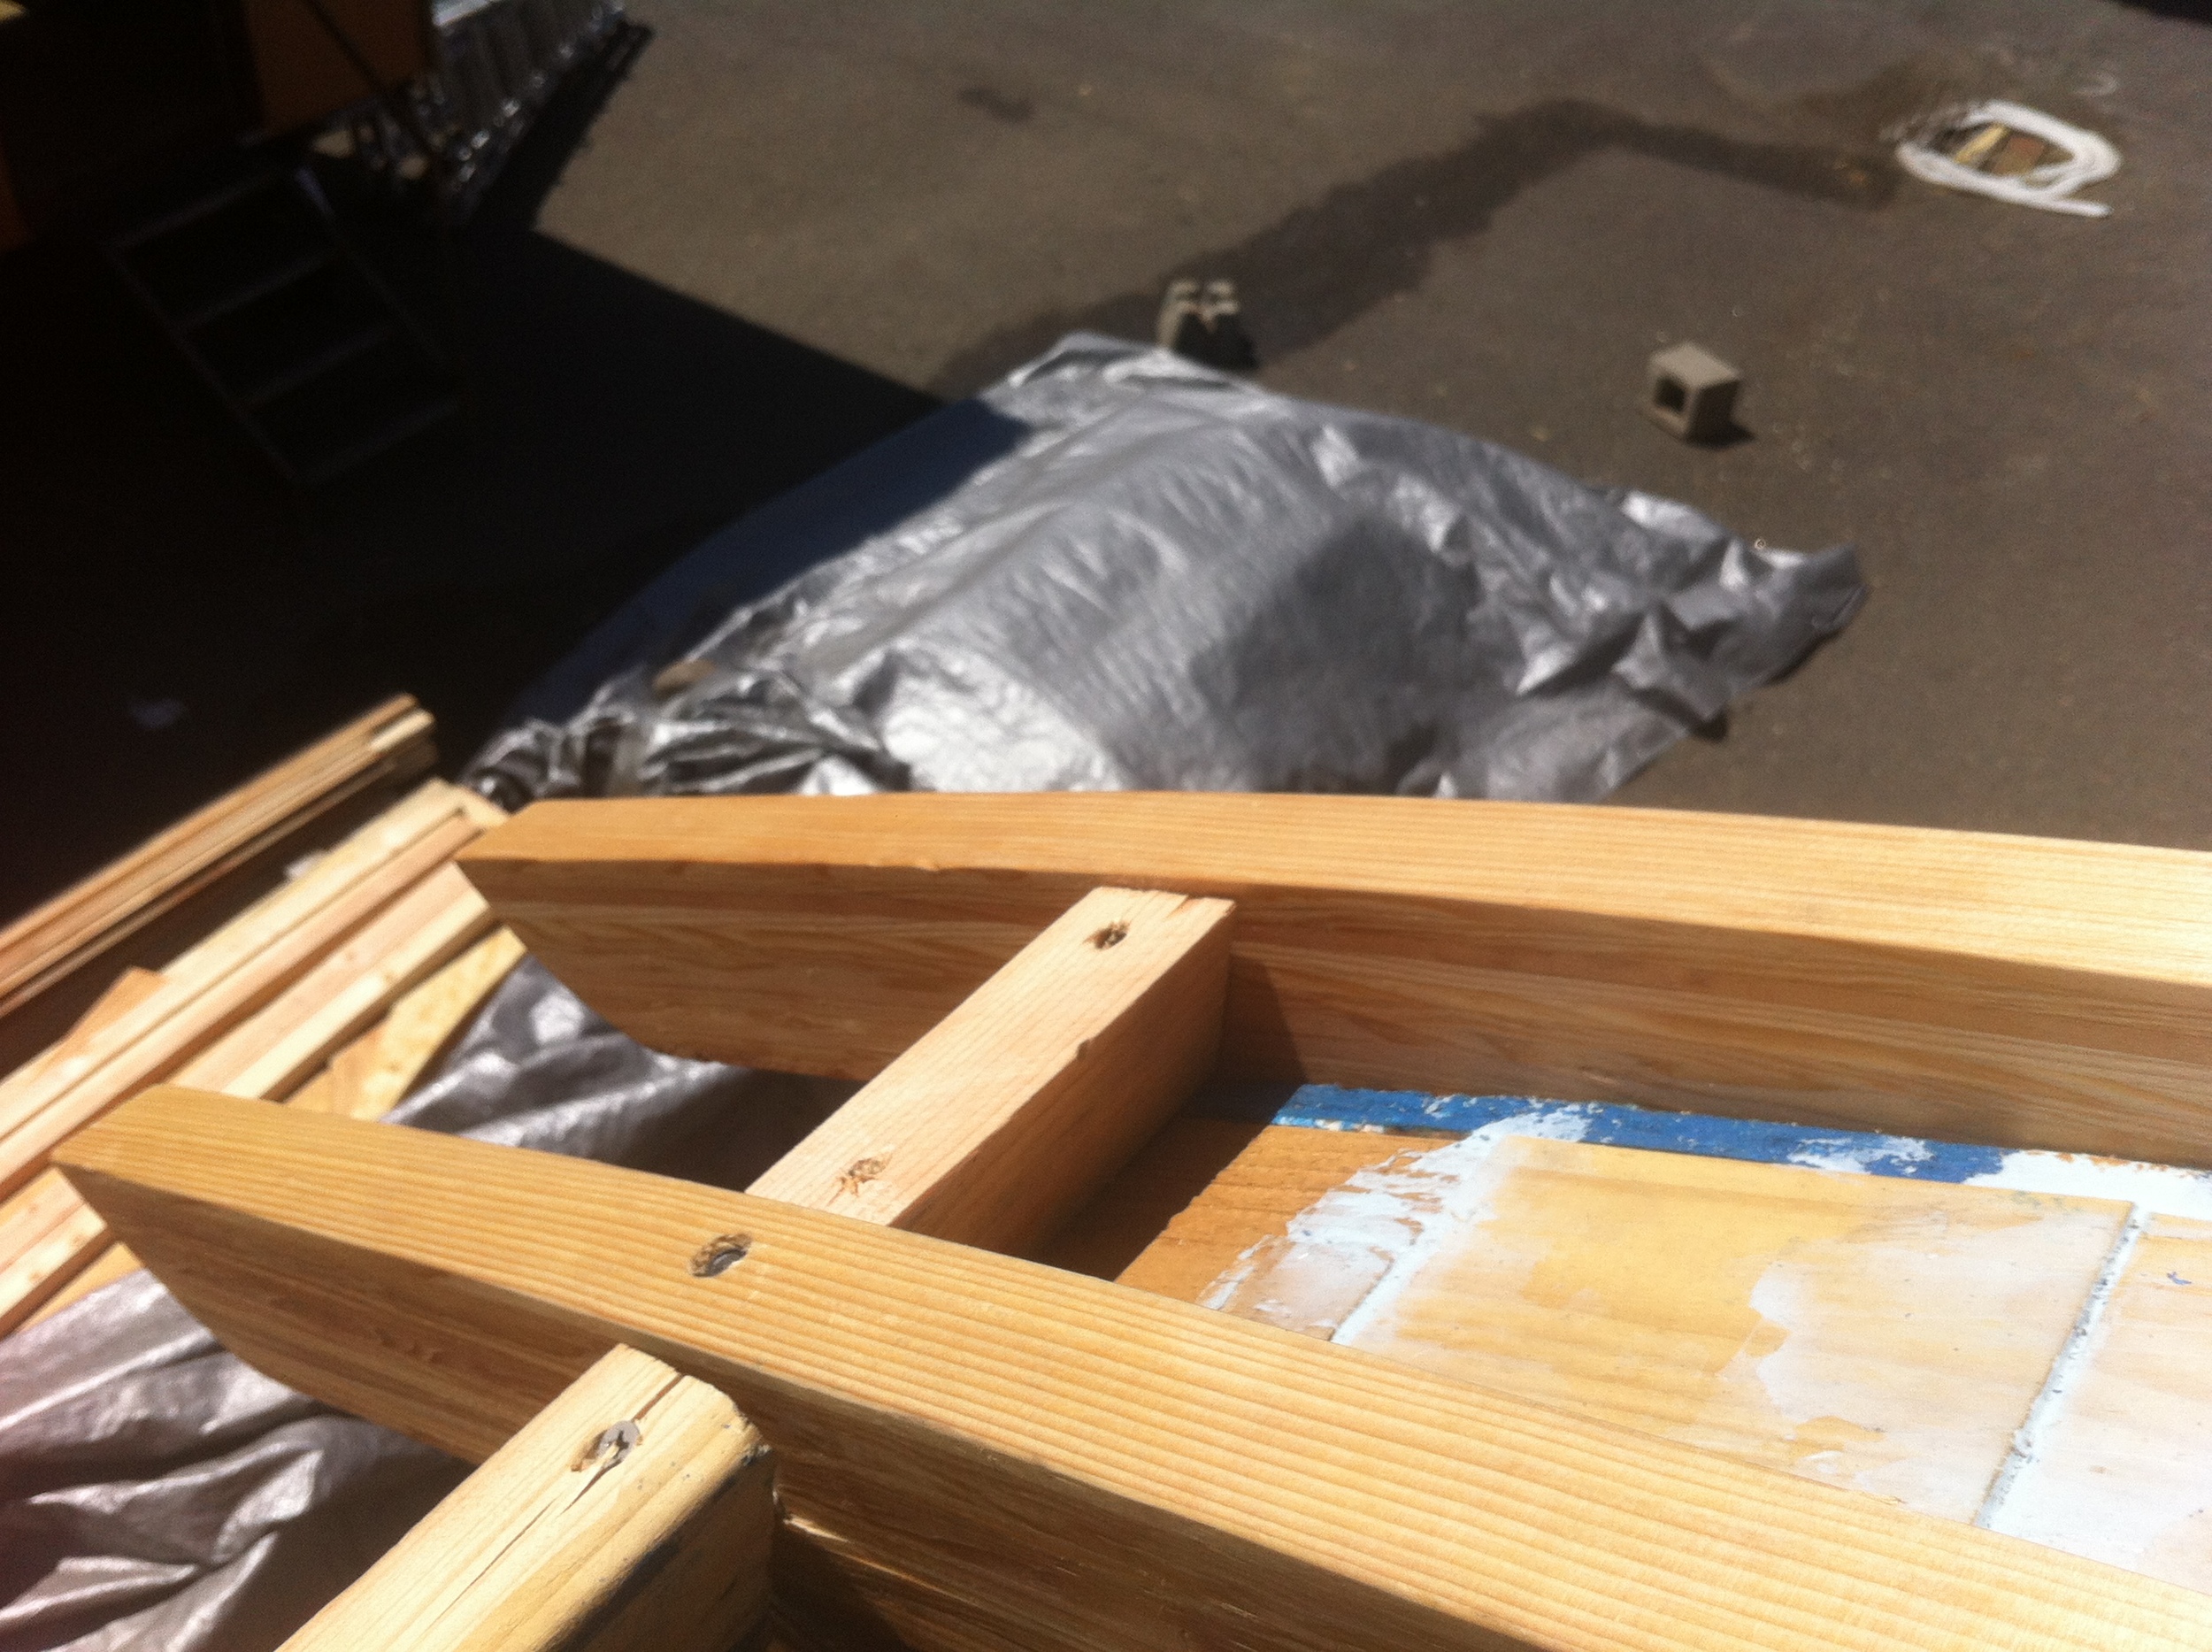
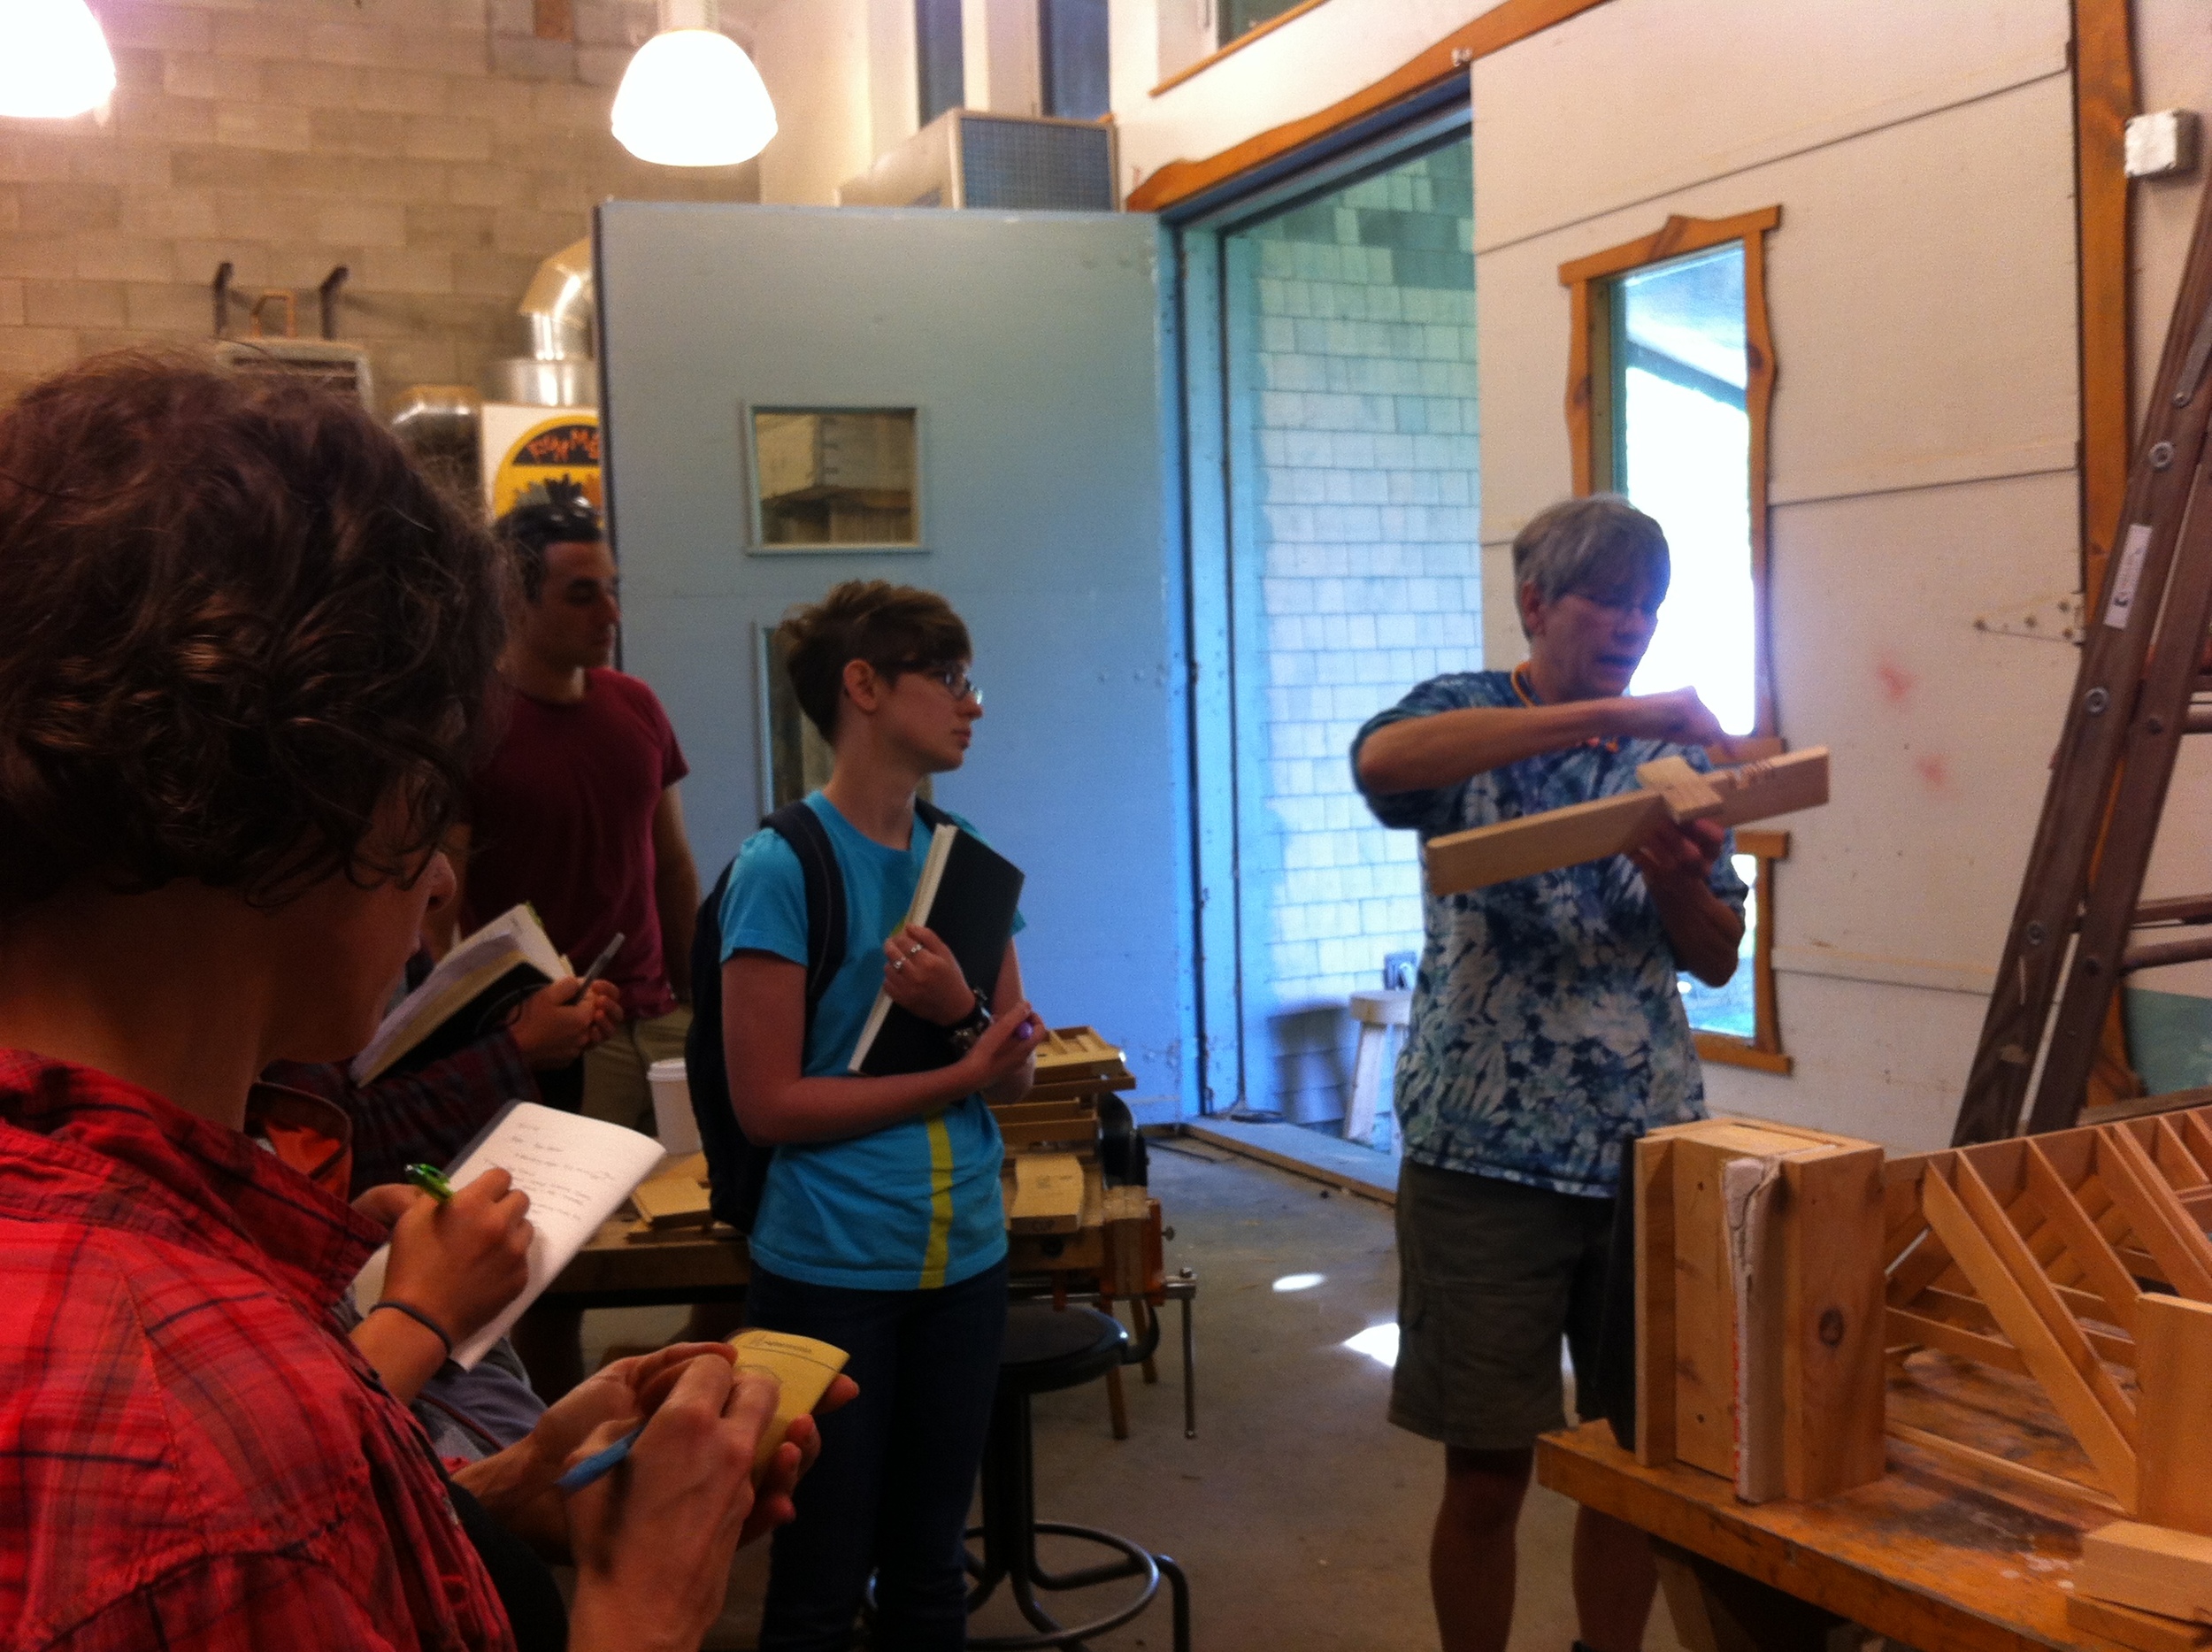
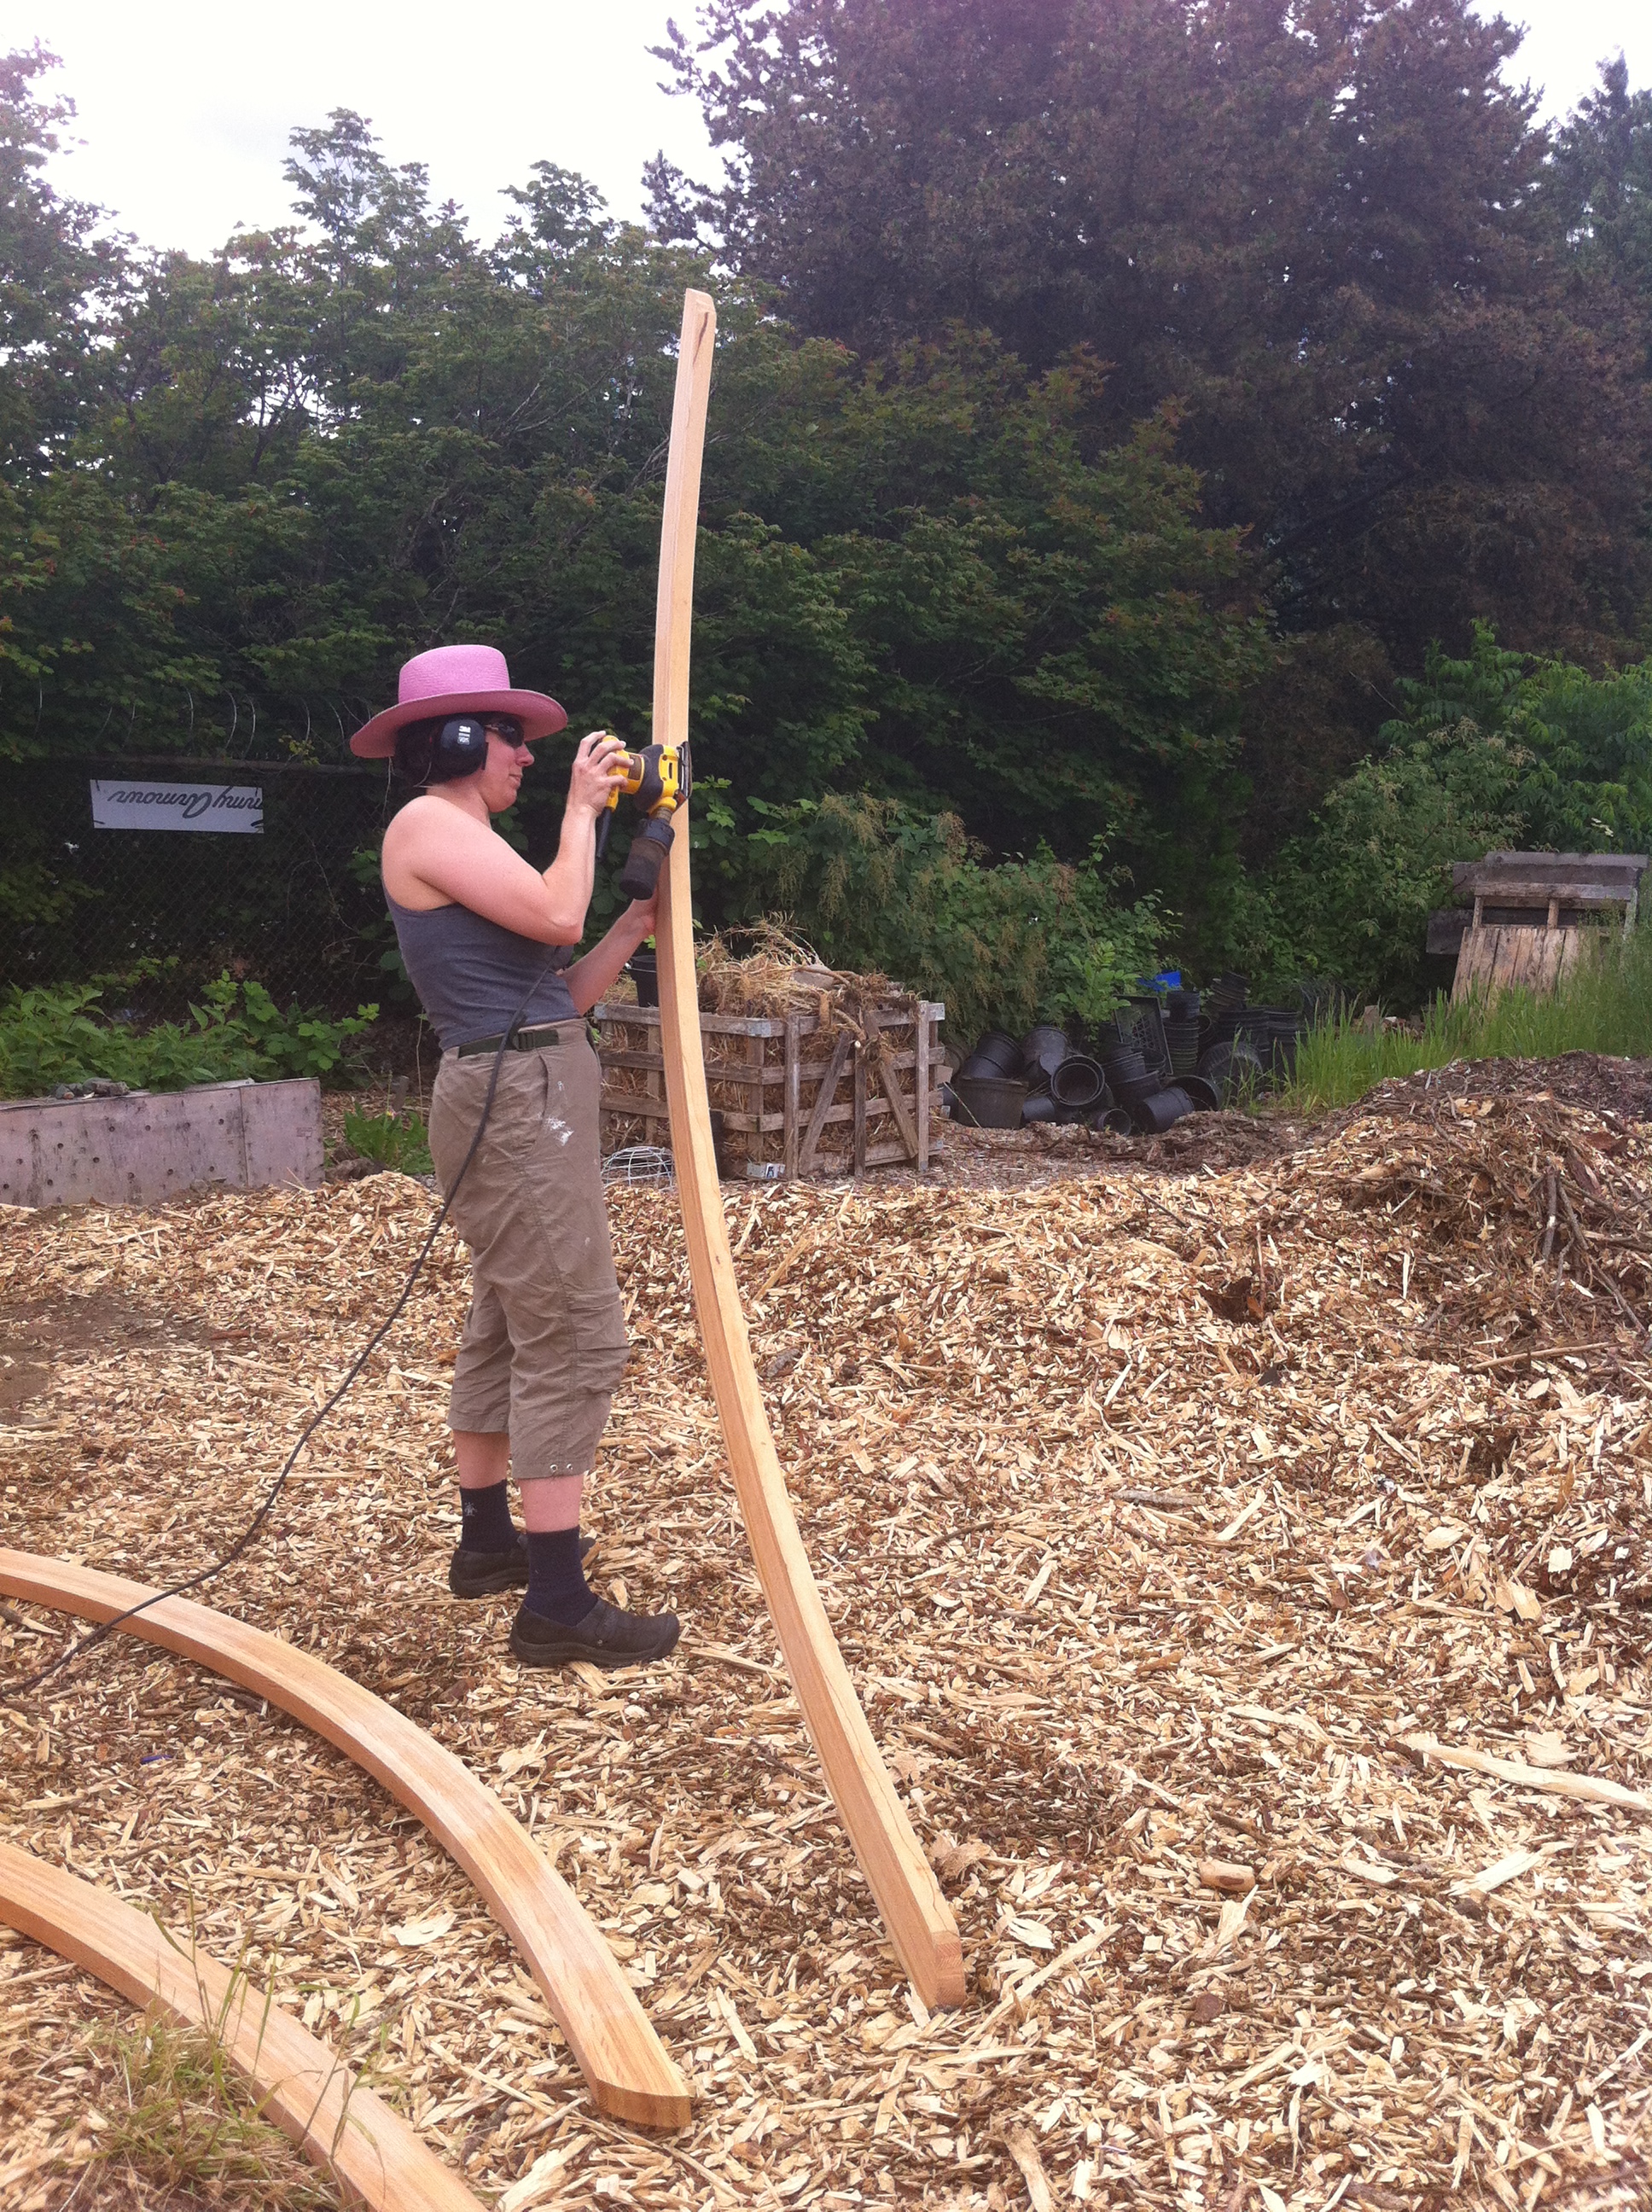
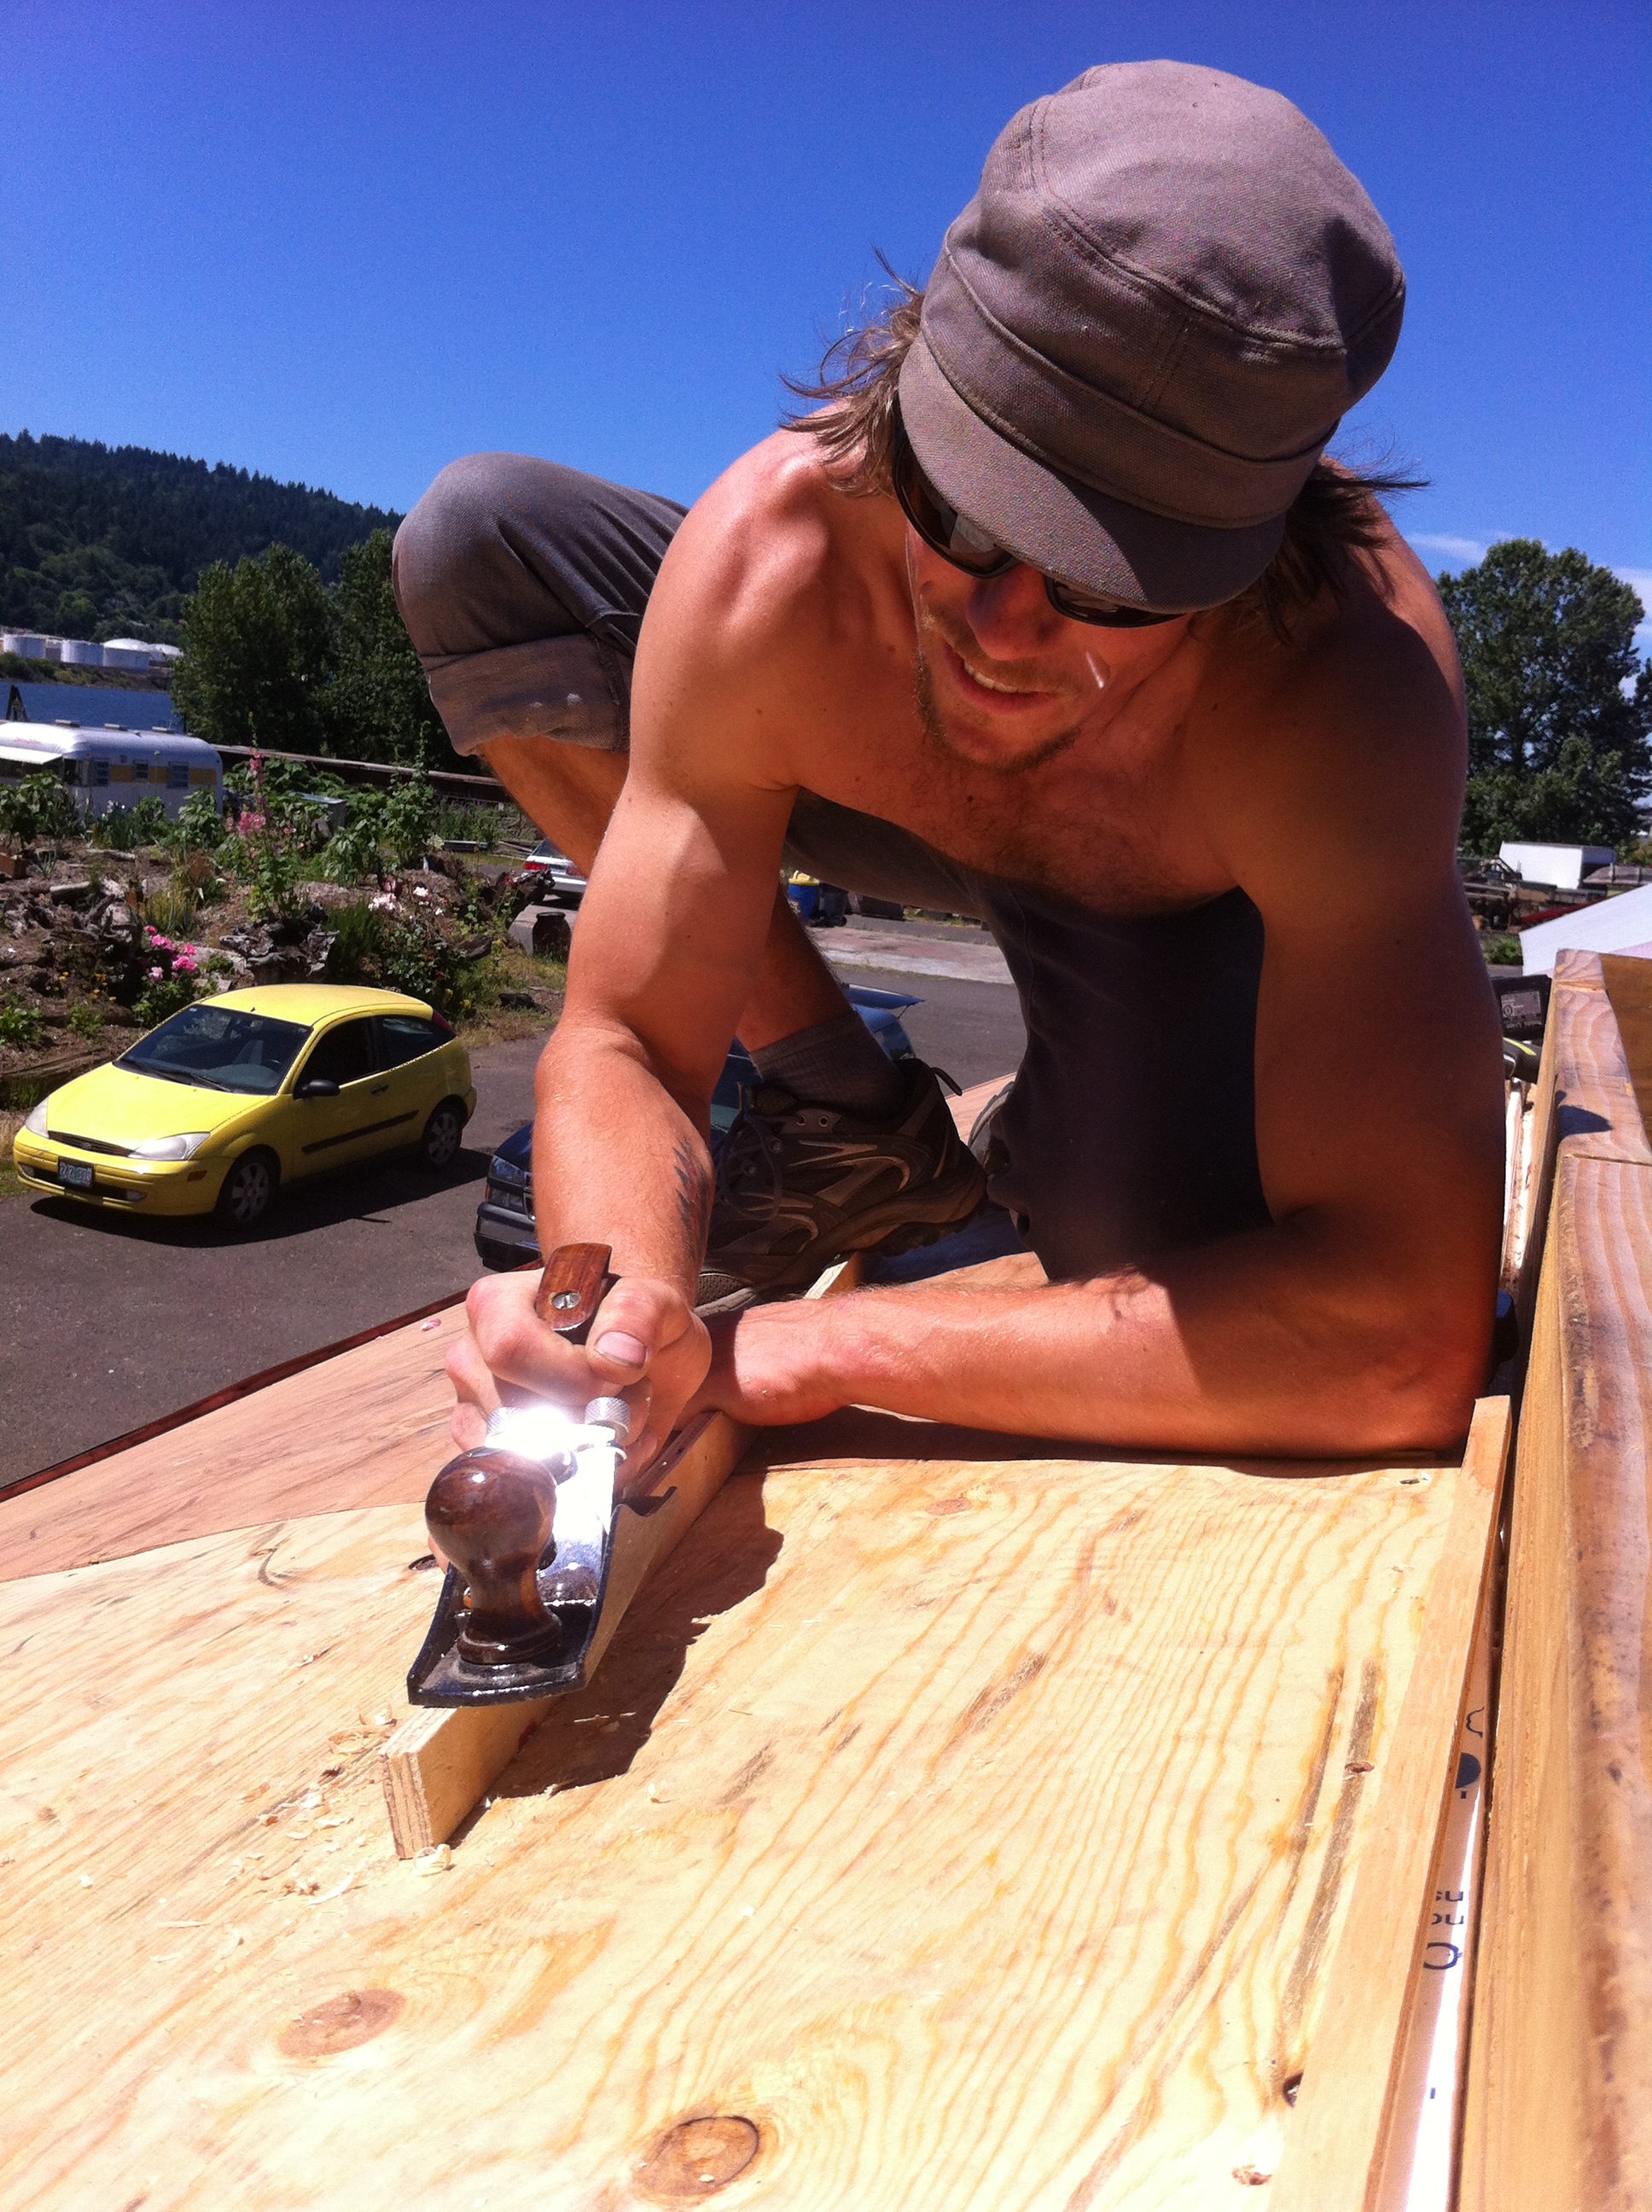
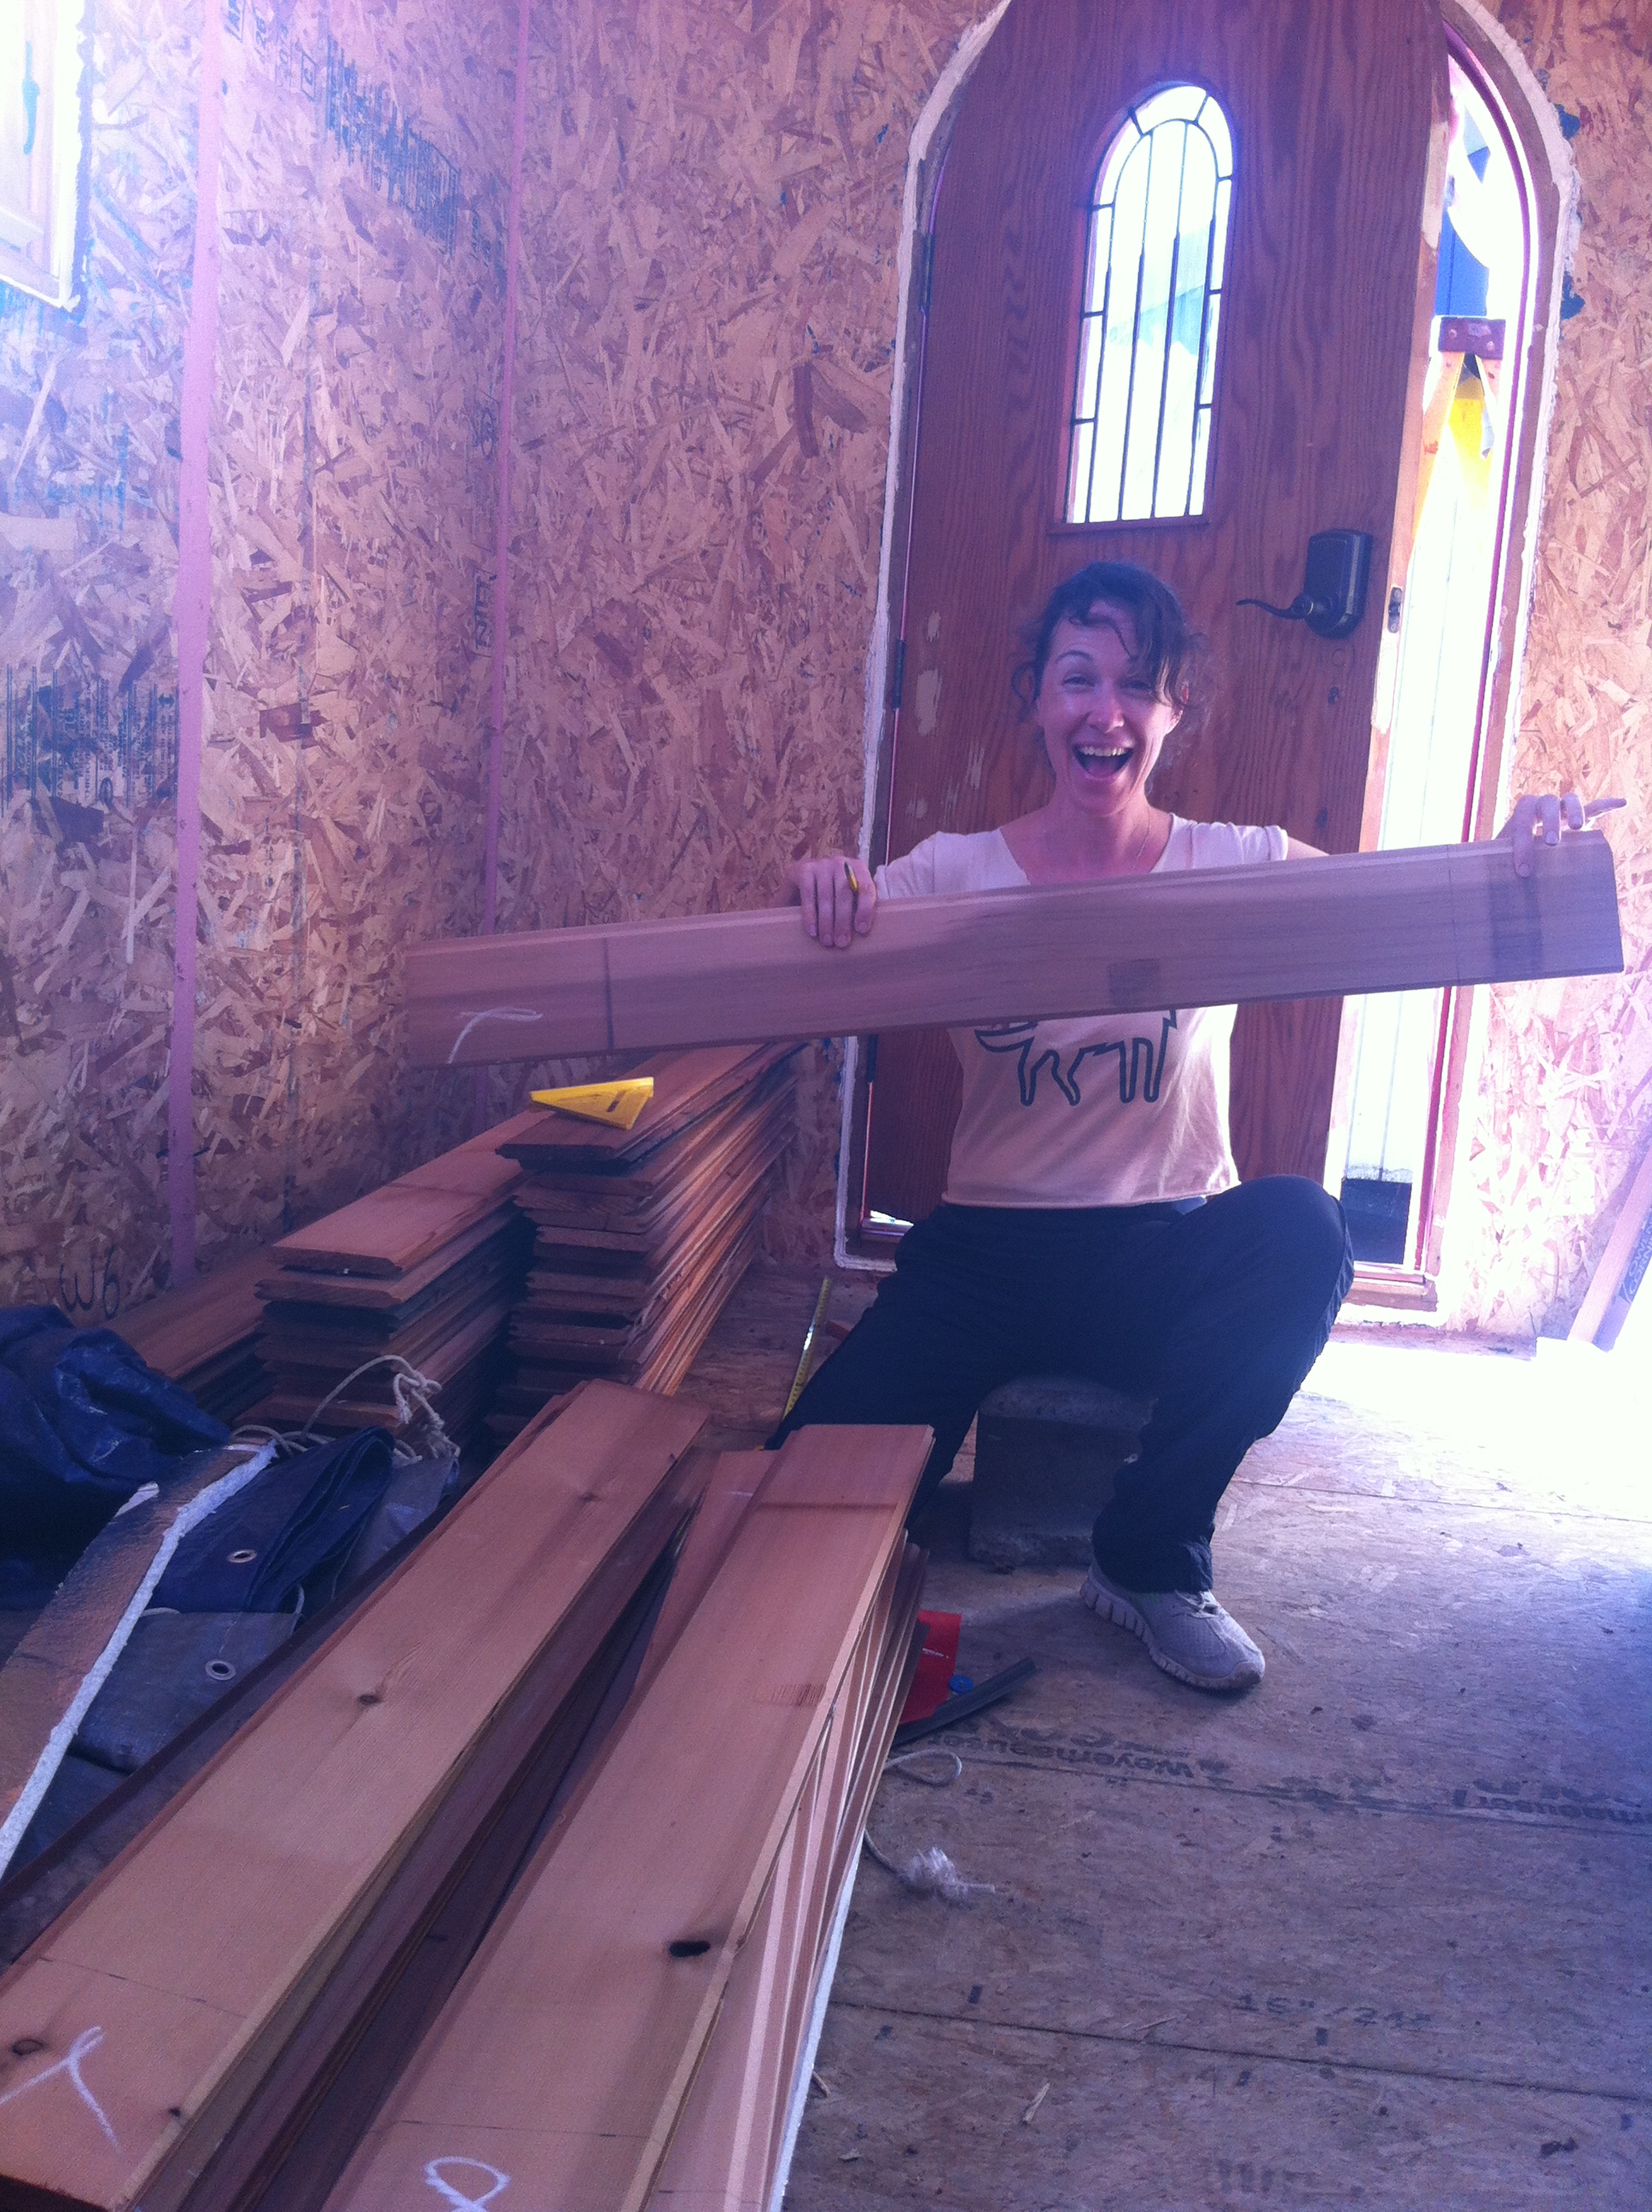
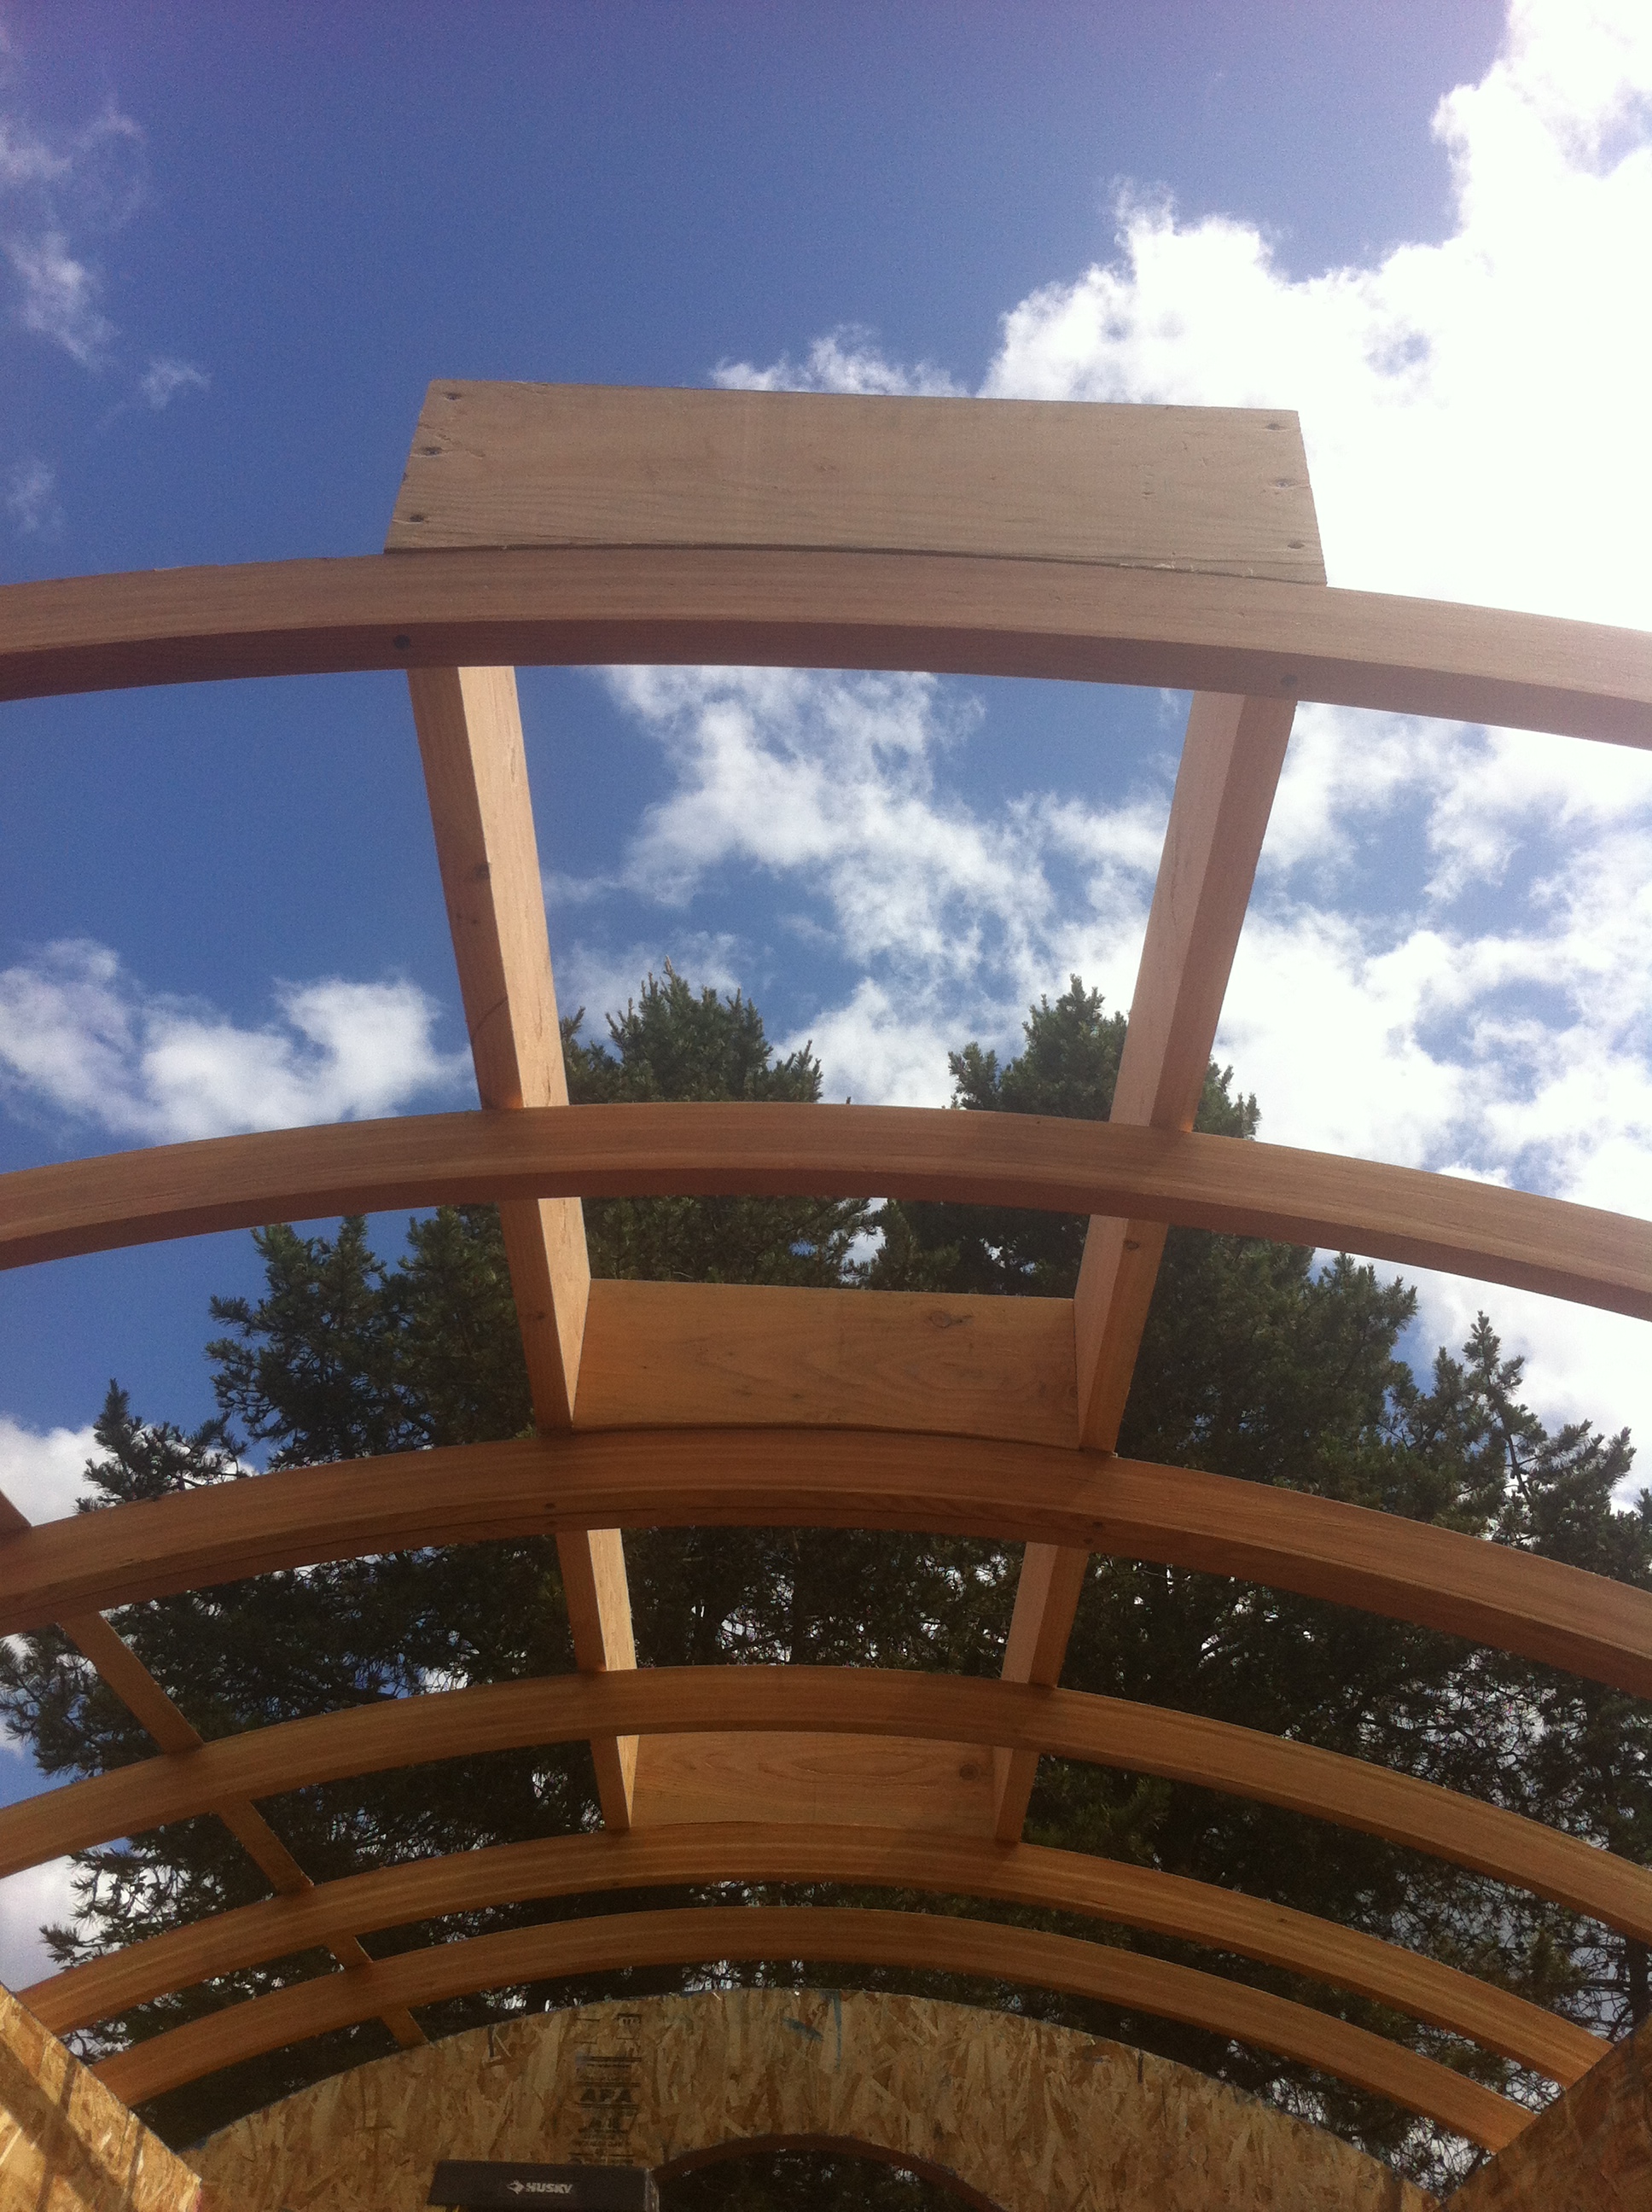
I knew as I was Building My Arched Rafters and Planing My Curved Rafters and then creating my Rafter Tales and finally Rafter Raising, that by exposing my rafters I'd be creating a roof system that would stretch my building skills and my budget. But I also knew I'd love it.

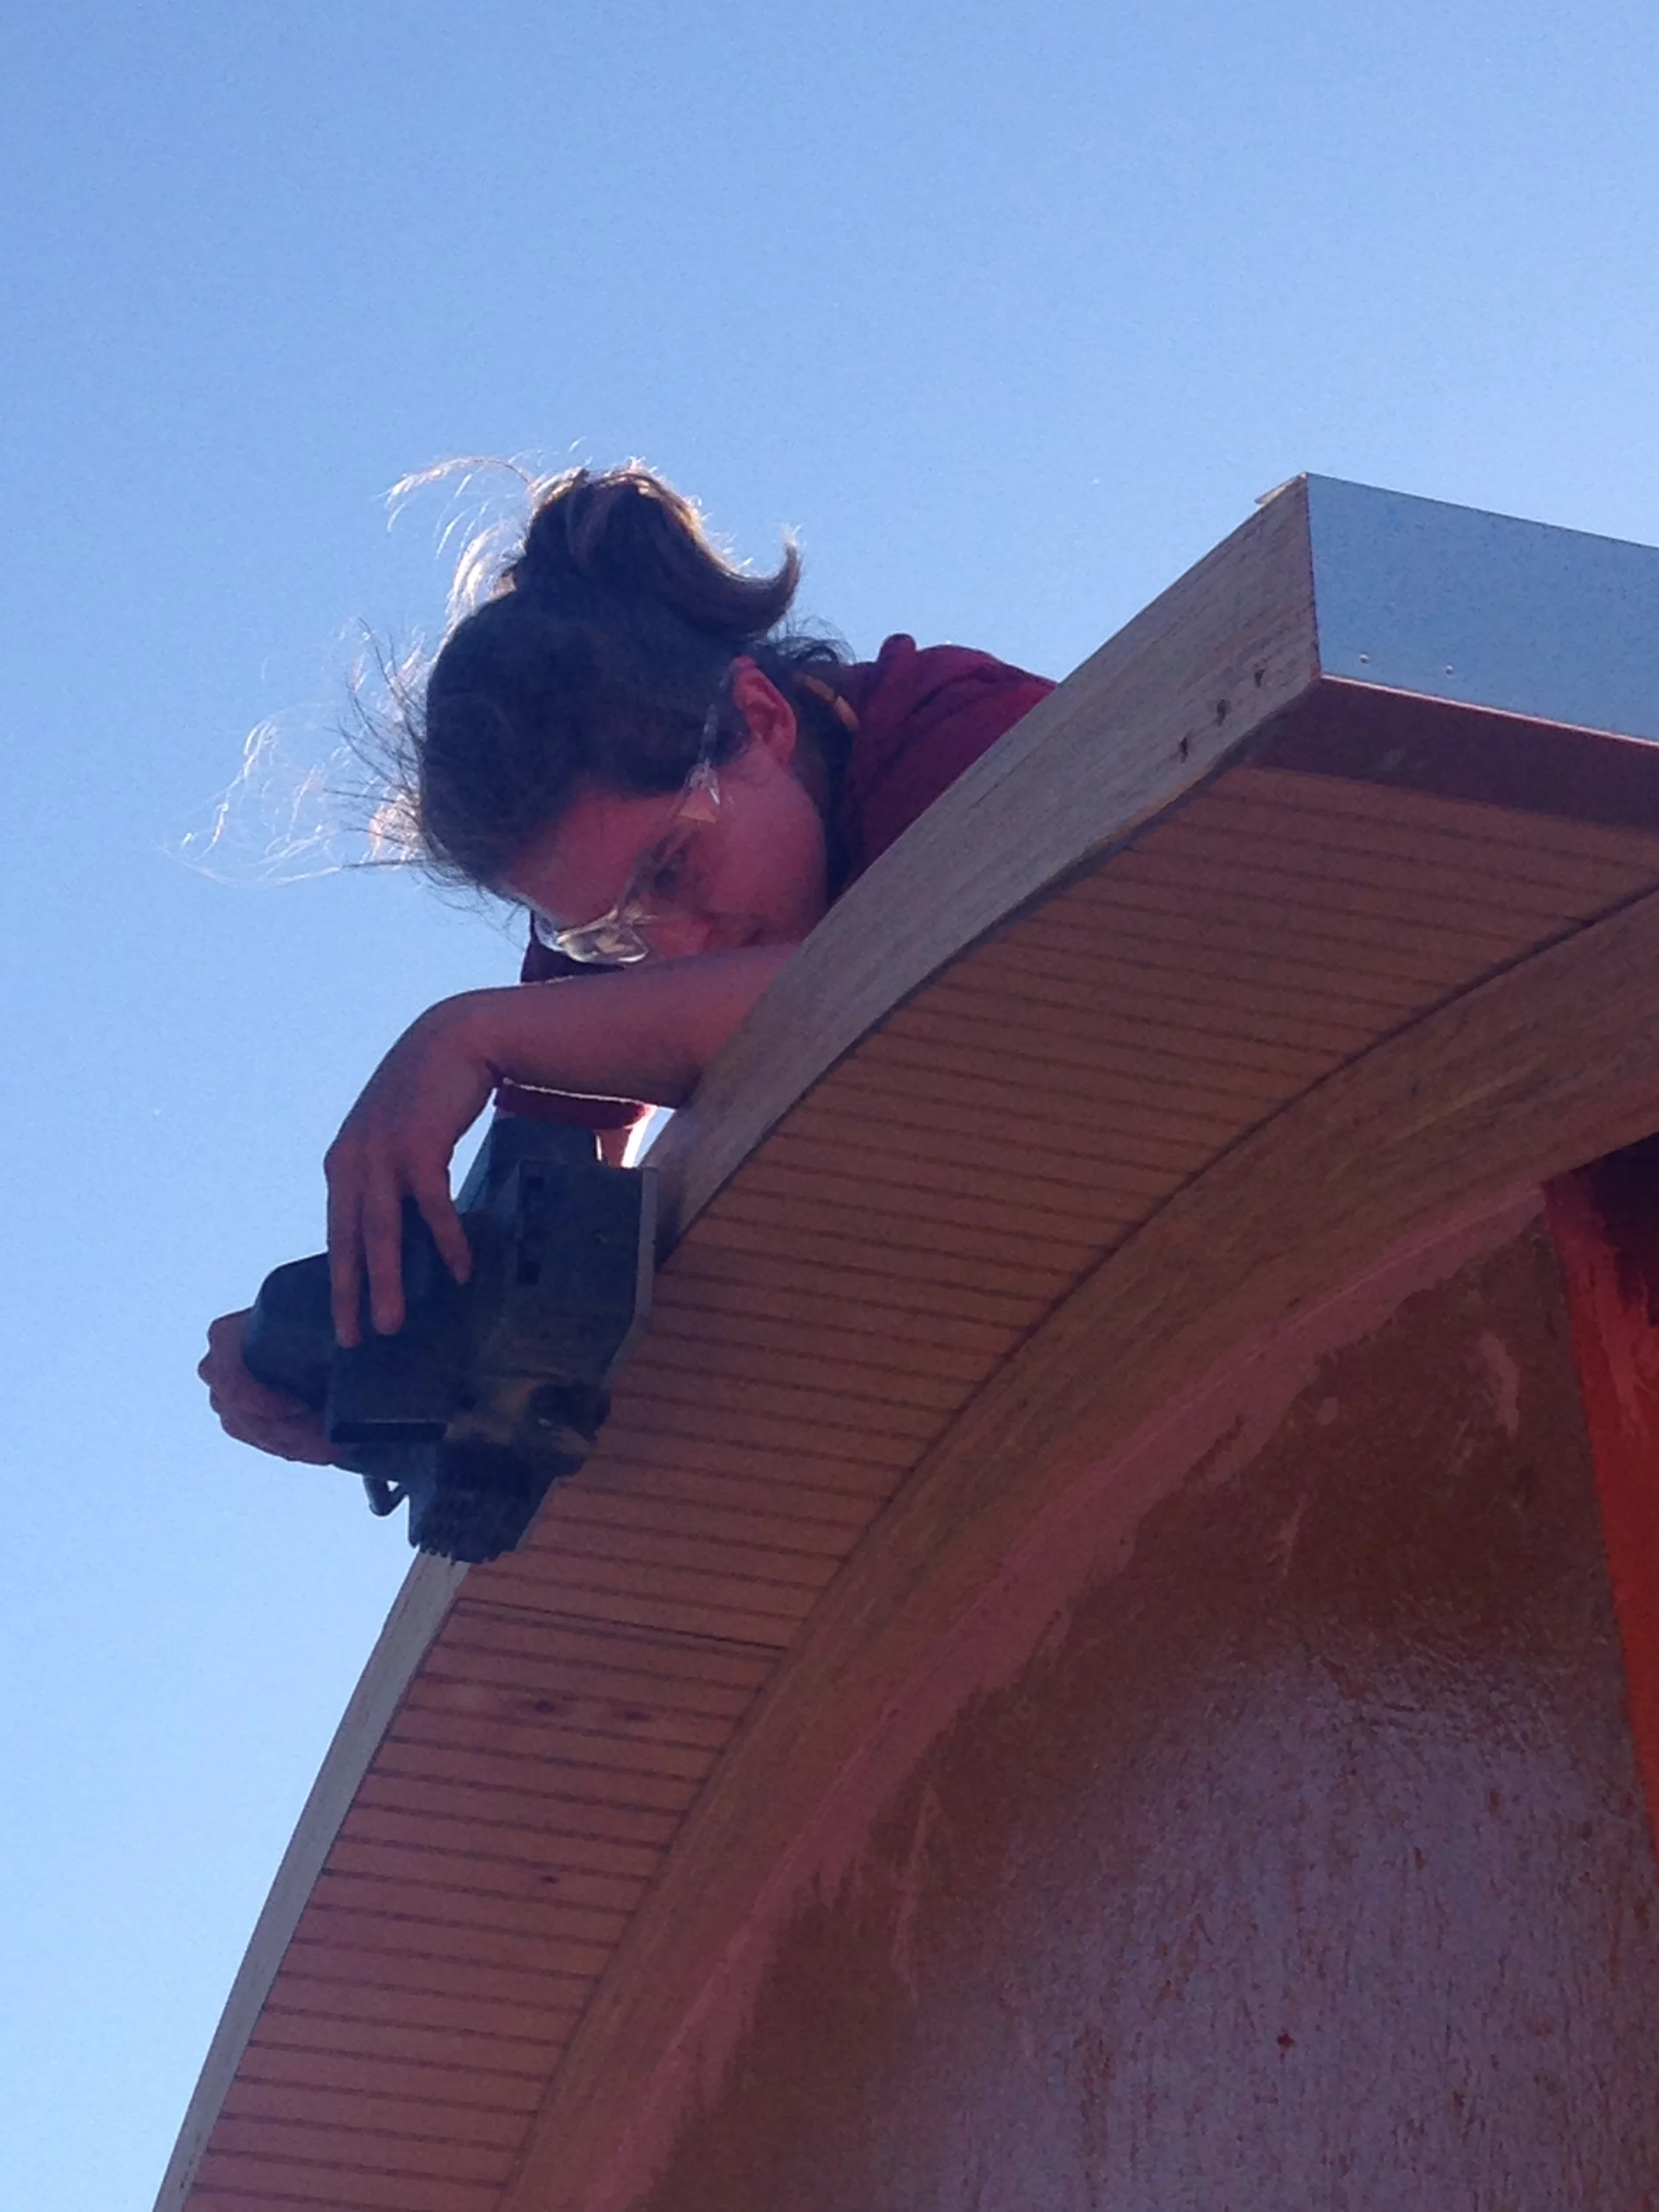
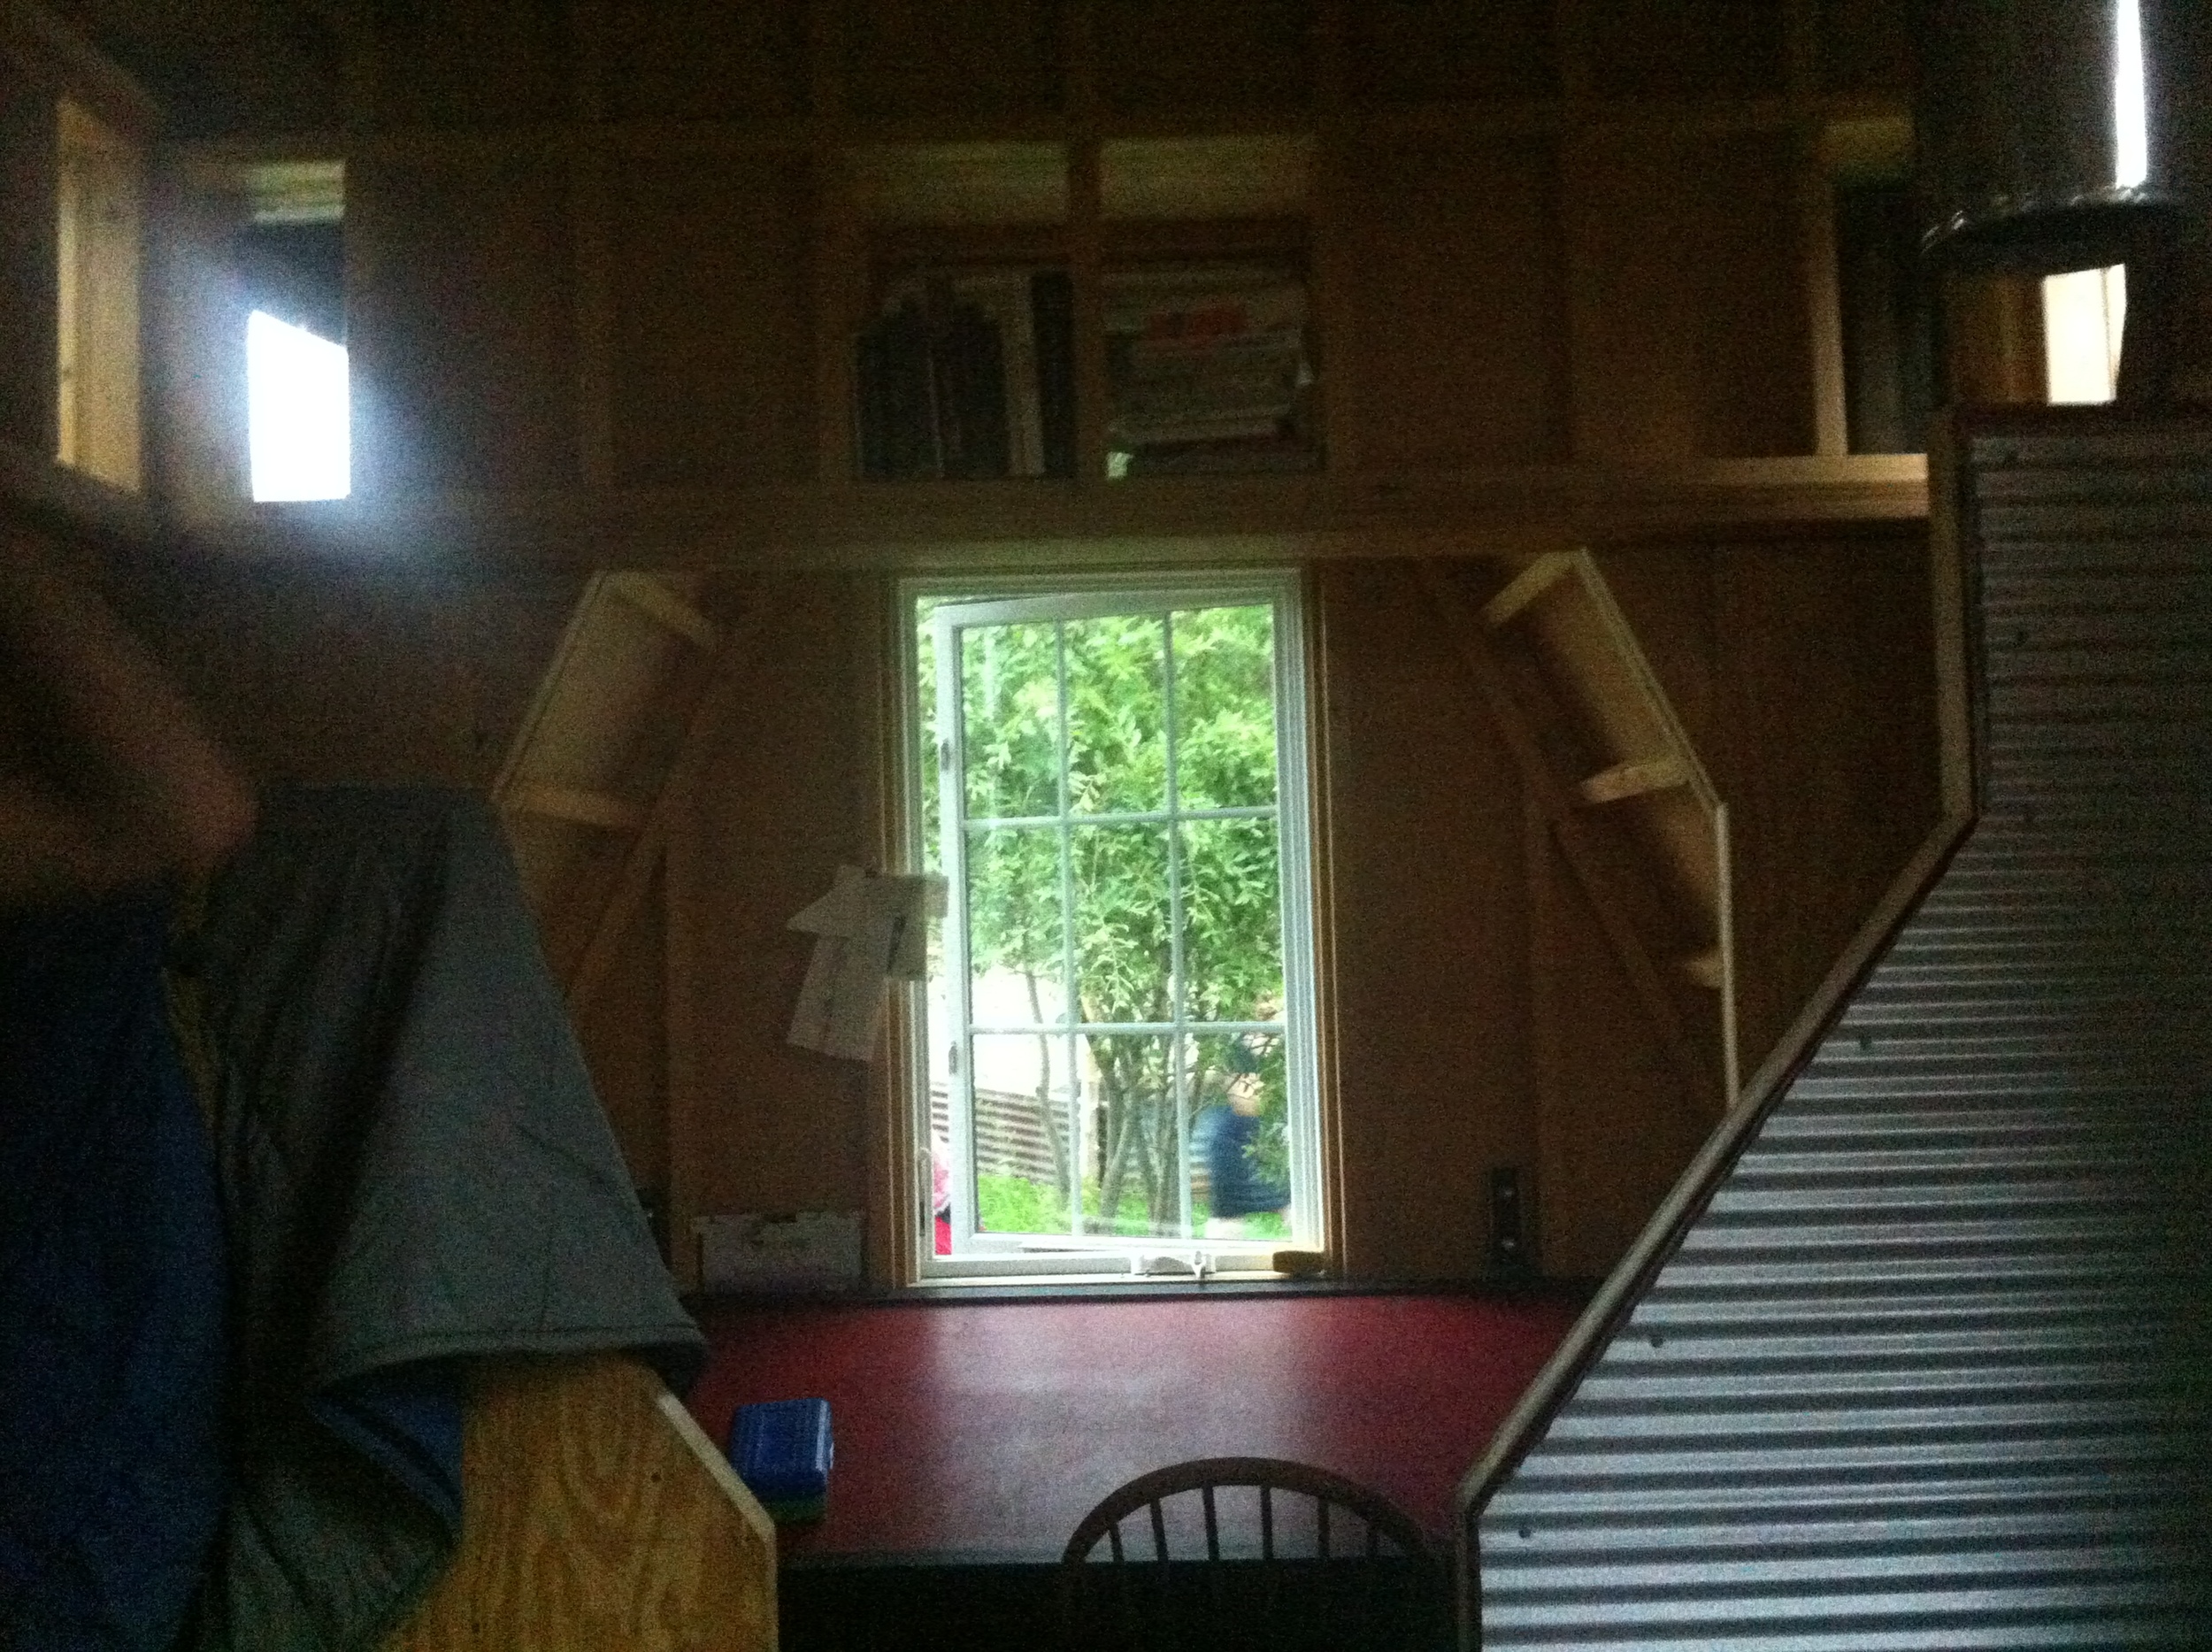
I took it a step farther by adding the skylight box. The shape was inspired by the mollycroft roofs of gypsy wagons of yore and by my friend John Labovitz's tiny house truck Polymecca. I've never seen anyone put skylights on the top of the monitor like I've designed, but I'm enthralled with the idea.

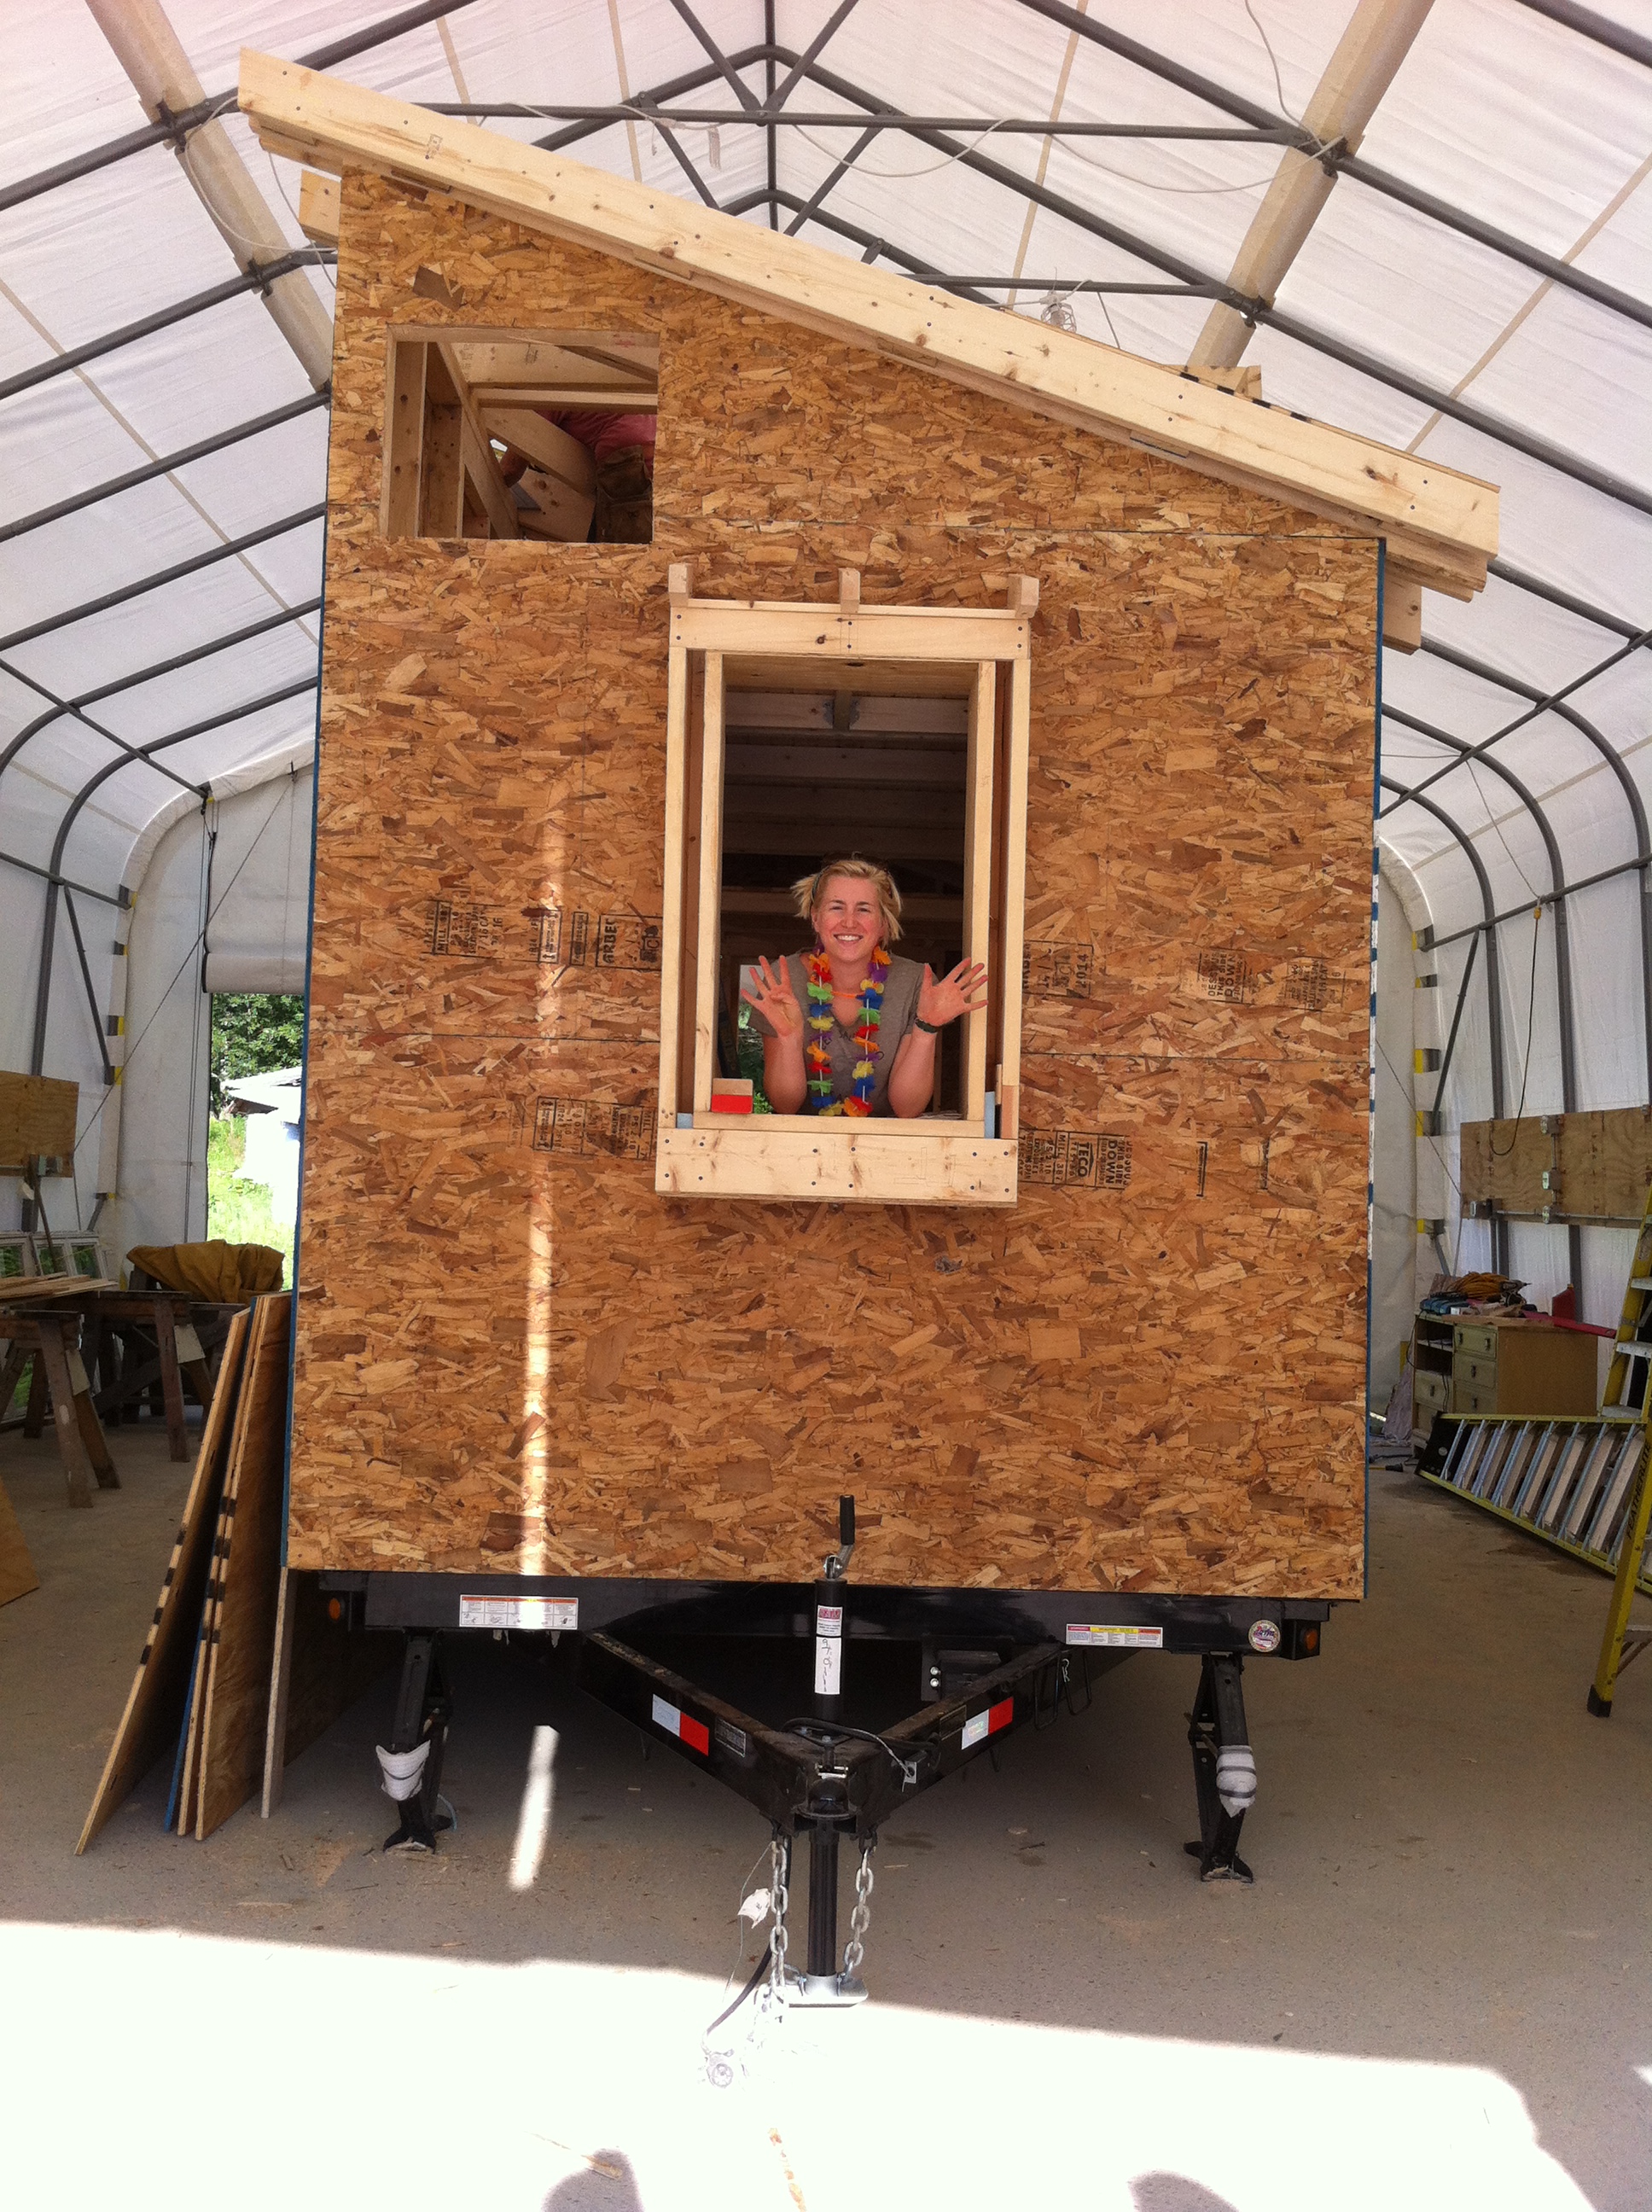
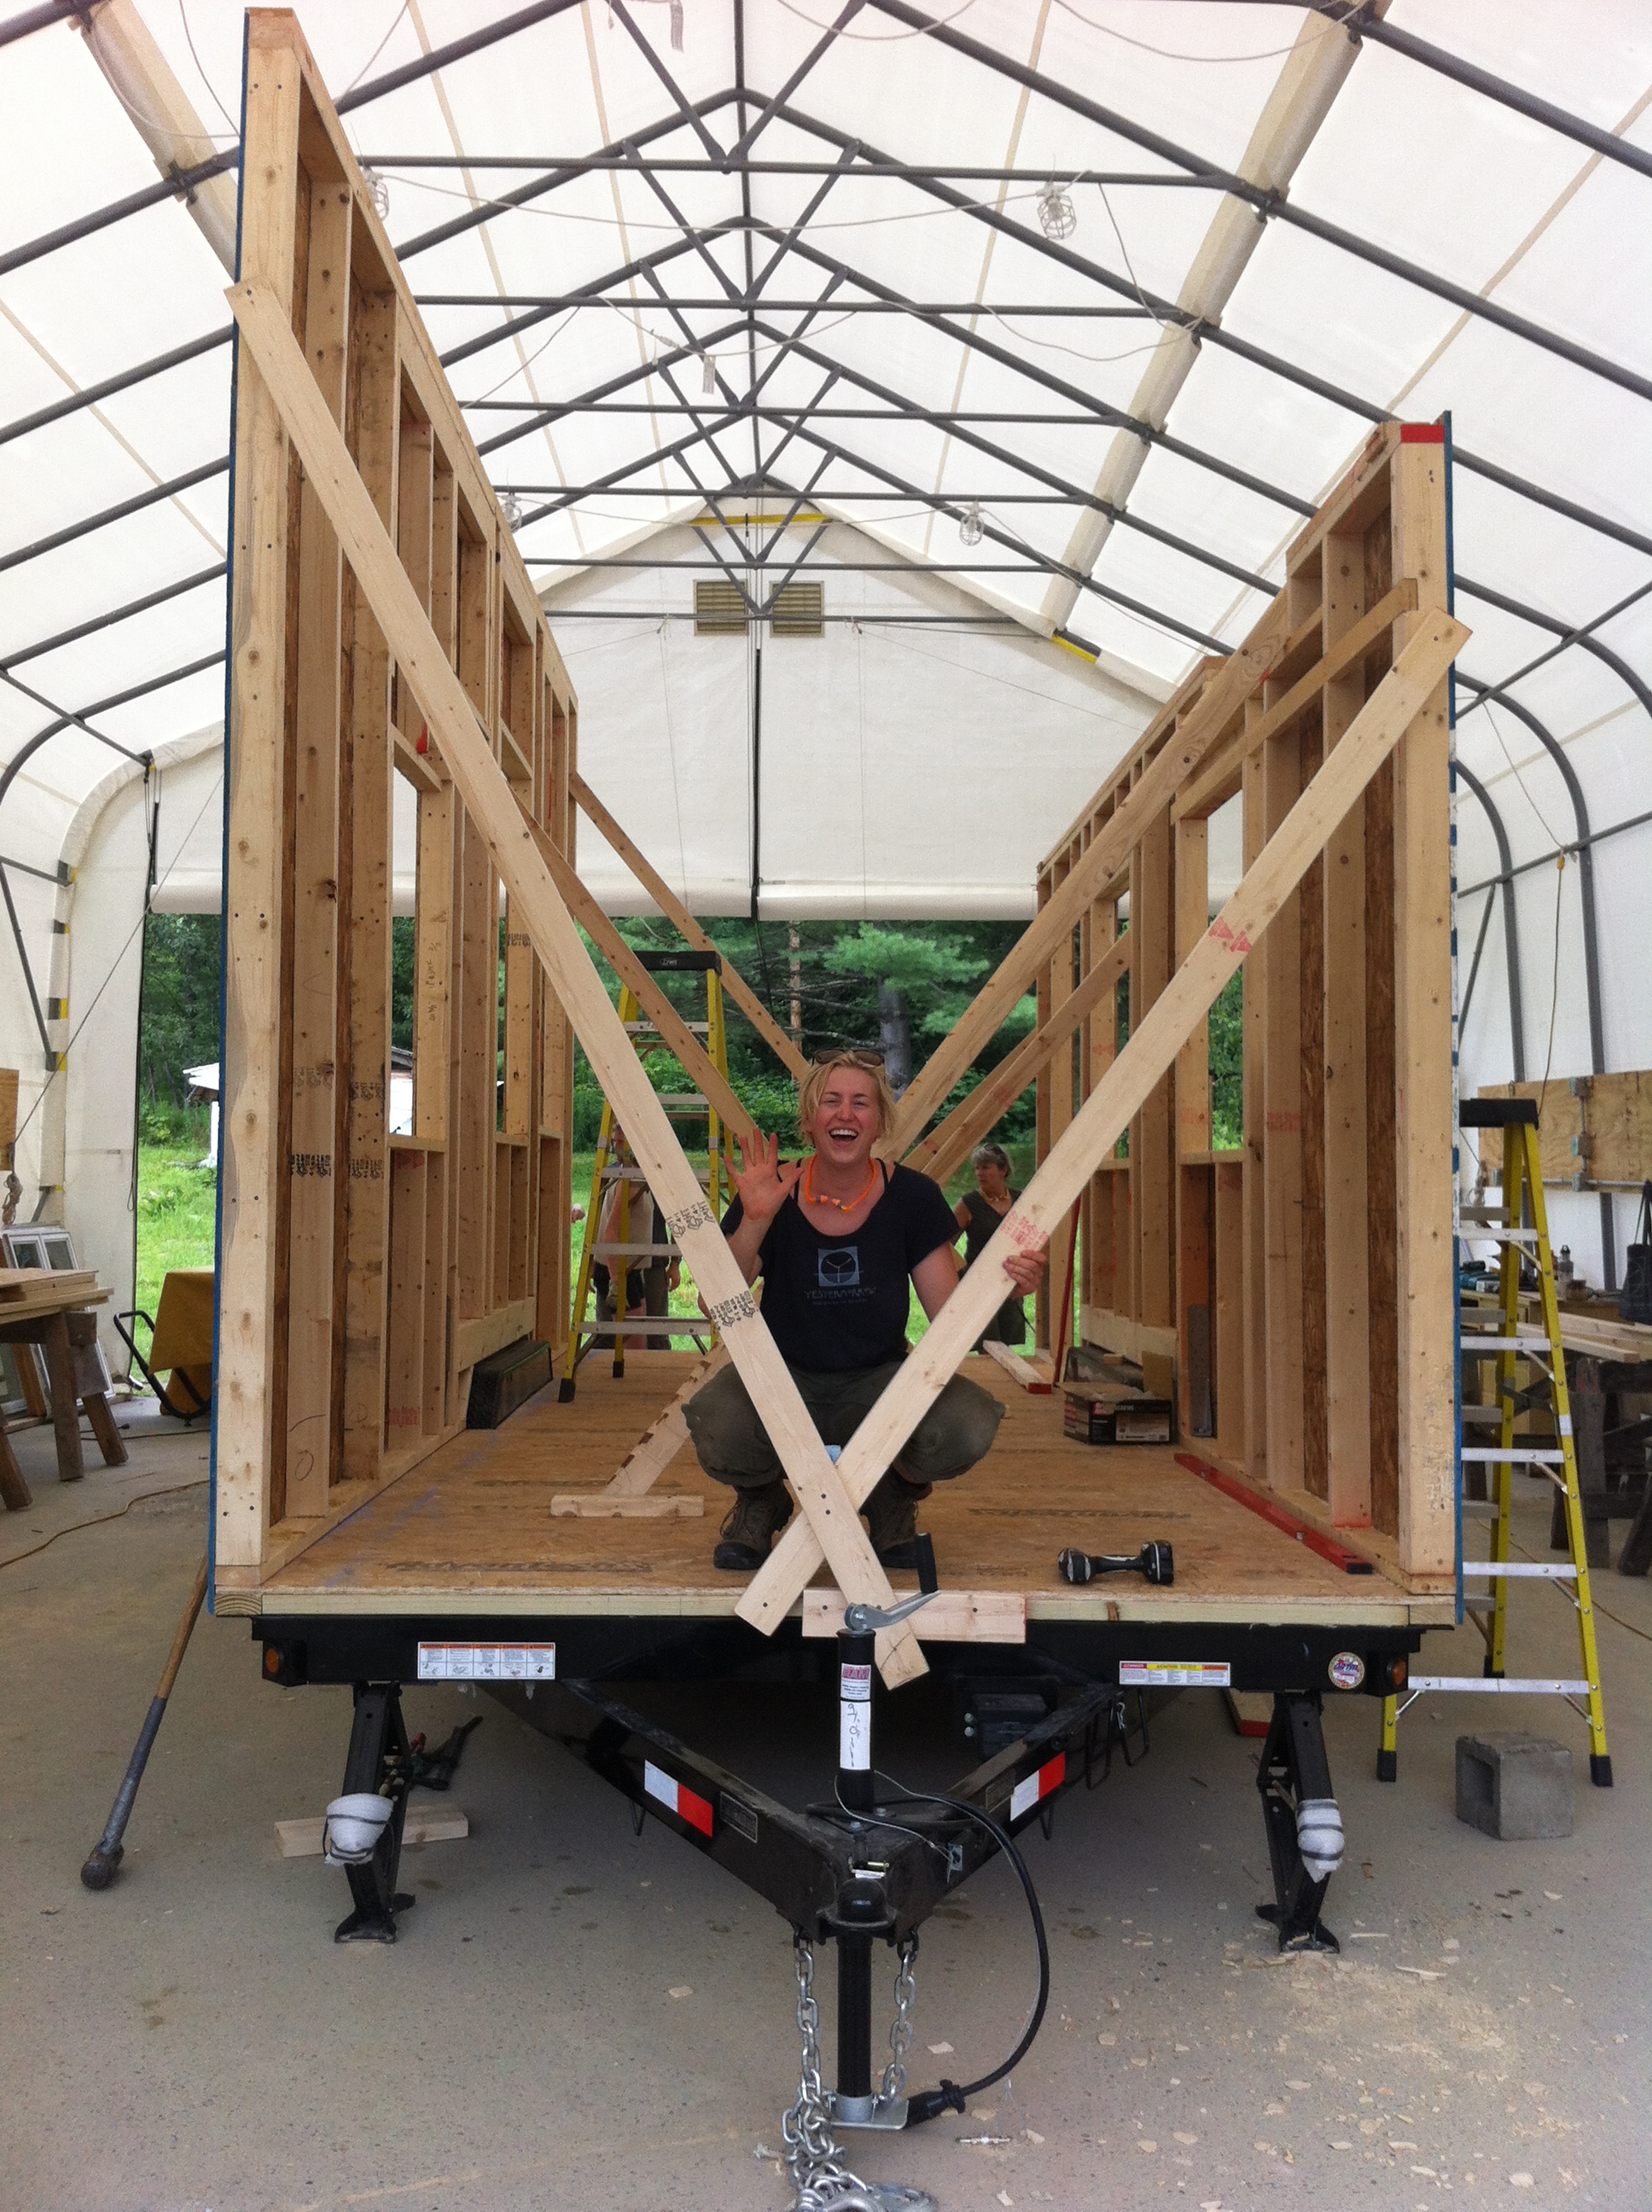
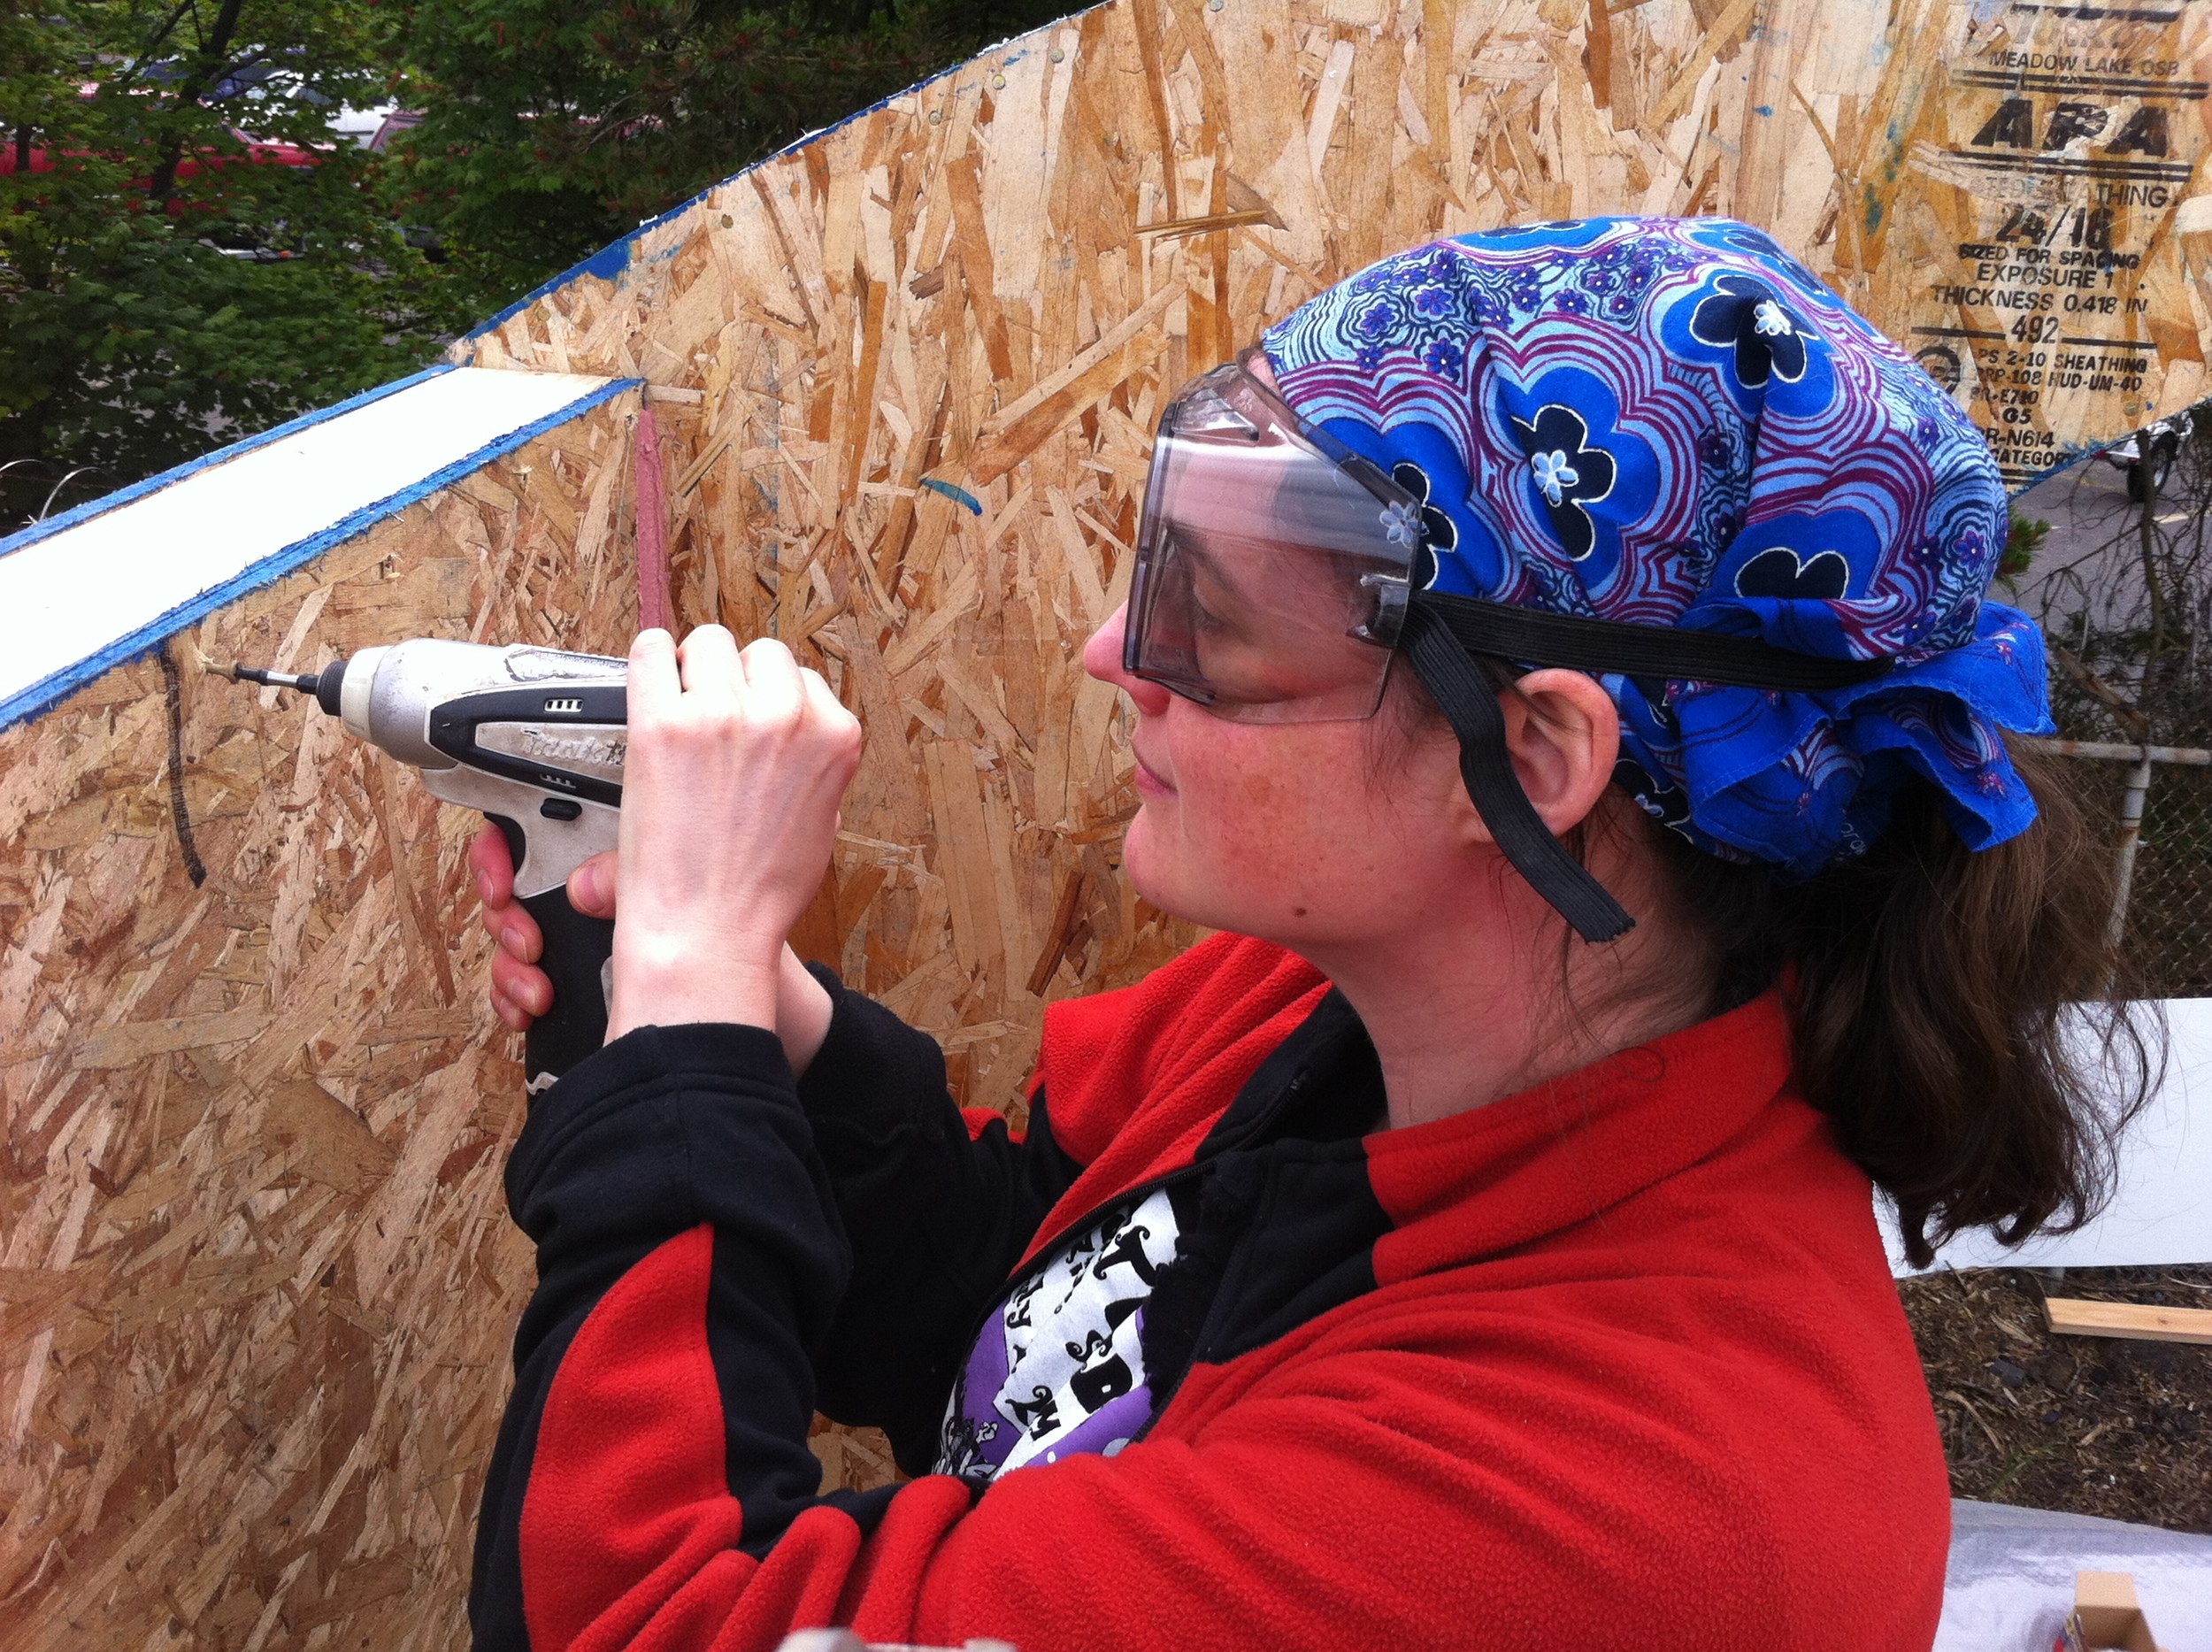
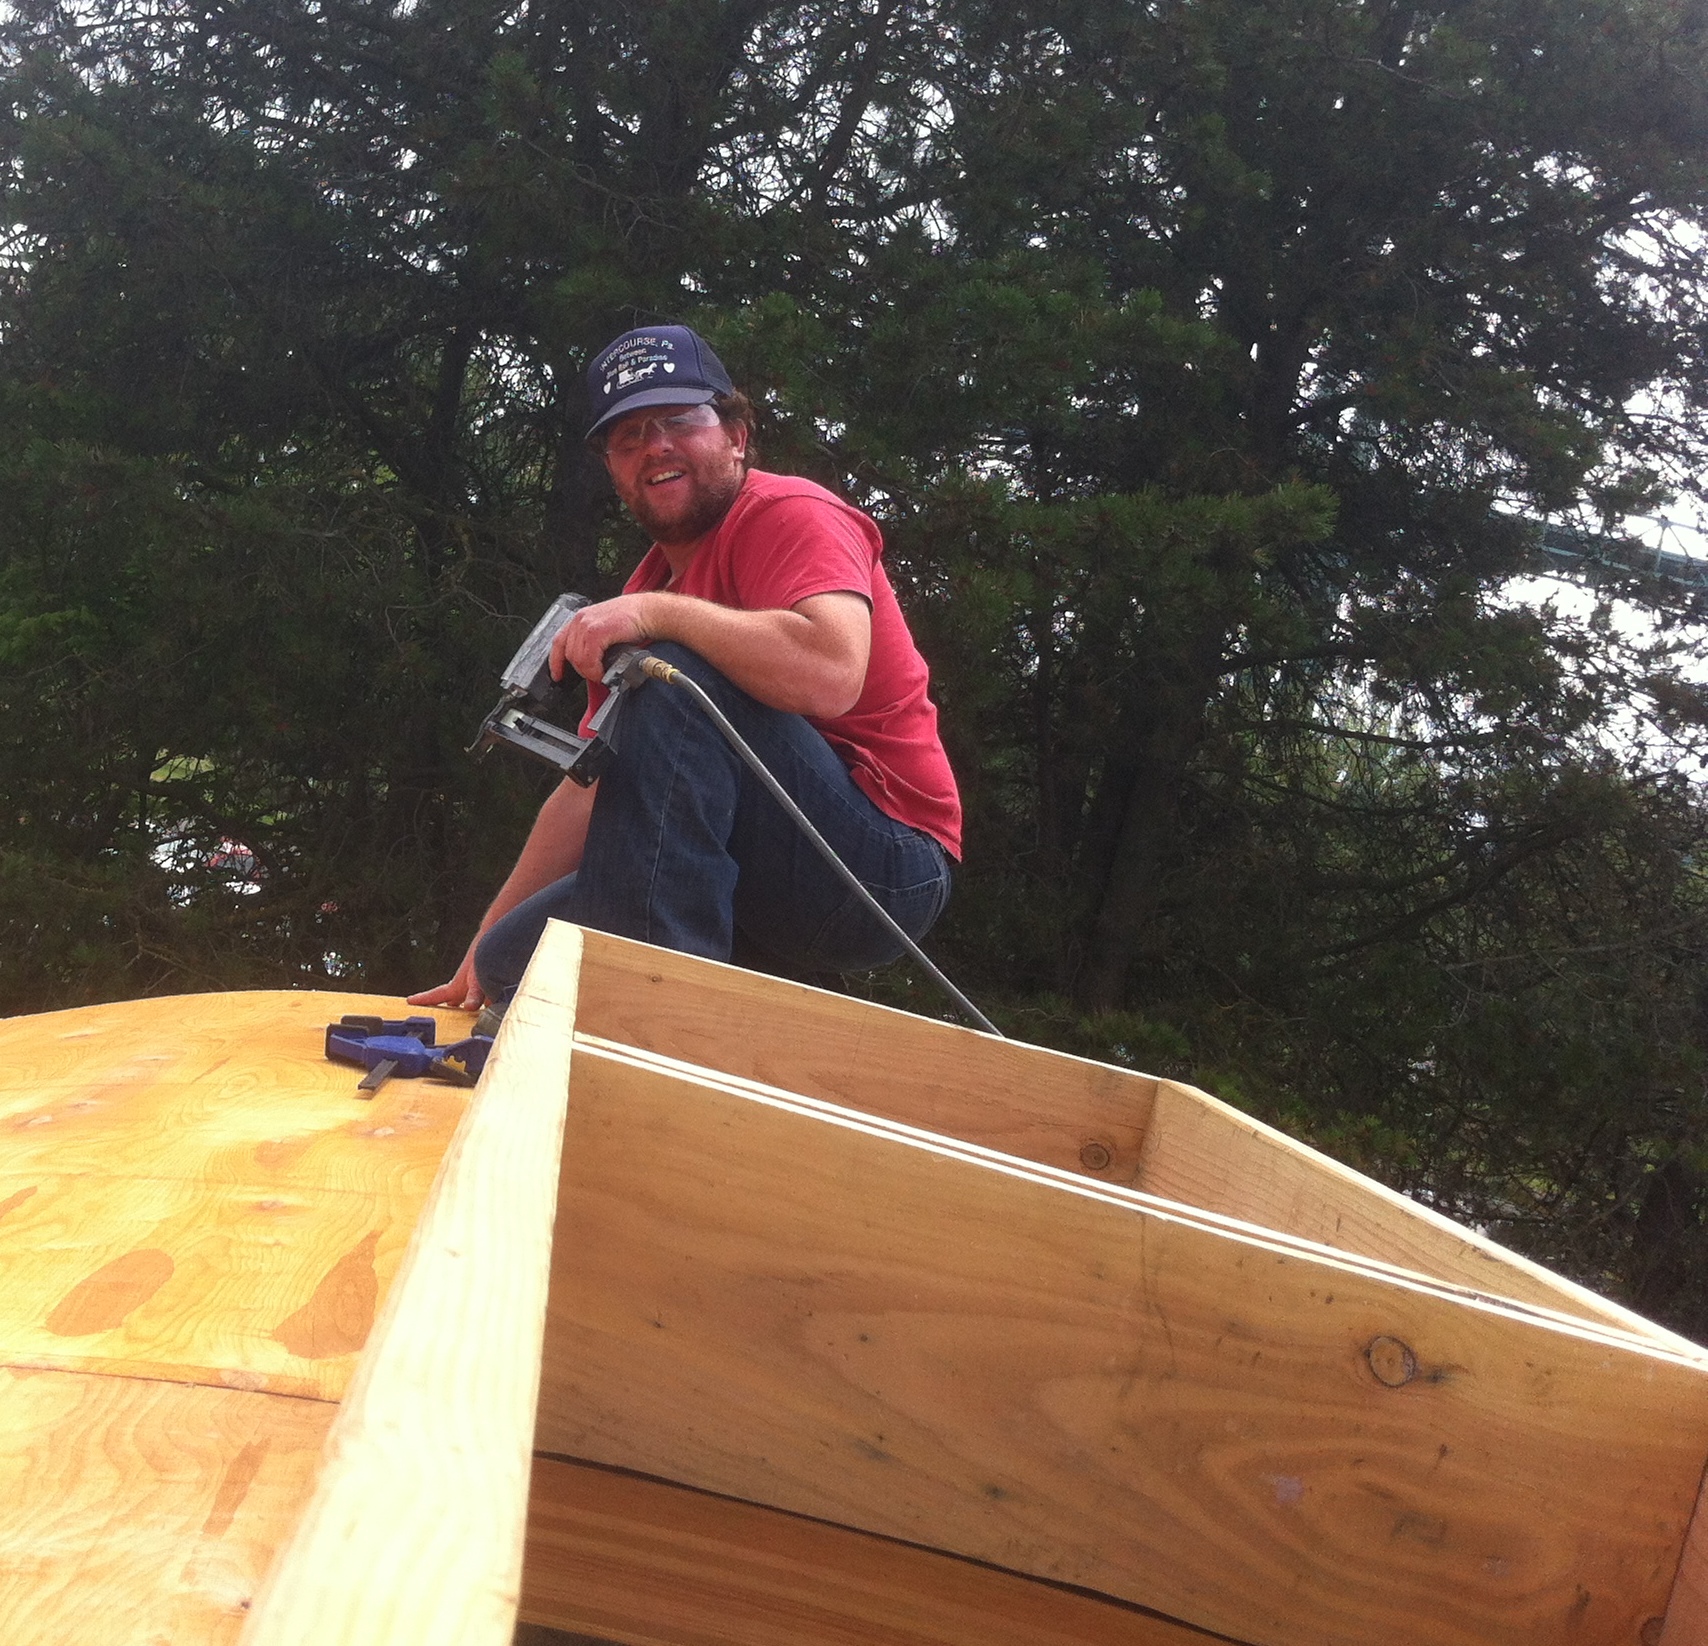
I'm less enthusiastic about the amount of time it took to get my complex roof dried in! Once I'd created my Floorbox (and then reworked it with the help of Patrick Sughrue of Structures Northwest), My SIPS Wall Raising only took an hour and a half! The next day we completed My Tiny House Air Barrier. Because of supply issues, being rained out, and making a couple trips out of town because I was, well, Doing Life, it took over a month before my roof was dried in. That means I had to untarp it and tarp it back up again each time I worked on the house! (Mind you I did have the assistance of many Tiny House Helpers.) I ended up on Plan F: Take 2. During this time I was so anxious I didn't sleep well.

It seems the roof is both my house's crowning glory and it's Achilles heel. So I've been thinking of ways I could have avoided (or at least reduced) the anxiety.

What I've decided is that I should have built my tiny house roof (and floor for that matter!) out of SIPs, just like I did with My SIPs Walls. I didn't do a SIPs roof for one big reason: SIPs are flat and my roof is not. But I've come up with two possible ways to do it.

First, I could have done a curved SIP roof. Talking to Patrick Sughrue of Structures Northwest, I've learned that it is possible to have a curved roof built as a SIP. Wouldn't it have been amazing to have my whole house put together in just 1 day?! There's only one factory Patrick knows of that can do a curved SIP on the Best Coast (did I say that?! er, I mean West Coast!) It's also a fairly wasteful process because you start out with a big block of foam and carve out the curve, which produces a whole lot of material you don't need. Also, I probably wouldn't be able to get a curve with as tight a radius as the one I've got. However, I'm not sure that it has to be so curved. In fact, I've learned from roofers today that the snaplock panels which we're hoping to use on my house work best with a radius of 10 ft or greater. My roof has a radius of approximately 8 feet, so it will be a stretch to use this system. Maybe it would be okay to have a shallower curve after all. Especially if I could get the house dried in in a weekend instead of a month!

This winter Patrick and I will be working on a Vardo kit made out of SIPs so that folks who love the vardo shape can get their shell built in a weekend! If you're interested, please let us know!

However, this curved SIP roof wouldn't have worked with exposed rafters like I have. As I learned while Making Ends Meet, getting those two curves the same is a challenge. On the other hand, I could have done faux exposed rafters on the inside. I plan to try it on the next vardo I build. Besides, my skylight box would have been a challenge anyway. So here's the other option I came up with:

I could have had a set of long 1 foot wide SIP panels fabricated which would have sat on top of my exposed rafters on either side of the skylight box. Shorter 1 foot wide panels would go on either end of the skylight box at the front and back of the house. I would have put the rafters up as I did. I figure I could go through the same process of Ceiling Up My Vardo Roof with beadboard panels or I could install this material from the inside afterwards. Either way, instead of building the roof box, which required Eave Caps and Plan F and resulted in my first (and hopefully-but-I-doubt-it-last) melt down, I would have put the SIPs on top and attached them to the rafters. Then my roof would be both insulated and sheathed in one fail swoop. There would be triangular gaps at the top of the roof where the panels come together, so this area would be spray foamed and then cut back and covered with a flashing. The whole roof would then be ready for waterproofing and roofing.

Mind you, I'm not entirely sure either of these systems would work. Although theoretically they'd be fine, I'd have to try them to be sure. The design I've come up with for my vardo roof does seem to be working and maybe it's the best way to do it. If you have done either of these alternate systems or if you decide to try it now after reading about it, please report back. As I've noted in another (forthcoming) blog post, My Mistakes Manifesto, I believe sharing our mistakes is even more important than sharing our successes because we can learn so much from other people's mistakes! Also, if you have other ideas for creating an insulated and air-sealed vardo roof (especially with exposed rafters and a skylight monitor), please share them in the comments!

Katie's Reflections on Tiny House Design-Build

And now, a word from our "sponsor." Today’s guest post brought to you by Katie Tomai, a student in this summer’sTiny House Design-Build class at Yestermorrow and the client for the class. Thank you Katie for your perspective and the opportunity to help you make your tiny house dream a reality! Day 9

It’s been a week since the Tiny House Design-Build class ended and it still blows my mind to reflect upon how much has happened in the span of a few short weeks. Three weeks ago I had nothing concrete to show for months of planning beyond some craigslist windows and a trailer that I’d ordered (and hadn’t even picked up yet). Now I have the shell of a house- my house!- calling to me everyday. It’s the first thing I think about when I wake up and the last thing I think about before I go to bed. I literally dream about it. Every night. My life is like a sappy love song by the Backstreet Boys!

Building the house has felt like this: have you ever heard that quote about how mothers feel like mothers from day one of “Oh hey, we’re pregnant” while fathers don’t really feel like fathers until they are standing there in the delivery room, looking shell-shocked and holding the squalling, slippery bundle that is their newborn child in their arms? I am the father in this scenario.

Despite months of planning and dreaming and talking about the house, it didn’t feel real until we stood around as a class and began leveling the trailer, drilling holes, and cutting insulation for the flooring. And suddenly, it was a thing. A tangible, real, some-day-livable thing. And like many new parents, I was surrounded by a group of people who were just as thrilled about it as I was: we marveled over the framing and cooed over our assembled walls and rafters and took the countless pictures of trivial things that are the hallmark of new parents everywhere. Which isn’t to say it was all kittens and cupcakes and sunshine- just ask anyone who was there as we bent yet another drill bit trying to get holes through the trailer for the tension ties. But these challenges were small blips on the screen of an otherwise amazing two weeks of building.

The thing that I keep coming back to is how grateful I am to have had the chance to begin building with this particular group of people. They’re amazing. They filled every day with laughter, new energy, and a feeling of community so strong that I can’t imagine doing it any other way. I feel so lucky to have had the combined expertise of Lina, Paul, Lizabeth, and Patti, who were endlessly patient with our questions and who shared their years of accumulated wisdom on everything from dealing with grey water to whether or not it's ok to iron your tool belt. (Cue the eye-rolling from Lizabeth!)

I’ve been fascinated and inspired by the people I’ve met through this project so far - and it’s only been three weeks! One of my goals in building this house was taking the first step towards creating a feeling of home and of community after years of transience. Somehow that was something that I’d imagined happening after the house was completed - so it’s an added bonus to find community being created around the house as its being built! I’ll take it as a sign of good things to come.

Looking ahead to the next few months of solo tiny house building, I imagine it’s similar to that new-parent feeling: two parts excitement intermingled with one part “Oh shit! Am I prepared for this?!” Ready or not, it’s all happening and I’ll be interested to see what learning this new adventure will bring.

Day 3 of Tiny House Design-Build: Tiny Tours

Today’s guest post brought to you by Cheryl Gant, a student in this summer’s Tiny House Design-Build class at Yestermorrow. Thanks, Cheryl!

2014-07-23 10.21.07Today we went on a tour of tiny/small homes in nearby Montpelier, Plainfield & Cabot, Vermont.

The first home was 500 square feet and will be on the new show about tiny homes in late August. You can watch episodes of Tiny House Nation that have already aired on the FYI website. The owner got a loan for $50,000 and $40,000 worth of materials were donated through the show. This is a well-designed high-end home with high ceilings, beautiful kitchen with concrete counter-tops, recessed lights & expensive appliances. The wall between the master bedroom & the one for his 22 year old daughter moves against the back wall to completely open up the space. Beautiful tile shower and swanky concrete bathroom sink are among the many elements that make this a very nice tiny home. The couple building it have decided not to move into it because they have all their kids back at home. We asked how it was permitted but he wasn't sure but maybe as a ADU (Accessory Dwelling Unit.)

2014-07-23 11.21.52On to the 2nd house which was up high with a view of the river. It had been designed by a Yestermorrow Semester Program. The angles were interesting and the mix of rusted steel exterior and other materials was interesting. The bottom part was a wood workshop (400 sq ft.) & upstairs was the living space (600 sq ft.). Again high ceilings made the space feel bigger. Not sure about the shower door entry on the hallway, but otherwise the kitchen, dining room, and den space were all very comfortable. The high R value of the sprayed in cellulose insulation made it very energy efficient.

2014-07-23 13.40.42Onward now to a tiny house on a trailer bed built by a Yestermorrow class 2 years ago. By built I mean started by a class then the owners have to do the rest of the work themselves and buy the materials. Two years later they were done and living in it and soon to join them will be their new baby. The space was very functional but their loft ladder took up a chunk of space and the temporary bed covered a lot of floor. The owners gave everyone lots of good information about simplifying the electrical system and hiring a professional mover to move your home to a new site.

2014-07-23 15.25.12The last two homes were on the same property and both were used as detached bedrooms while using the kitchen and bathroom in the main house. The first had a bath tub underneath the floor, very cool! Lots of windows and a curved roof, a drafting table and bookshelf.

The next house, well as we headed towards it we had a sudden down pour and we all were drenched by the time we got to it. We lingered for a while inside, admired the plexiglass sunroof that barely leaked and decided that since the rain showed no sign of slowing down we'd better leave so we hopped out and headed for our two cars. The van had most of the class and I was in our instructor Paul's car with Julie and Ashley Layne. Julie was craving ice cream so when we got back to Montpelier Paul dropped her and A.L. out and we drove around the block till they came out with their ice cream. Pretty good day at Yestermorrow!

Day 1: Tiny House Design-Build

Today's guest post brought to you by Katherine Arathoon, a student in this summer's Tiny House Design-Build class at Yestermorrow. Thanks, Katherine!

2014-07-21 14.46.31

It's Day 1 of the Tiny House Design-Build, and we're off to a roaring start!

Lo, the blank slate of a custom-built trailer sat before us in the hangar today, pristine and glossy black. As a class we took a moment to sit with the trailer and think about what we hoped to achieve. Building a home for someone is such an exciting project; we had aspirations for how we wanted it to be crafted ("Well built," "Sturdy walls,"), and also what we wanted it to provide ("Laughter," "Peaceful retreat," "Good food, good cooking!")

We started by leveling the trailer. The back right jack had gotten damaged in transit, but after getting it back into place using a very sophisticated technique (Tomas hit it with a large piece of wood), we were able to level the trailer with a water level. A water level is a long tube filled with liquid that uses only gravity and water's innate predilection for seeking a level plane. As one of our instructors, Lizabeth, explained: "Water doesn't lie."

Then it was time to lay the foundation. We started by drilling pieces of wood into the inside front and rear of the trailer, on the same level as the cross ties. Drilling into metal is not easy, and one or two drill bits and screws were sacrificed along the way, but we got it done. Once that was accomplished we were able to place sheets of plywood across the length of the trailer on the crossbars. We squirted silicone caulk along the edges as an air seal, to stop water from being able to get up around the edges of the plywood. Then came two layers of rigid foam insulation, foamed into place to fill up any holes. We covered this insulation with heavy pieces of wood and clamped it down, to compact it snugly overnight. And then we were done for the day, and went off to eat a well-earned dinner.

Hello Again, Tiny House Design-Build

2014-07-20 20.46.33This evening we kicked off the fourth two-week-long Tiny House Design-Build course at Yestermorrow. This is my second time co-teaching the course with Paul Hanke, Patti Garbeck, and Lizabeth Moniz. (And I blogged about last fall’s class in a set of daily posts. You can read them here: Hello, Tiny House Design Build. It was a great course, which connected me with incredible students, including Laura Klement, my build buddy.) It’s wonderful, as always, to be Back Home at Yestermorrow. Vermont is a magical place any time of the year, but summers here are particularly splendid. It’s also nice to have a break from working on The Lucky Penny. I knew that between the Oregon Country Fair and the three weekends occupied by travel for Yestermorrow’s Tiny House Design-Build class, I’d have a whole month away from working on my tiny house. I knew I’d miss my little house but that it would also be good to take some time away. My goal was to get dried in before I left for the Oregon Country Fair, which was last weekend. I managed to do this with the help of my friends Mike and Eleanor – and a Pool Noodle! – so this break will be a good chance to recharge. When I return to my little house I’ll finish up the exterior – siding, shingles, and building a porch – and then turn my attention to the interior.

2014-07-20 21.35.18The same talented team will be teaching this summer’s Tiny House Design-Build class and I was excited to recognize a couple of the names on the class roster even before I met our fine group of students. One of them was a student of mine in a PAD workshop I co-taught with Dee Williams. And, of course, there’s our client, Katie, with whom Paul and I worked in March to develop a concept and basic layout for her tiny house. Paul has since developed the construction drawings for Katie’s house and we’re looking forward to bringing her house to life. After introductions last night I'm convinced we have another great bunch of people to work with this summer!

We started out with a parti exercise in which the students paired up to create a concept model for a structure based on inspiration from one of Paul's found objects. It was great fun to see the creativity flowing and the neat results of teamwork.

We have an action-packed schedule, which includes tiny house tours, presentations, construction, and design time in the studio. I don’t plan to blog daily this year, but I’ll be inviting our students to guest blog, so I hope some of them choose to share their experiences with you. Follow along for the fun!

Tiny House Helpers

Love, Kellyn, Kenny, Lina & Angela My tiny house is now dried-in and I'm taking a break from building for a few weeks. This past weekend I made My Annual Pilgrimage to the Oregon Country Fair. This weekend I'm headed to Yestermorrow in Vermont to teach the two-week Tiny House Design-Build class.

My goal was to be dried in before these adventures began and I've managed to do it, thanks to the help of many wonderful people. I now have eighteen full days of work into my tiny house on wheels and let me assure you, I am incredibly grateful for my tiny house helpers! During these work parties we’ve done the following:

There are already 23 people who have contributed to my wee house in some way. I’m so grateful that my community has rallied around The Lucky Penny!

If you’d like to join in on the fun, please contact me. If you can’t make it out to help, but you’d like to Support the Lucky Penny, you can contribute via The Lucky Penny Wish List or send me notes of encouragement on Facebook. Thanks everyone!