

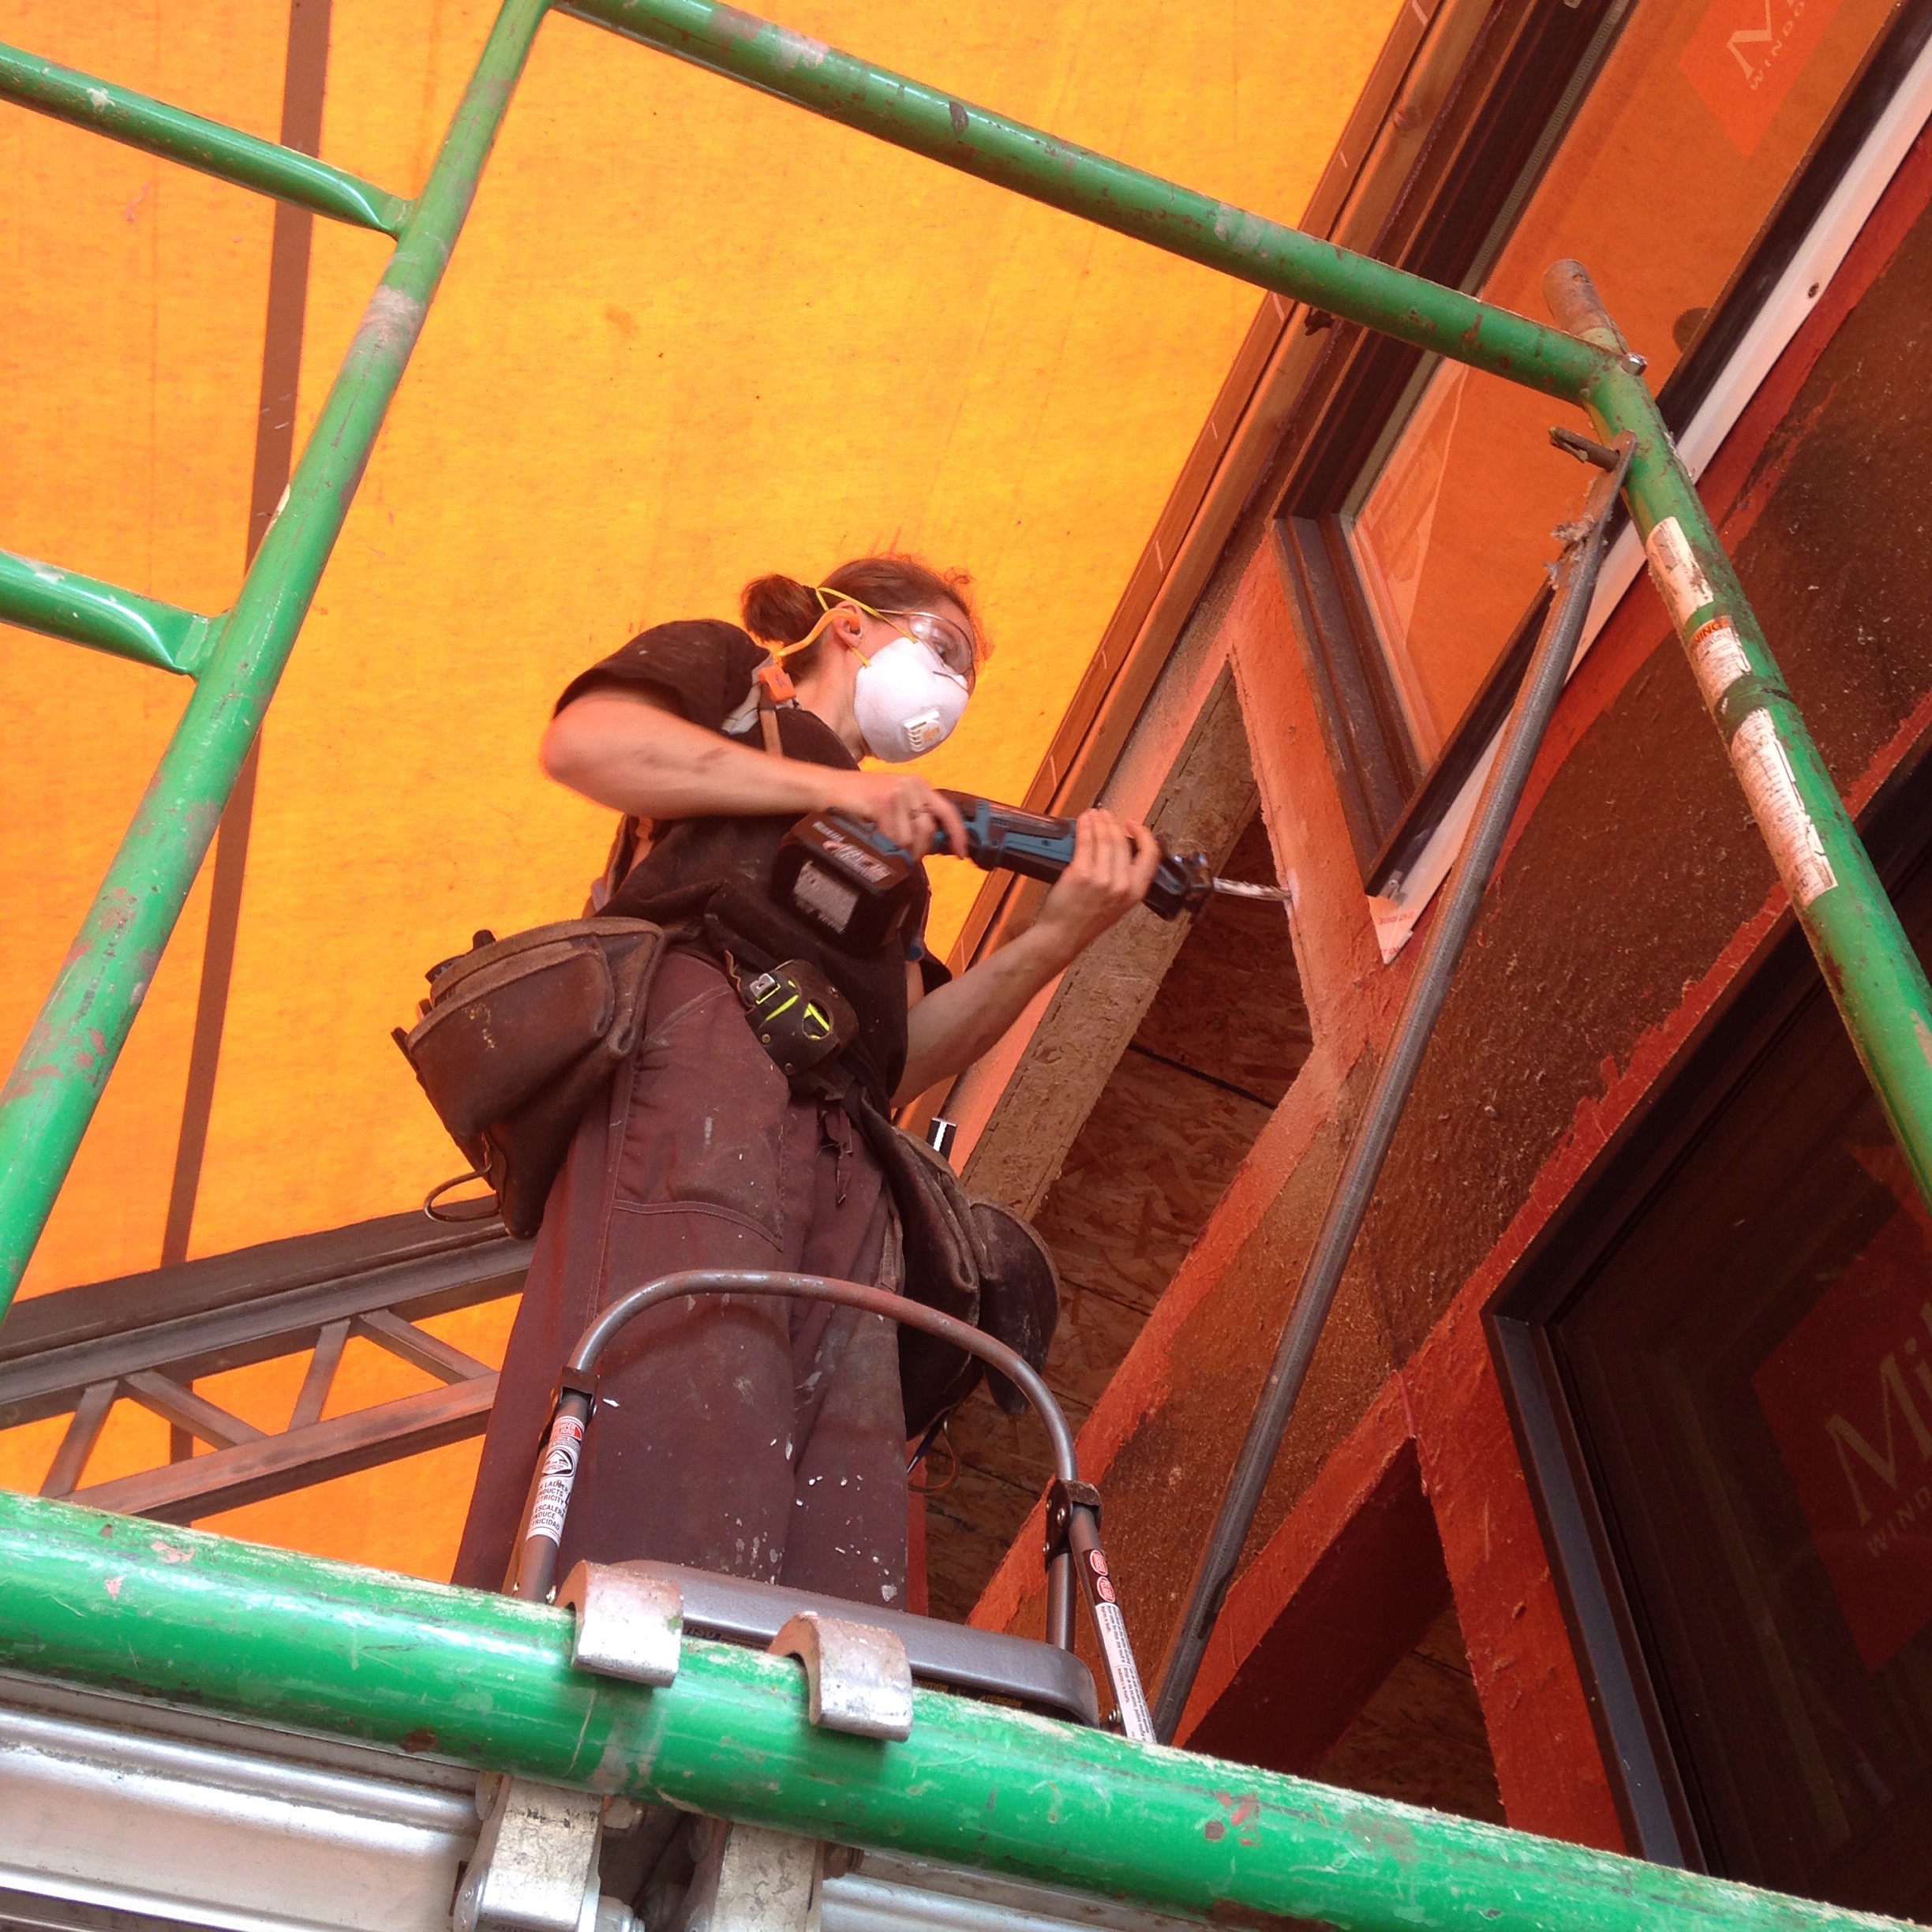
We finished the cuts with a reciprocating saw
This past week we completed Build Blitz #3 with the help of Meg from Boston and a couple other Tiny House Sidekicks. We wrapped up some important steps for our little house, including:
Thursday afternoon we were on a roll and everything was going splendidly with T42 Window Installationuntil we got to the window above the door. This window is 2" wider than the other clerestory windows so that it lines up properly with the door. We figured that it was more important that it match the door than to match the other windows, but they'd all look fine together and we'd be the only ones to know. Hopefully that will still be the case (except that those of you reading this post will know that we had to cheat it again)!
When I sent the window schedule (the list of windows we wanted) to Sue at Home Depot so we could get a quote for our windows, I included the nominal sizes. For instance, we said we wanted the kitchen windows to be 2' x 3' (two feet wide and three feet tall). Sue adjusted the measurements down 1/2" in each direction so that the rough openings could be 2' x 3' and the windows would be 23.5" x 35.5". That way the windows would fit beautifully into the openings with 1/4" wiggle room all the way around.
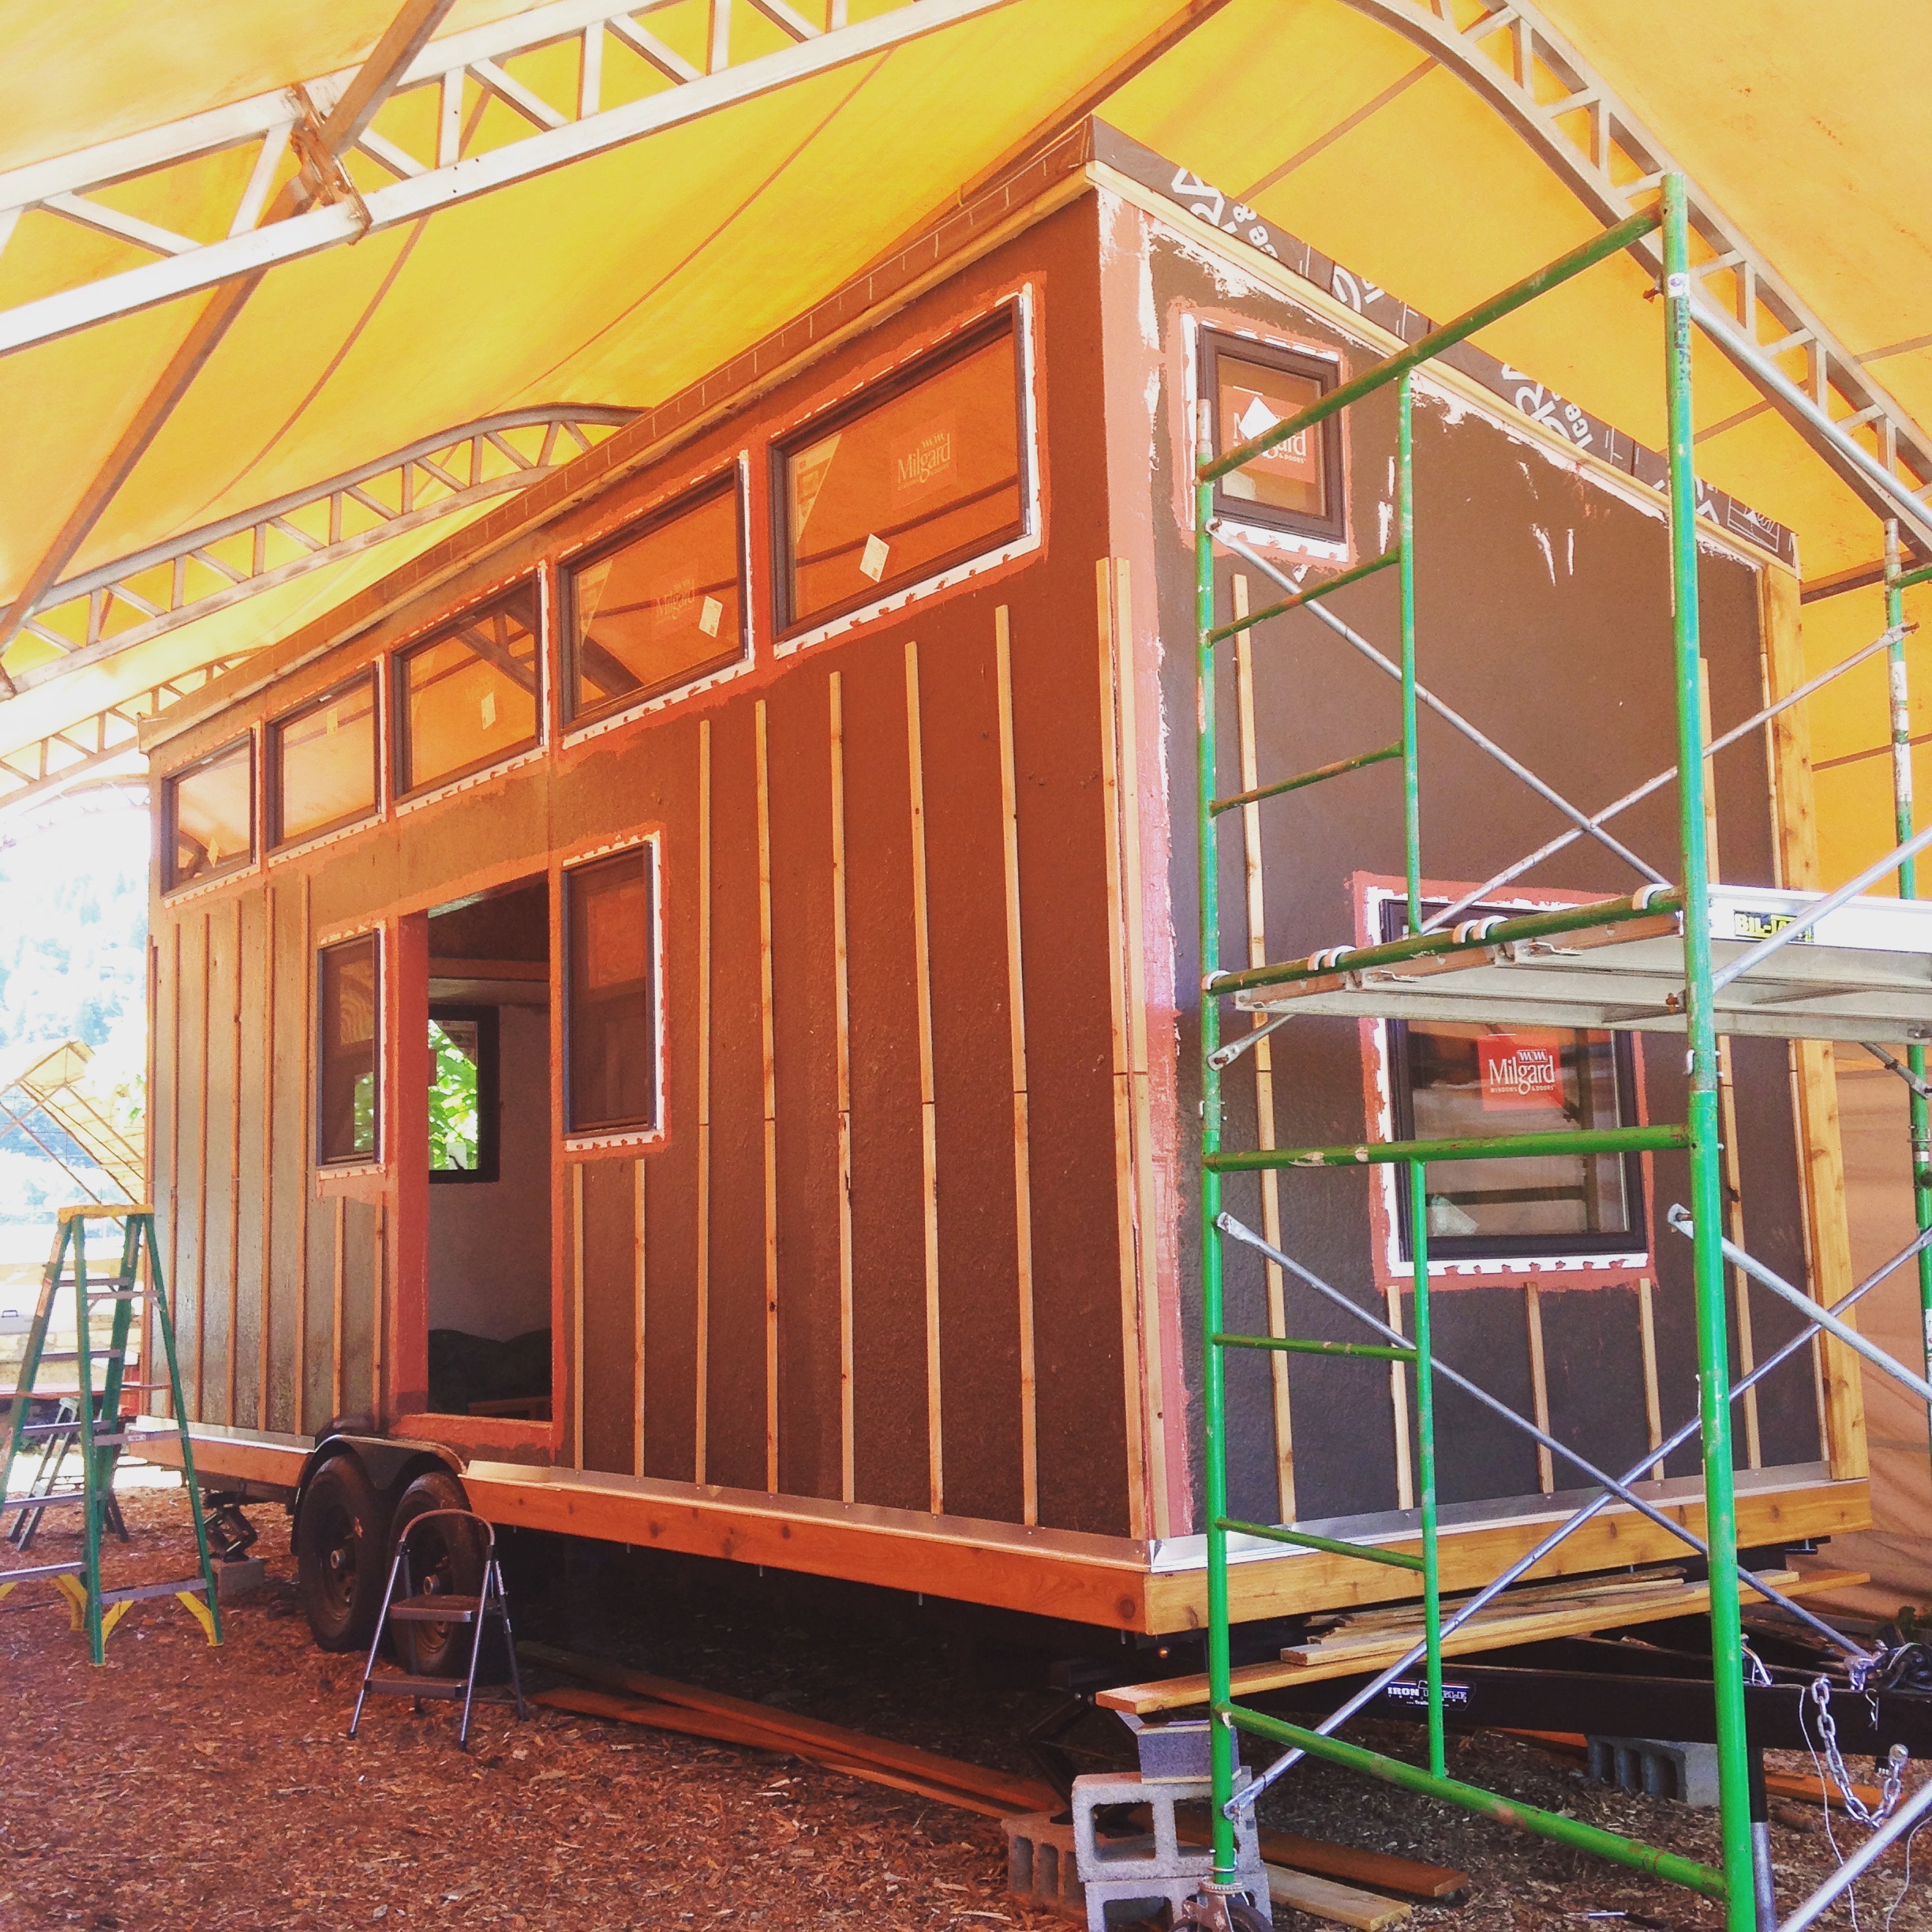
Day 16 = done
Before we placed the order I triple checked the list and then we signed off on the windows. Unfortunately, when we went to install that window over the door it was too big for the rough opening. When we measured it, we discovered that it was exactly the same size as the rough opening. It hadn't been adjusted down 1/2" in each direction. I reviewed our order and realized that all the other windows were on a different page of the order and they all marched along with their 1/2" smaller sizes. Then we flipped the page and it was 50" x 24". I didn't realize that one hadn't been adjusted down and Sue must have thought that I'd actually wanted that one to be a little bigger since when we talked about it I confirmed that the window above the door wasn't the same as the others. So ultimately, it was my fault for not noticing the discrepancy.
So... we started out Friday by making the rough opening for that window 1/2" bigger in each direction. We marked the lines with a combination square, made a plunge cut from both sides with a circular saw, and then matched up the cut lines with a reciprocating saw. Once the RO was big enough we dry fitted the window. Then we used Fast Flash to flash the window rough opening. While we were waiting for it to set up we put the FastFlash over the window fins on the other windows.
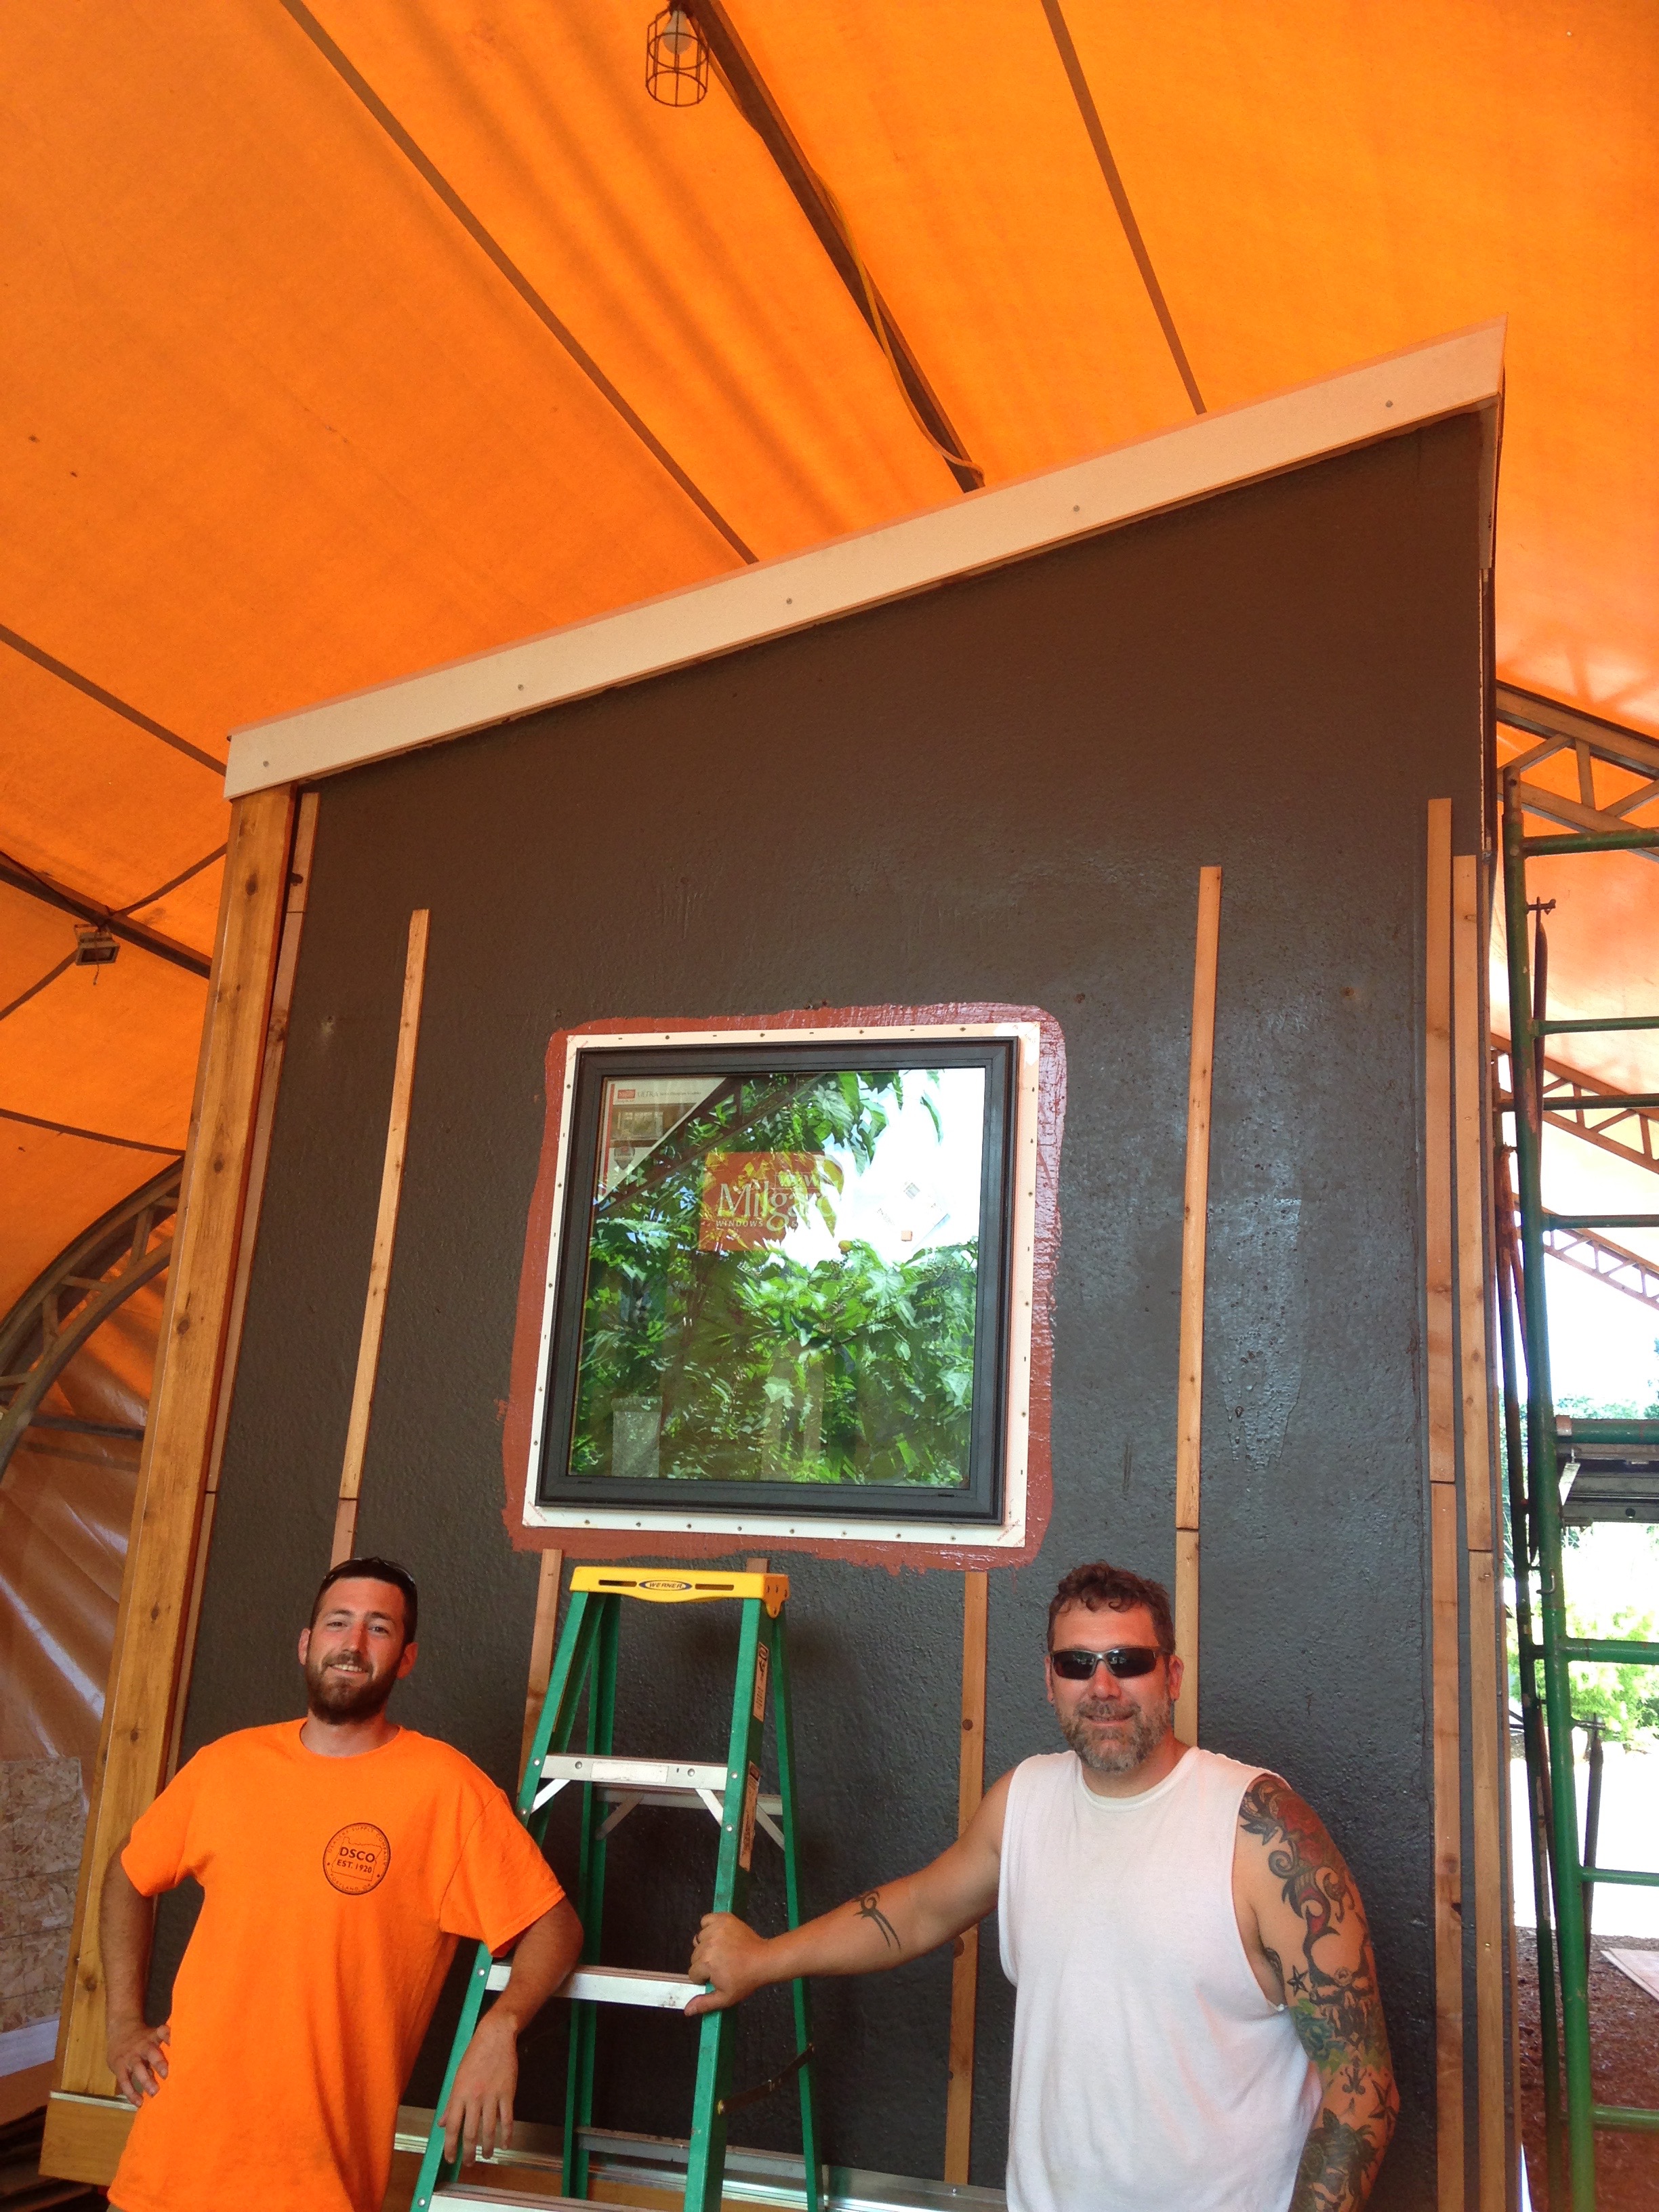
Tom and Jeremy showing off the start of our metal roof
Meanwhile, our roofers from TB Quality Construction arrived to work on our metal roof. There was a little hang up on getting the flashing kits sorted out for the skylights, so they'll need to come back to finish it up, but it's great to see the roof panels going up and Jeremy and Tom are great fellas so we'll be happy to have them back.
Finally, we were able to pop that last window into it's RO, square it up, check the reveal, fasten it in to place, and FastFlash its window fin, too. Whew! Now ALL the windows are truly in and the last thing we need to do to be dried in is install our French doors! That's today's project, which I'll be working on with Isha, so stay tuned for more!


