 A month ago today I sent the model for T42 (the tiny house Isha and I are building together) to Patrick of Artisan Tiny House so that it could be turned into a SIPs kit. Patrick knew this project was coming down the pipe so he was ready for it. When I said it was on the way he said, "Great! Let's get this wrapped up today or tomorrow!" I was all for THAT!
But we had some back and forth and it was finally Tuesday, almost a full month later, that we signed off on our shop drawings and sent our SIPs into production. This was due to three main factors:
- The construction season is ramping up again and Premier, the SIPs manufacturer we work with in this area, is getting busier each week. They also had a couple people out due to unforeseen circumstances like jury duty and illness, so their turn around time slowed down.
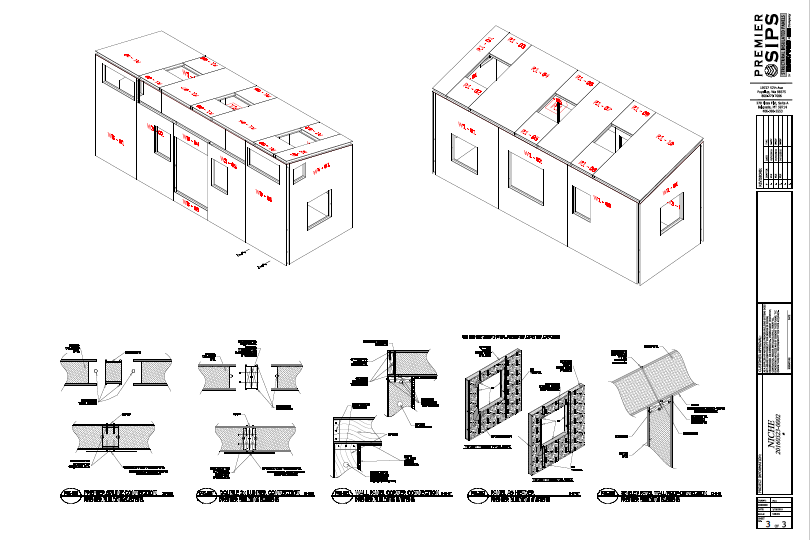
- Despite all I know about SIPs - which helps me make simple designs for my clients that are more affordable and easier to build - I can't seem to resist designing more complicated structures for my own tiny house projects. The Lucky Penny's walls went up in just an hour and a half on my SIPs Wall Raising Day, but the complicated curved roof with a skylight took another 6 weeks to complete! With T42, we have a set of windows high up in the wall, so Patrick, Matt, and I all spent time back at the drawing board figuring out how to turn my design into a set of SIPs panels. "SIPs aren't magic, just the next best thing," Patrick reminded me. Lesson remembered! The easiest way to get a SIPs kit is definitely to use one of the Artisan templates. (And, of course, it's always fun for me when my clients want to work with me to ensure that their tiny house shell will match their interior layout and suit their lifestyle!)
- Just before we were about to order the SIPs, I spoke at the Tiny House Conference in Asheville, NC and I sang the praises of SIPs for tiny houses on wheels (THOWs) as I usually do. As usual, I had several people ask about toxicity and I explained that despite the fact that SIPs have one or two chemicals listed on the Red List (depending on the composition of the panels), even the Living Building Challenge - the world's strictest green building standard - approves SIPs for use in green buildings because they provide such good energy efficiency and the Red Listed chemicals are currently required by law to meet fire safety standards. But it got me thinking critically about this building system I love again and I pressed Patrick to get me some updated information about our options.

Fortunately, Patrick shared an update that Premier has introduced a new SIPs option that uses GPS (graphite polystyrene) foam, which has a higher R-value per inch AND has swapped the previously used toxic halogenated flame retardant that was Red Listed for a poly flame retardant. (Stay tuned for more info on this product, but for now, please check out Neopor, which is the U.S. version of a product that has been used in Germany for many years now and read this post from Energy Vanguard). We also confirmed that the flame retardants are a hazard to us only if they're burning. We know that we can use a respirator when cutting the SIPs to accommodate the wheelwell, so that concern is easily addressed. (And if the house itself is on fire, we've got bigger fish to fry!) So we all breathed a sigh of relief and specified the GPS foam for this project. Patrick even agreed to cover the price difference for this one project since we agreed to be his guinea pigs for a new product. Despite the frustrations, we're both appreciative that we've had some learning opportunities. This is why I continue to do projects with Patrick: he's a generous and upstanding guy who wants to do right by people!
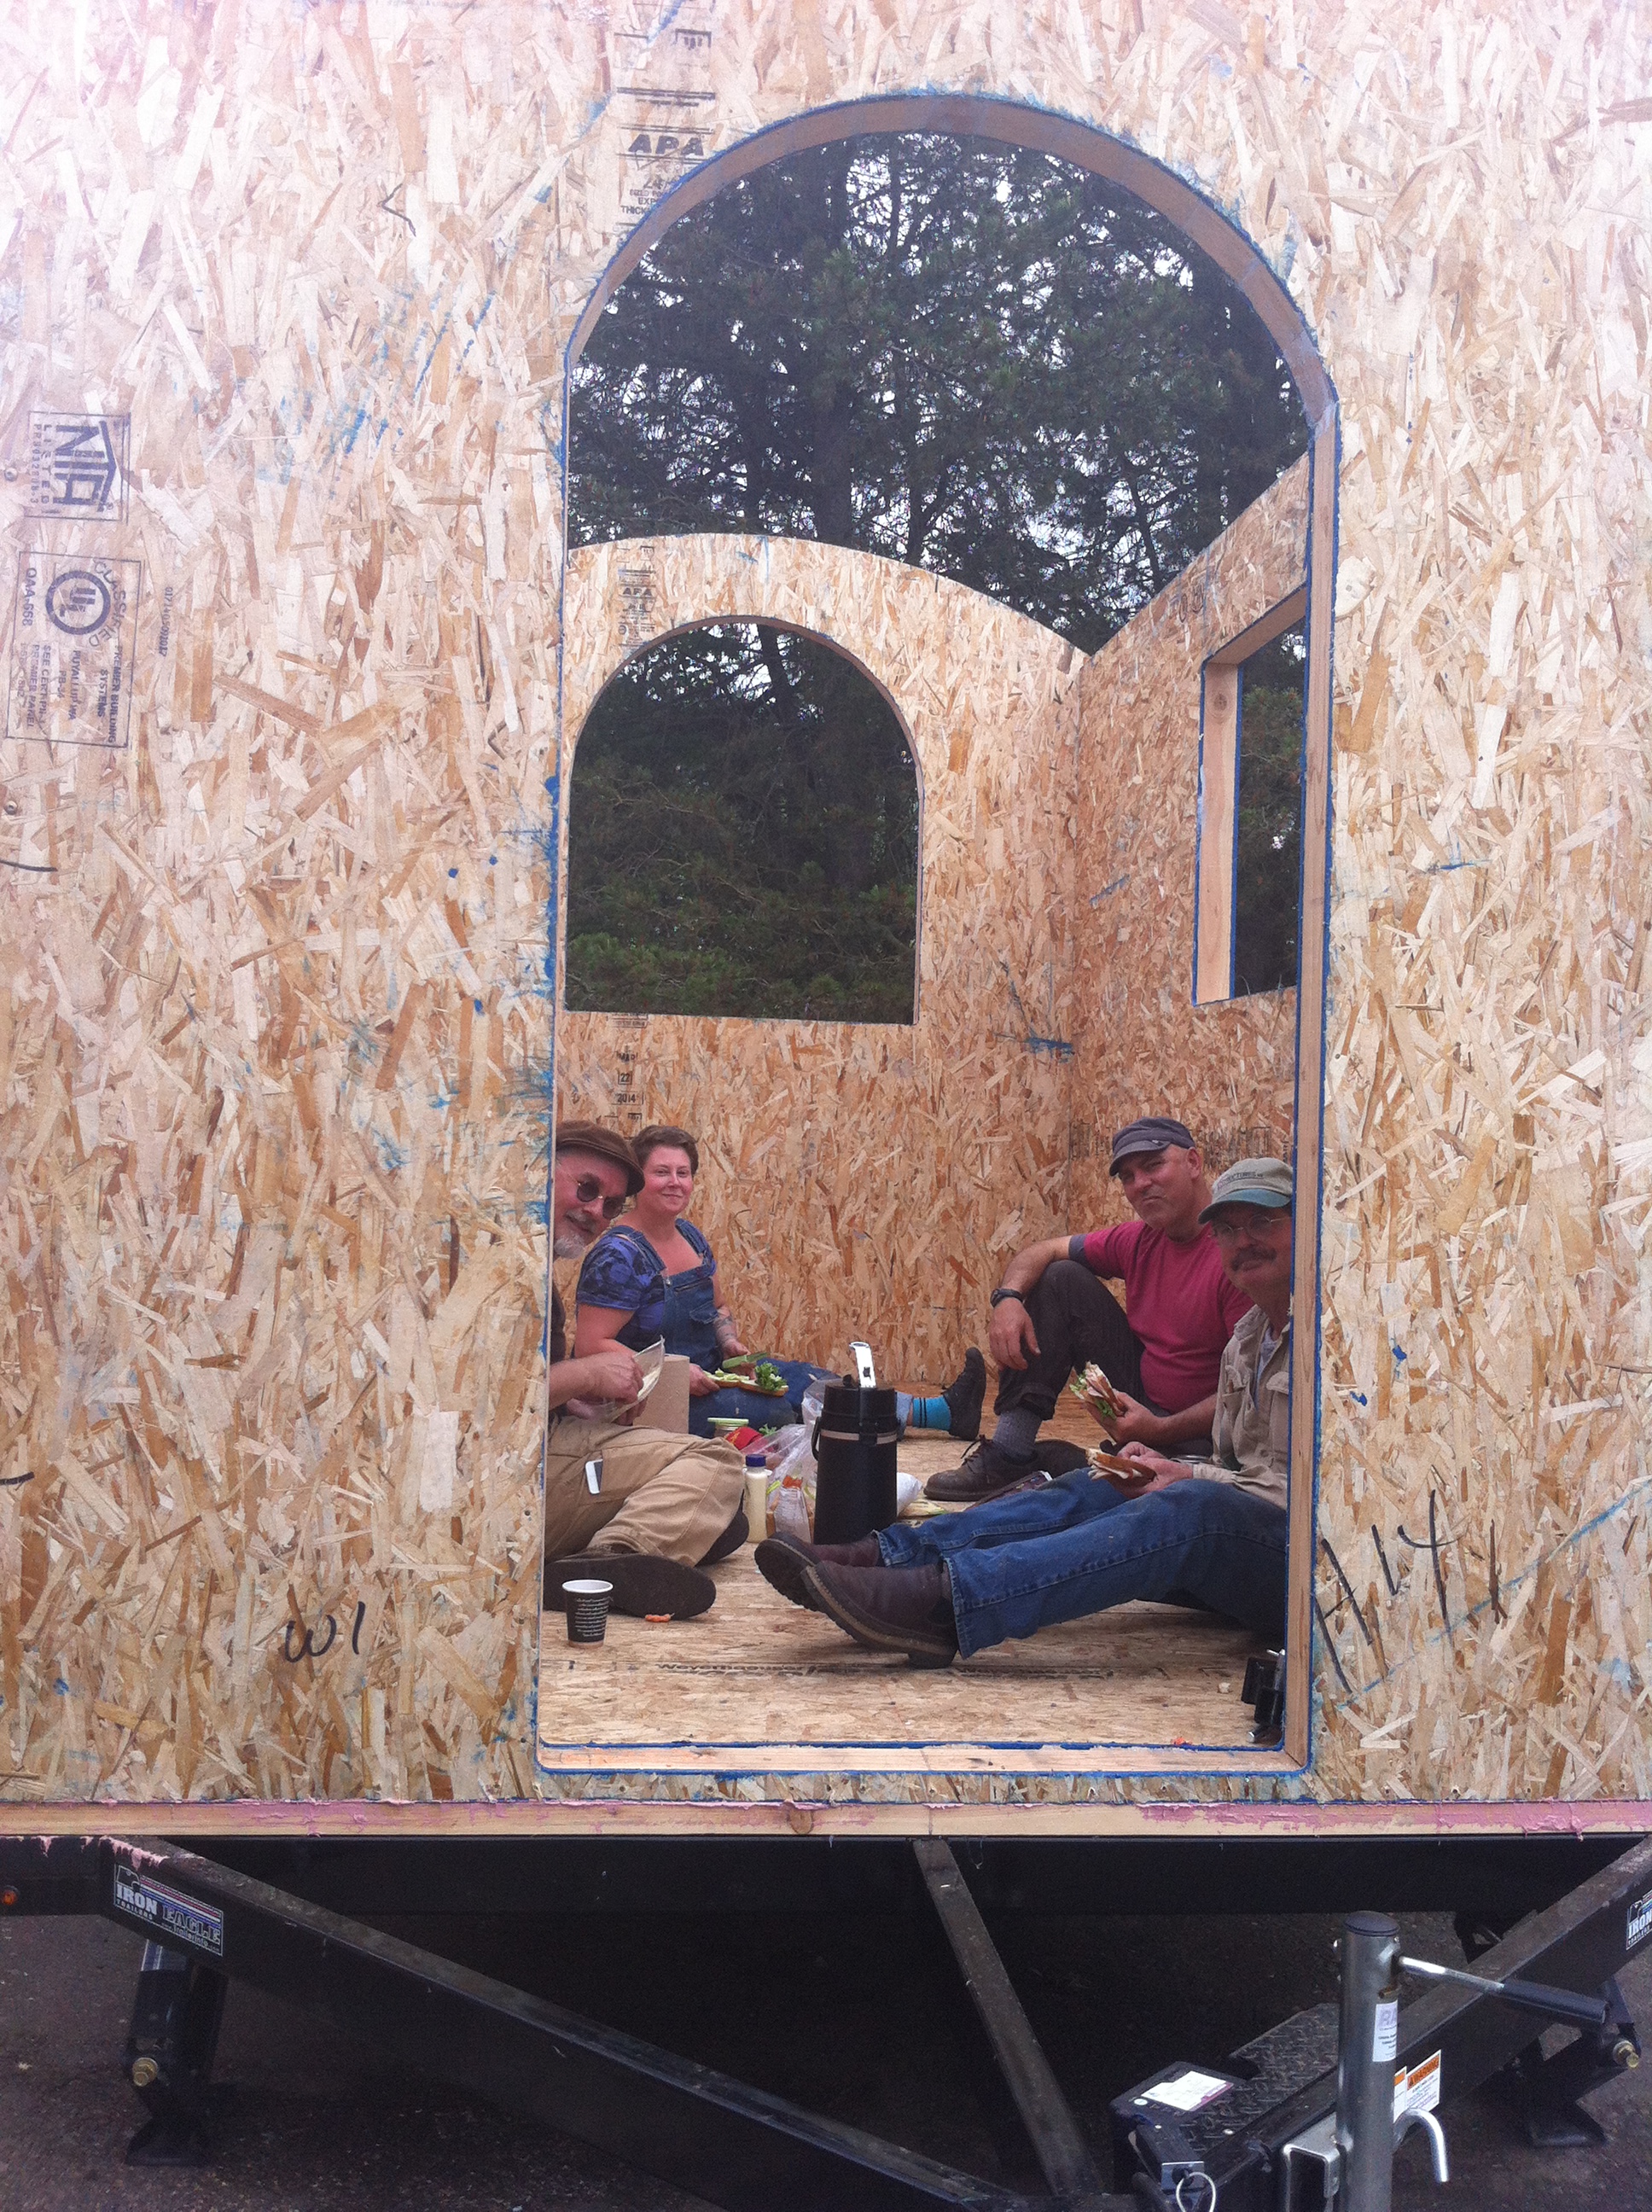
Patrick and Matt also figured out a solution to address my crazy SIPs layout and Patrick offered to come help us puzzle-piece it together during our SIPs Wall Raising Build Blitz. It will be great to have his expertise for this exciting wall raising scheduled for mid-May, which is just under 5 weeks away! If you'd like to join us, too, please claim your spot in the T42 Build Blitz!