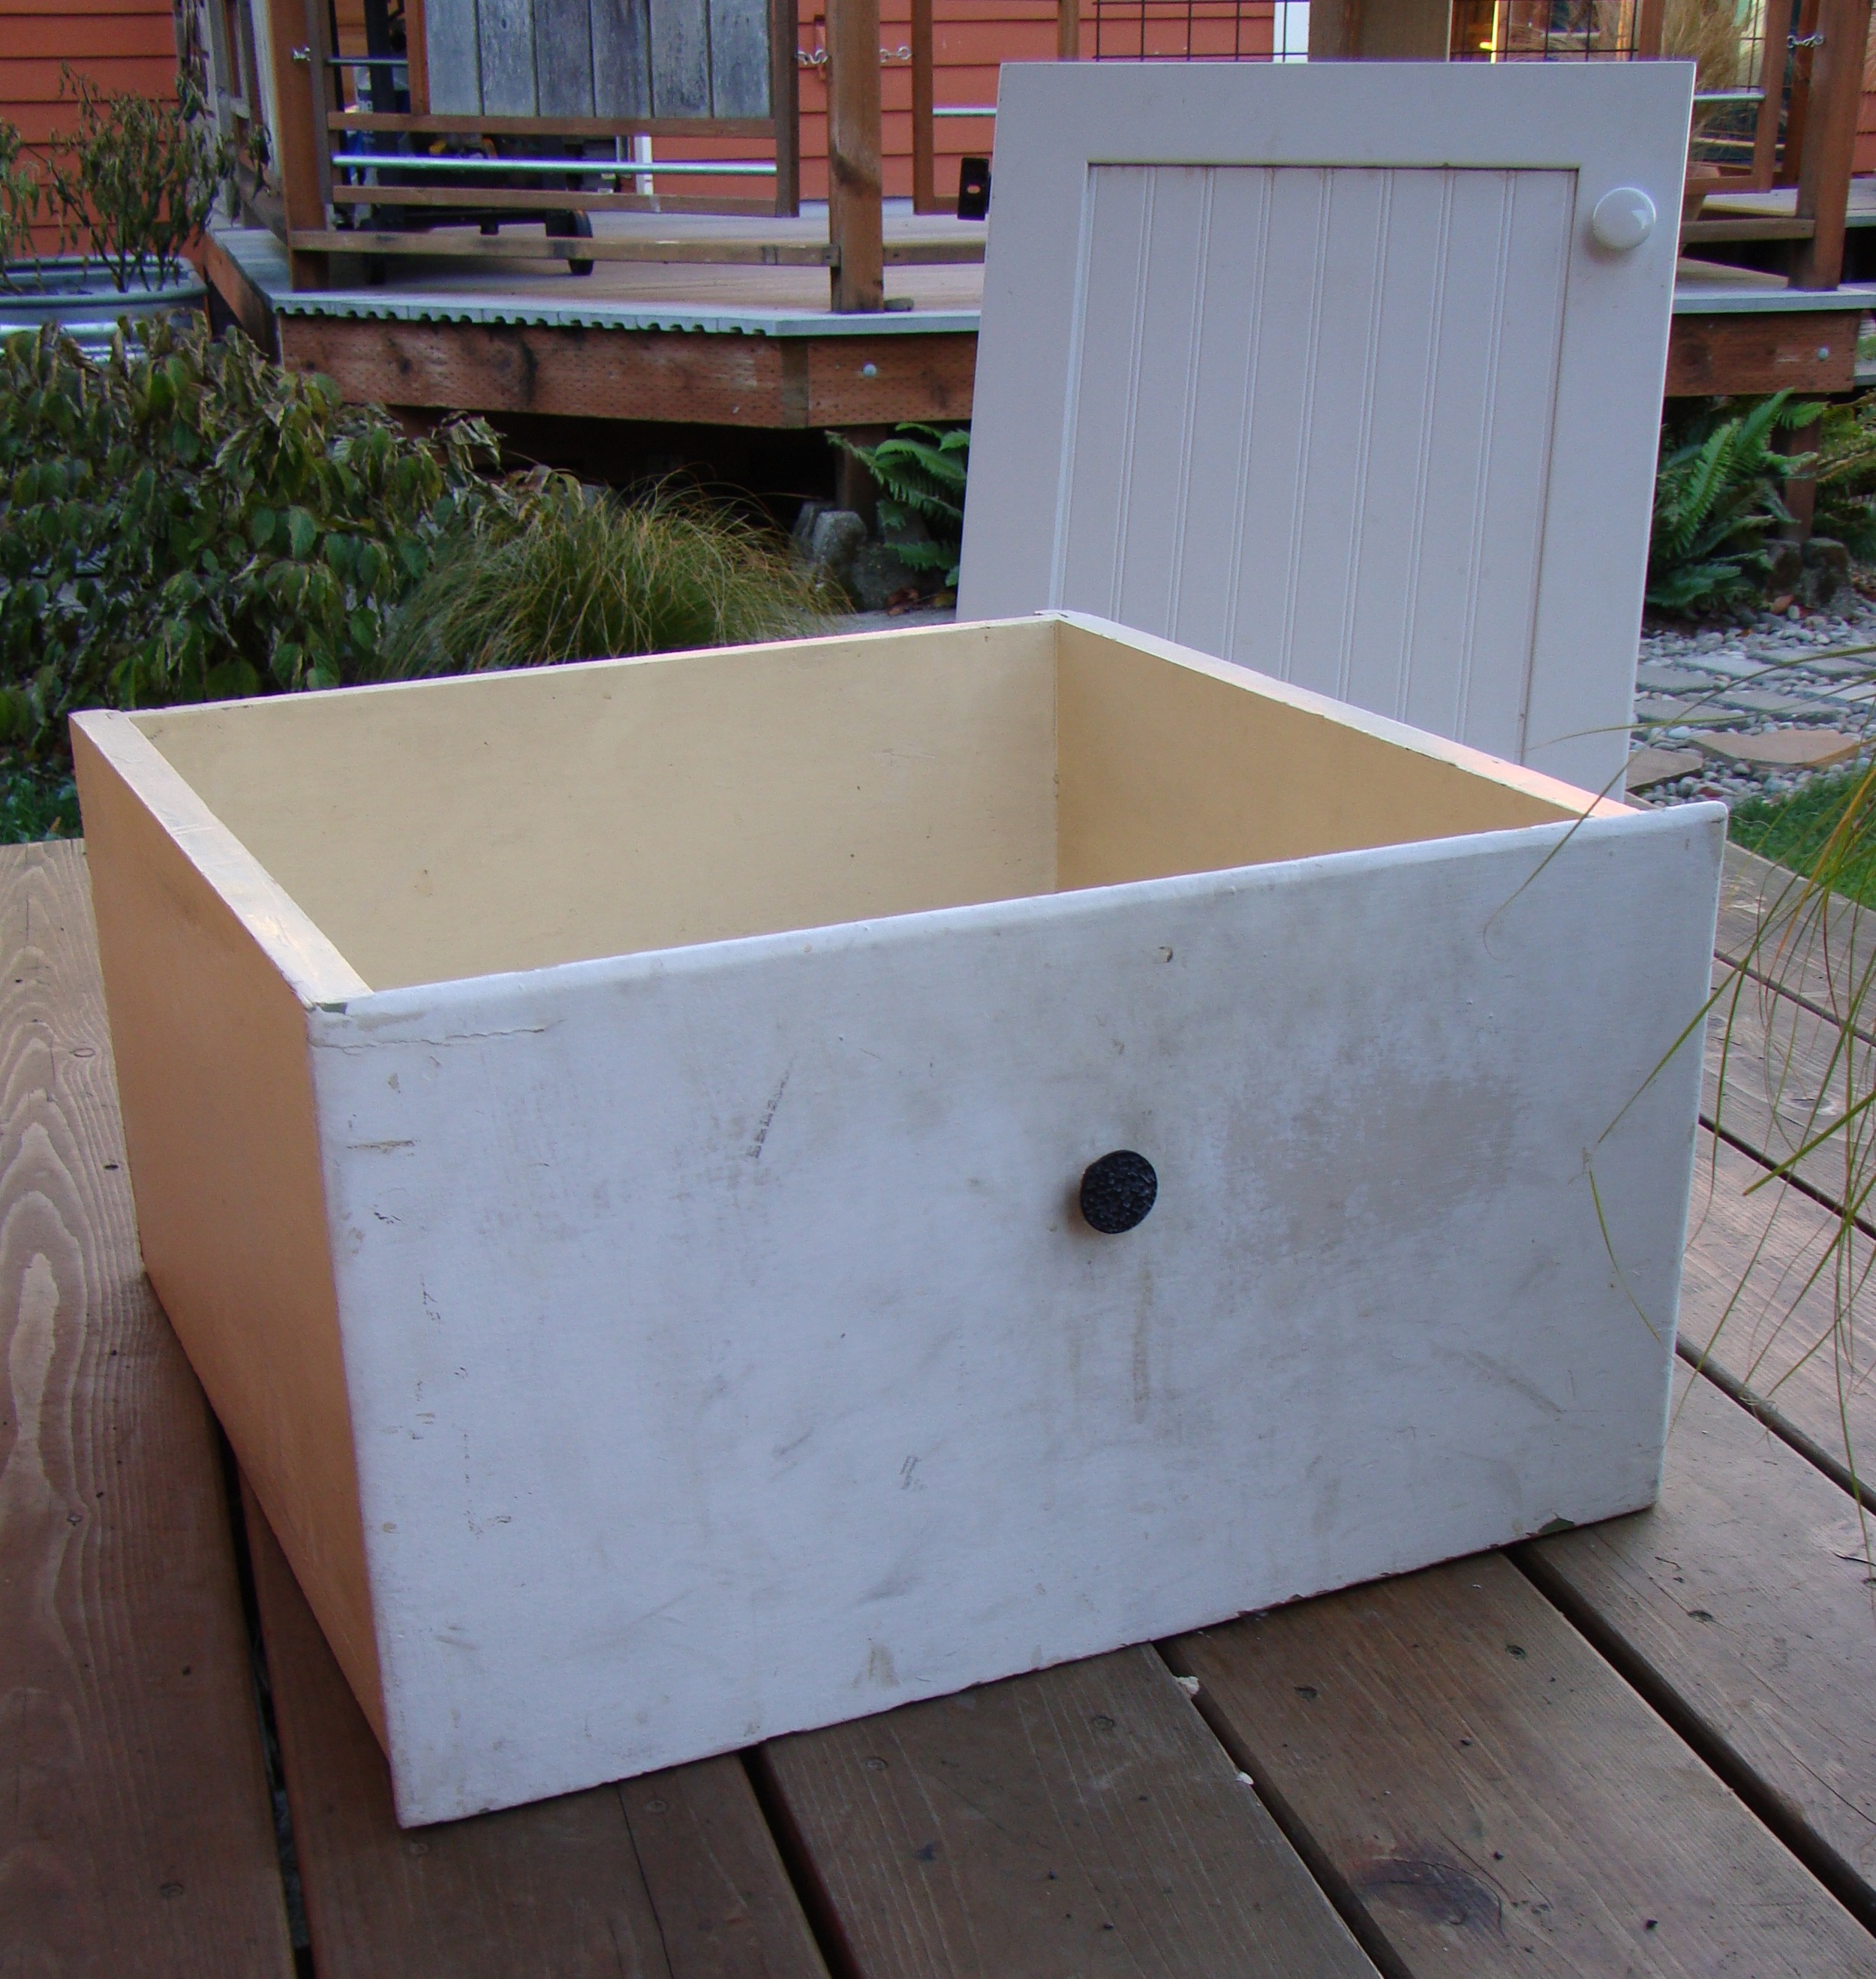
 I've just created My Chiller - an electricity-free, propane-free, noise-free natural refrigeration system. And the best part is it only cost $7, so it was almost free-free!
Years ago I worked with a colleague who grew up in Astoria, OR. She explained to me that in addition to an icebox, her childhood home had a chiller. The chiller was a cabinet in the kitchen that had a screen on the exterior wall so it was open to the sea breezes. The walls and the door of the chiller were insulated, so this box was outside the building envelope. I’ve been fascinated by the concept of natural refrigeration ever since.
Other tiny house dwellers I know have lived without a refrigerator. Dee Wiliams uses a cooler and ice packs to keep her beer and half-and-half cool. Tammy and Logan decided they would live in their little house Smalltopia without a fridge, too, and they have explored How to Eat Yummy Without a Fridge. The first time I visited Tammy and Logan they showed me that they kept veggies in a hanging basket on the porch and their half-and-half in the gap between the kitchen window and the screen. Six months out of the year the outdoor air temperature in Portland, OR presents the same conditions as a refrigerator. Seeing Tammy and Logan’s set up convinced me that it’s rather silly in this part of the world to use electricity or propane to run a refrigerator when the outdoors present the ideal chilling conditions!
So last weekend I made a chiller of my own. My mini fridge was nearly empty when I returned from Family Time. I figured it was the perfect opportunity to defrost the freezer before plugging it back in and filling it back up. I packed my handful of chill items into my dishpan and set the dishpan on the porch while I was waiting for the ice to melt from the mini fridge. That night I hauled the fridge back in since it started to rain, but I realized the food was perfectly fine out there, so I covered my dishpan with my laundry basket to keep the critters from digging in. It seemed to work just fine so I decided it was time for a trip to the ReBuilding Center.
 I found a drawer that was the size I wanted and a cabinet door that would fit with it (hinges and all!) The components put me back a whopping $7. At home I chiseled out a spot for the hinges, attached the cabinet door to the drawer, repositioned the handle, and drilled holes in the sides. I ran out of daylight at that point and I've been busy with other projects. But as soon as I can I'll sand it, paint it, and attach a pest screen that was repurposed from an old shelving unit.
I’ve been using my chiller for a week now and I’m perfectly happy with it. Yes, it’s slightly less convenient to step onto the porch to get food items out of the chiller than it was to grab them from the mini fridge in the kitchen. But considering that we’re talking about just a few feet of distance, no complaints here! I figure I should be able to use my chiller until about April when the temperature here starts to warm up again. So I have another 4 months of free refrigeration, thanks to living in a mild climate!
The added bonus is that since I’m not running my electric mini-fridge I was able to relocate my Envi Heater to the end of the kitchen cabinet. I Installed my Envi Heater on this wall back in October, but since the wall is shared with the fridge both were working too hard. So I relocated my heater to an exterior wall in early November. Once I shifted my food to the chiller a couple weeks ago I was able to put my heater back in end-of-kitchen-counter location, which means it’s on an interior wall and right at the edge of my loft. It's already cozier in my little house.
Luckily, the same time of year that I need to run the heater it's cool enough to chill my food outside. Now that's what I call elegant simplicity! Yet another reason I'm Giving Thanks for Tiny Living!


