The past couple weeks, as I've been getting ready for the T42 Build Blitz Kick Off, I've also been working on Lucky Penny Finishes. Once I start the new house my energy will be devoted to it, so I'm using the start date of T42 as a goal to complete as many of these niggly lingering tasks from The Lucky Penny Punch List as I can!
Having my water turned off for my shower project (see April Showers Bring May Flowers for more on that!) made it very easy to install my new water filter when it arrived in the mail. We've had some trouble with rust and we're still troubleshooting it, but meanwhile, Isha researched a bunch of different filter options and we landed on the Woder 10 K Gen II filter.
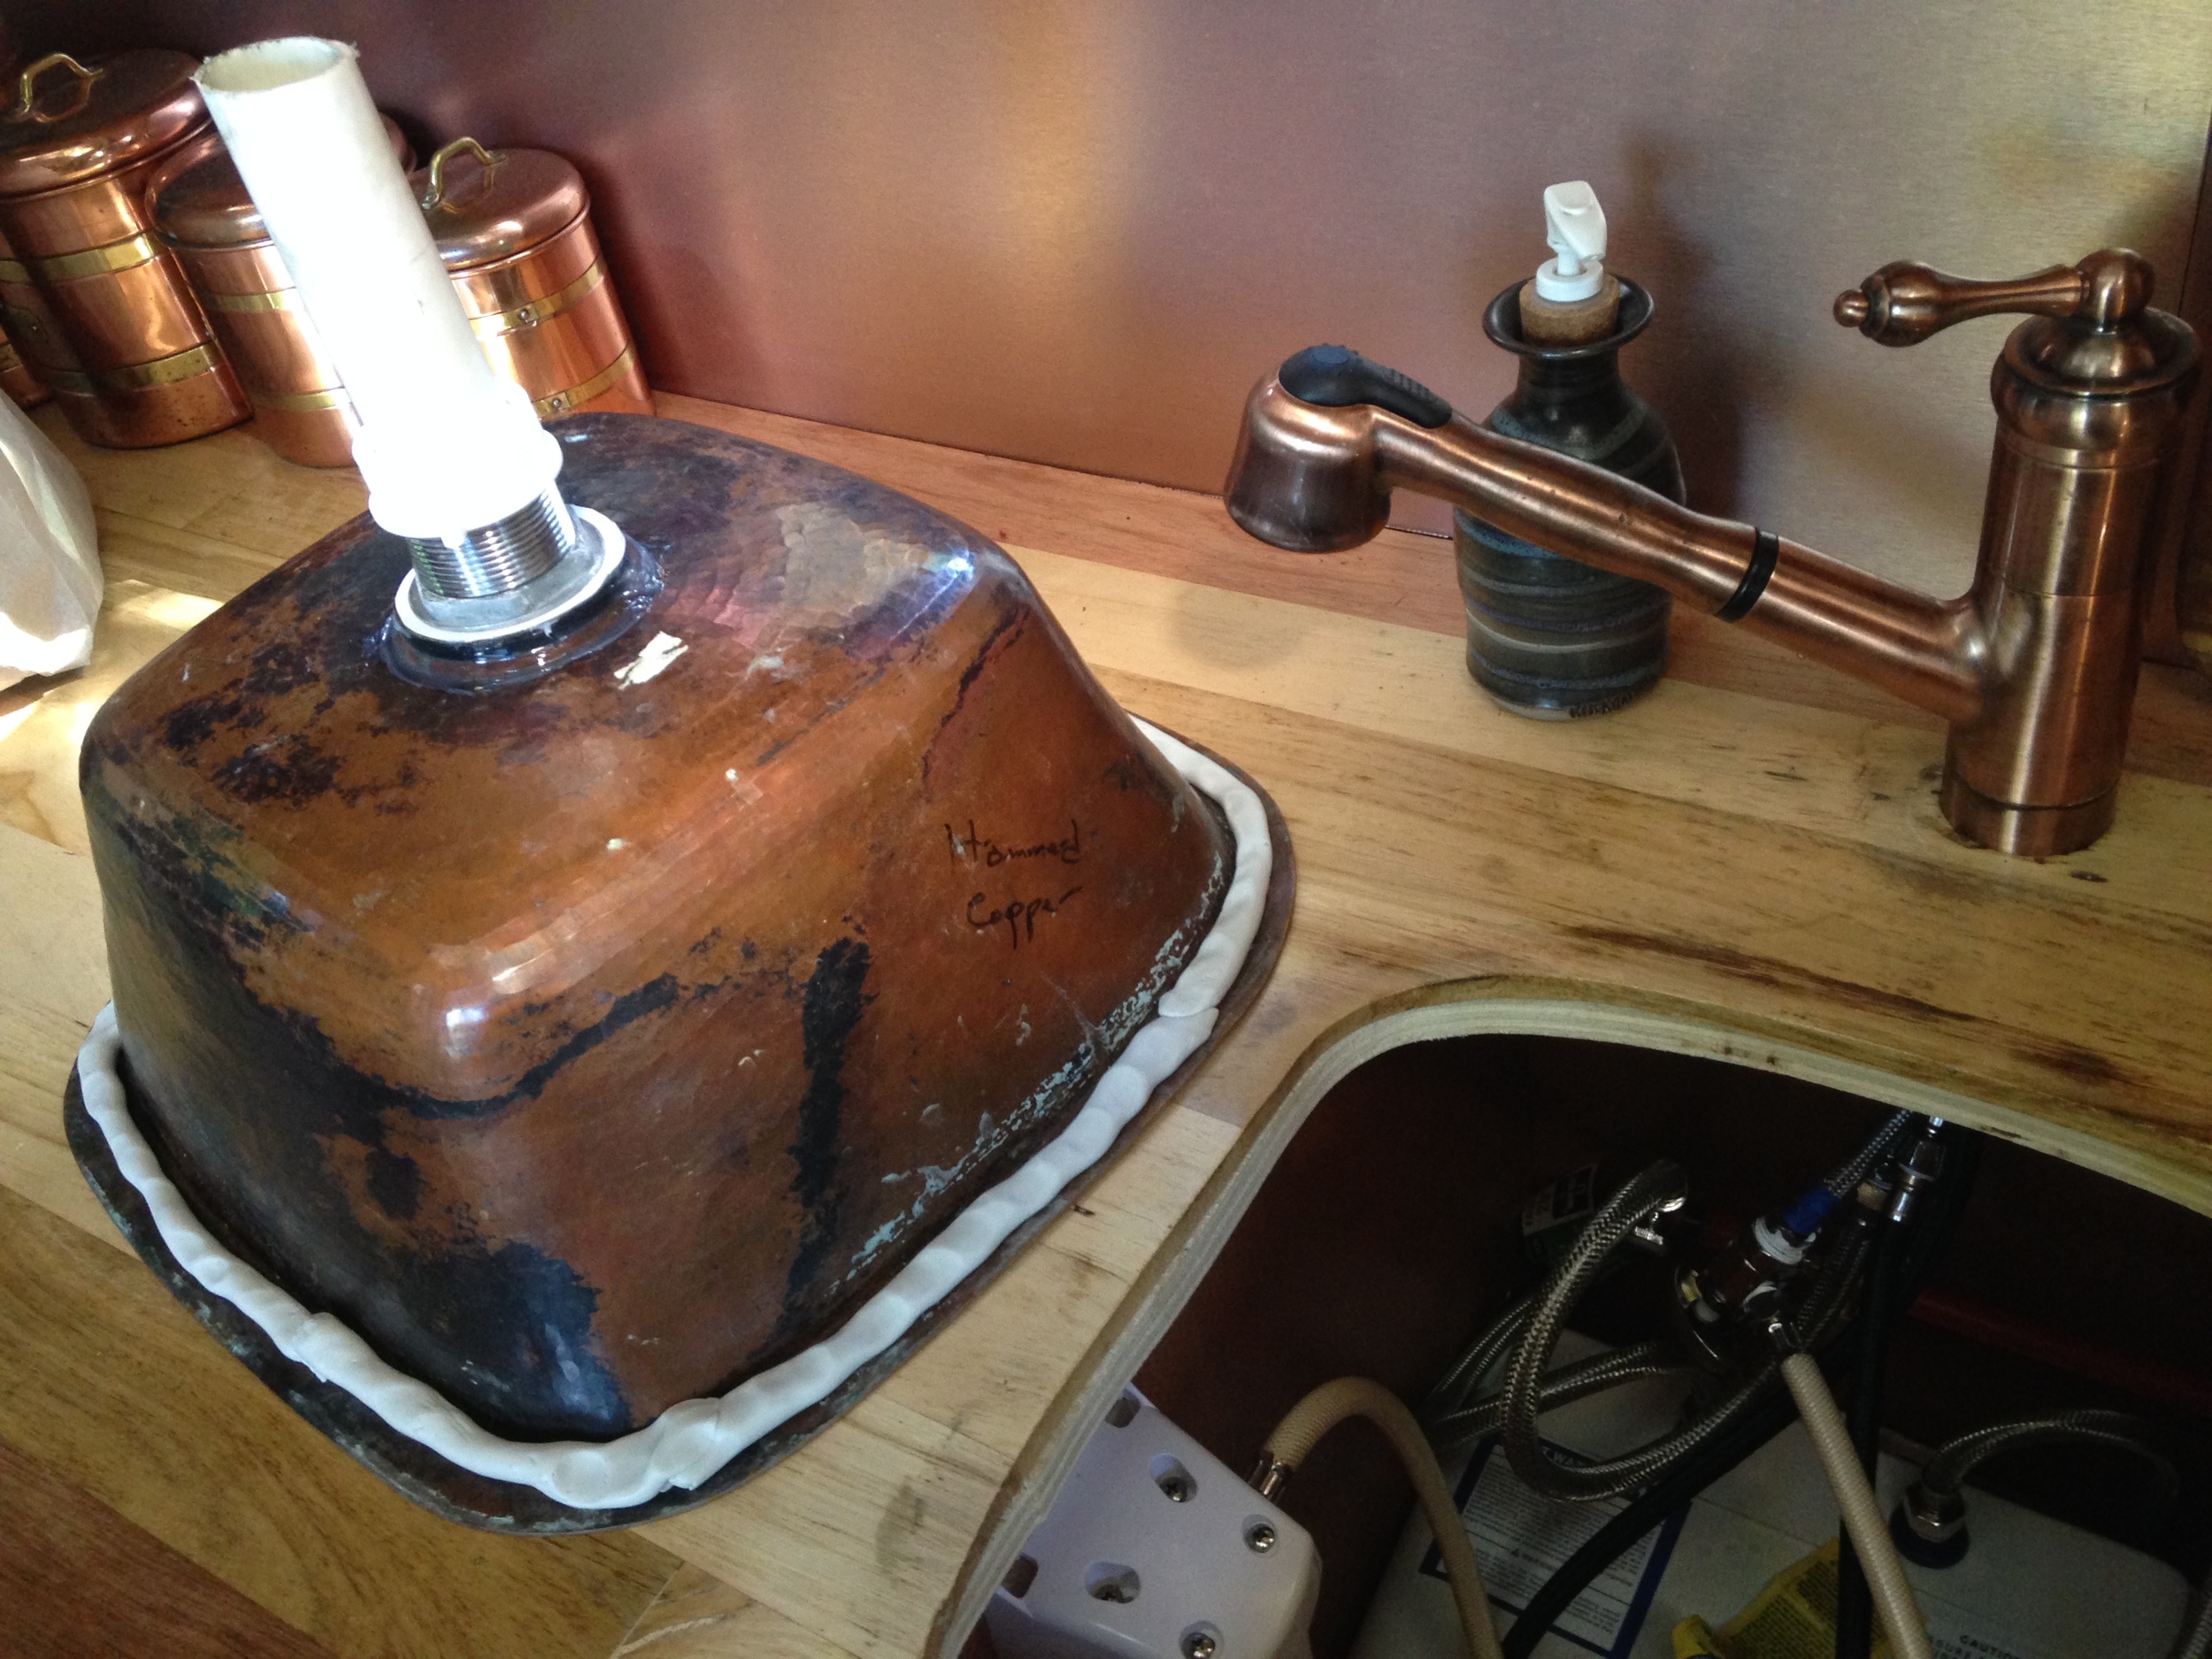
I decided that, while I was at it, I might as well refinish my countertop with a few new coats of the water-based topcoat. So I disconnected all the plumbing under my sink and pulled out the faucet and sink and added three layers of topcoat, sanding between each layer.

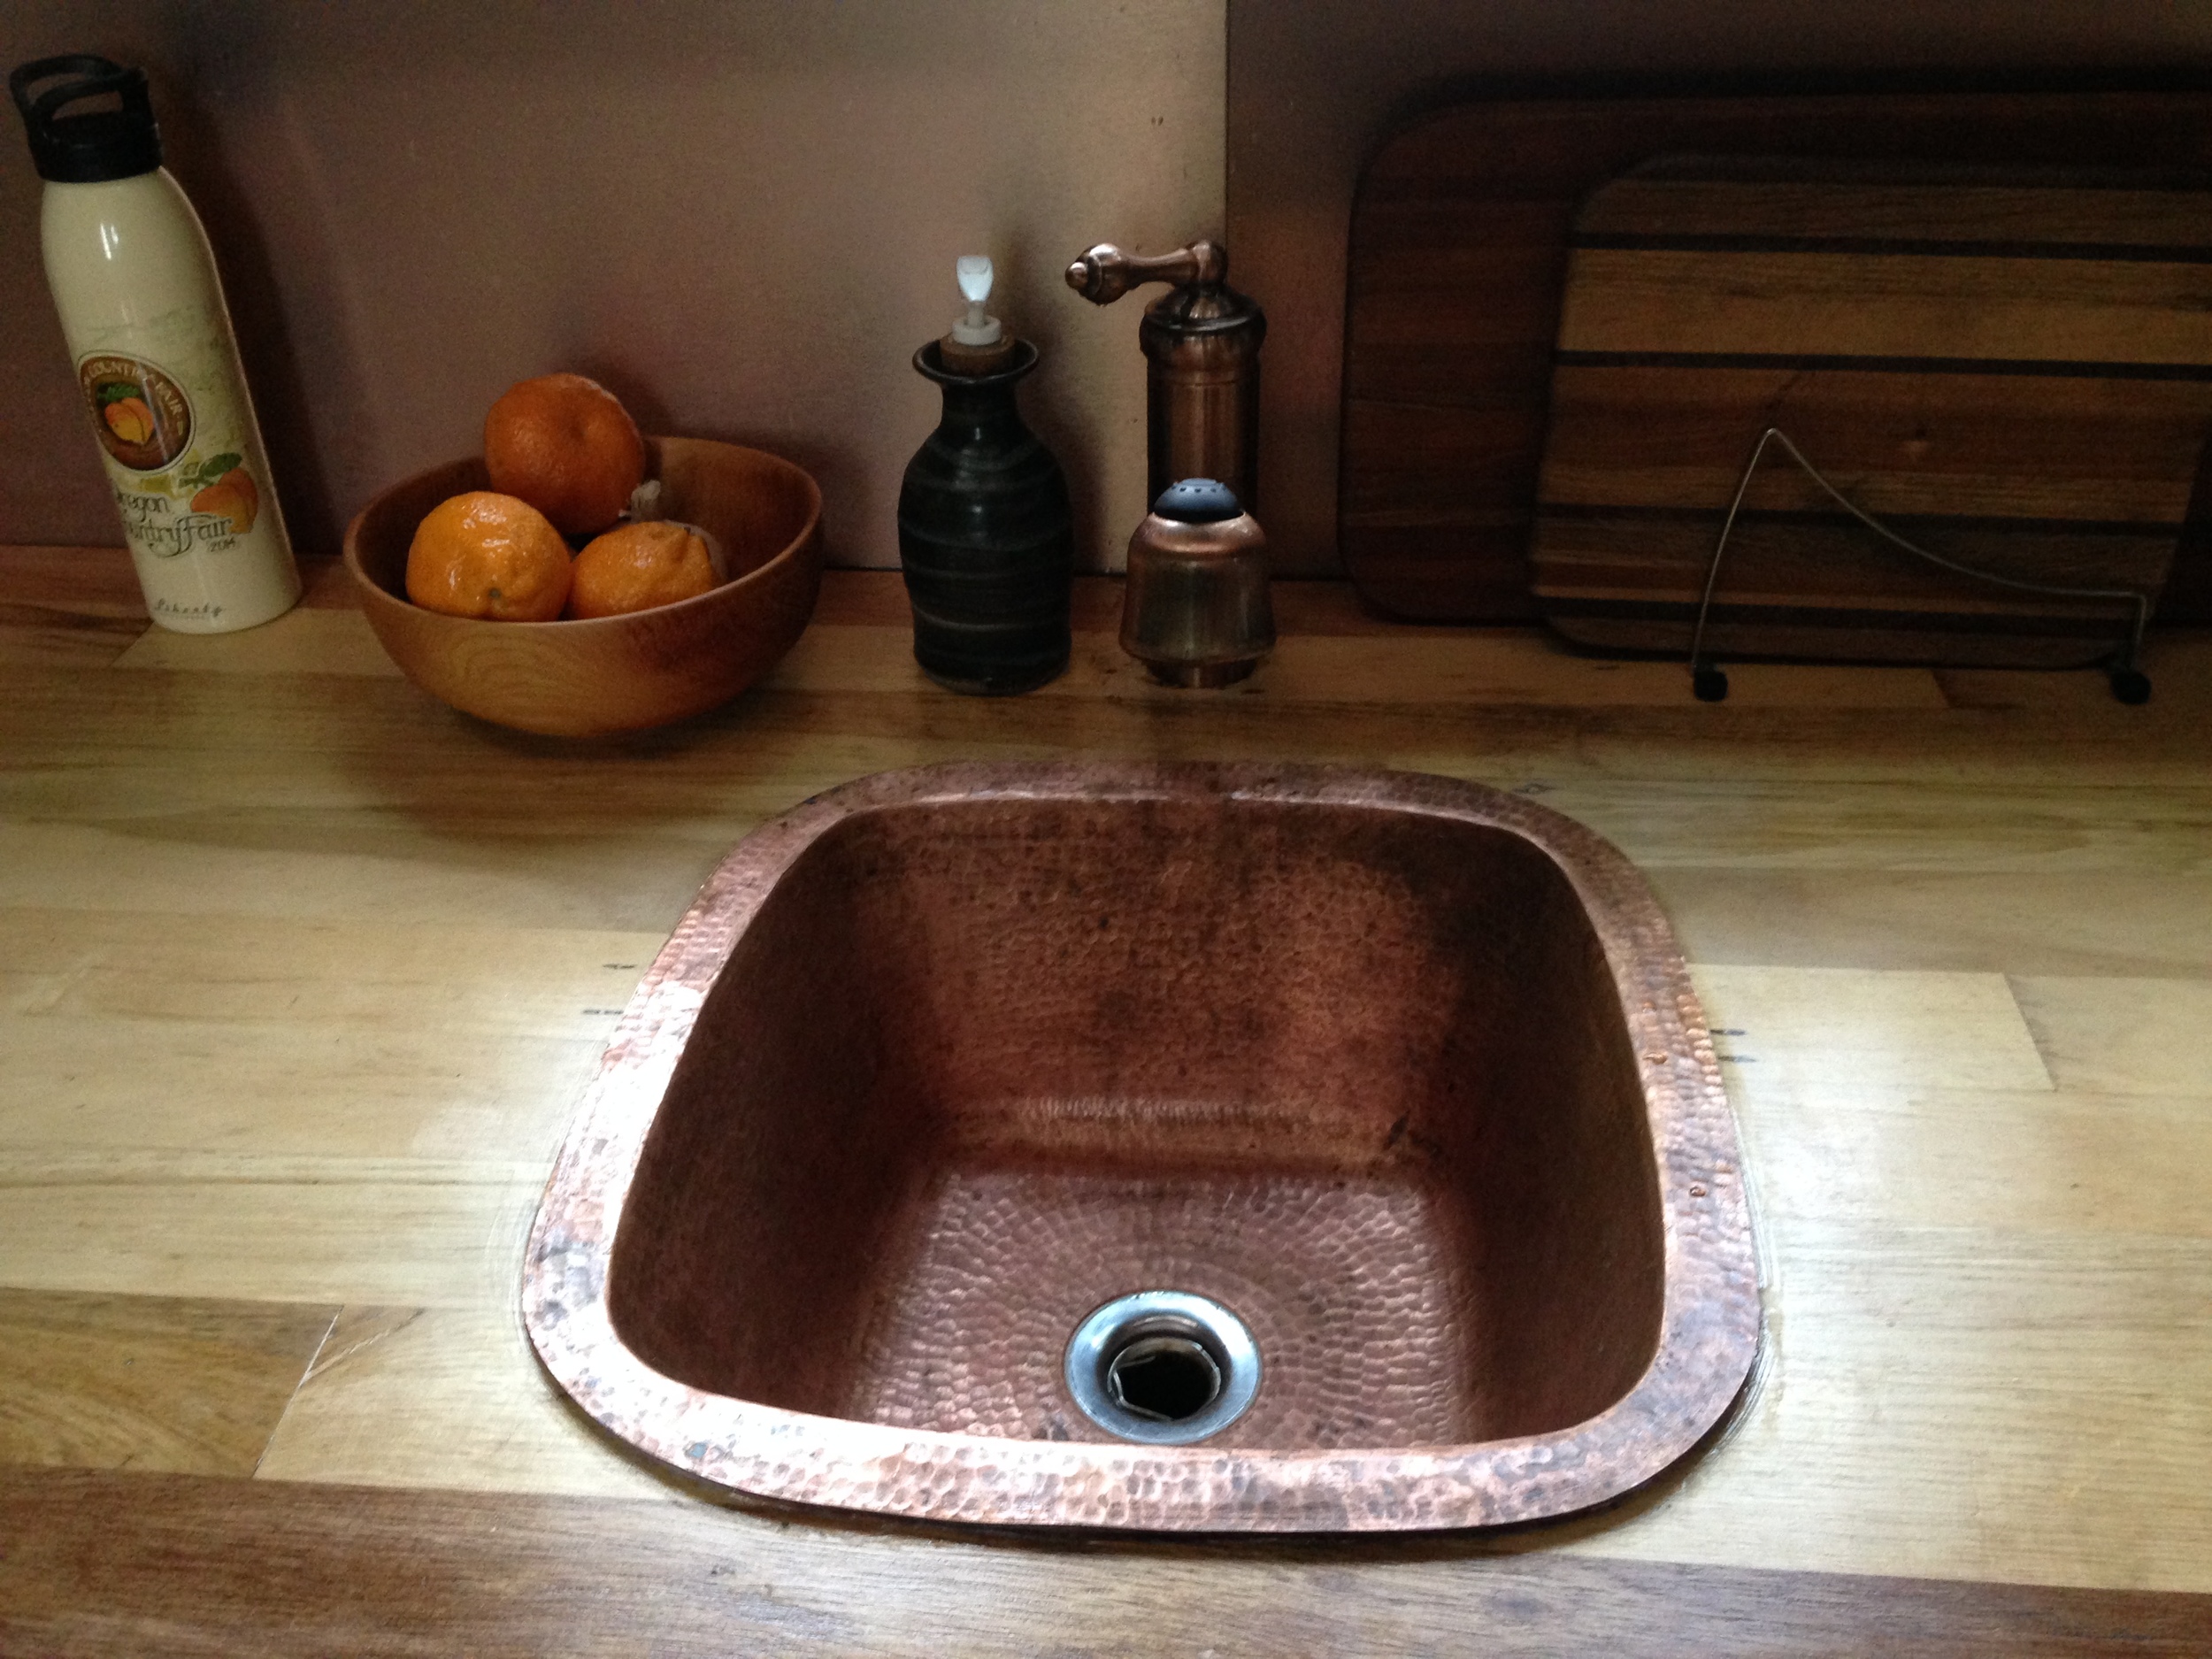
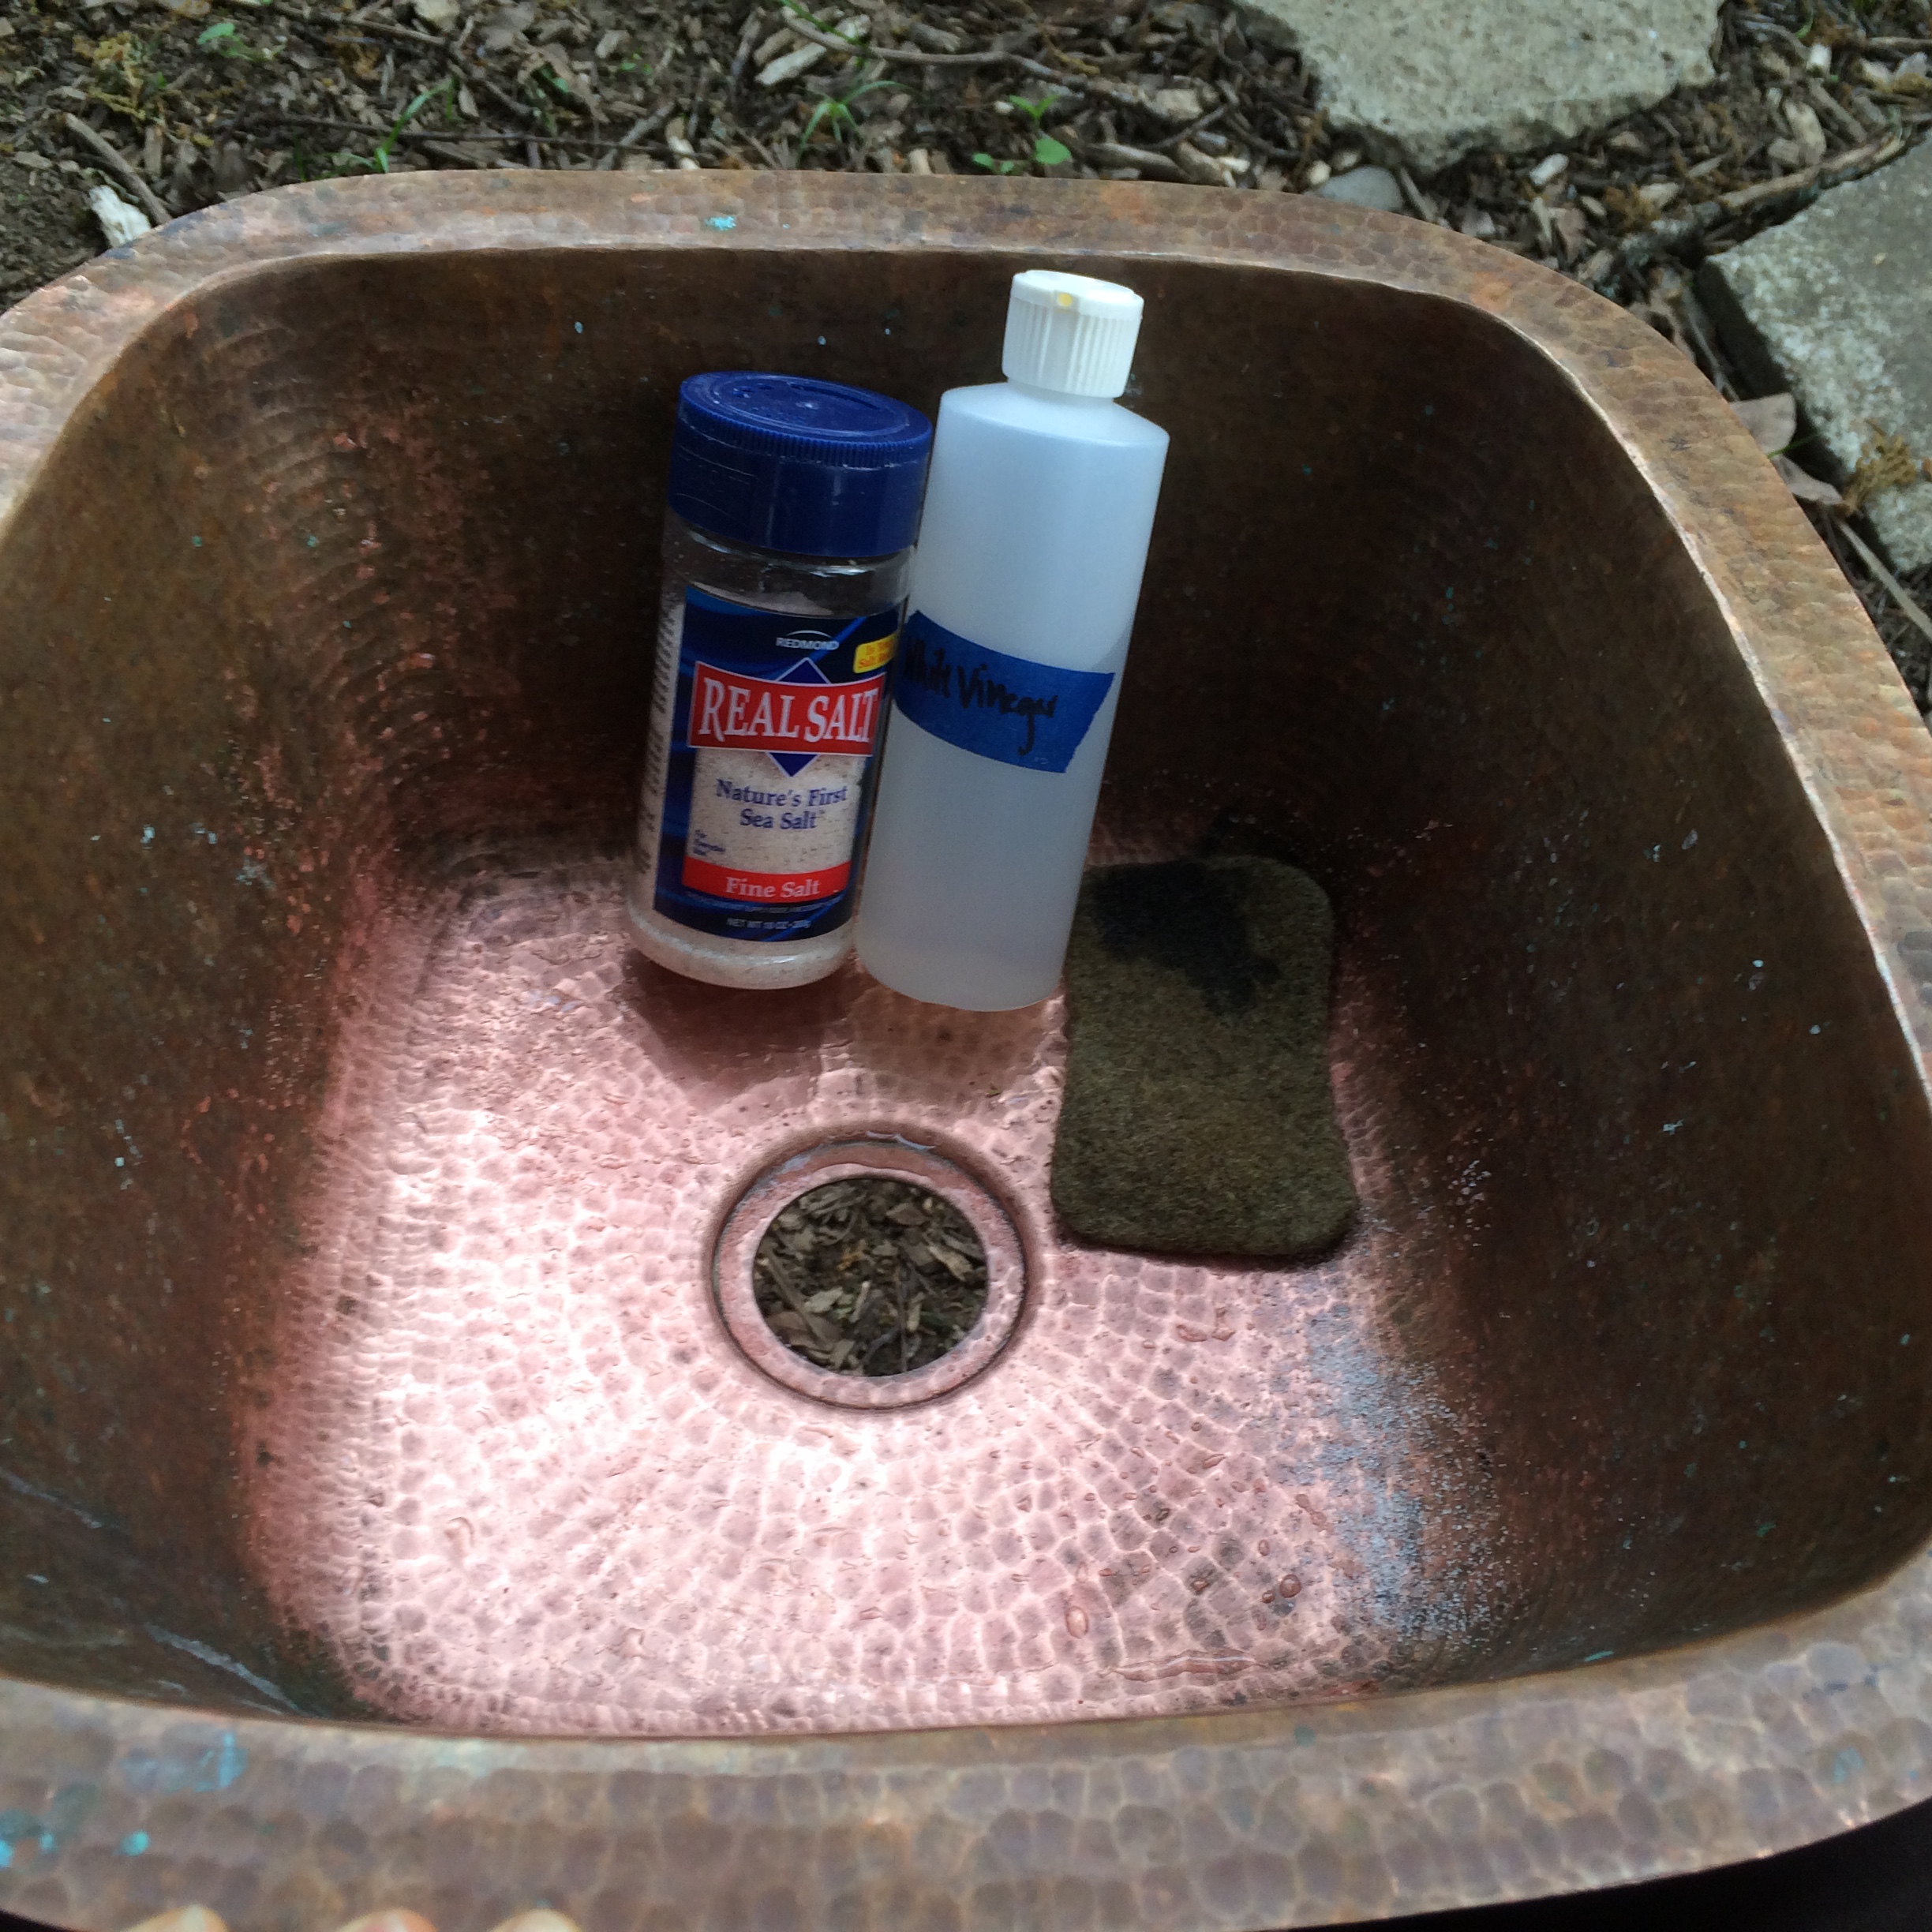
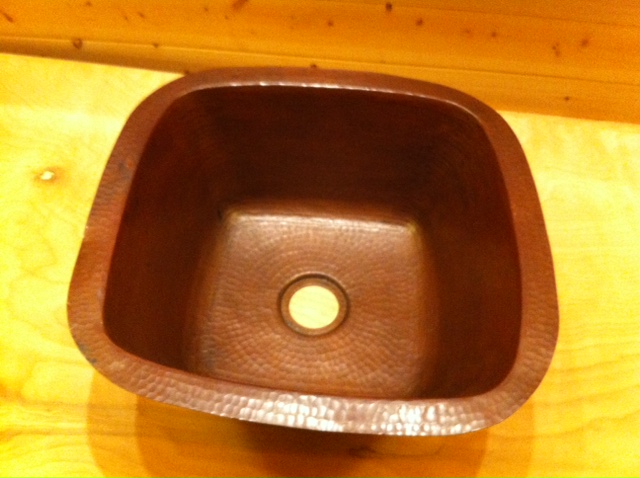
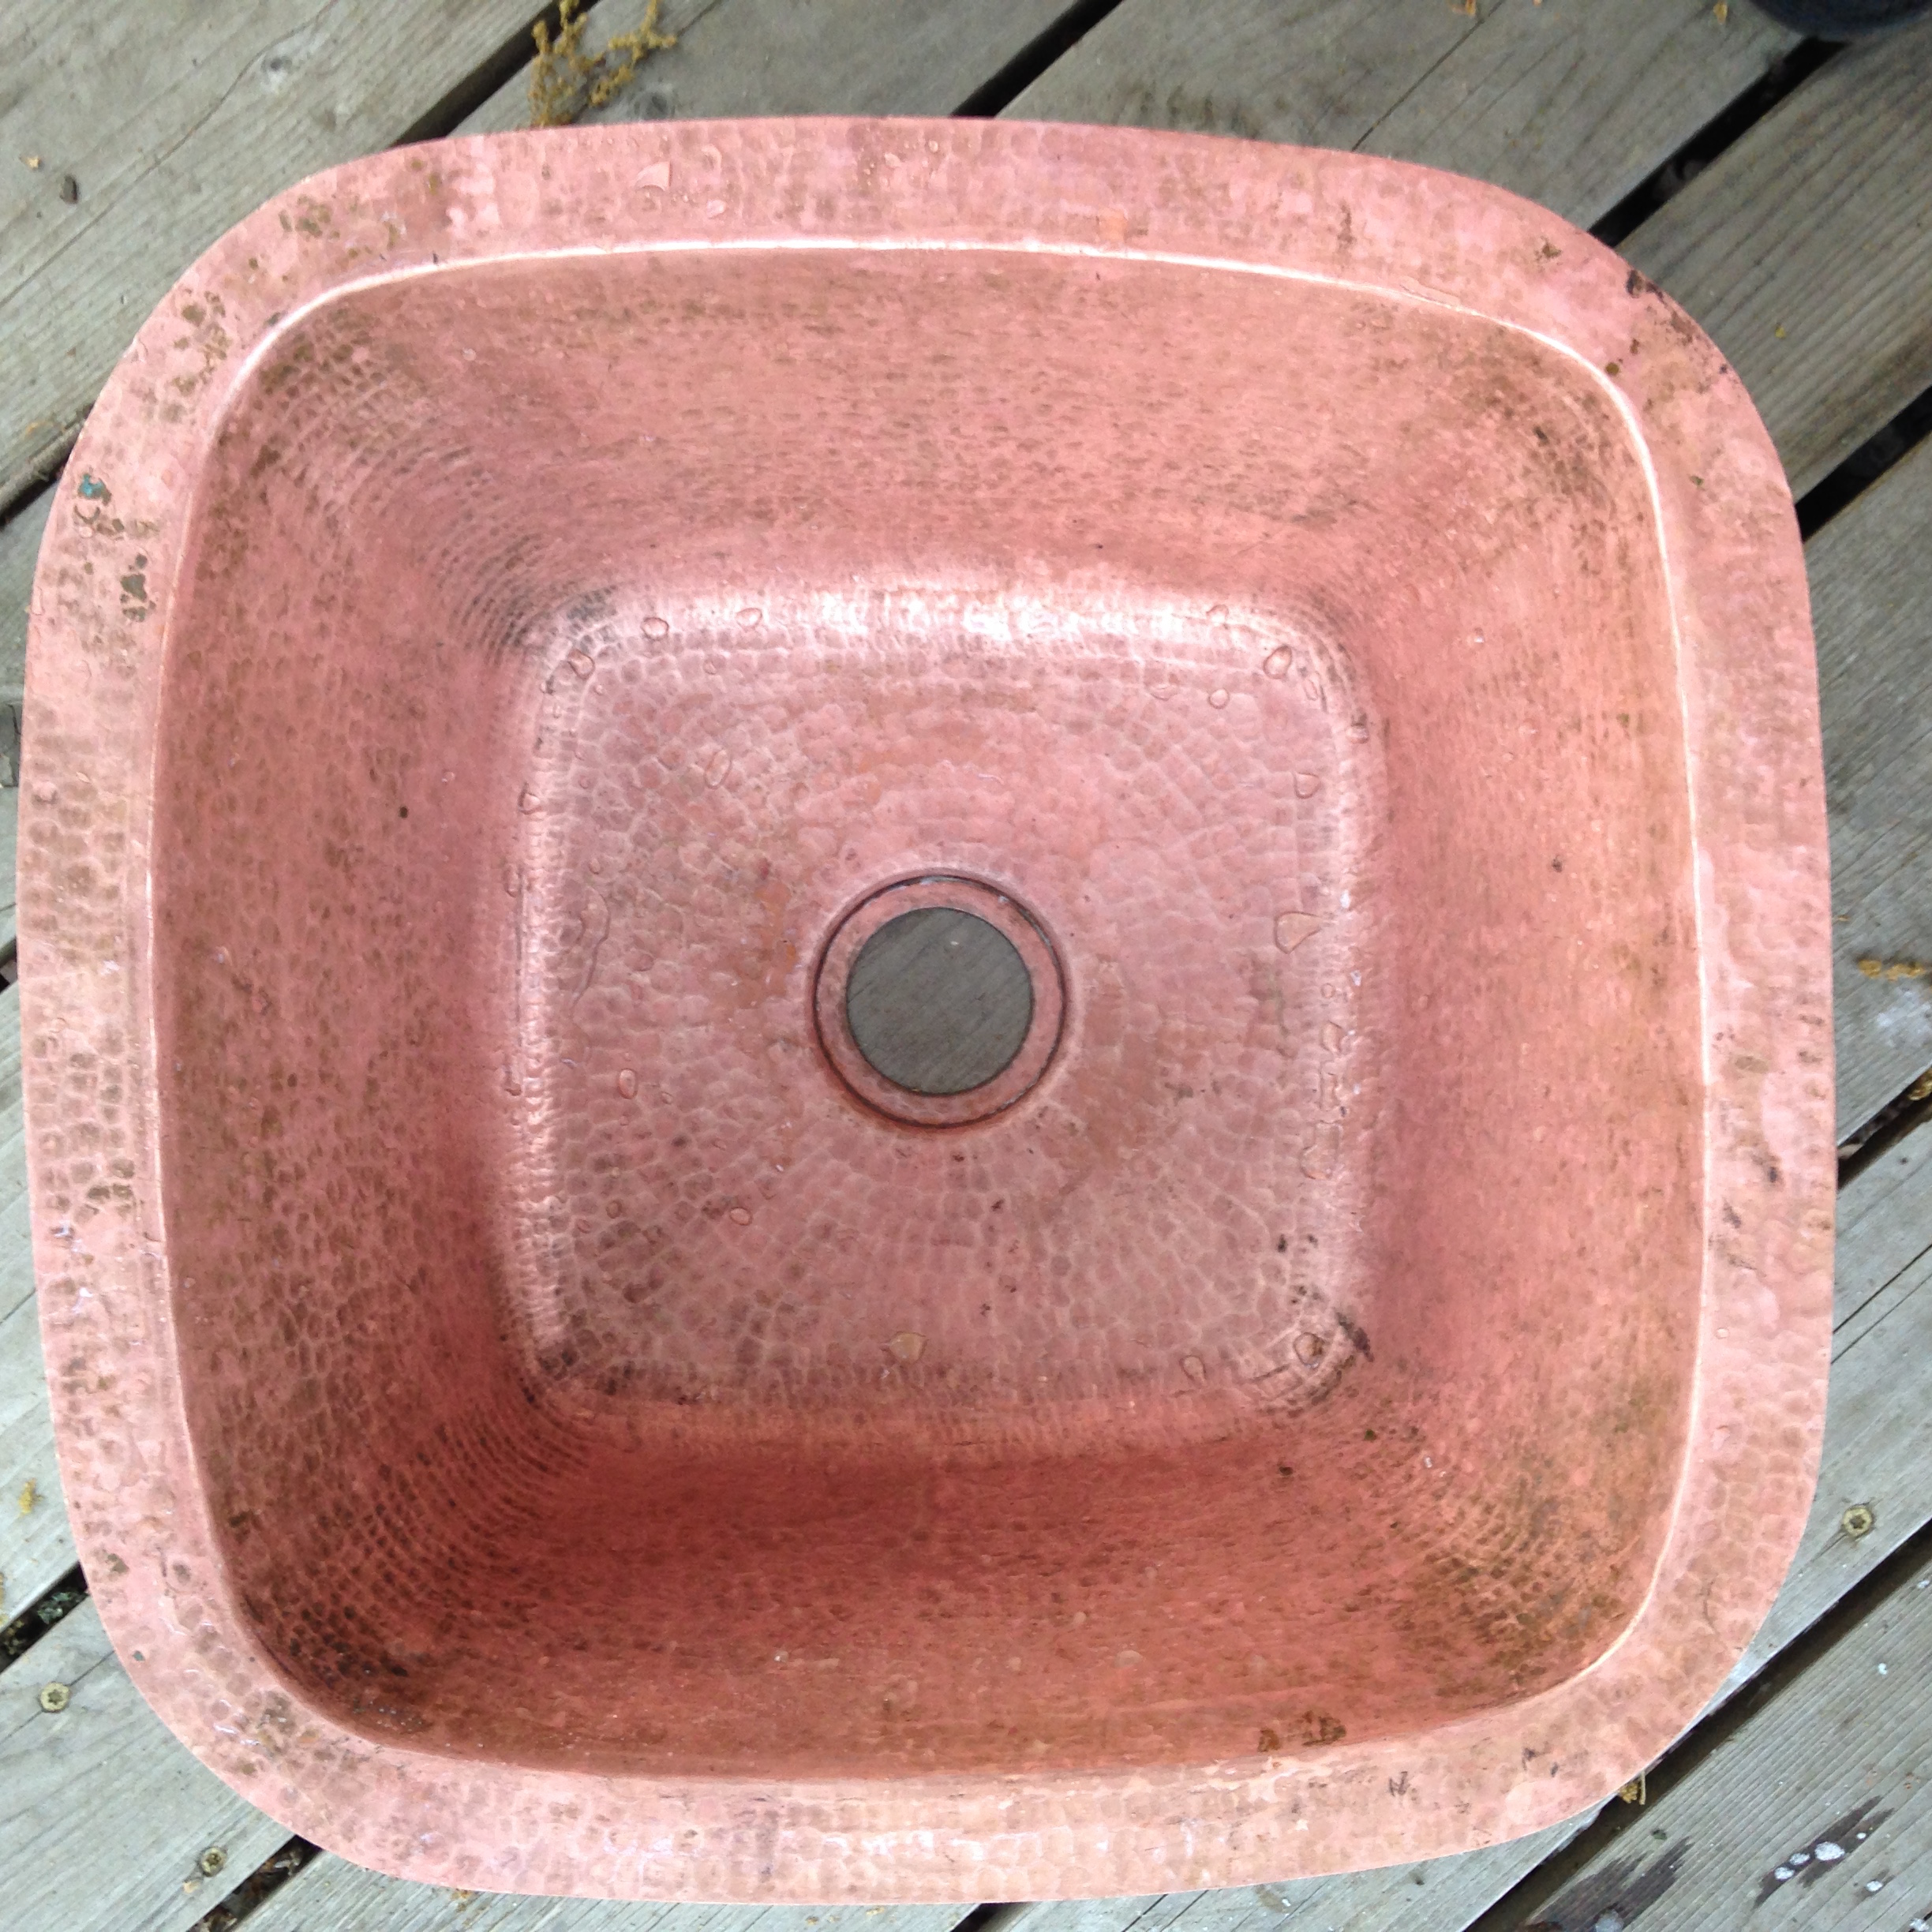
Then I polished my copper sink with salt and vinegar. After trying several different copper cleaners, a guest on one of our Tiny House Community Tours suggested this old-fashioned method. I've found it to be by far the best one! Then I reconnected the sink's strainer and added a bead of silicone caulk around the ring both top and bottom.
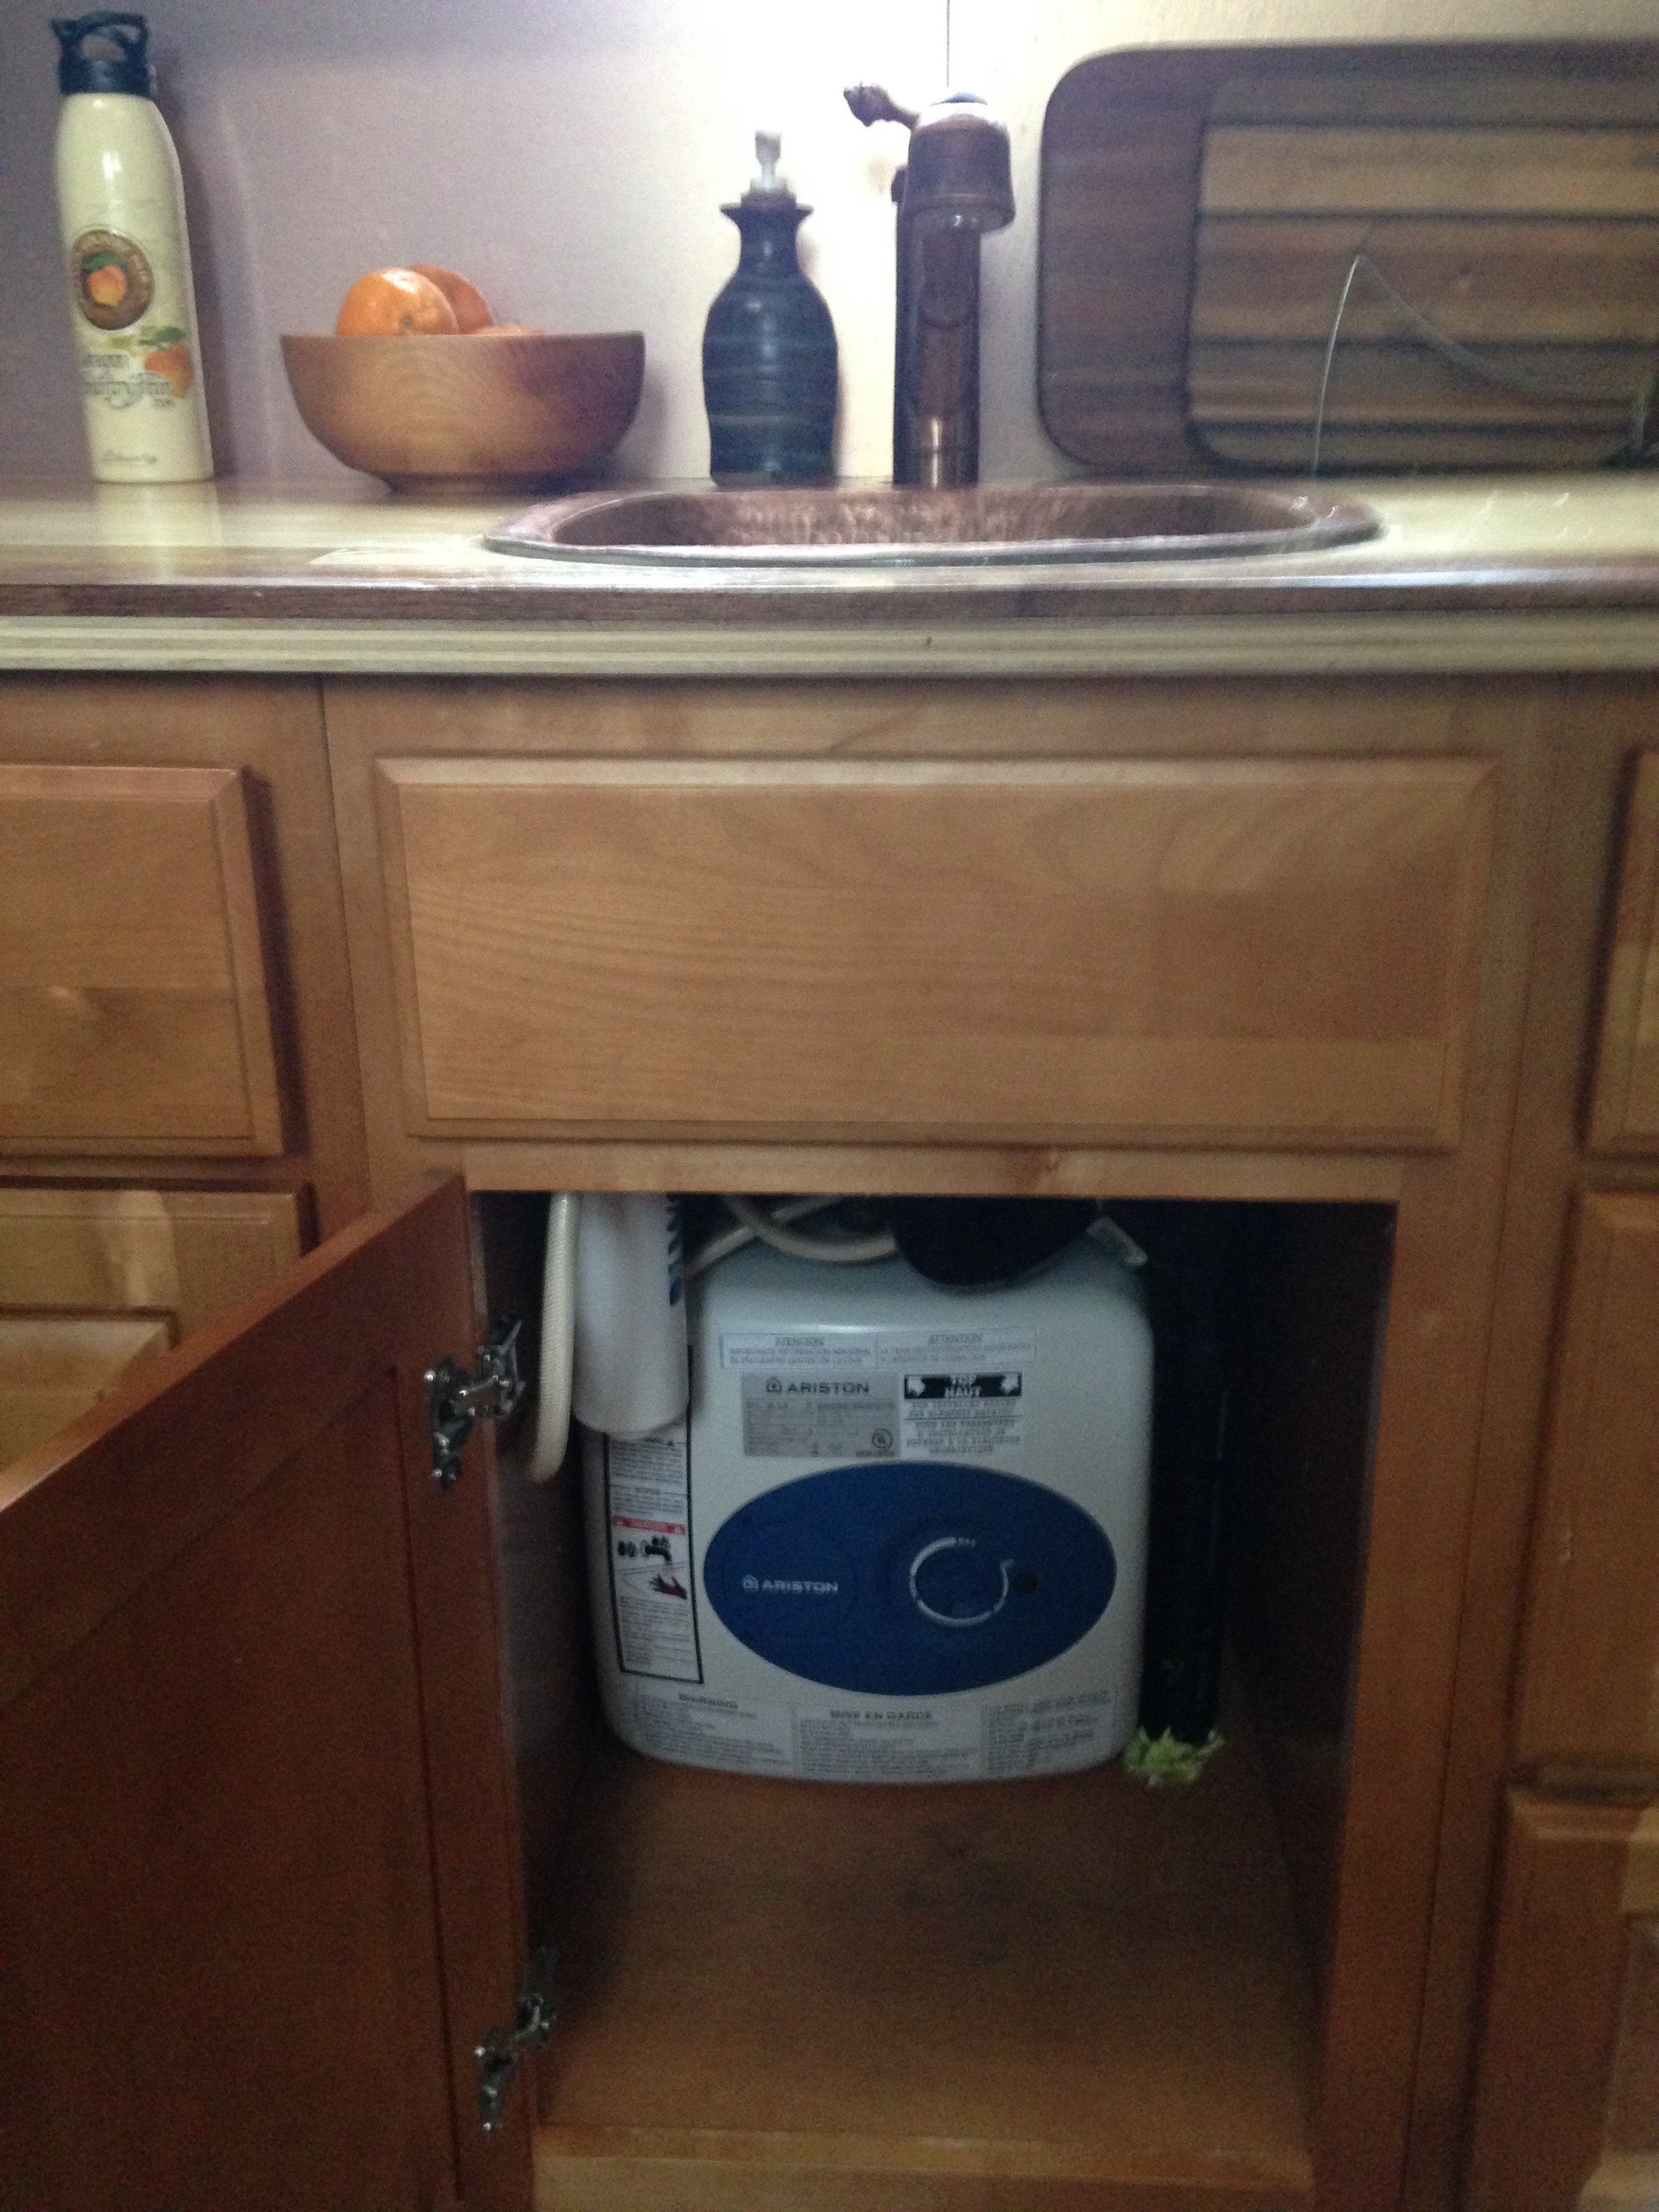
Once I was ready to put everything back together again, I reinstalled my copper faucet (I'd taken it out to try out a couple escutcheon options, but none of them worked, so I guess I won't have one after all!) I installed the Woder filter on the side wall of my base cabinet and then connected all of my supply lines. Cold water comes in from under the house and goes either to my water heater or to the Woder filter and then to the sink. Water from the water heater goes either to my sink or to my shower.
I'd removed the aerator for the sink so I could flush the system and apparently that piece is critical because when I first turned on the water again water came pouring out of the center of the faucet - from below! The internet told me I need to have the aerator in place when testing the water supply lines so I mopped up the water, put the aerator back in place, and connected everything again. Hooray! No leaks!
So I put some plumber's putty around the sink flange, popped the sink back into its hole, did a little happy dance on top of it to make sure it was well-seated, then scrapped away the excess putty, and caulked it into place. Finally, I reconnected the "waste" lines which redirect my water to my raised planter bed via my Garden Beds & Graywater strategy.
My counters are now nice and slick, my sink is shiny, and my drinking water is now filtered. But I've gotta say, the most wonderful part is that I am still extremely grateful every time I have have running water again! Now for a glass of cold water! Cheers!