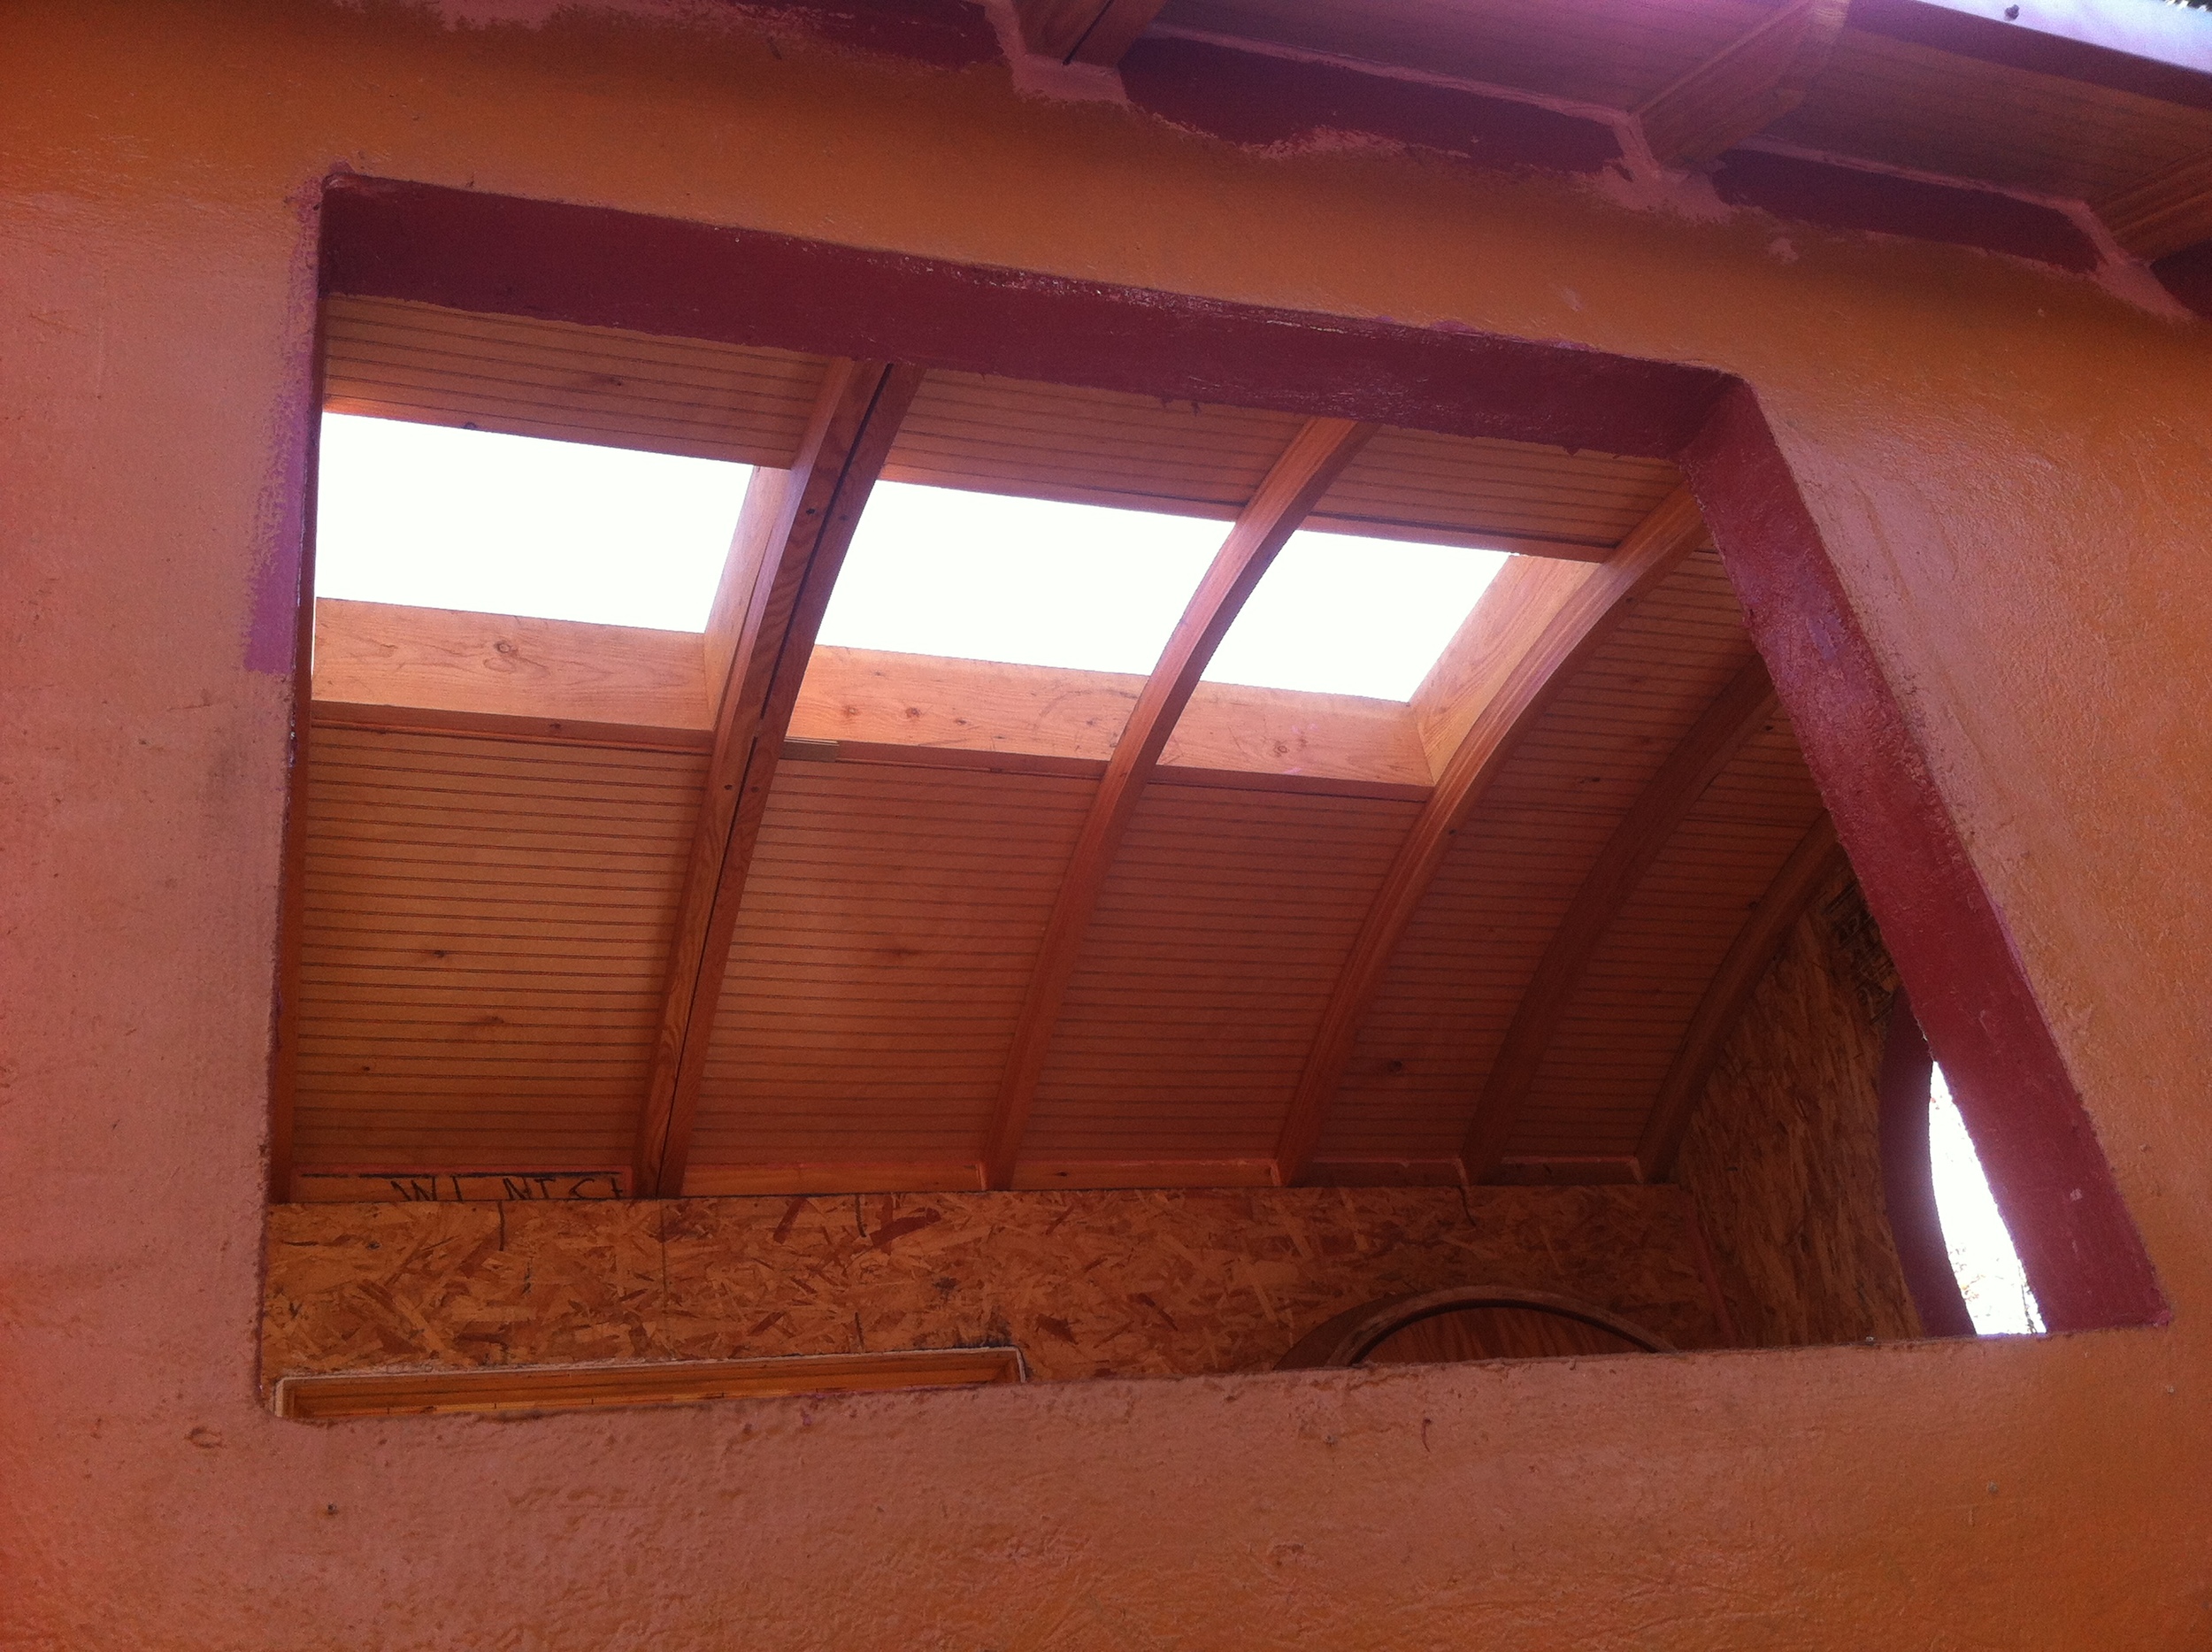
On Monday we finished Sheathing My Vardo Roof with a great crew of Tiny House Helpers. Yesterday we turned to window installation and I had the two perfect helpers: my build buddy Laura Klement who has installed dozens of windows through her role with Habitat for Humanity and Eric who is a cabinet maker with an eye for detail and great problem-solving skills.
I had picked up the supplies I’d need from Atlas Supply the day before: backer rod, AirDam from Prosoco’s R-Guard System, and a spatula for tooling. Cody Hakala at Atlas is very knowledgeable and familiar with the R-Guard system as well as other liquid-applied air barrier systems.

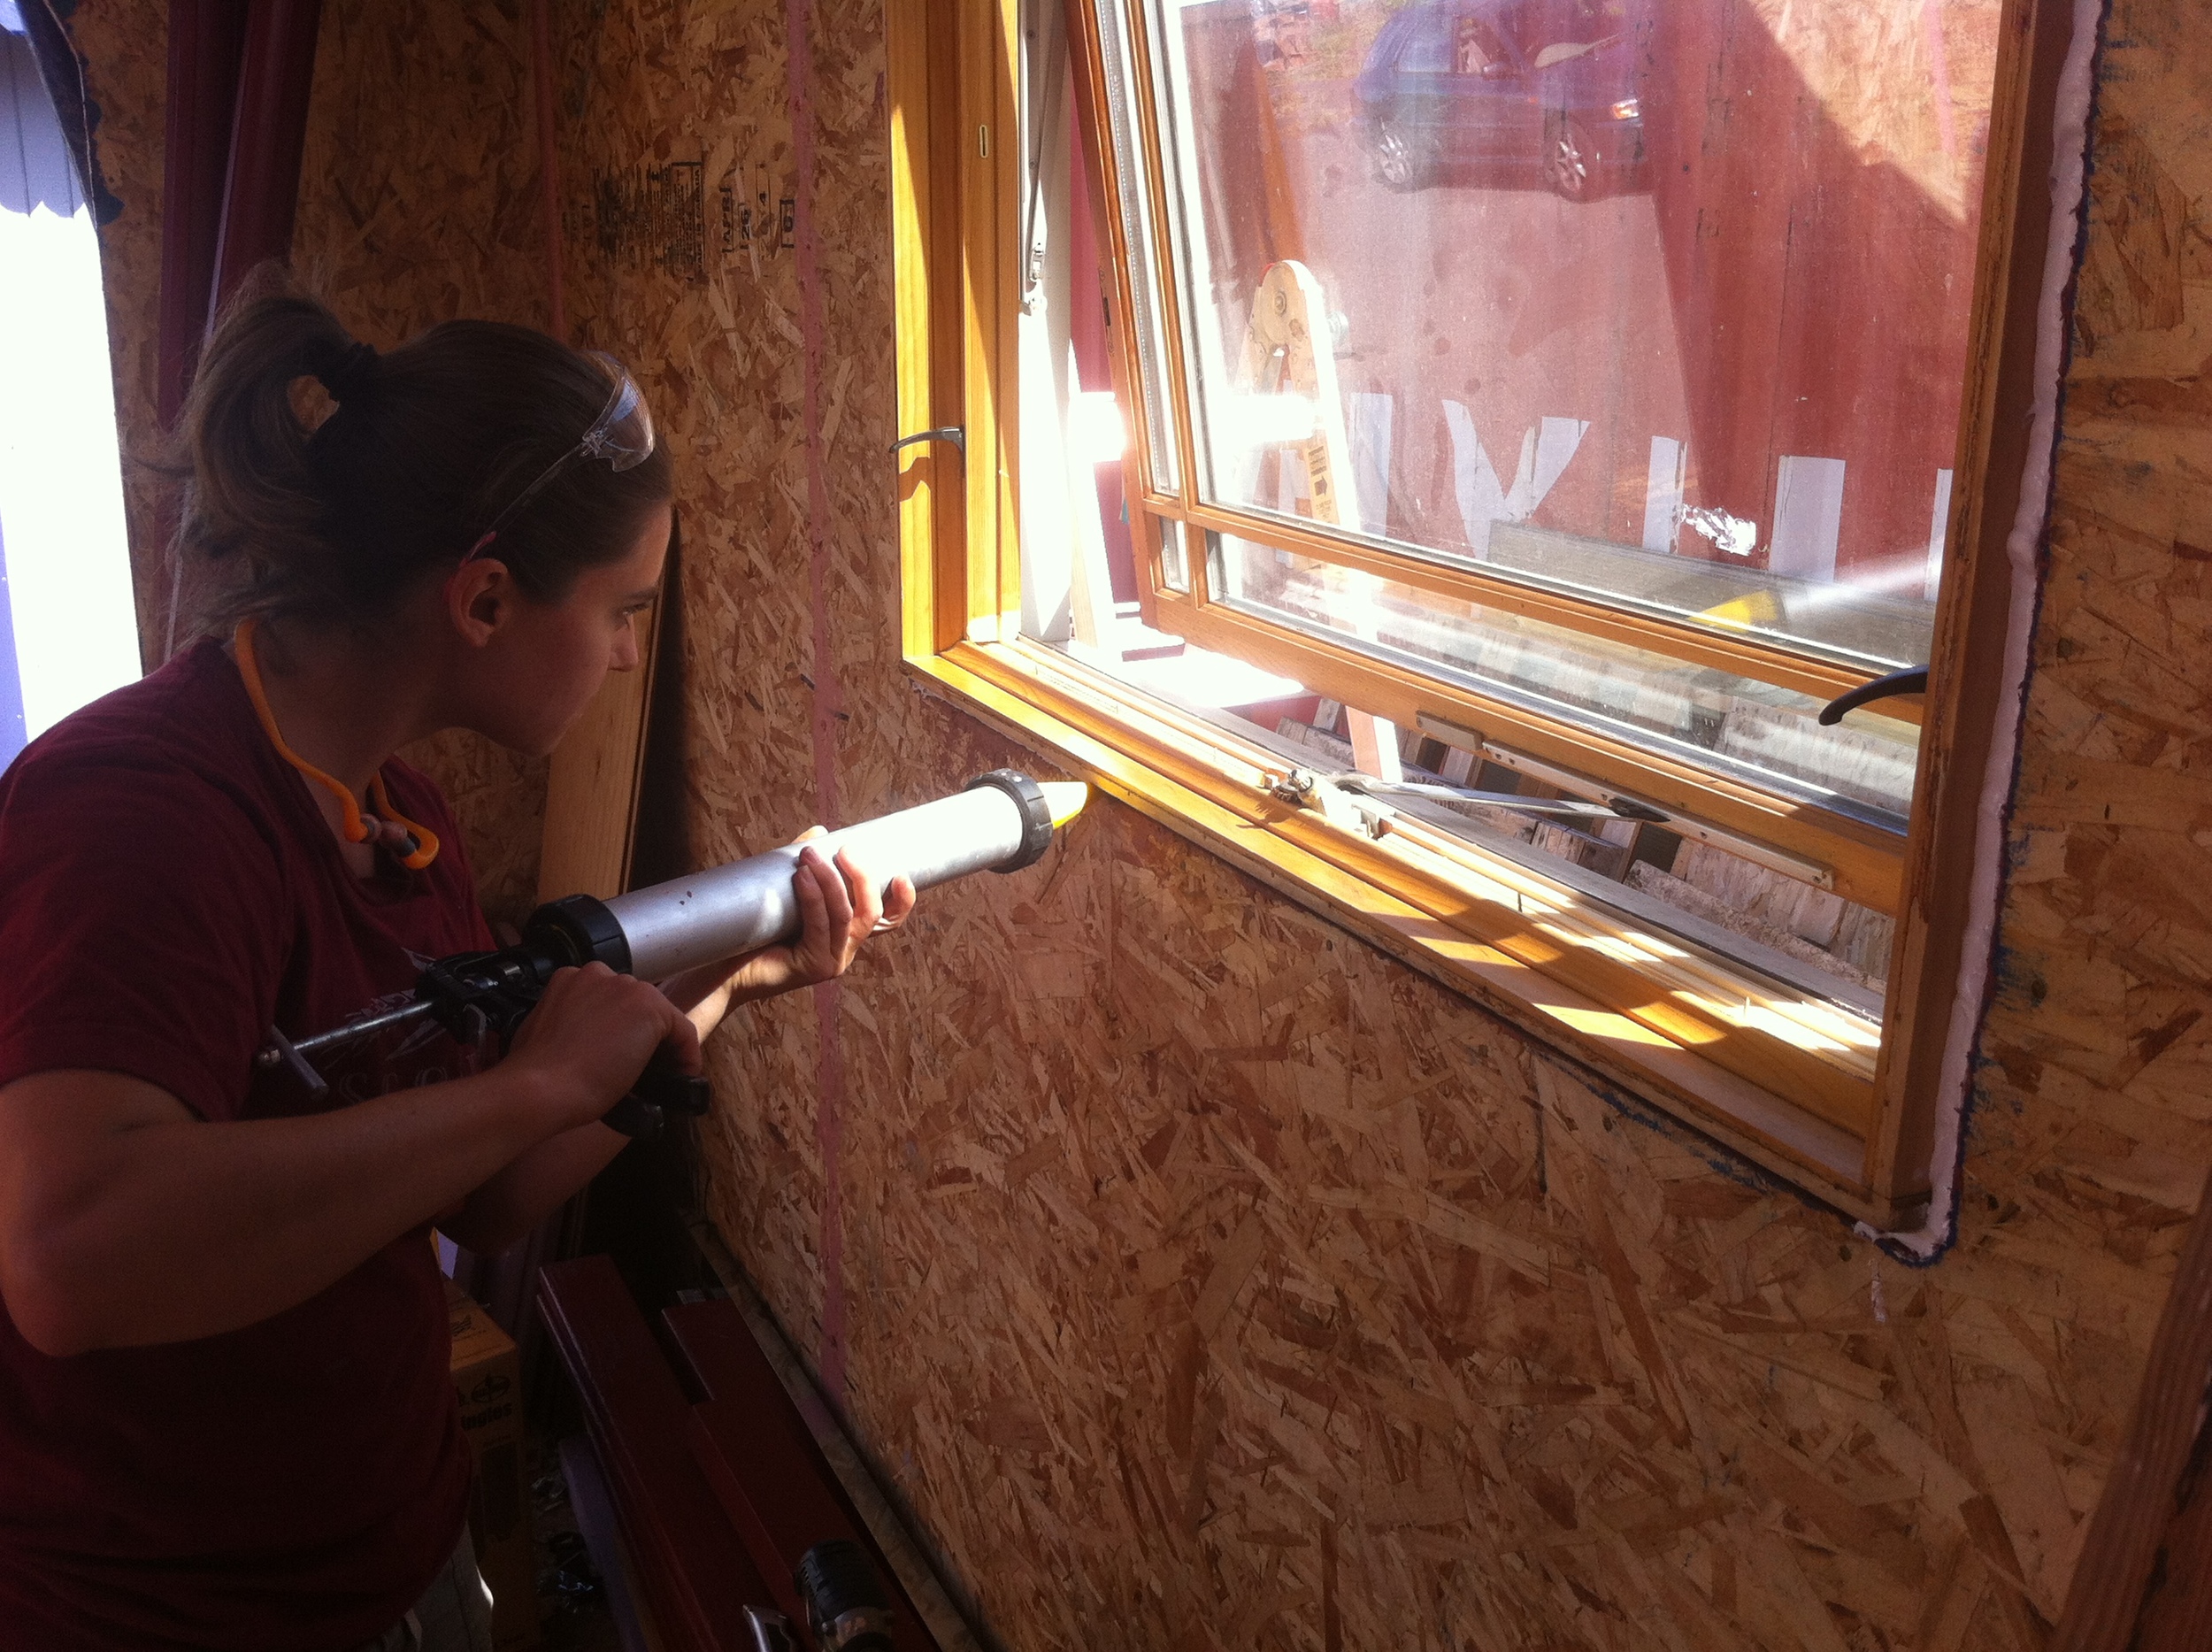
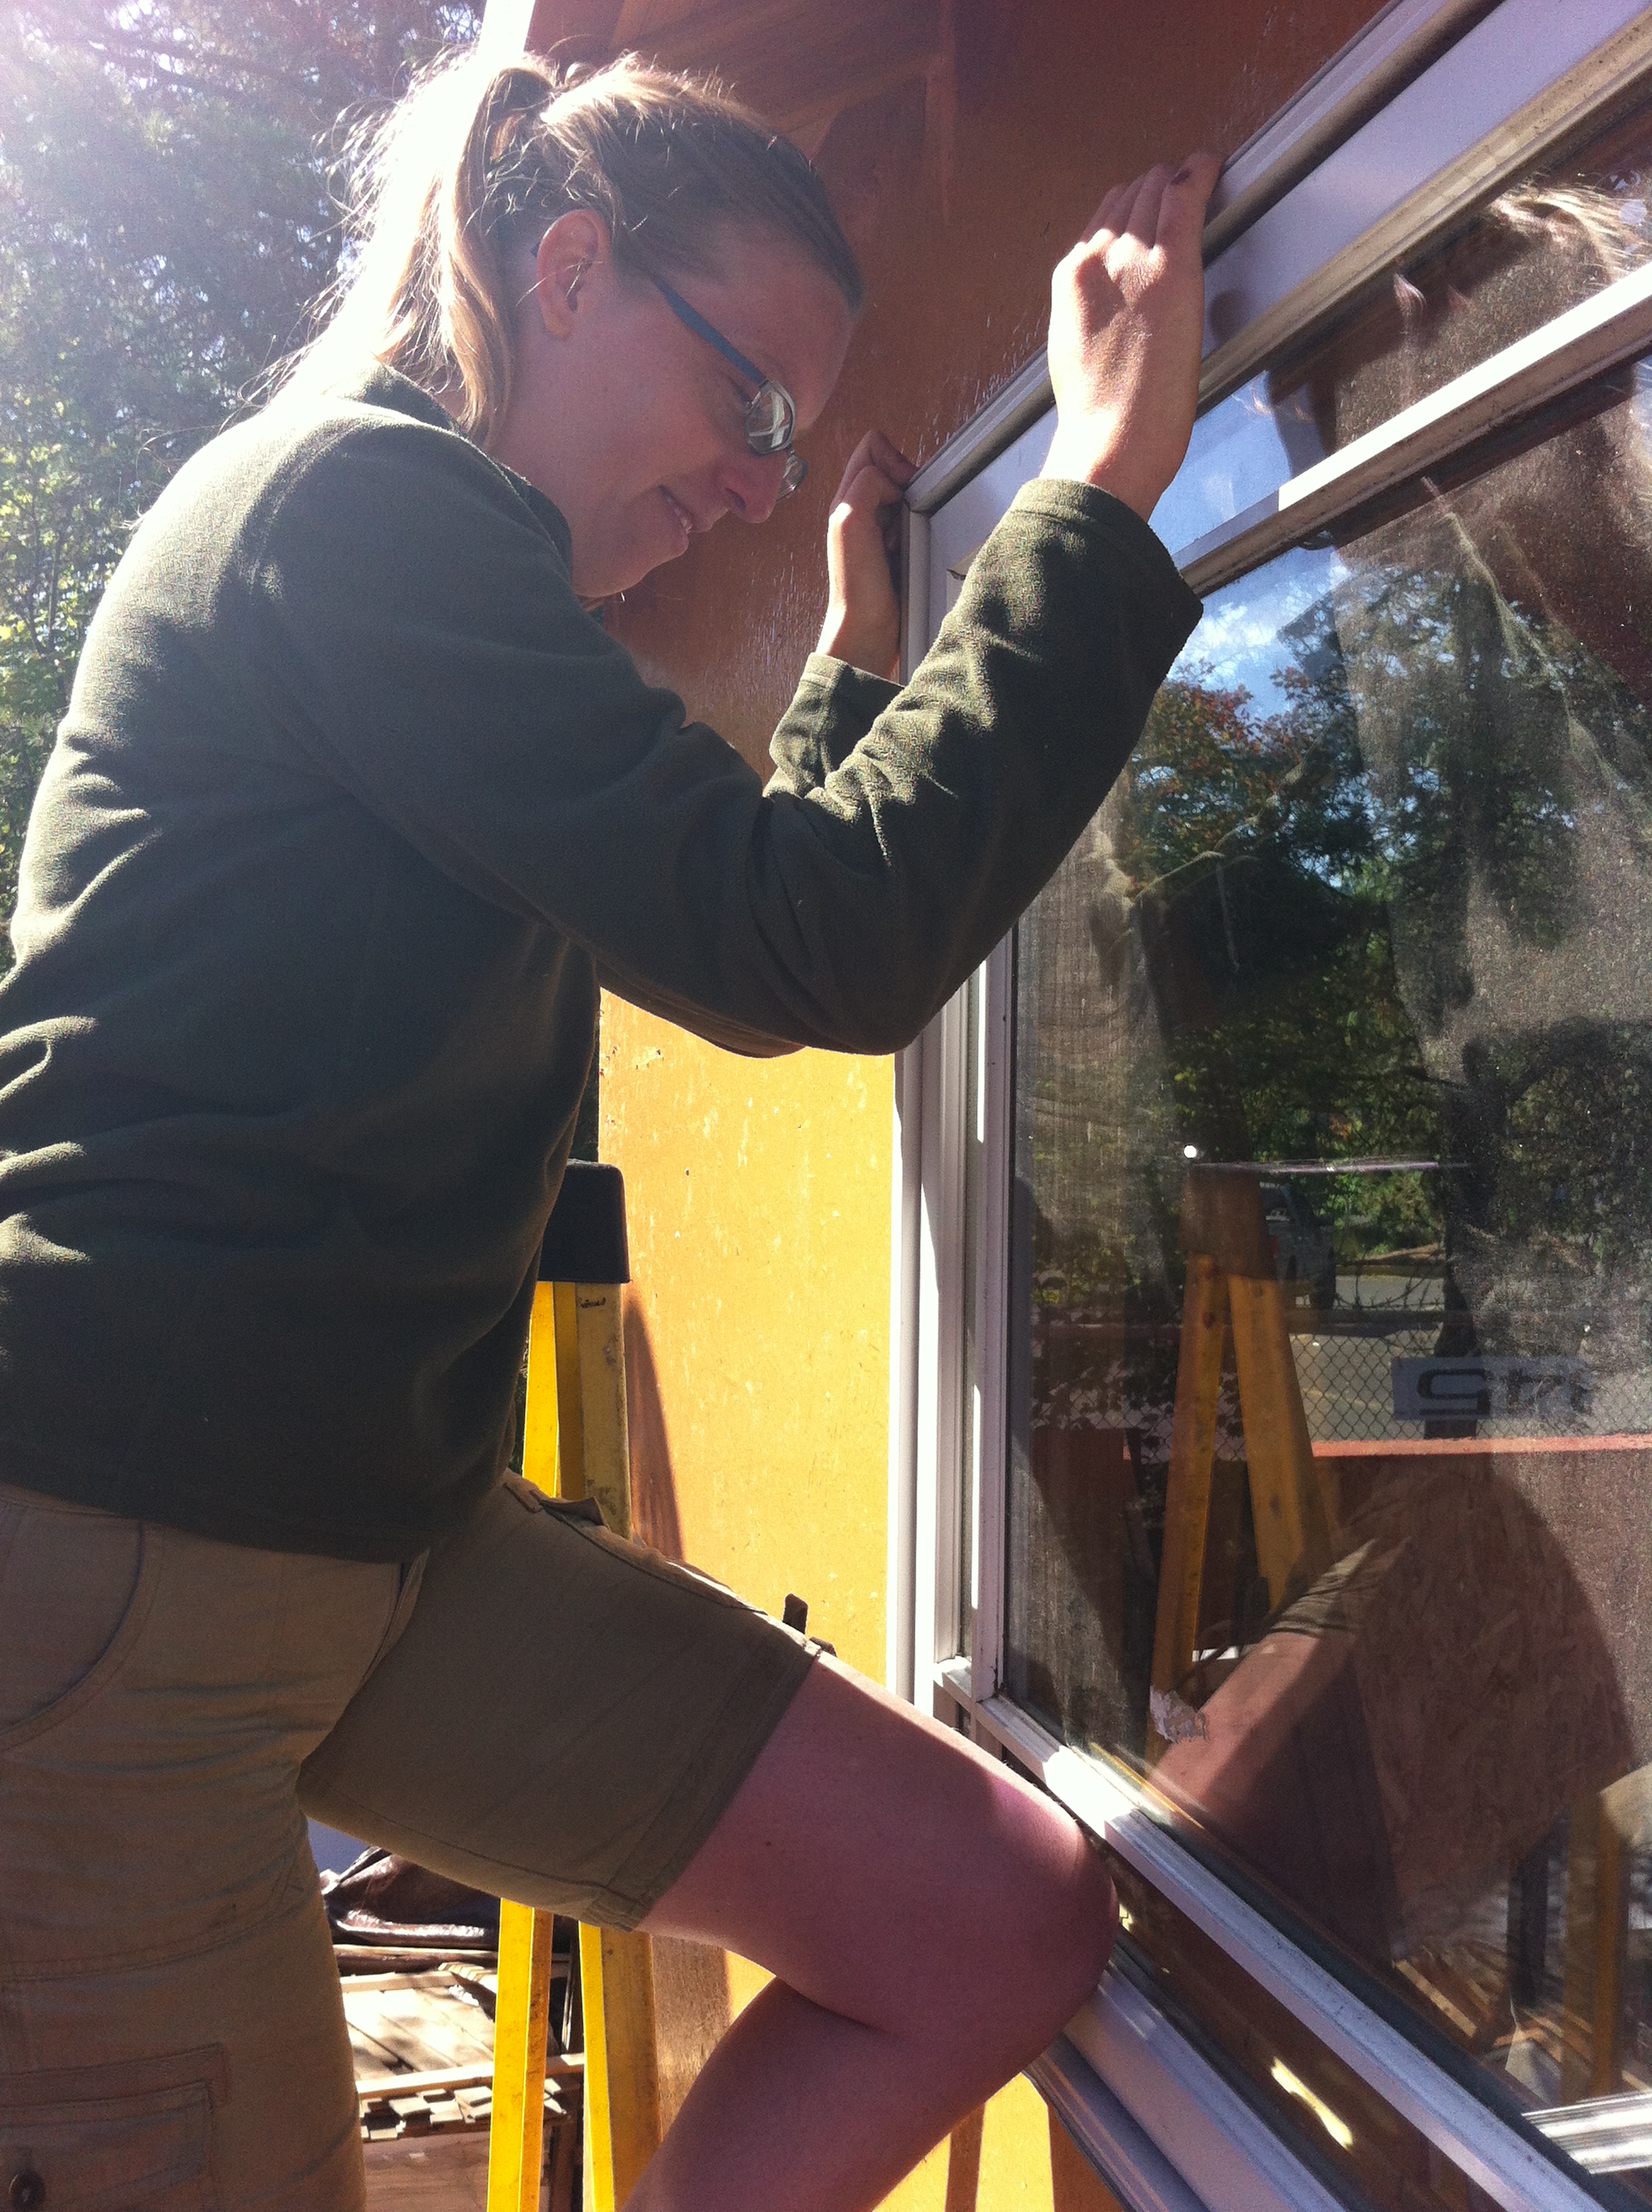
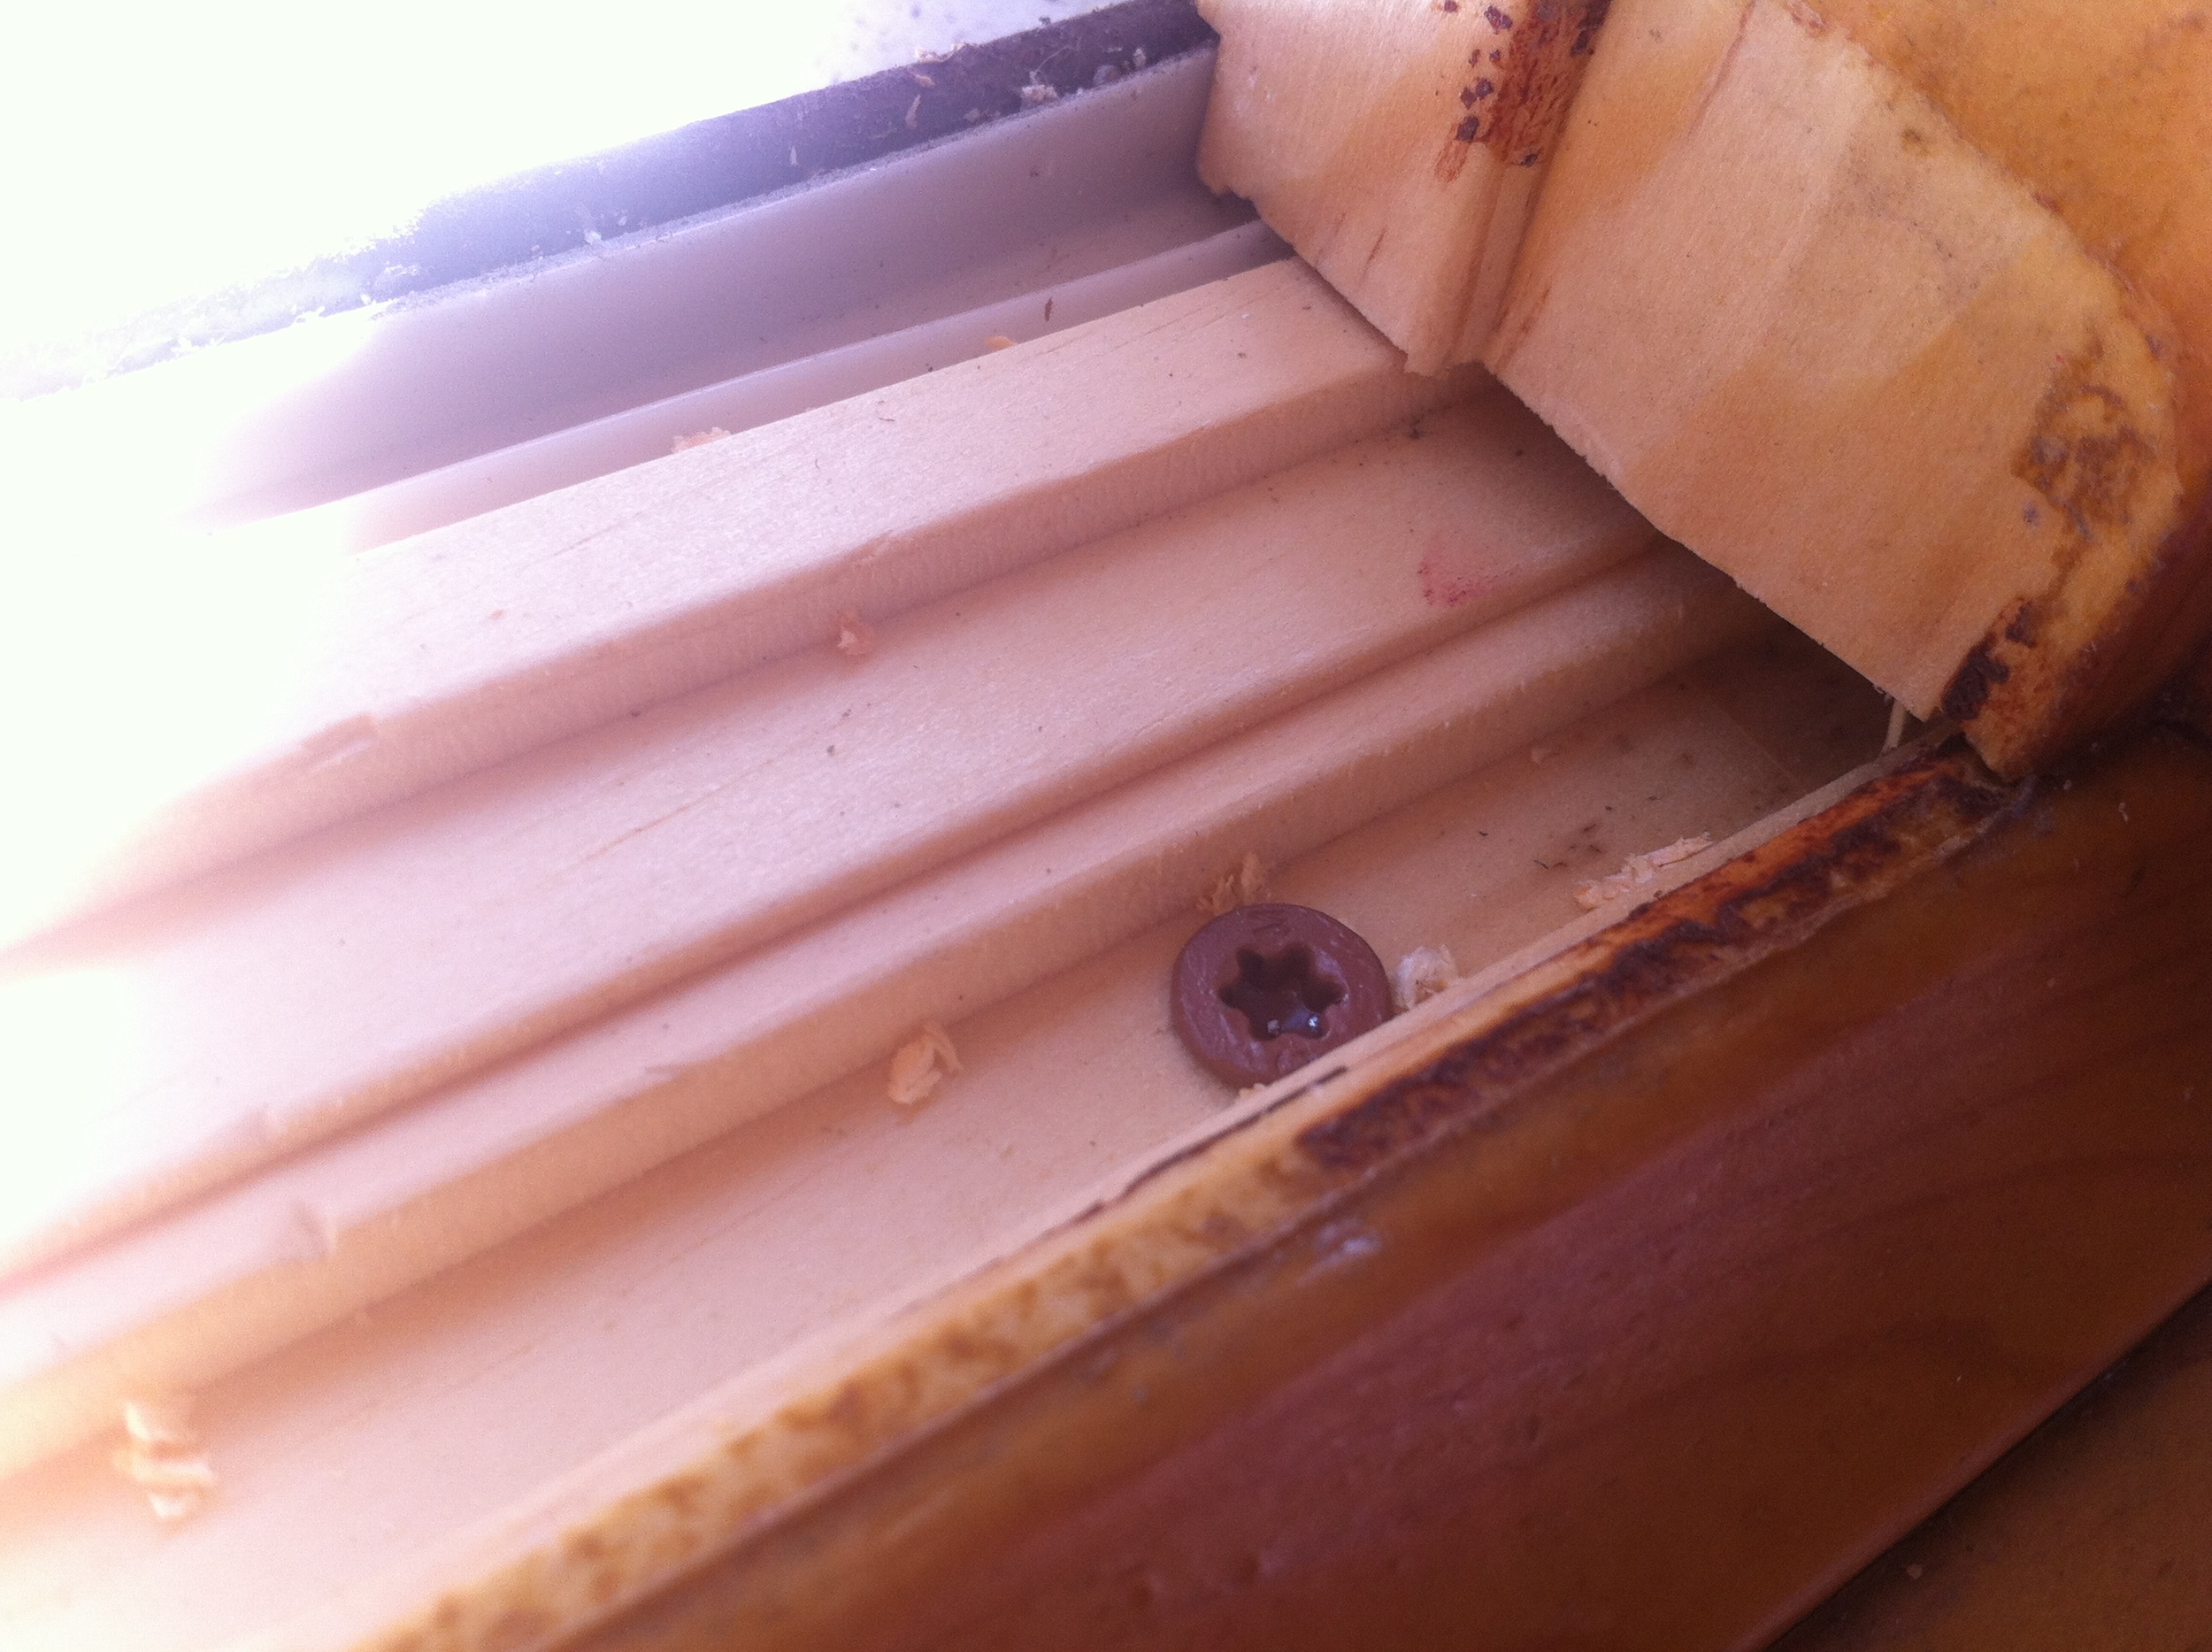
The next step was removing the shims and inserting backer rod into the space between the window and the frame. We put the join at the top because it’s the weakest point in the system and water will collect at the bottom instead of the top. We used the fat side of a shim to push the backer rod ½” back from the interior wall surface.
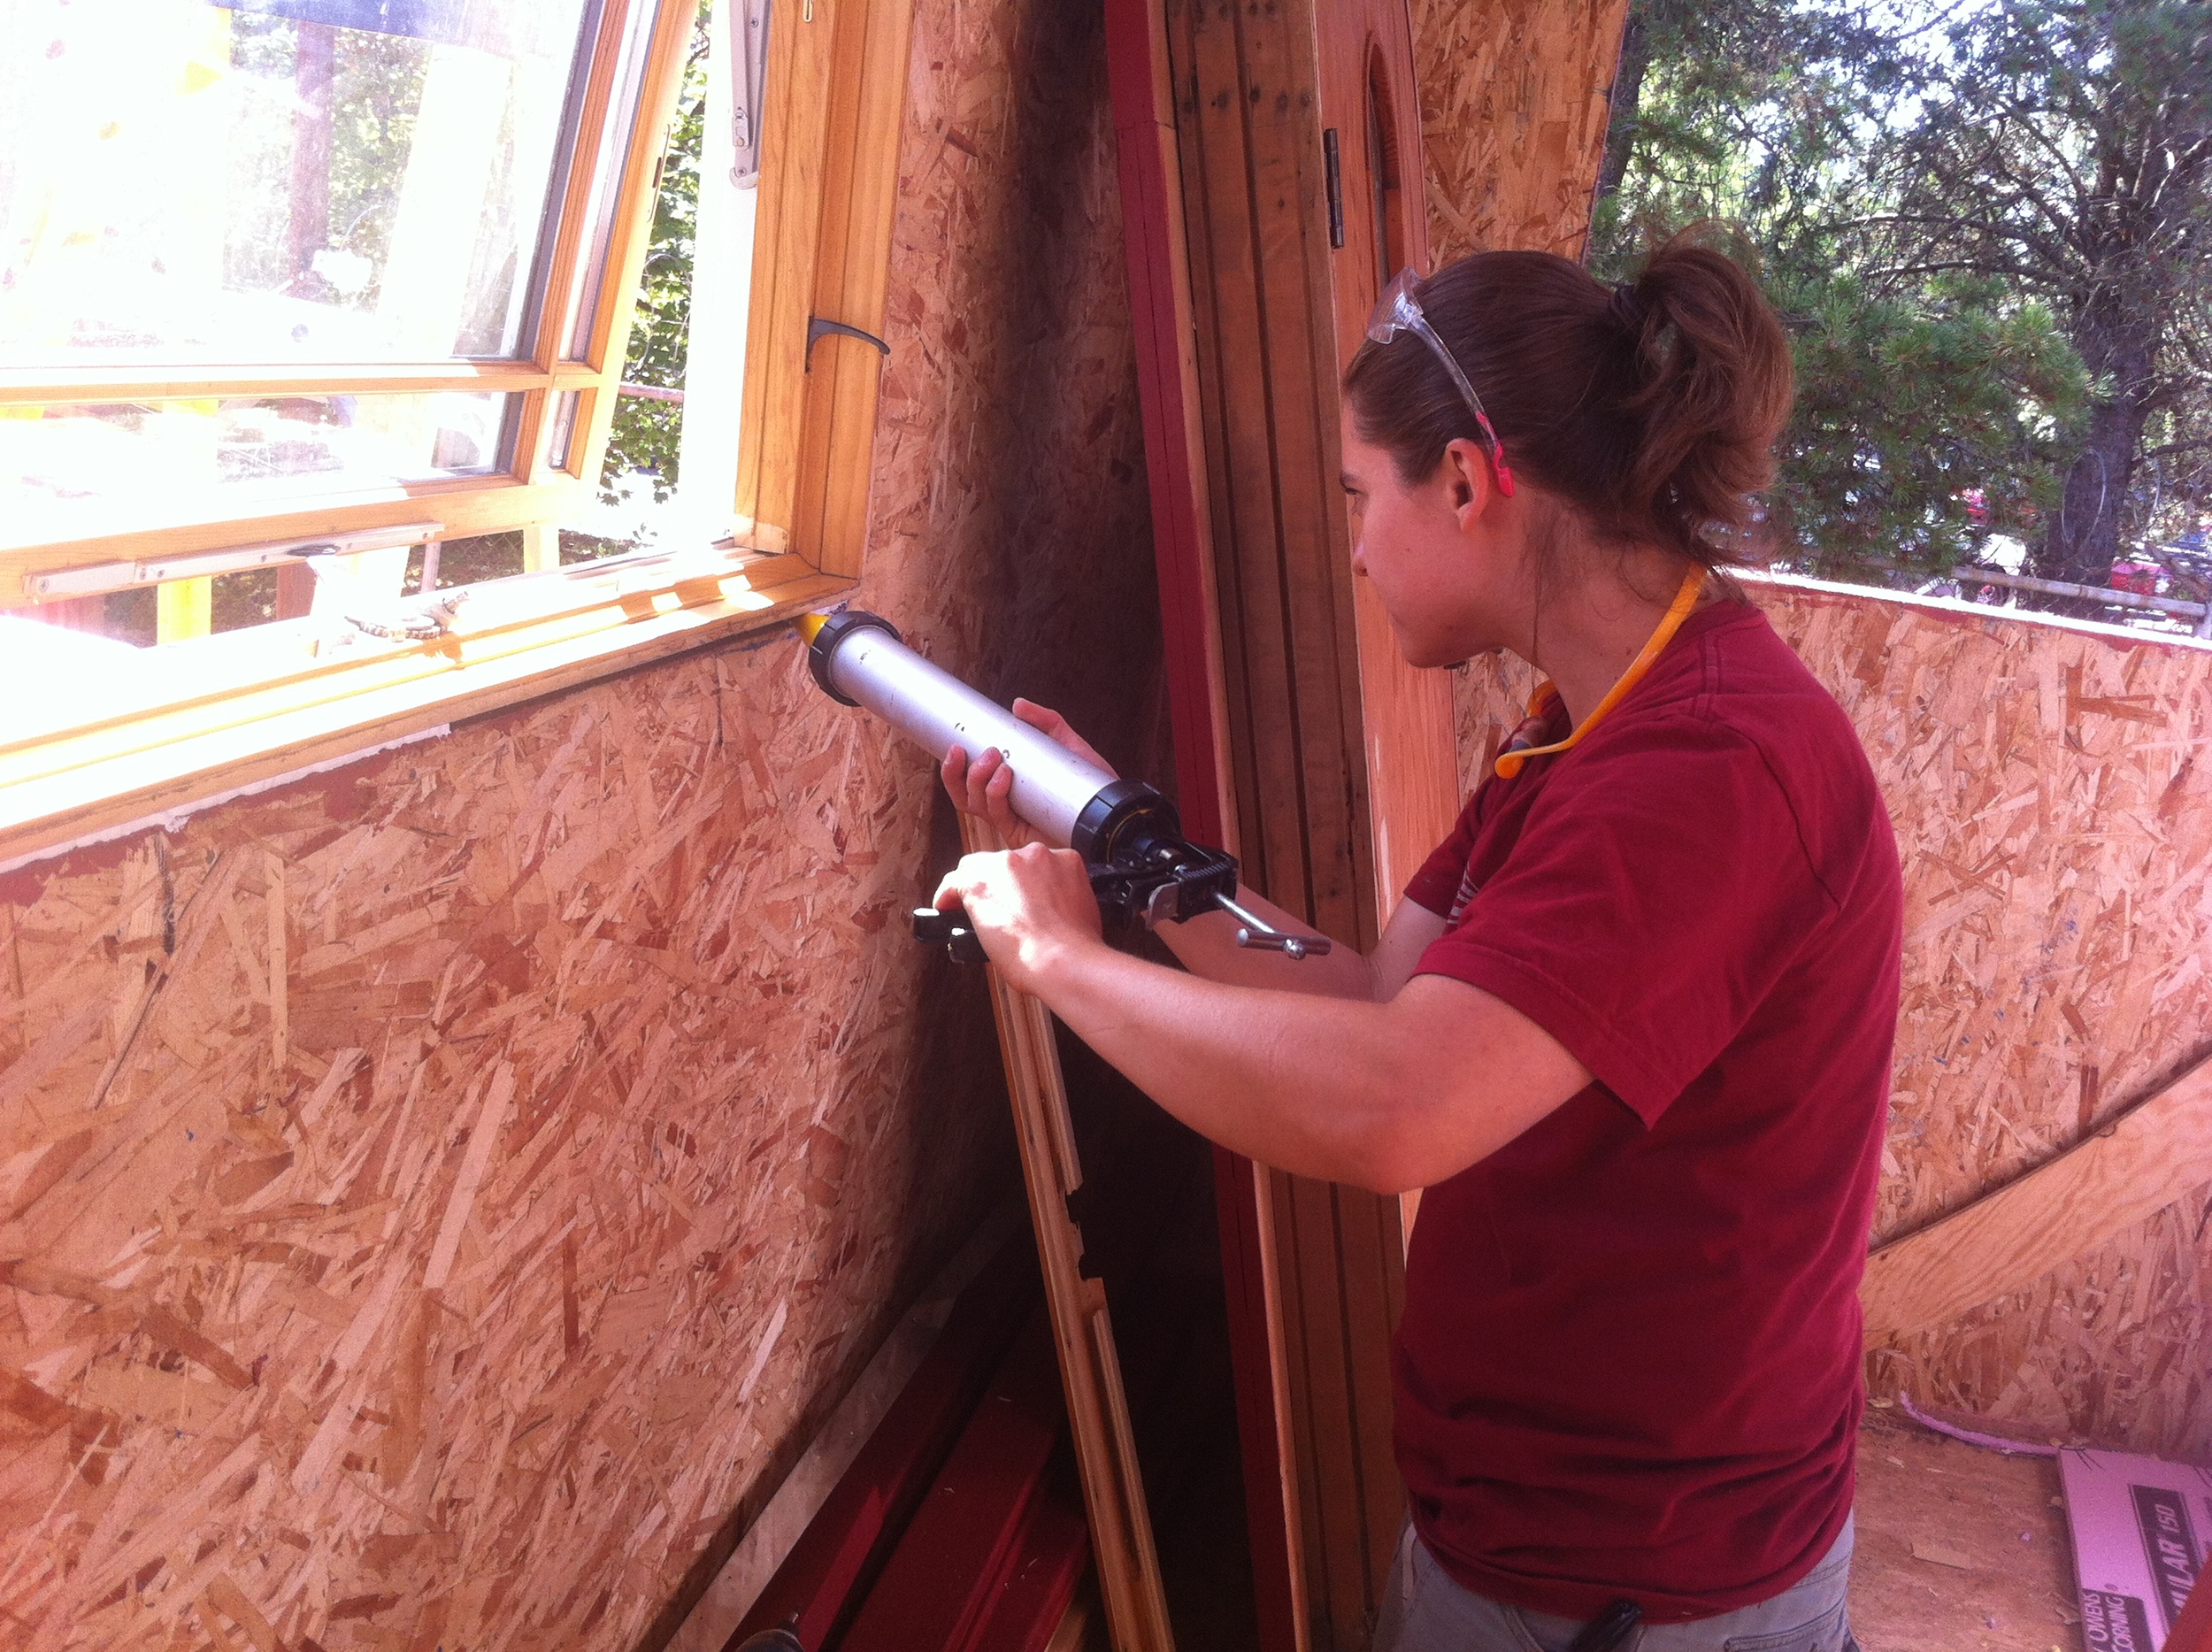
Next we applied a continuous bead of AirDam around the window and tooled it to create an hourglass shape. Voila! A window installed.
(By the way, each of the R-Guard products has a distinct viscosity appropriate to it’s intended use. The Fast Flash reminds me of frosting. The AirDam is just like marshmallow cream!)

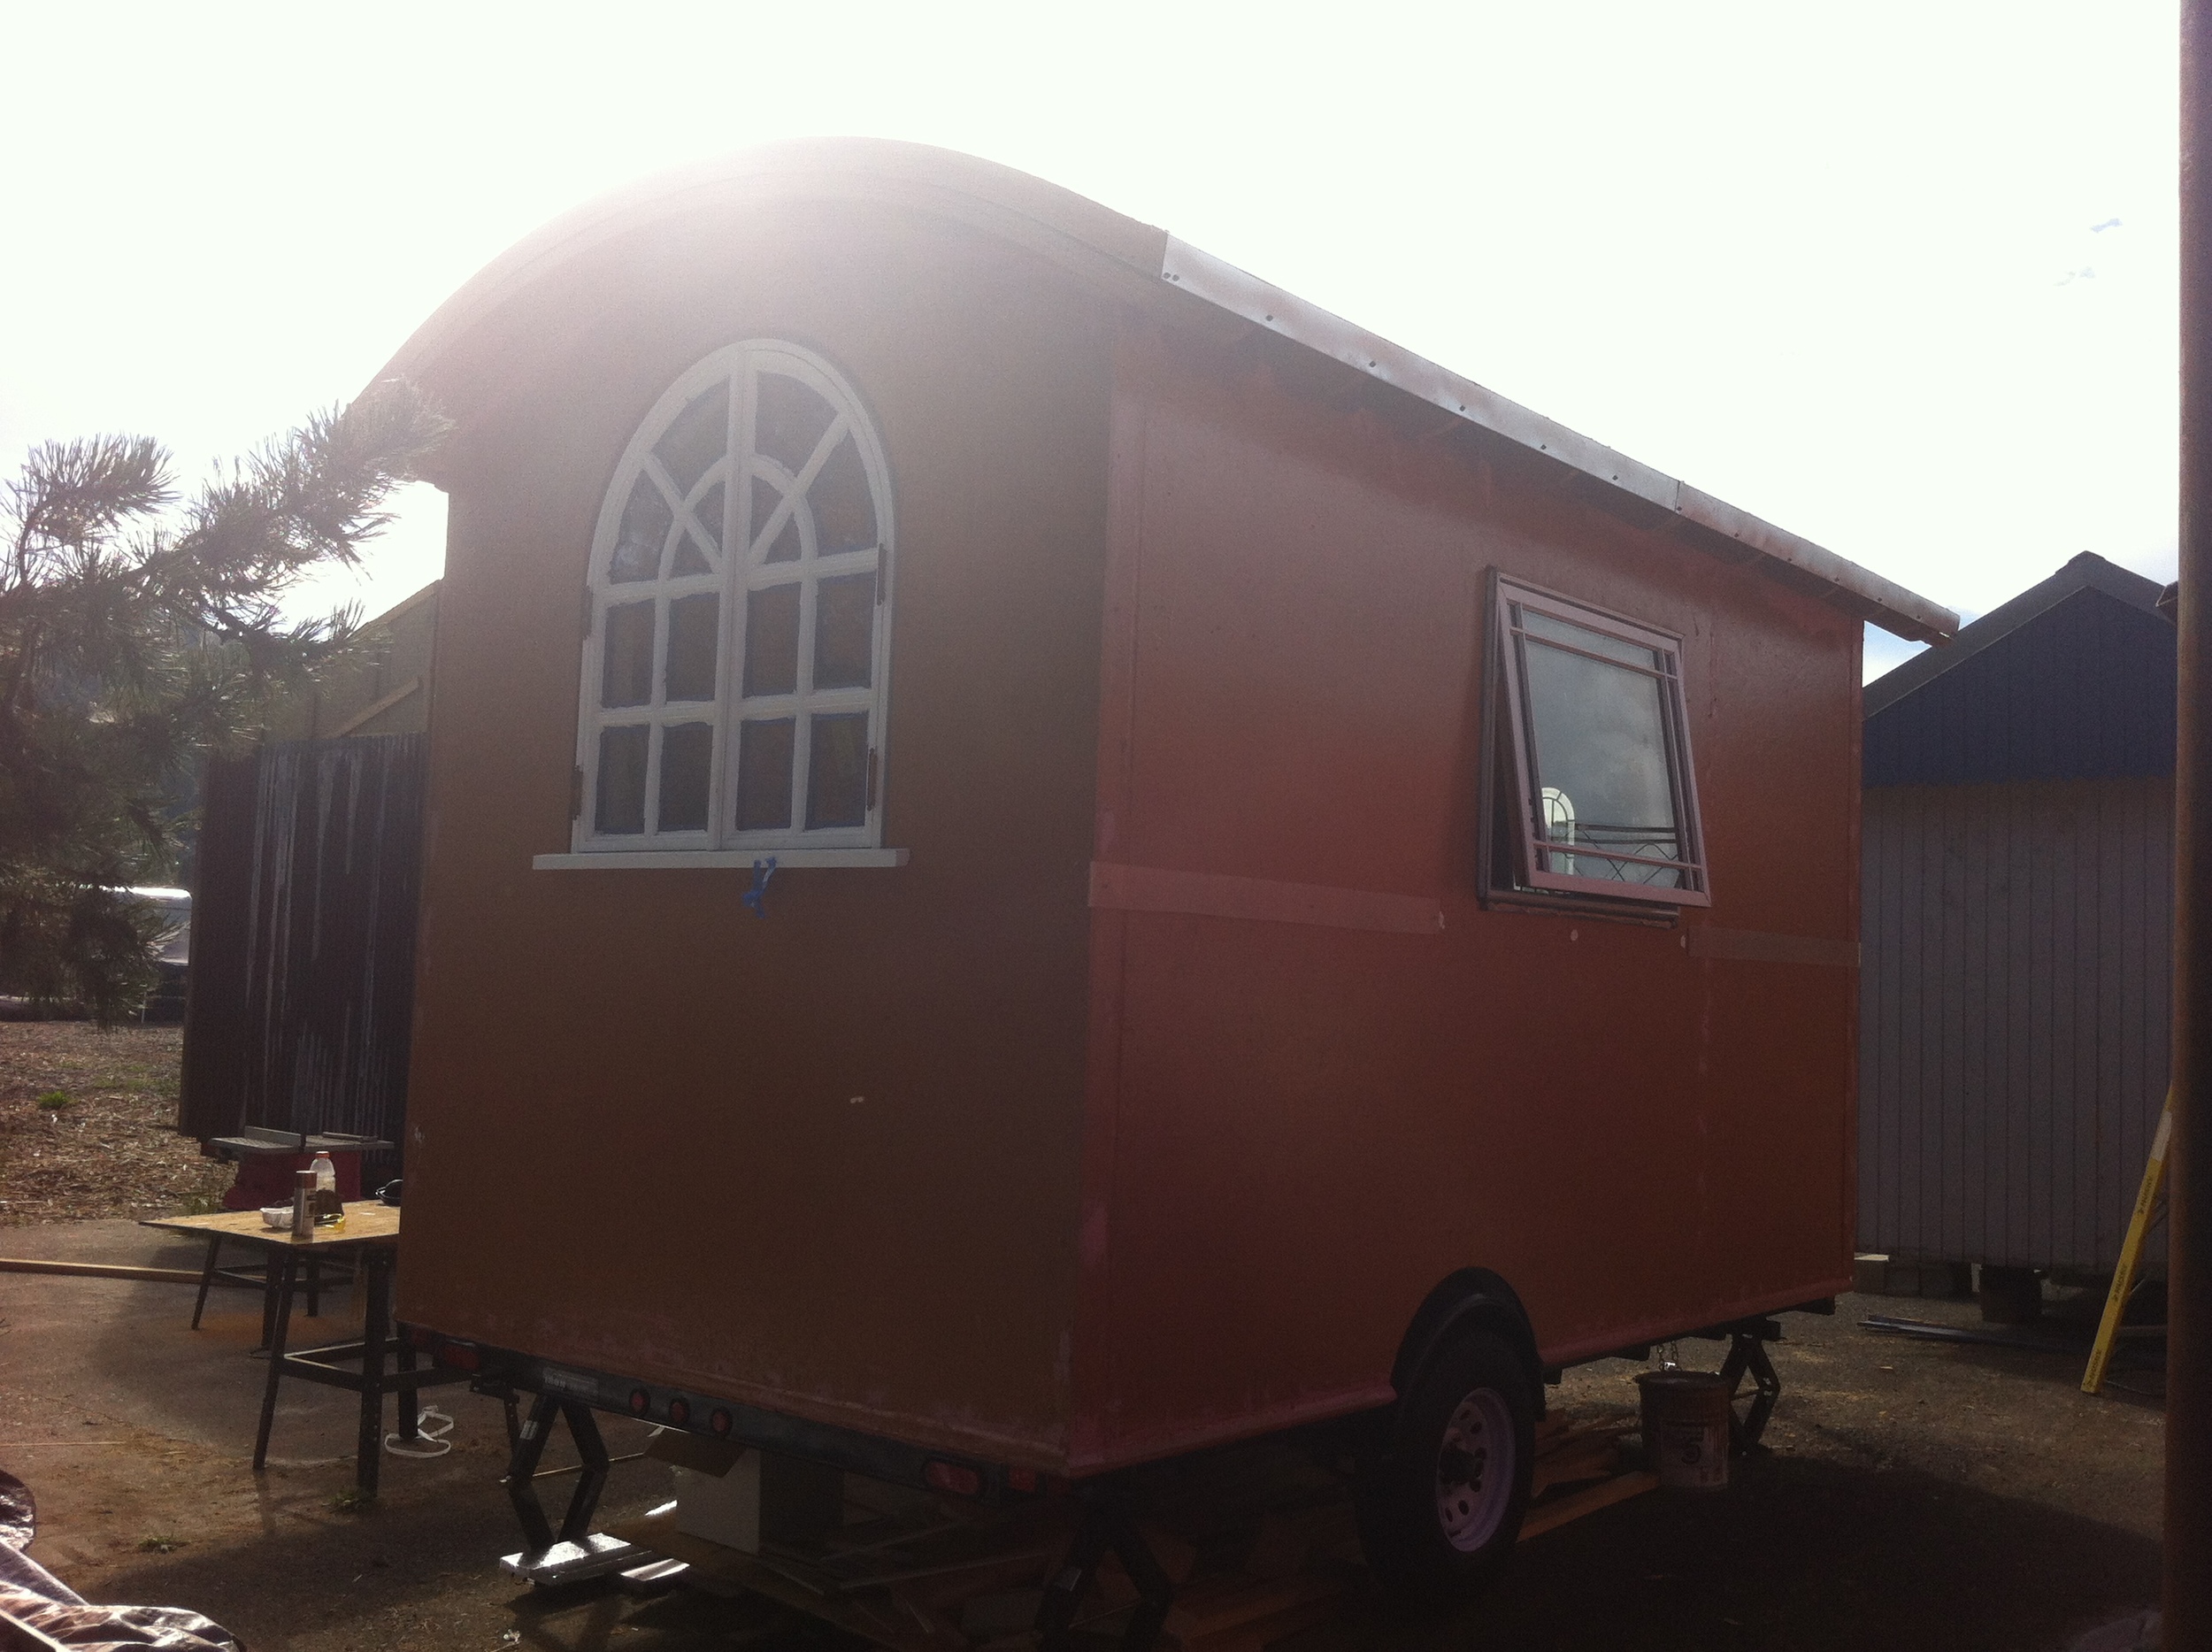
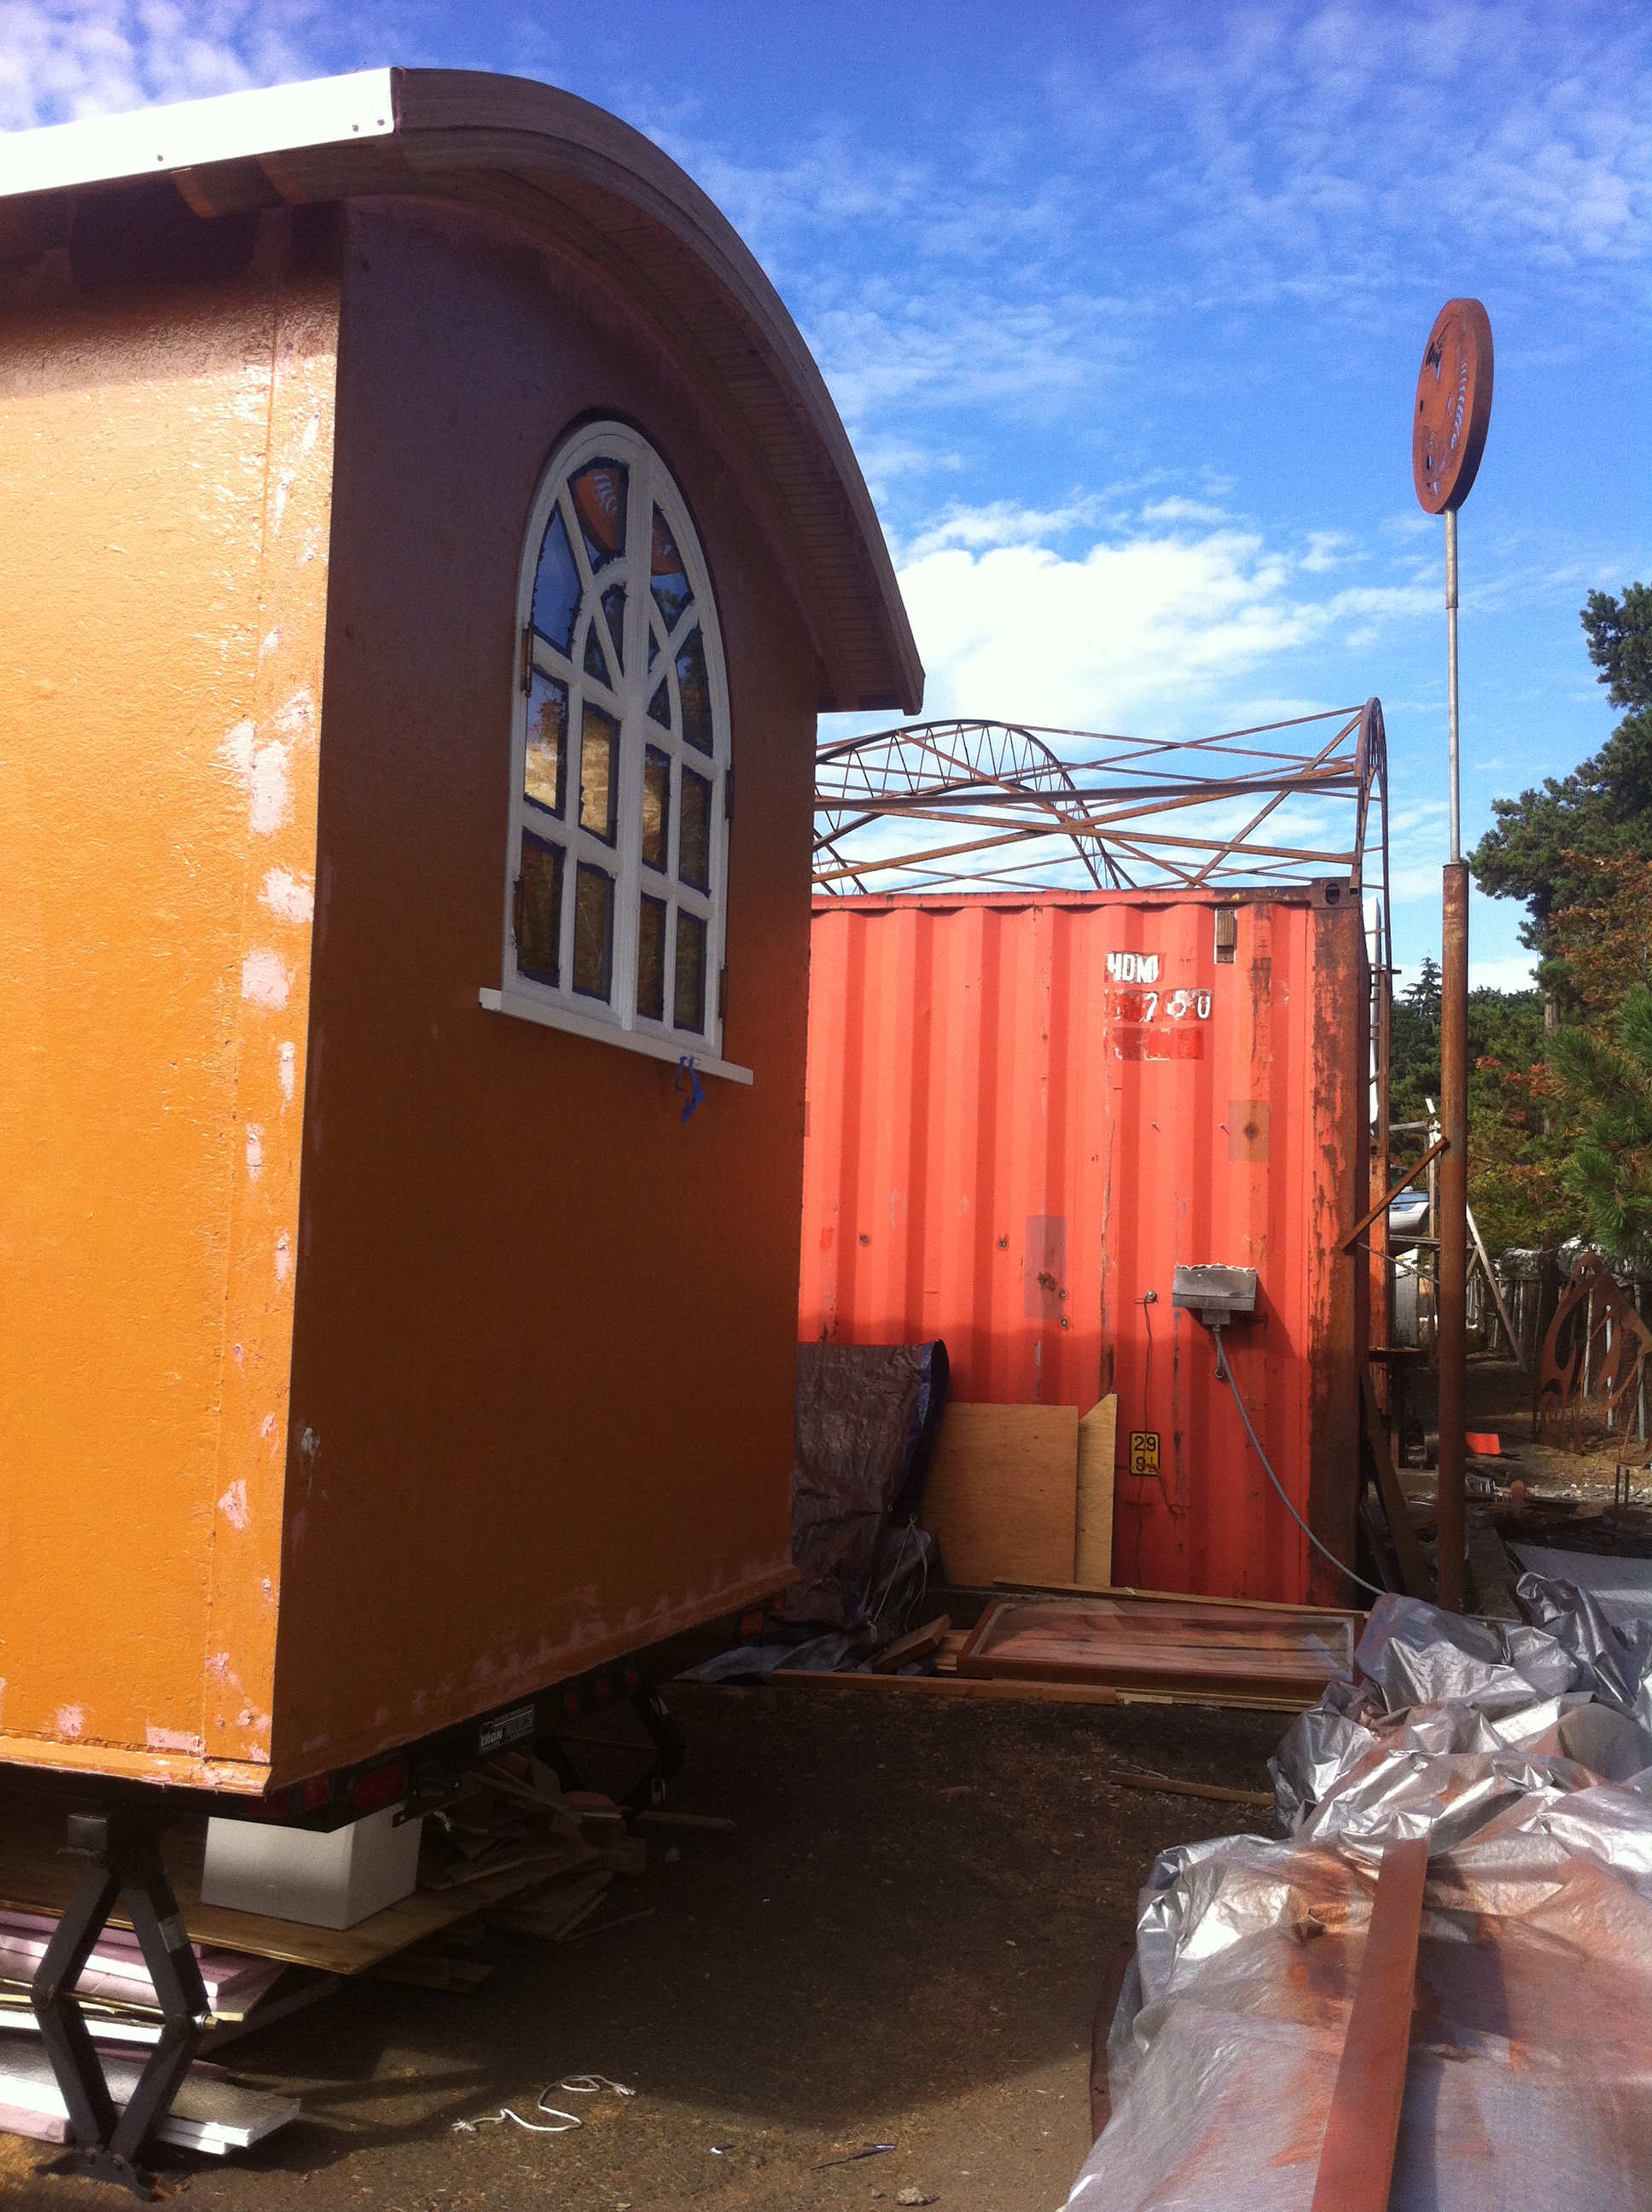
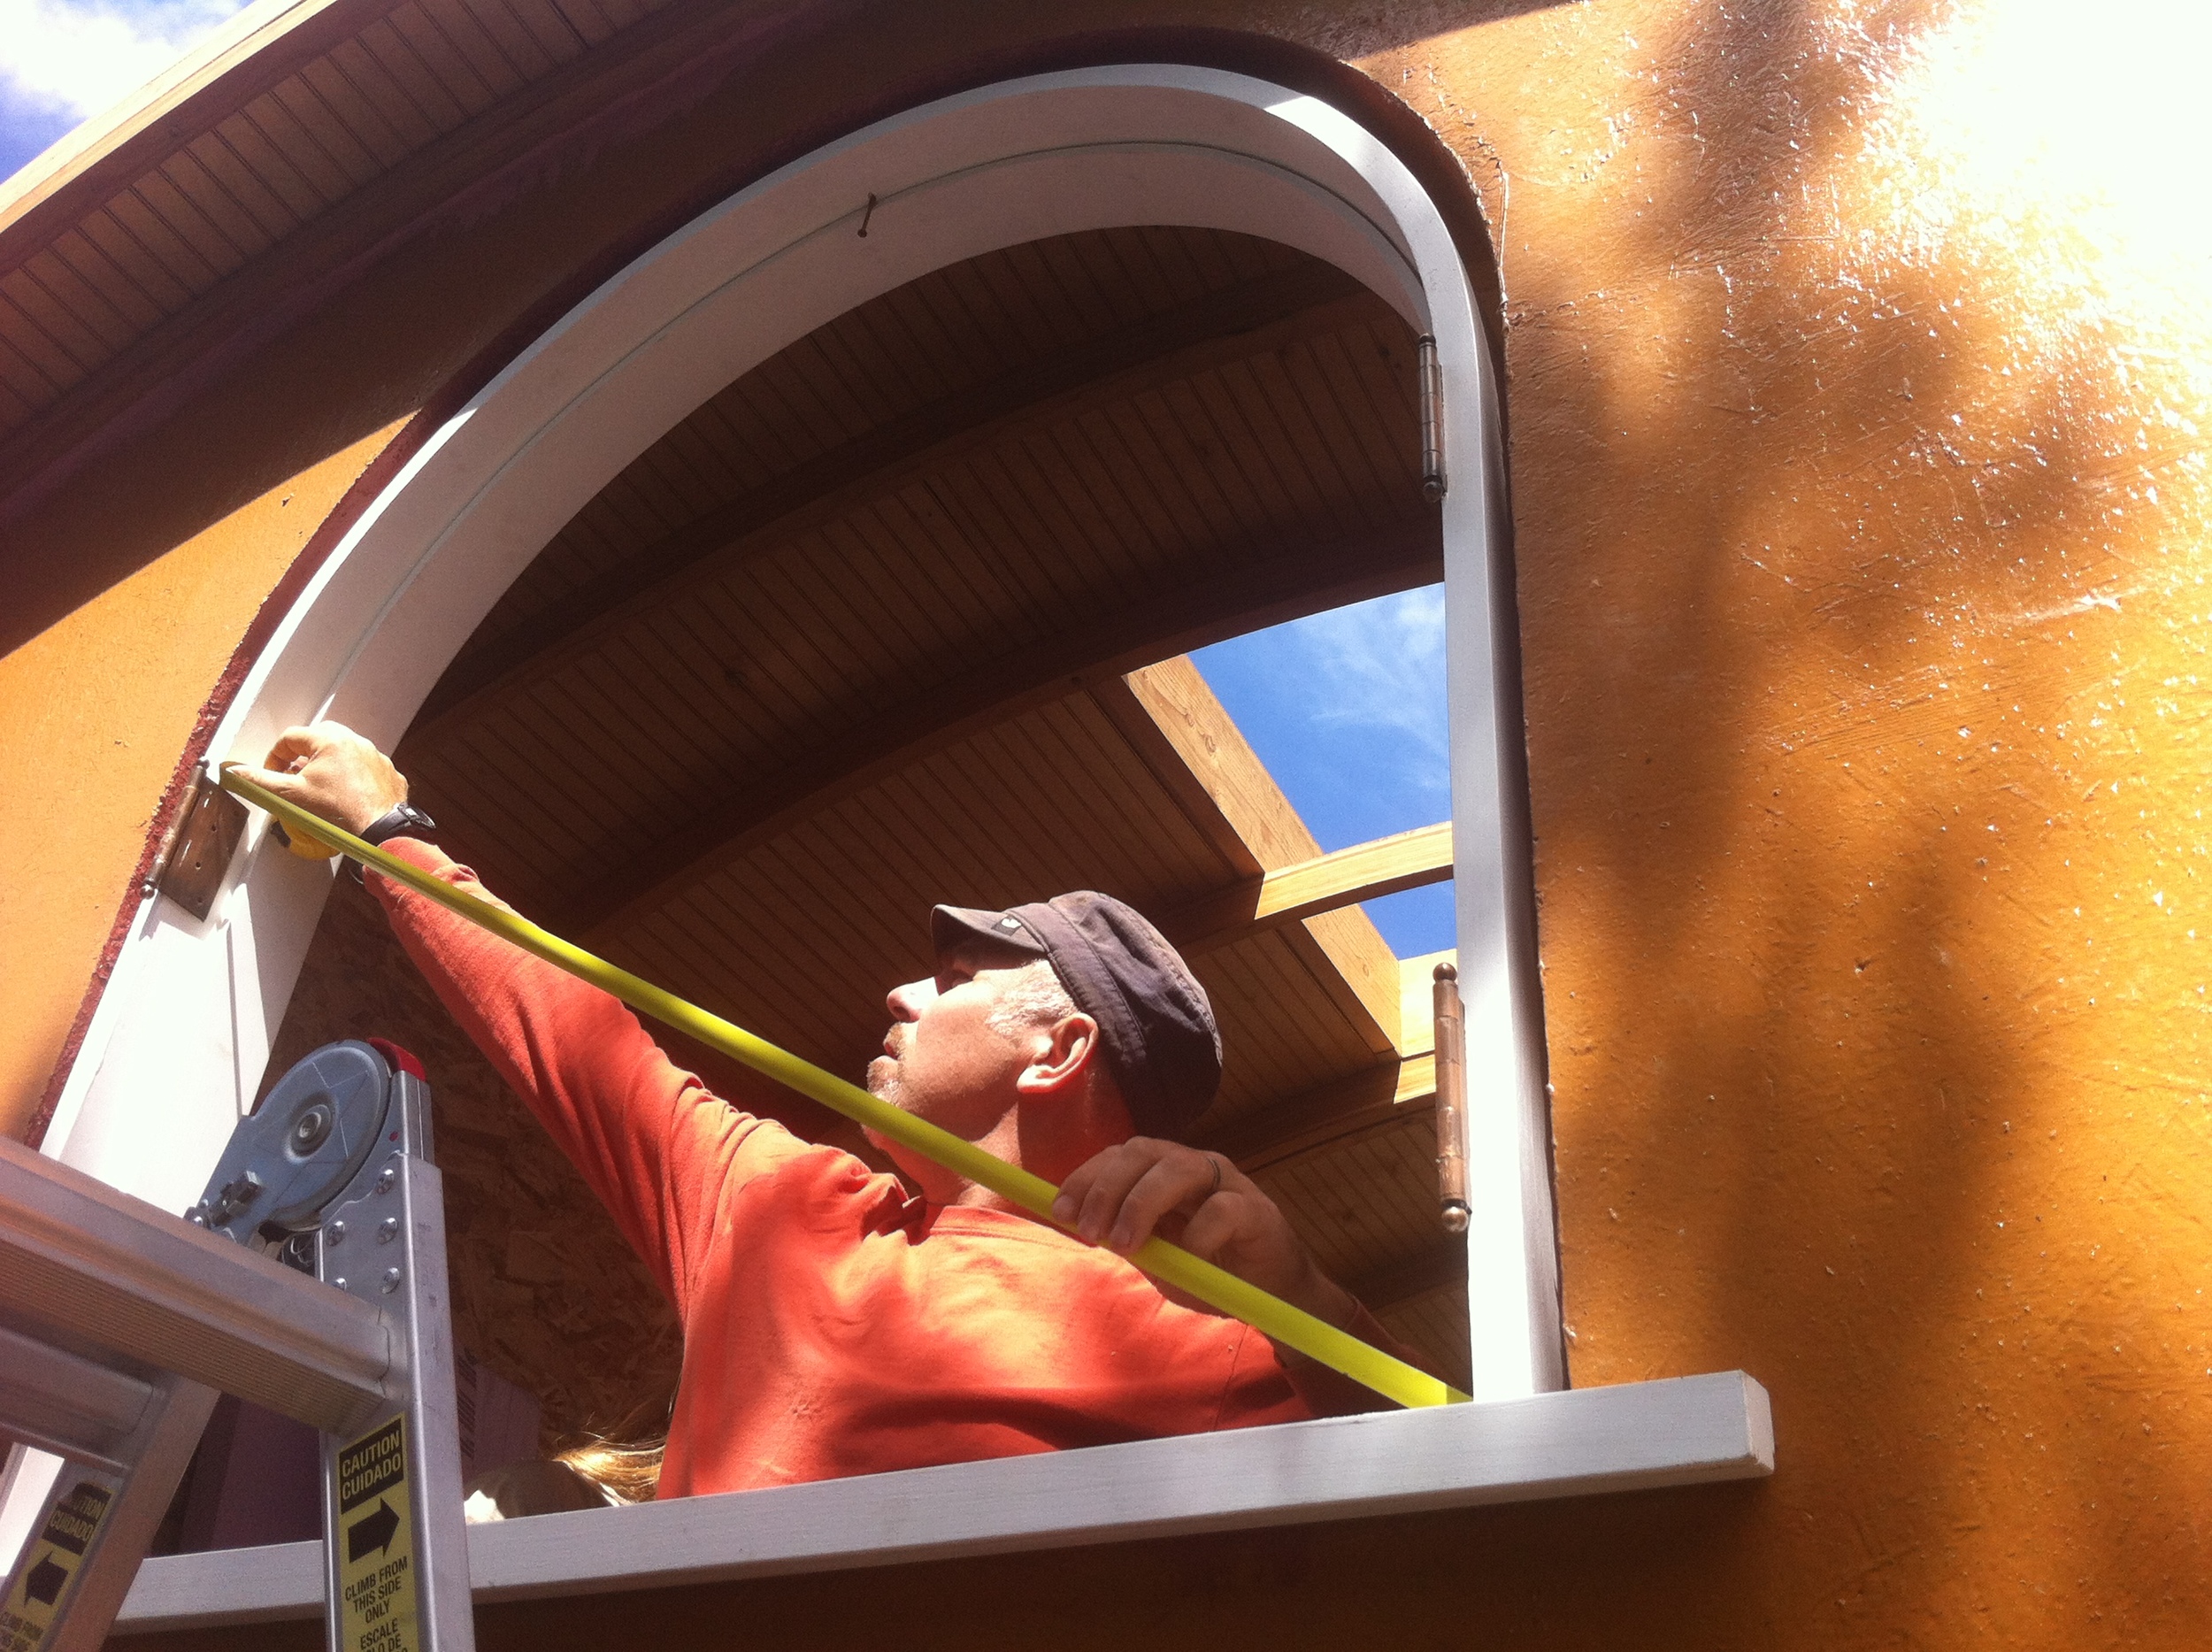
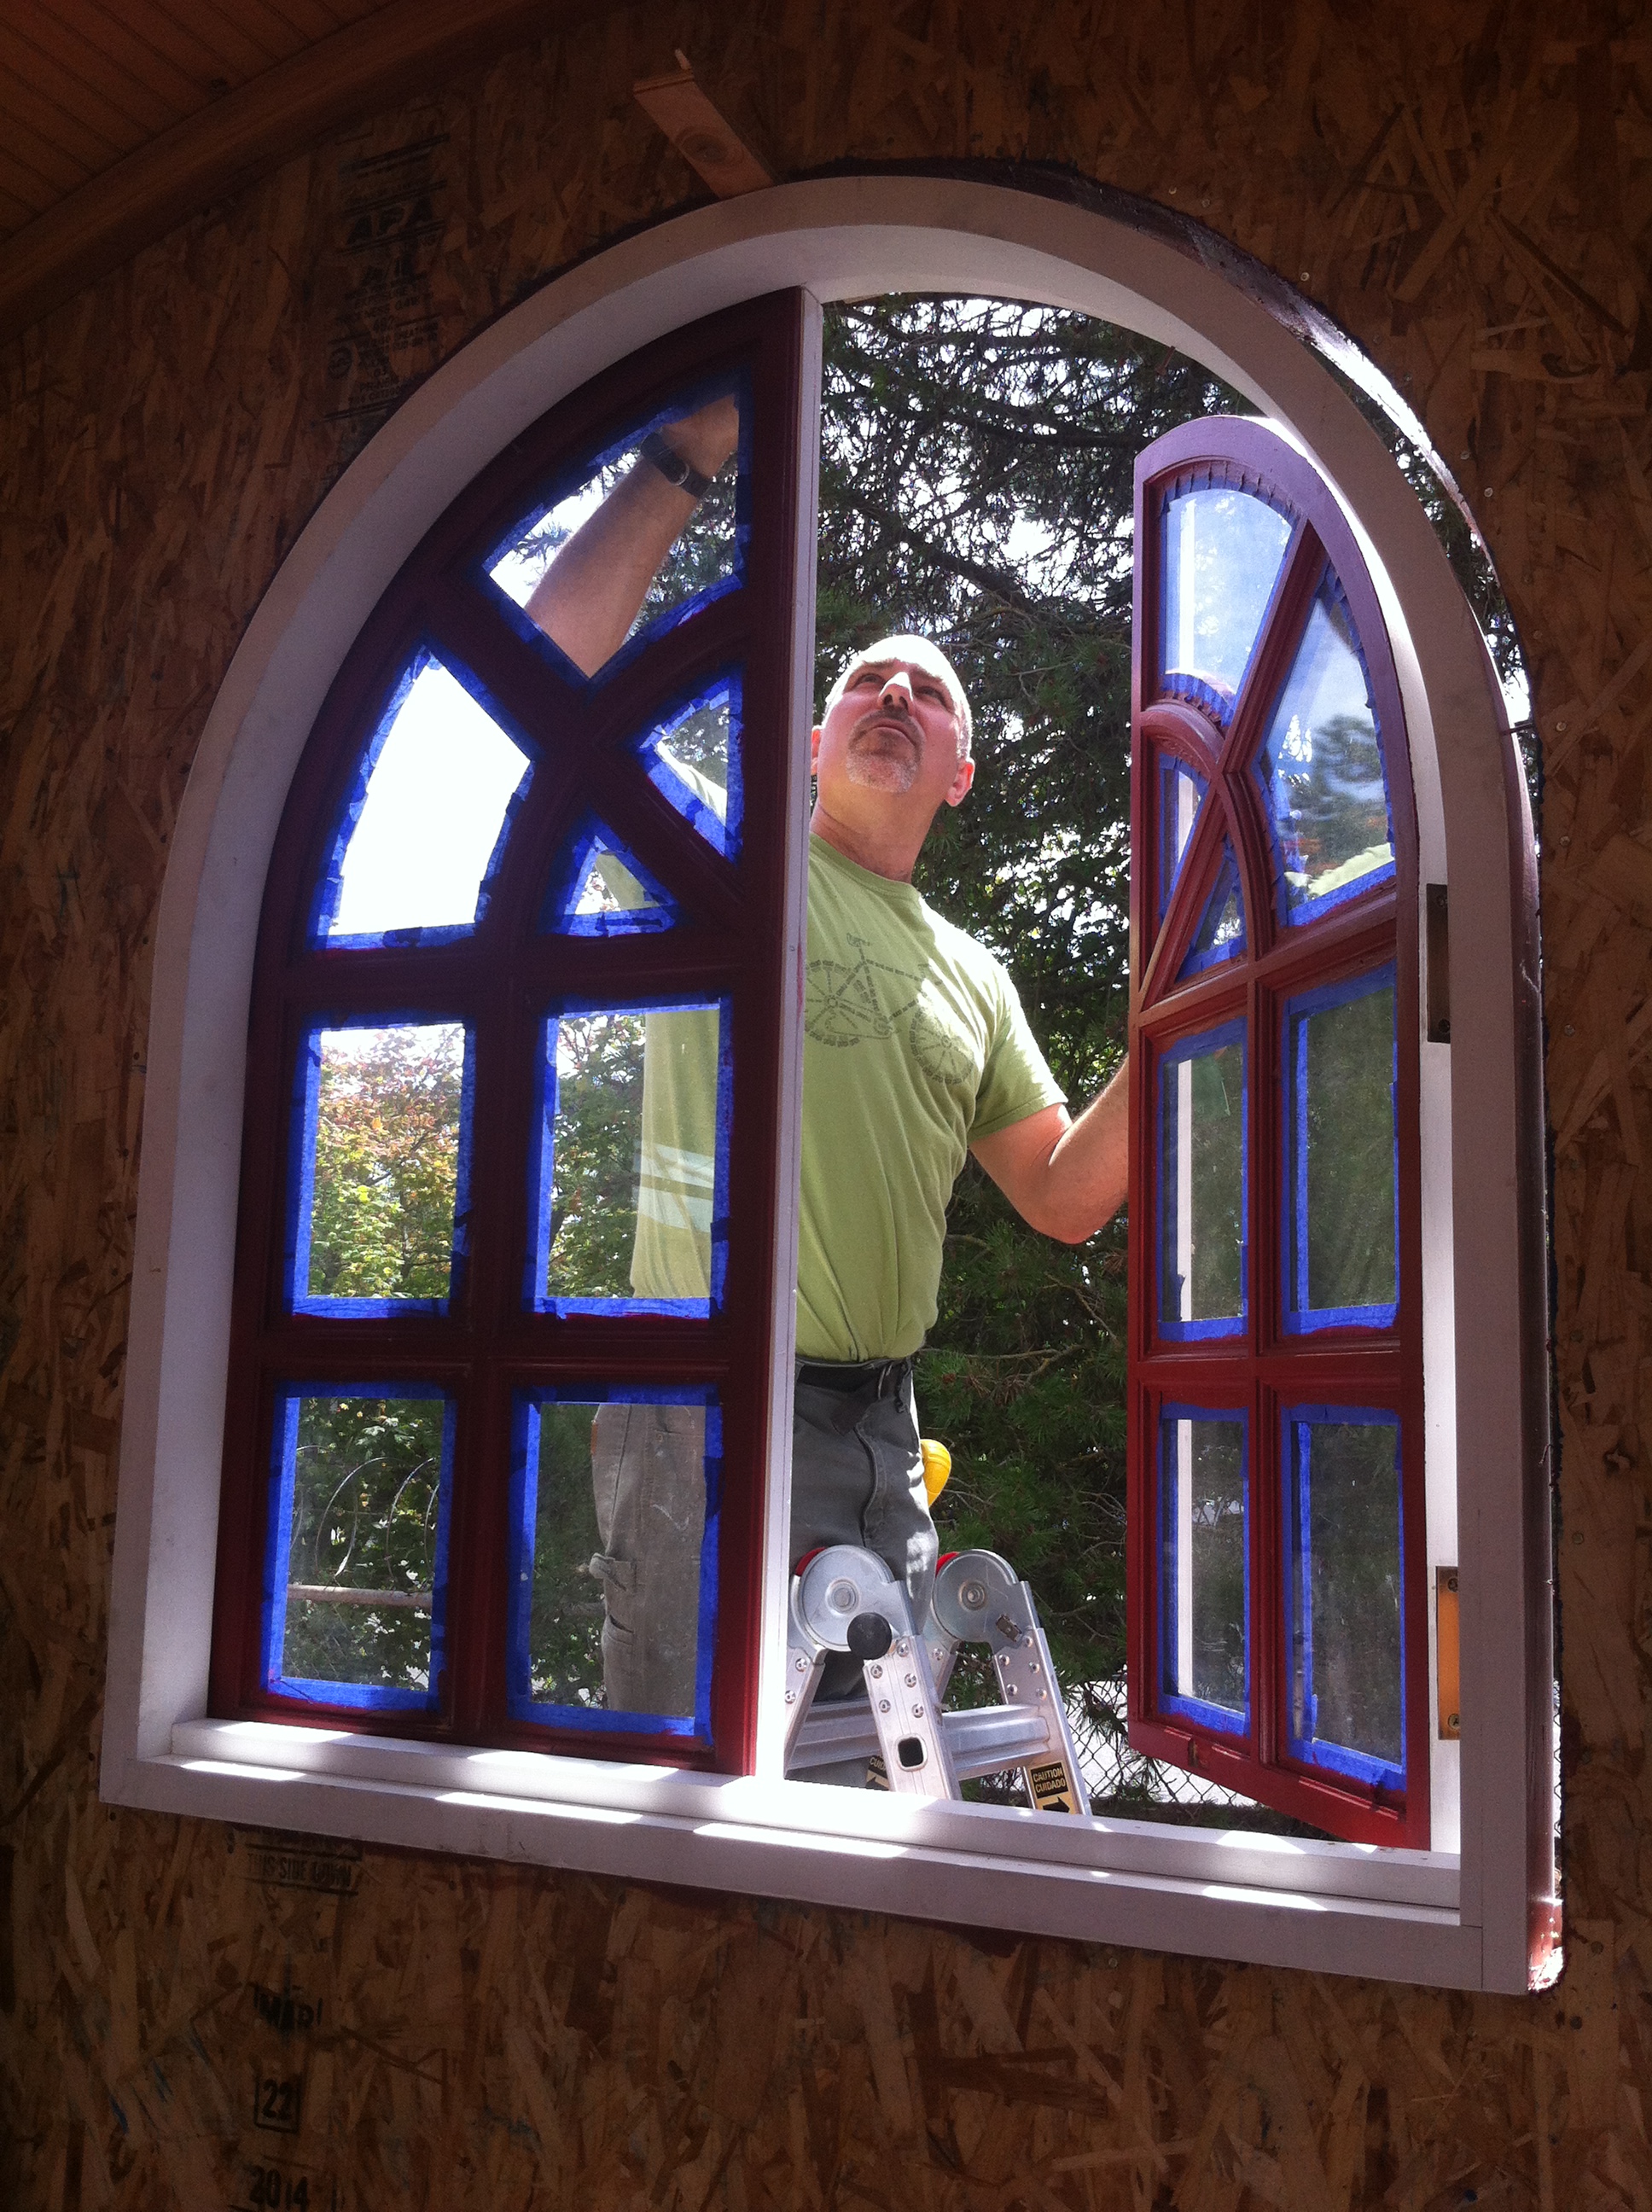
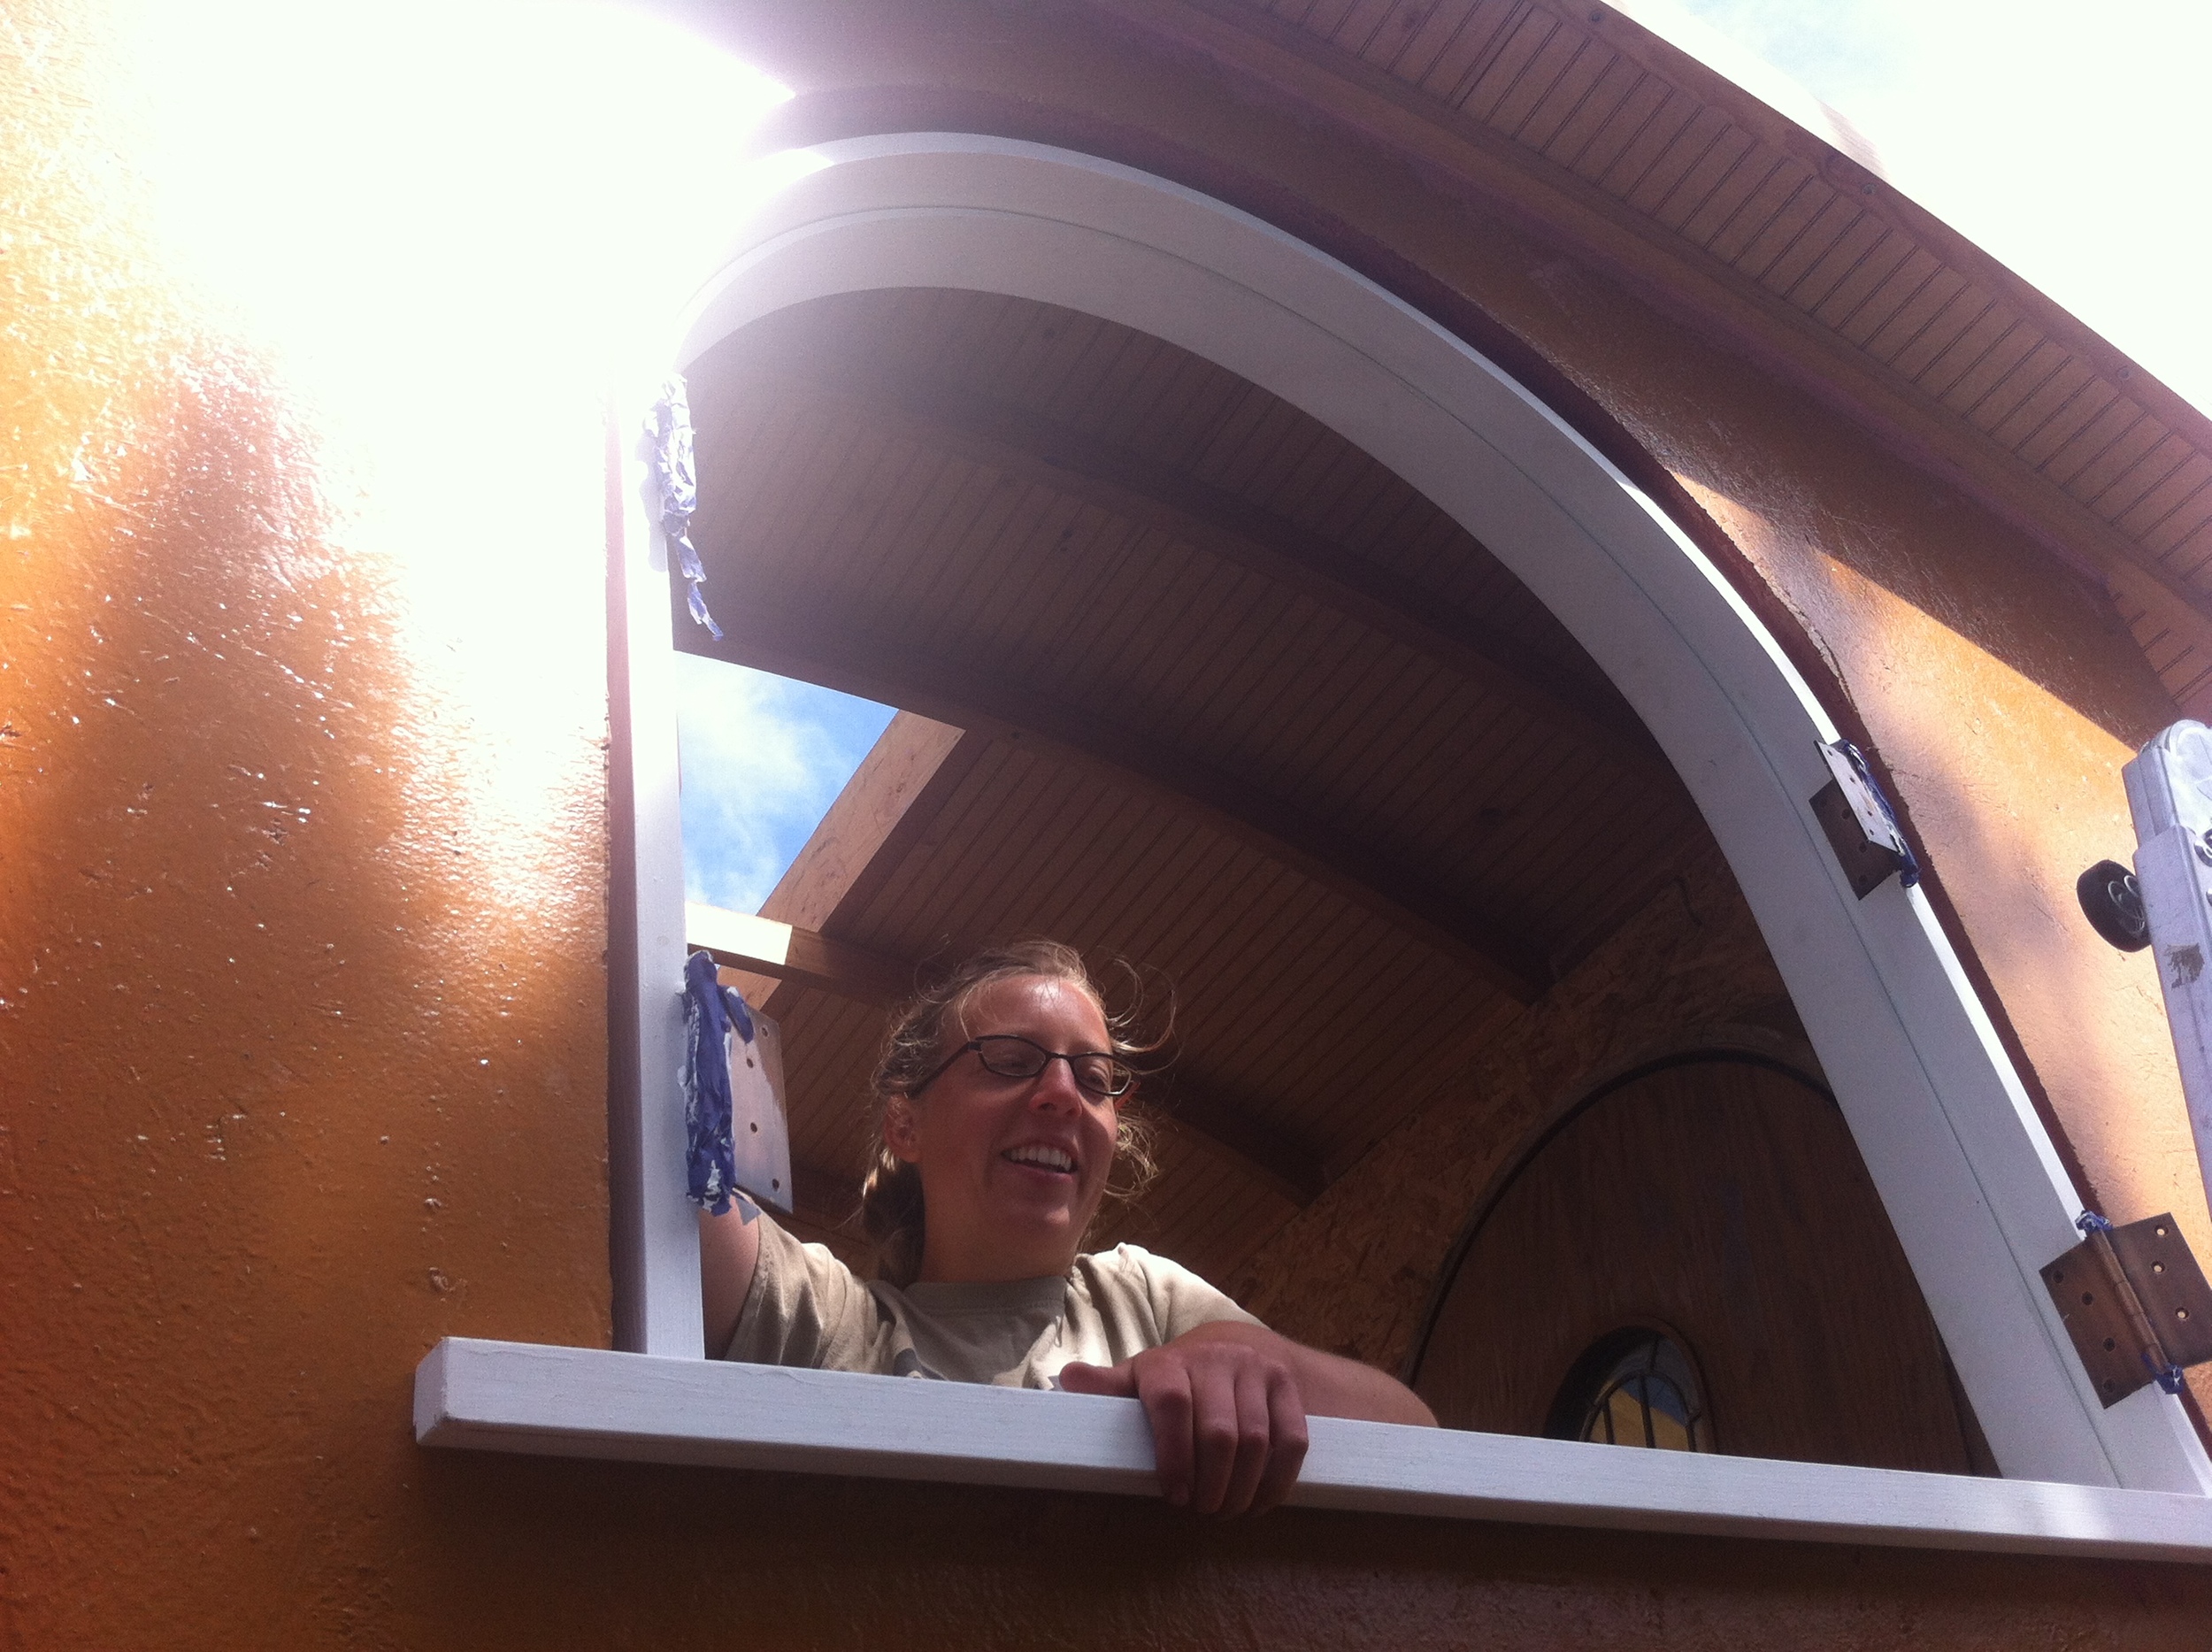
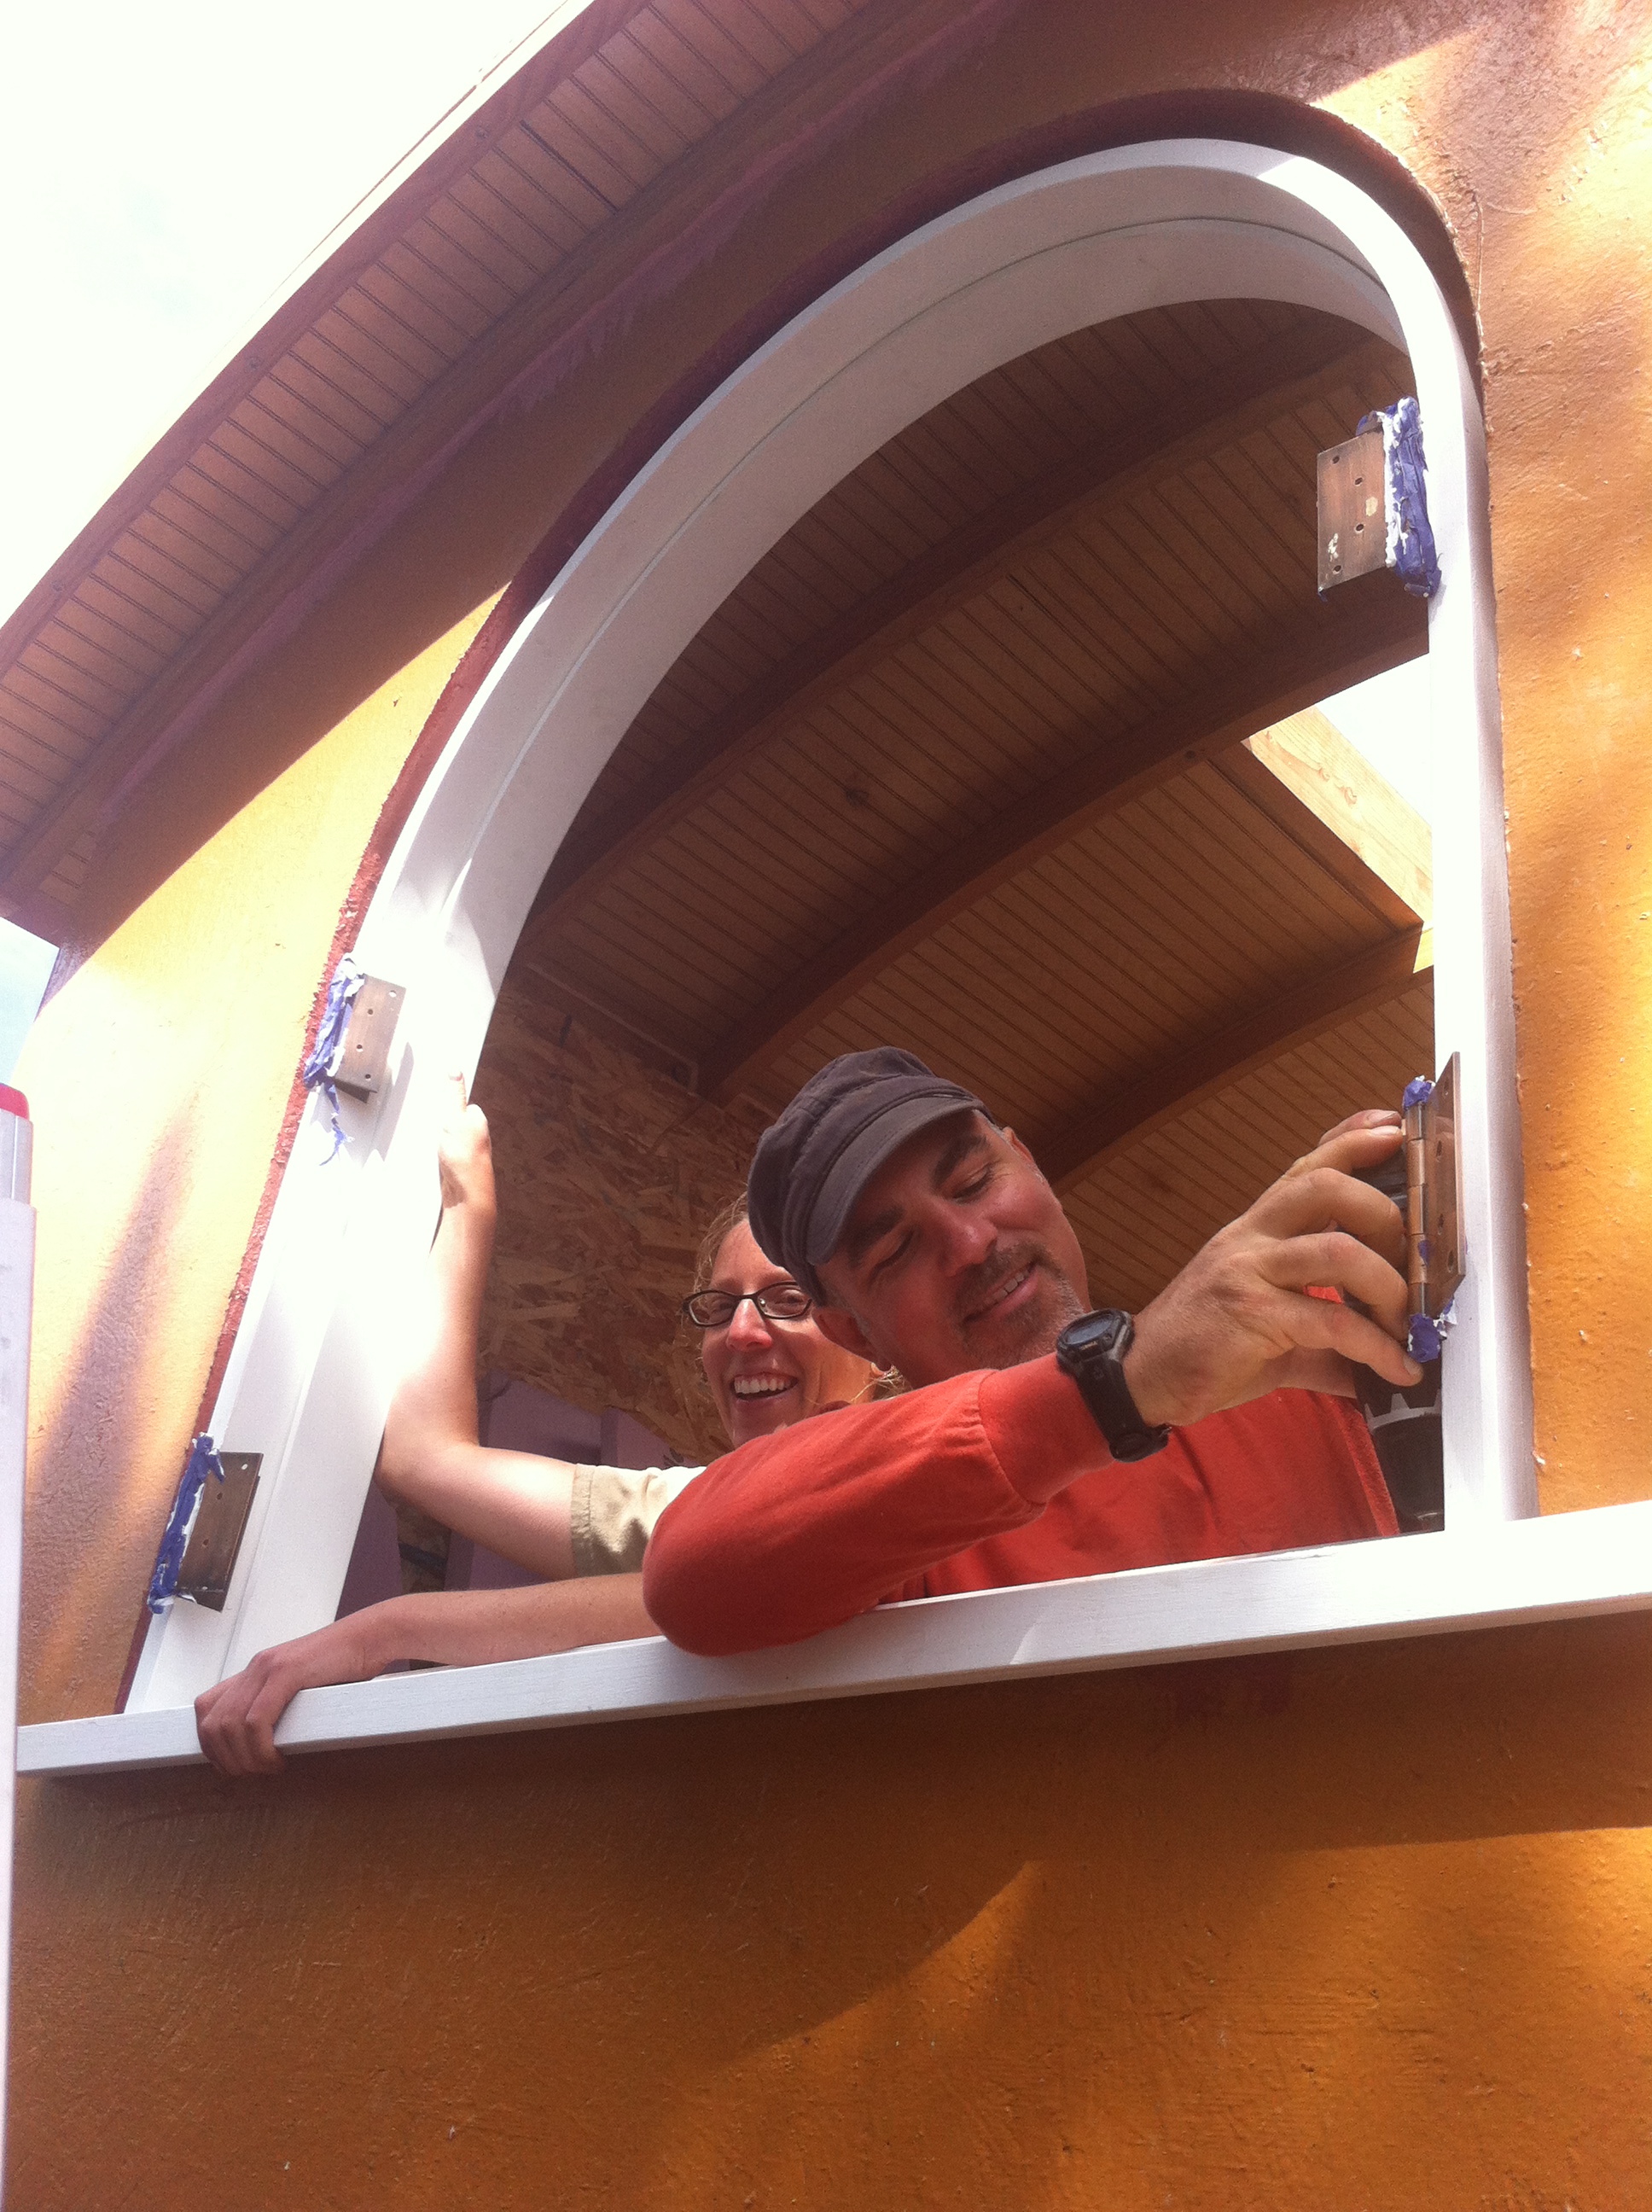
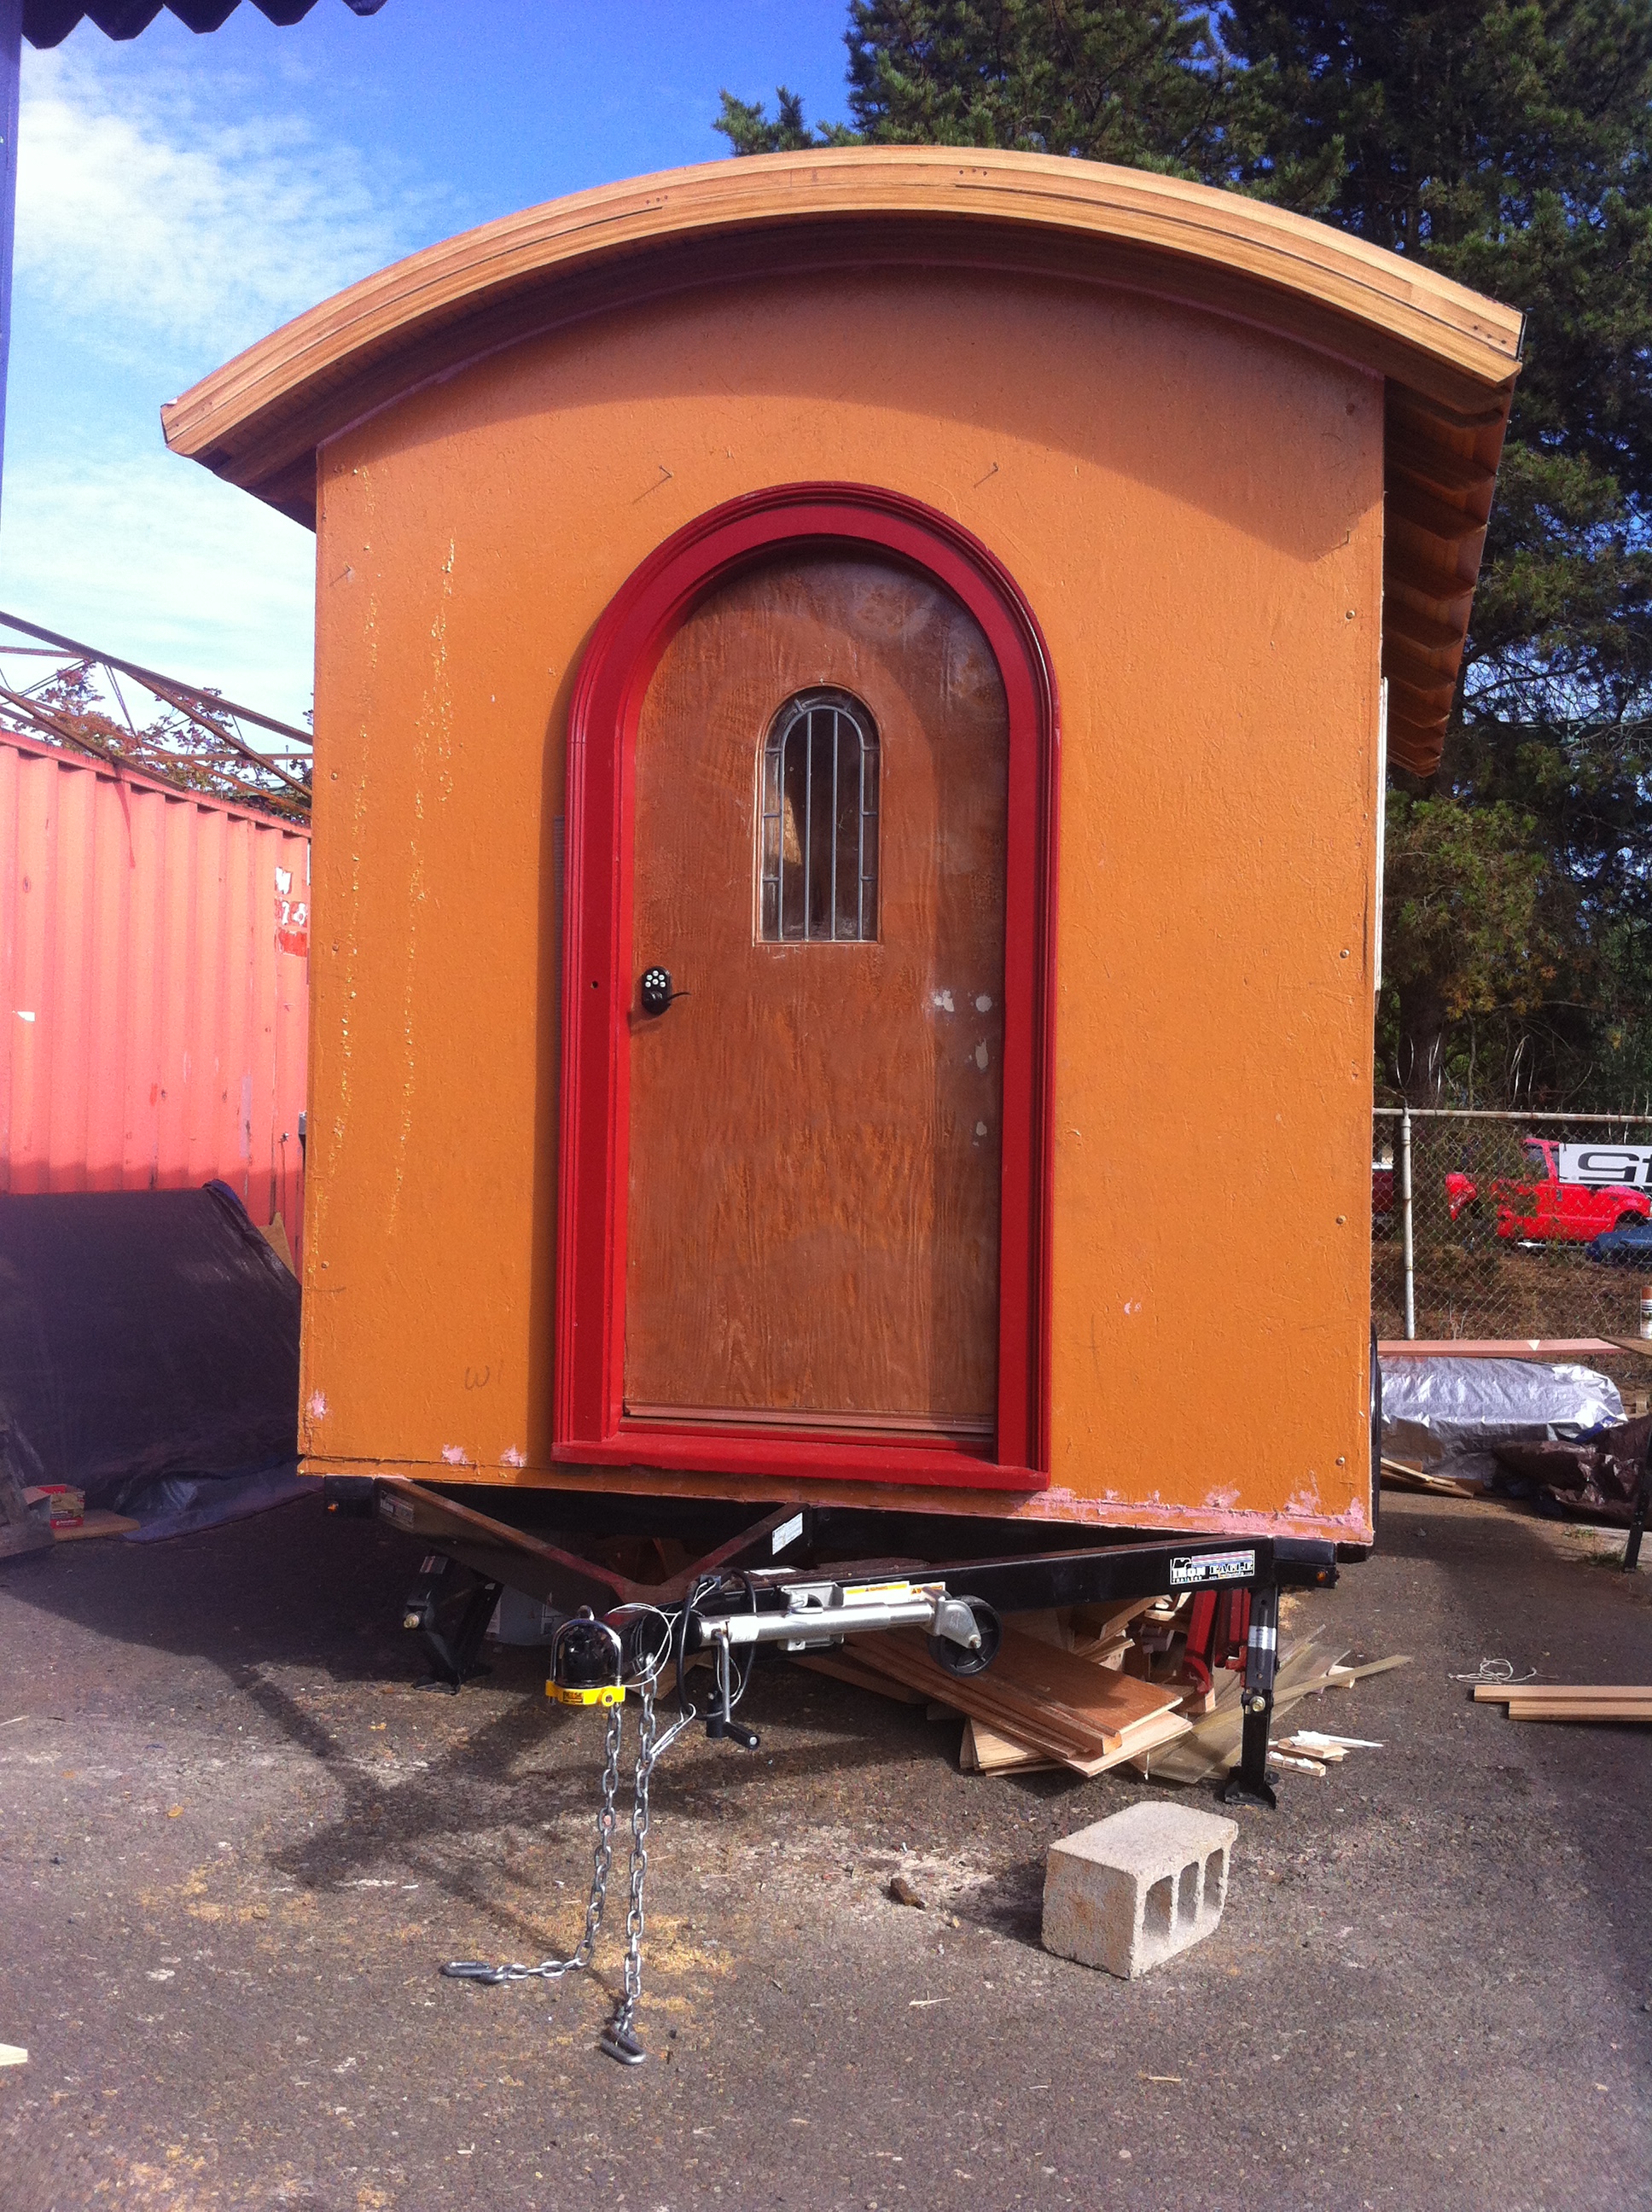
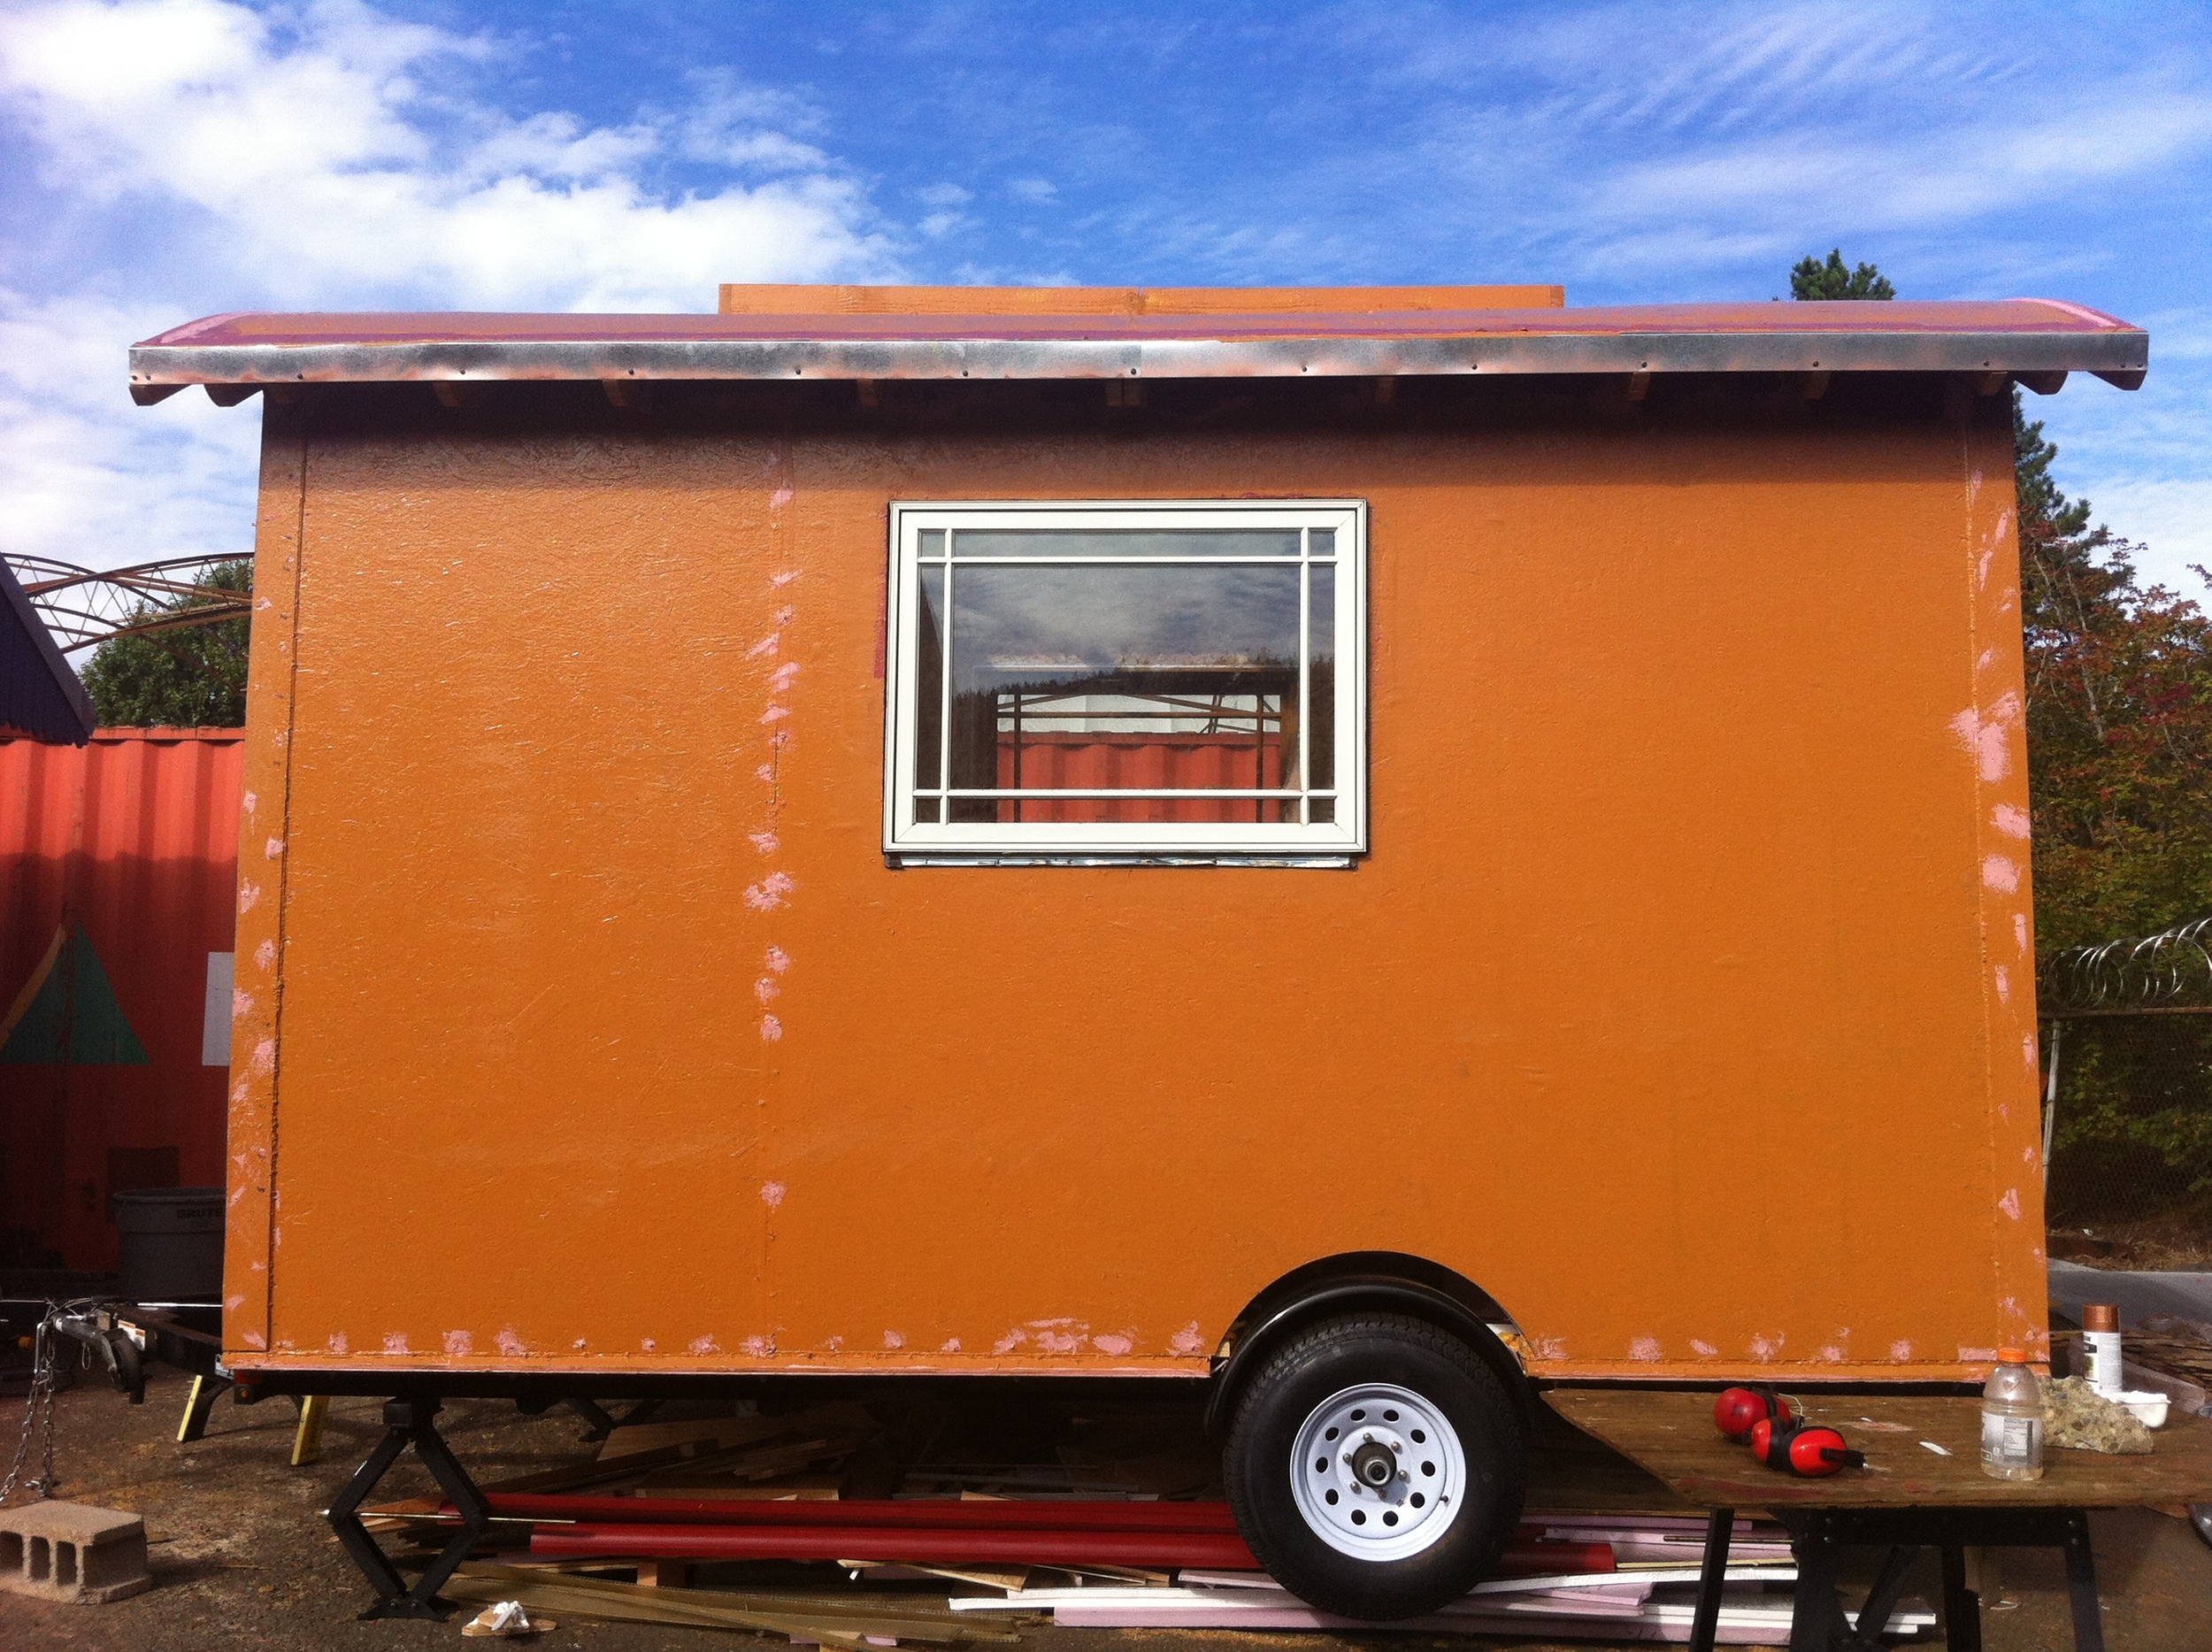
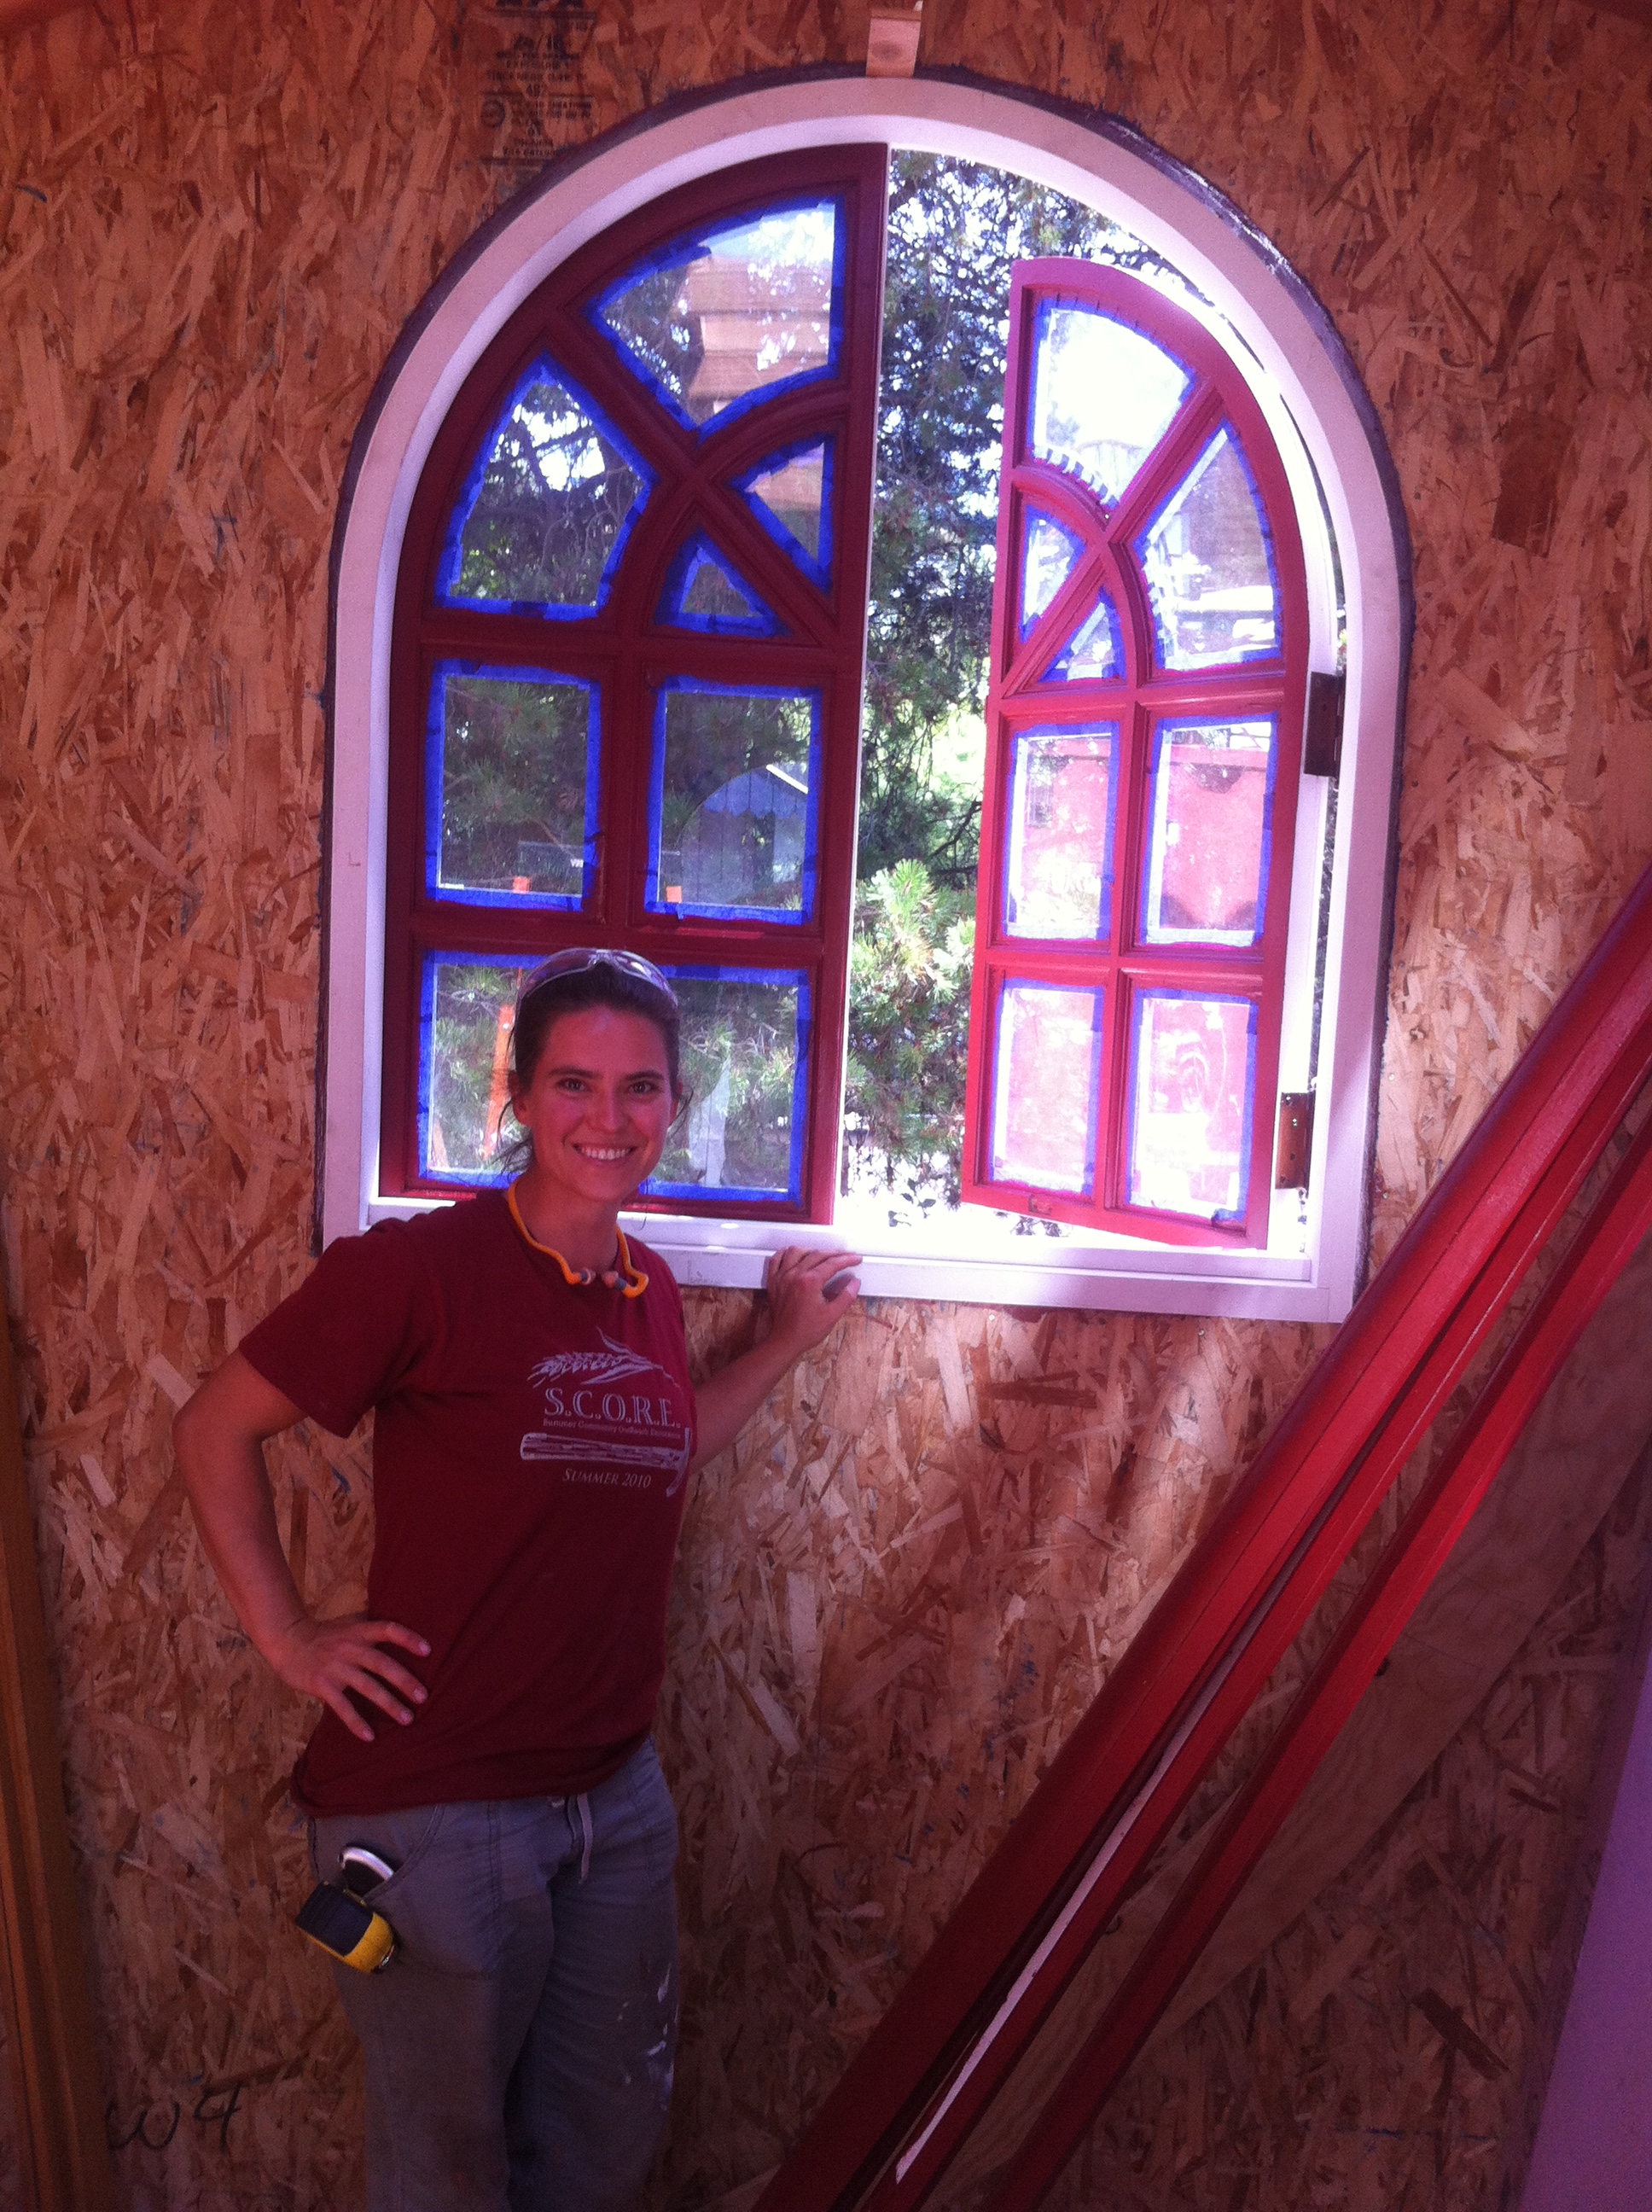
Once we’d done one of My Kitchen Windows the other one went in quickly. Then we turned our attention to My Arched Window. This one took a little more finessing. Luckily, My Arched Window Jamb was built by Dan, a talented finish carpenter. (More about that in a forthcoming blog post!) We started out by inserting the arched jamb in the opening and securing it in place with five screws: one in each of the legs, one at the top, and one on each side where the window starts to curve. Then we hoisted the window sashes into place and screwed them onto their hinges.
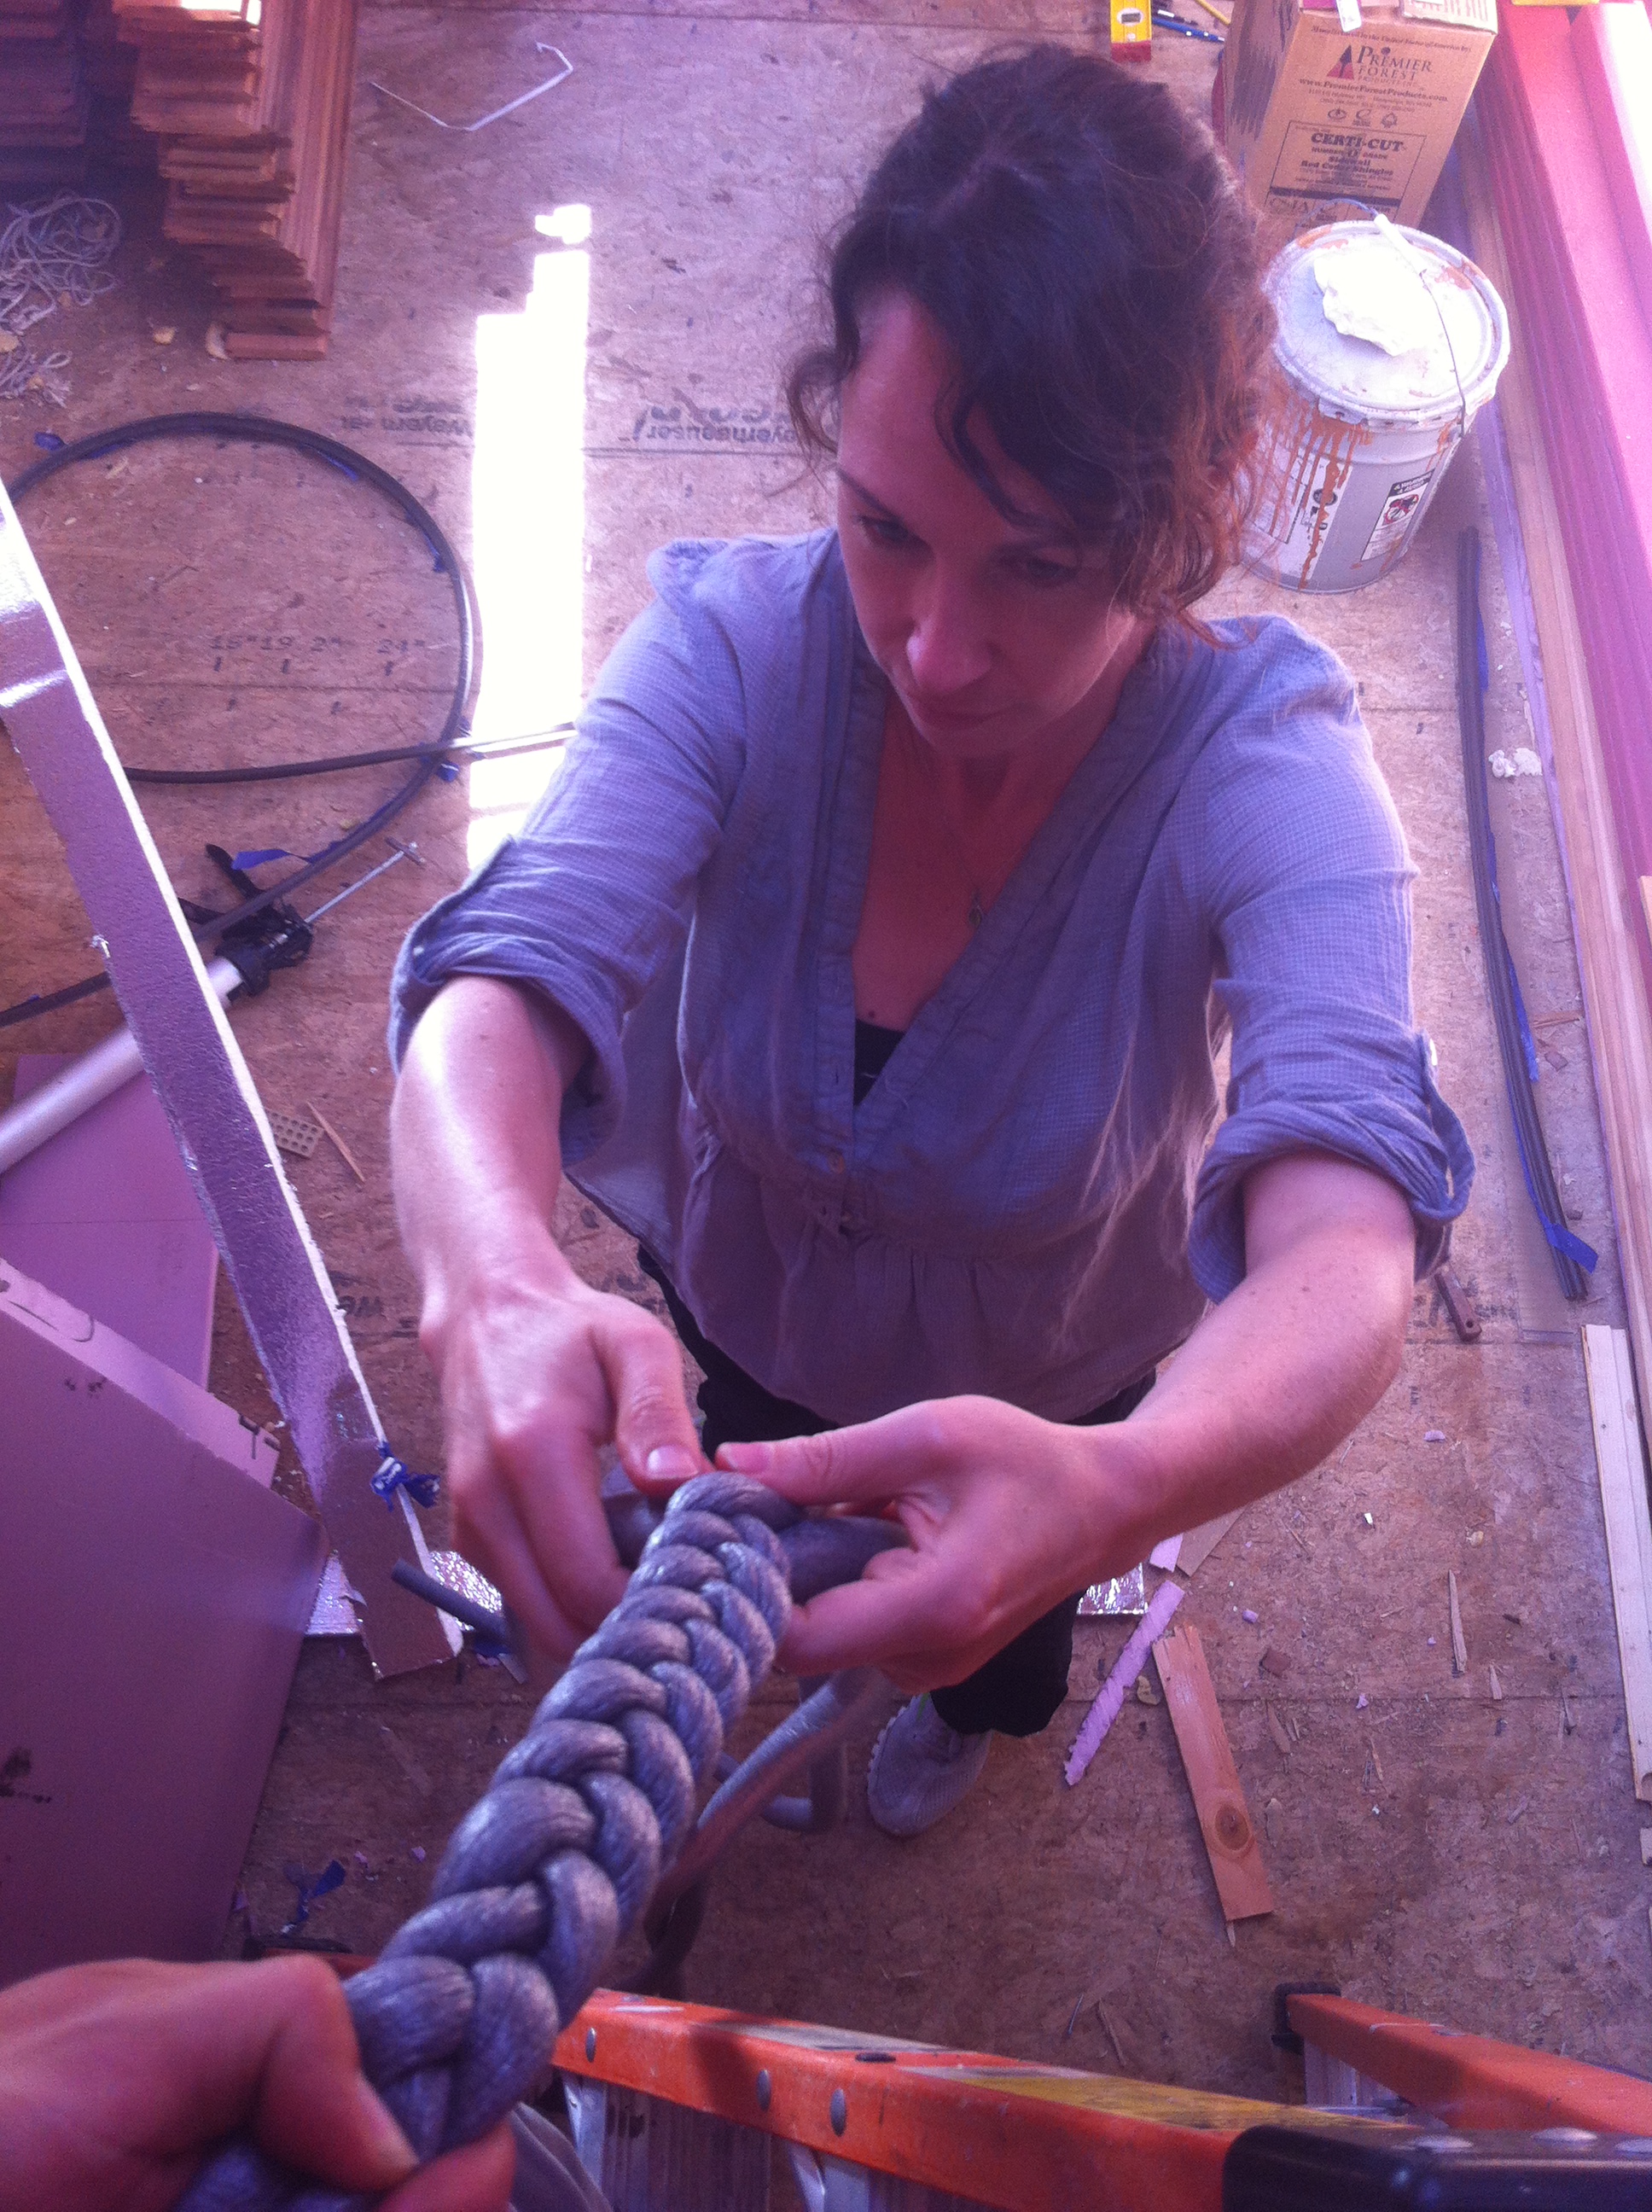
Next we fine-tuned the window by tightening and loosening screws just a smidgeon until the window was trued in its jamb. The process reminded me of tuning an instrument and it reminded Laura of truing a bike wheel. Once the window was swinging nicely and the reveals were satisfactory, we installed backer rod around it. The gap was larger here (better too big than too small though!) By now Julie had arrived and Laura switched back to working on her siding. While Eric was installing My Beautiful Arched Door, Julie helped me braid three strands of backer rod together and insert it into the gap. I ran a bead of Air Dam along each edge and let it skin over since this is a larger gap to fill and I decided it would be best to do it in two phases.

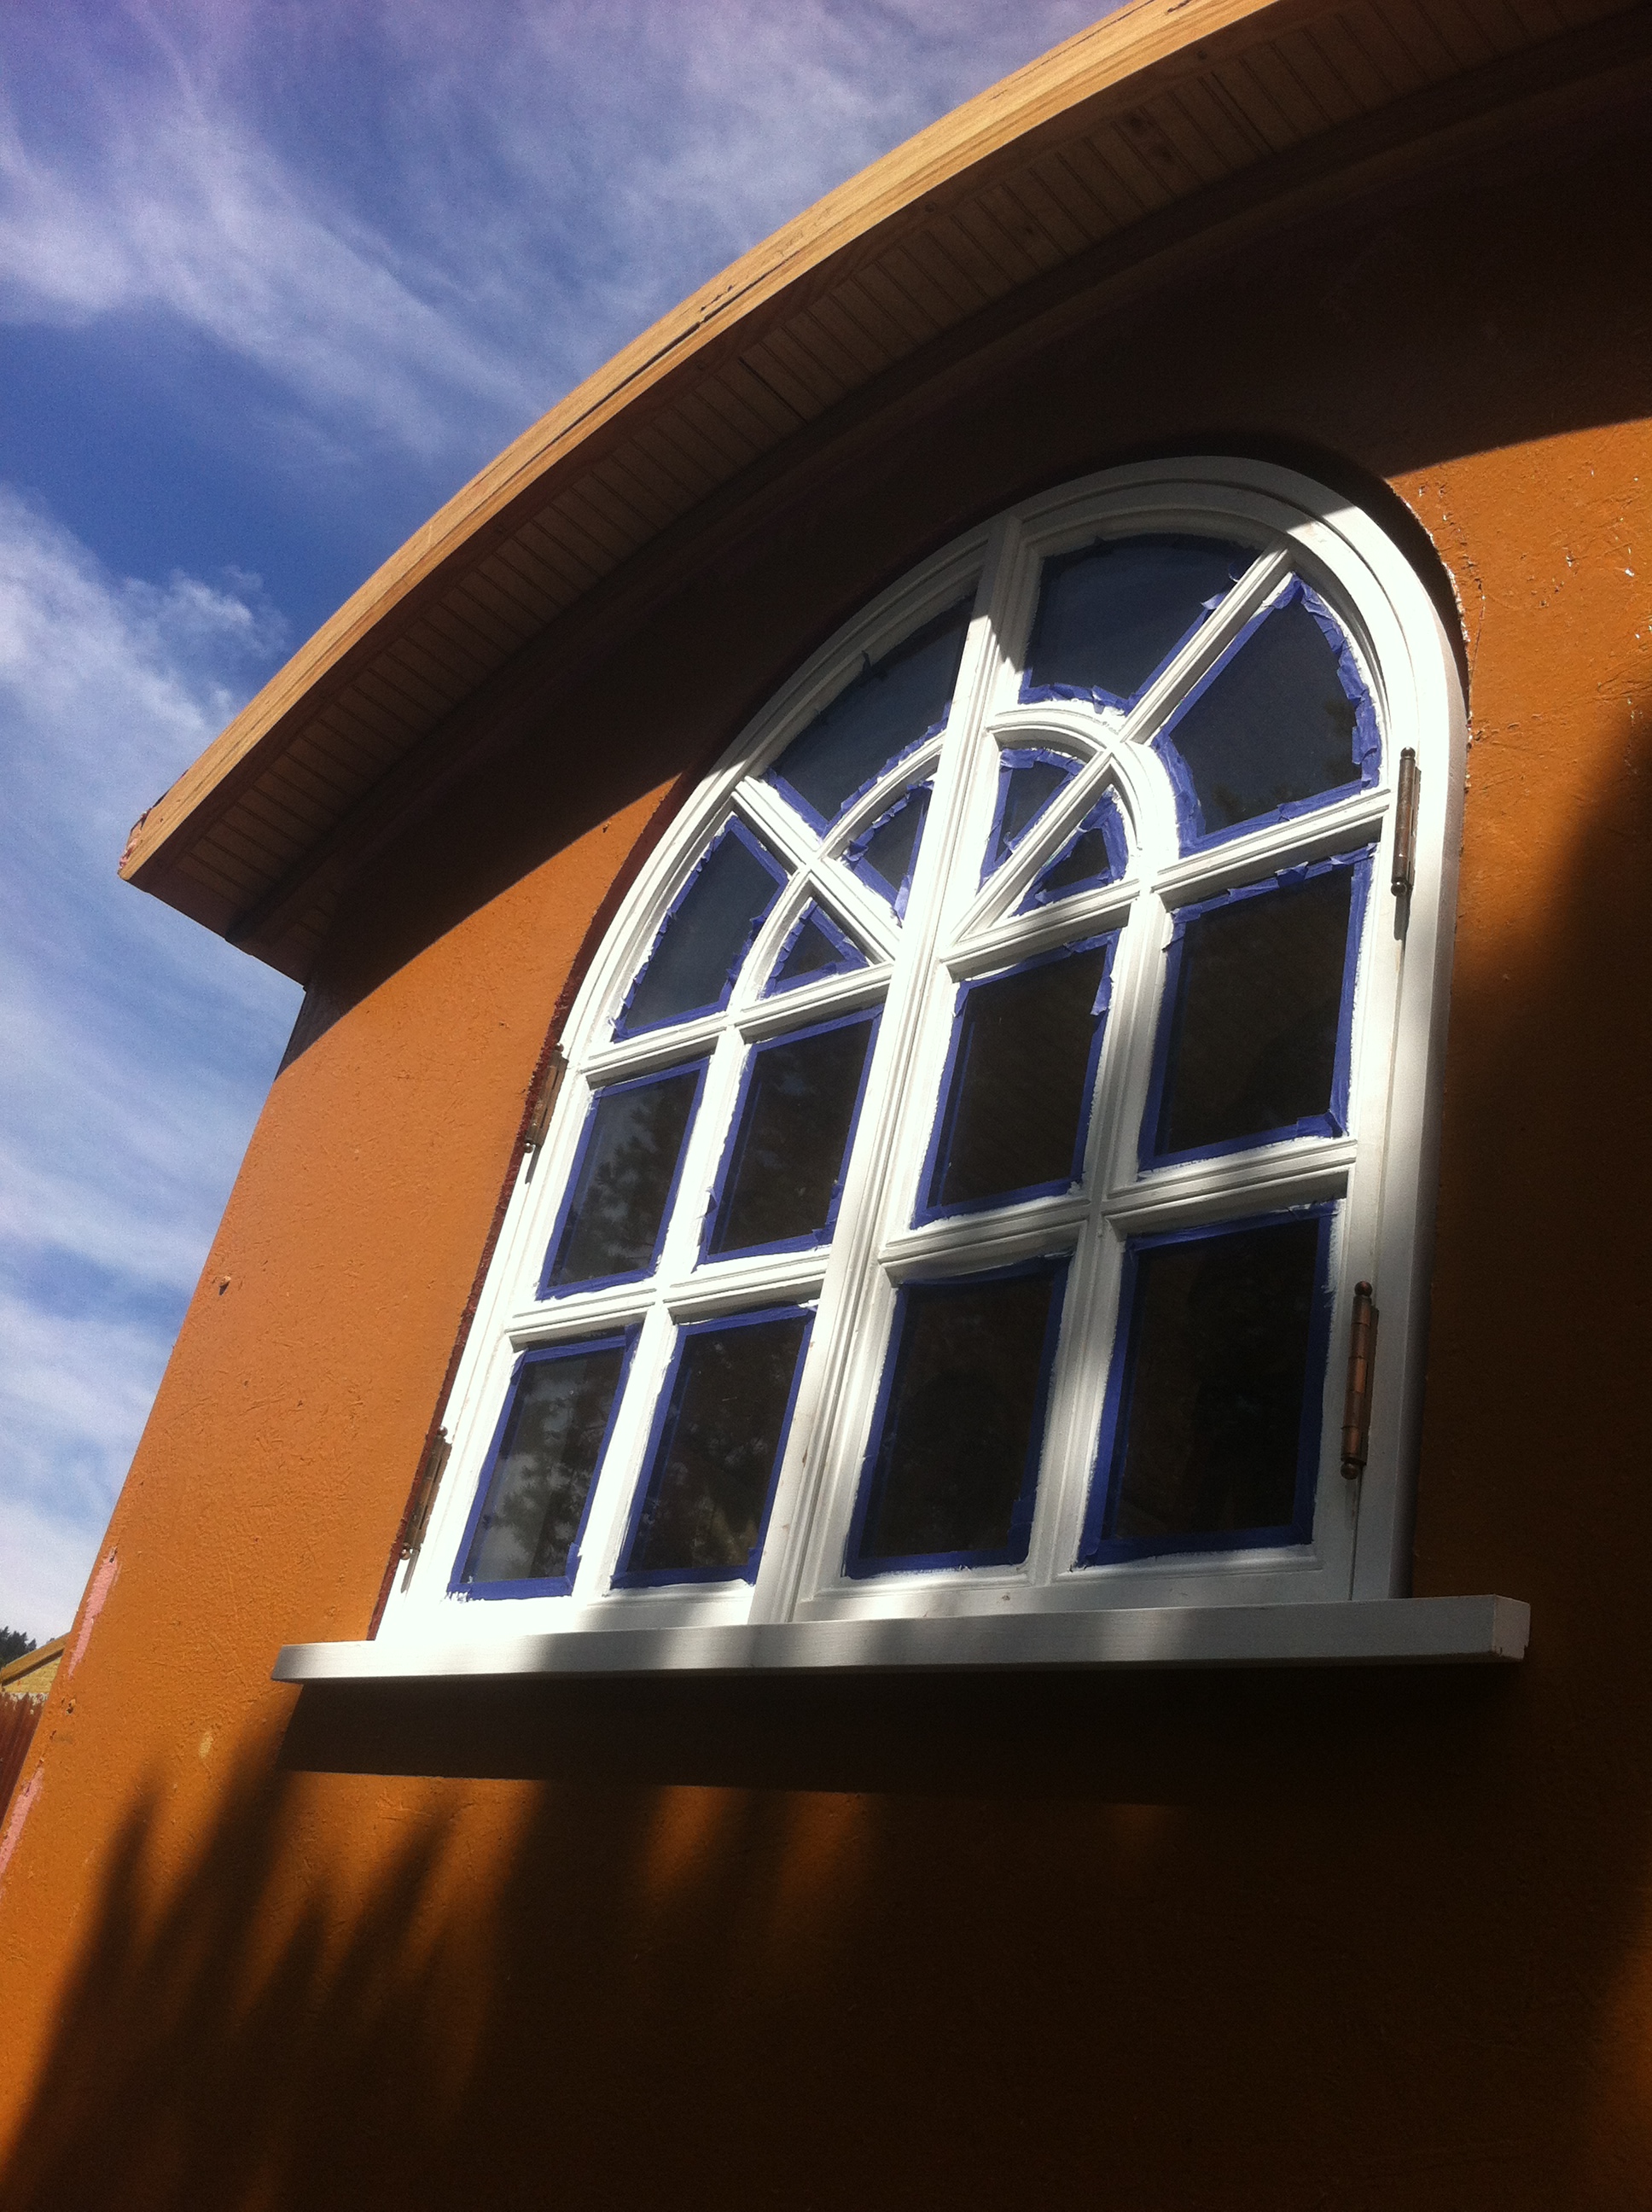
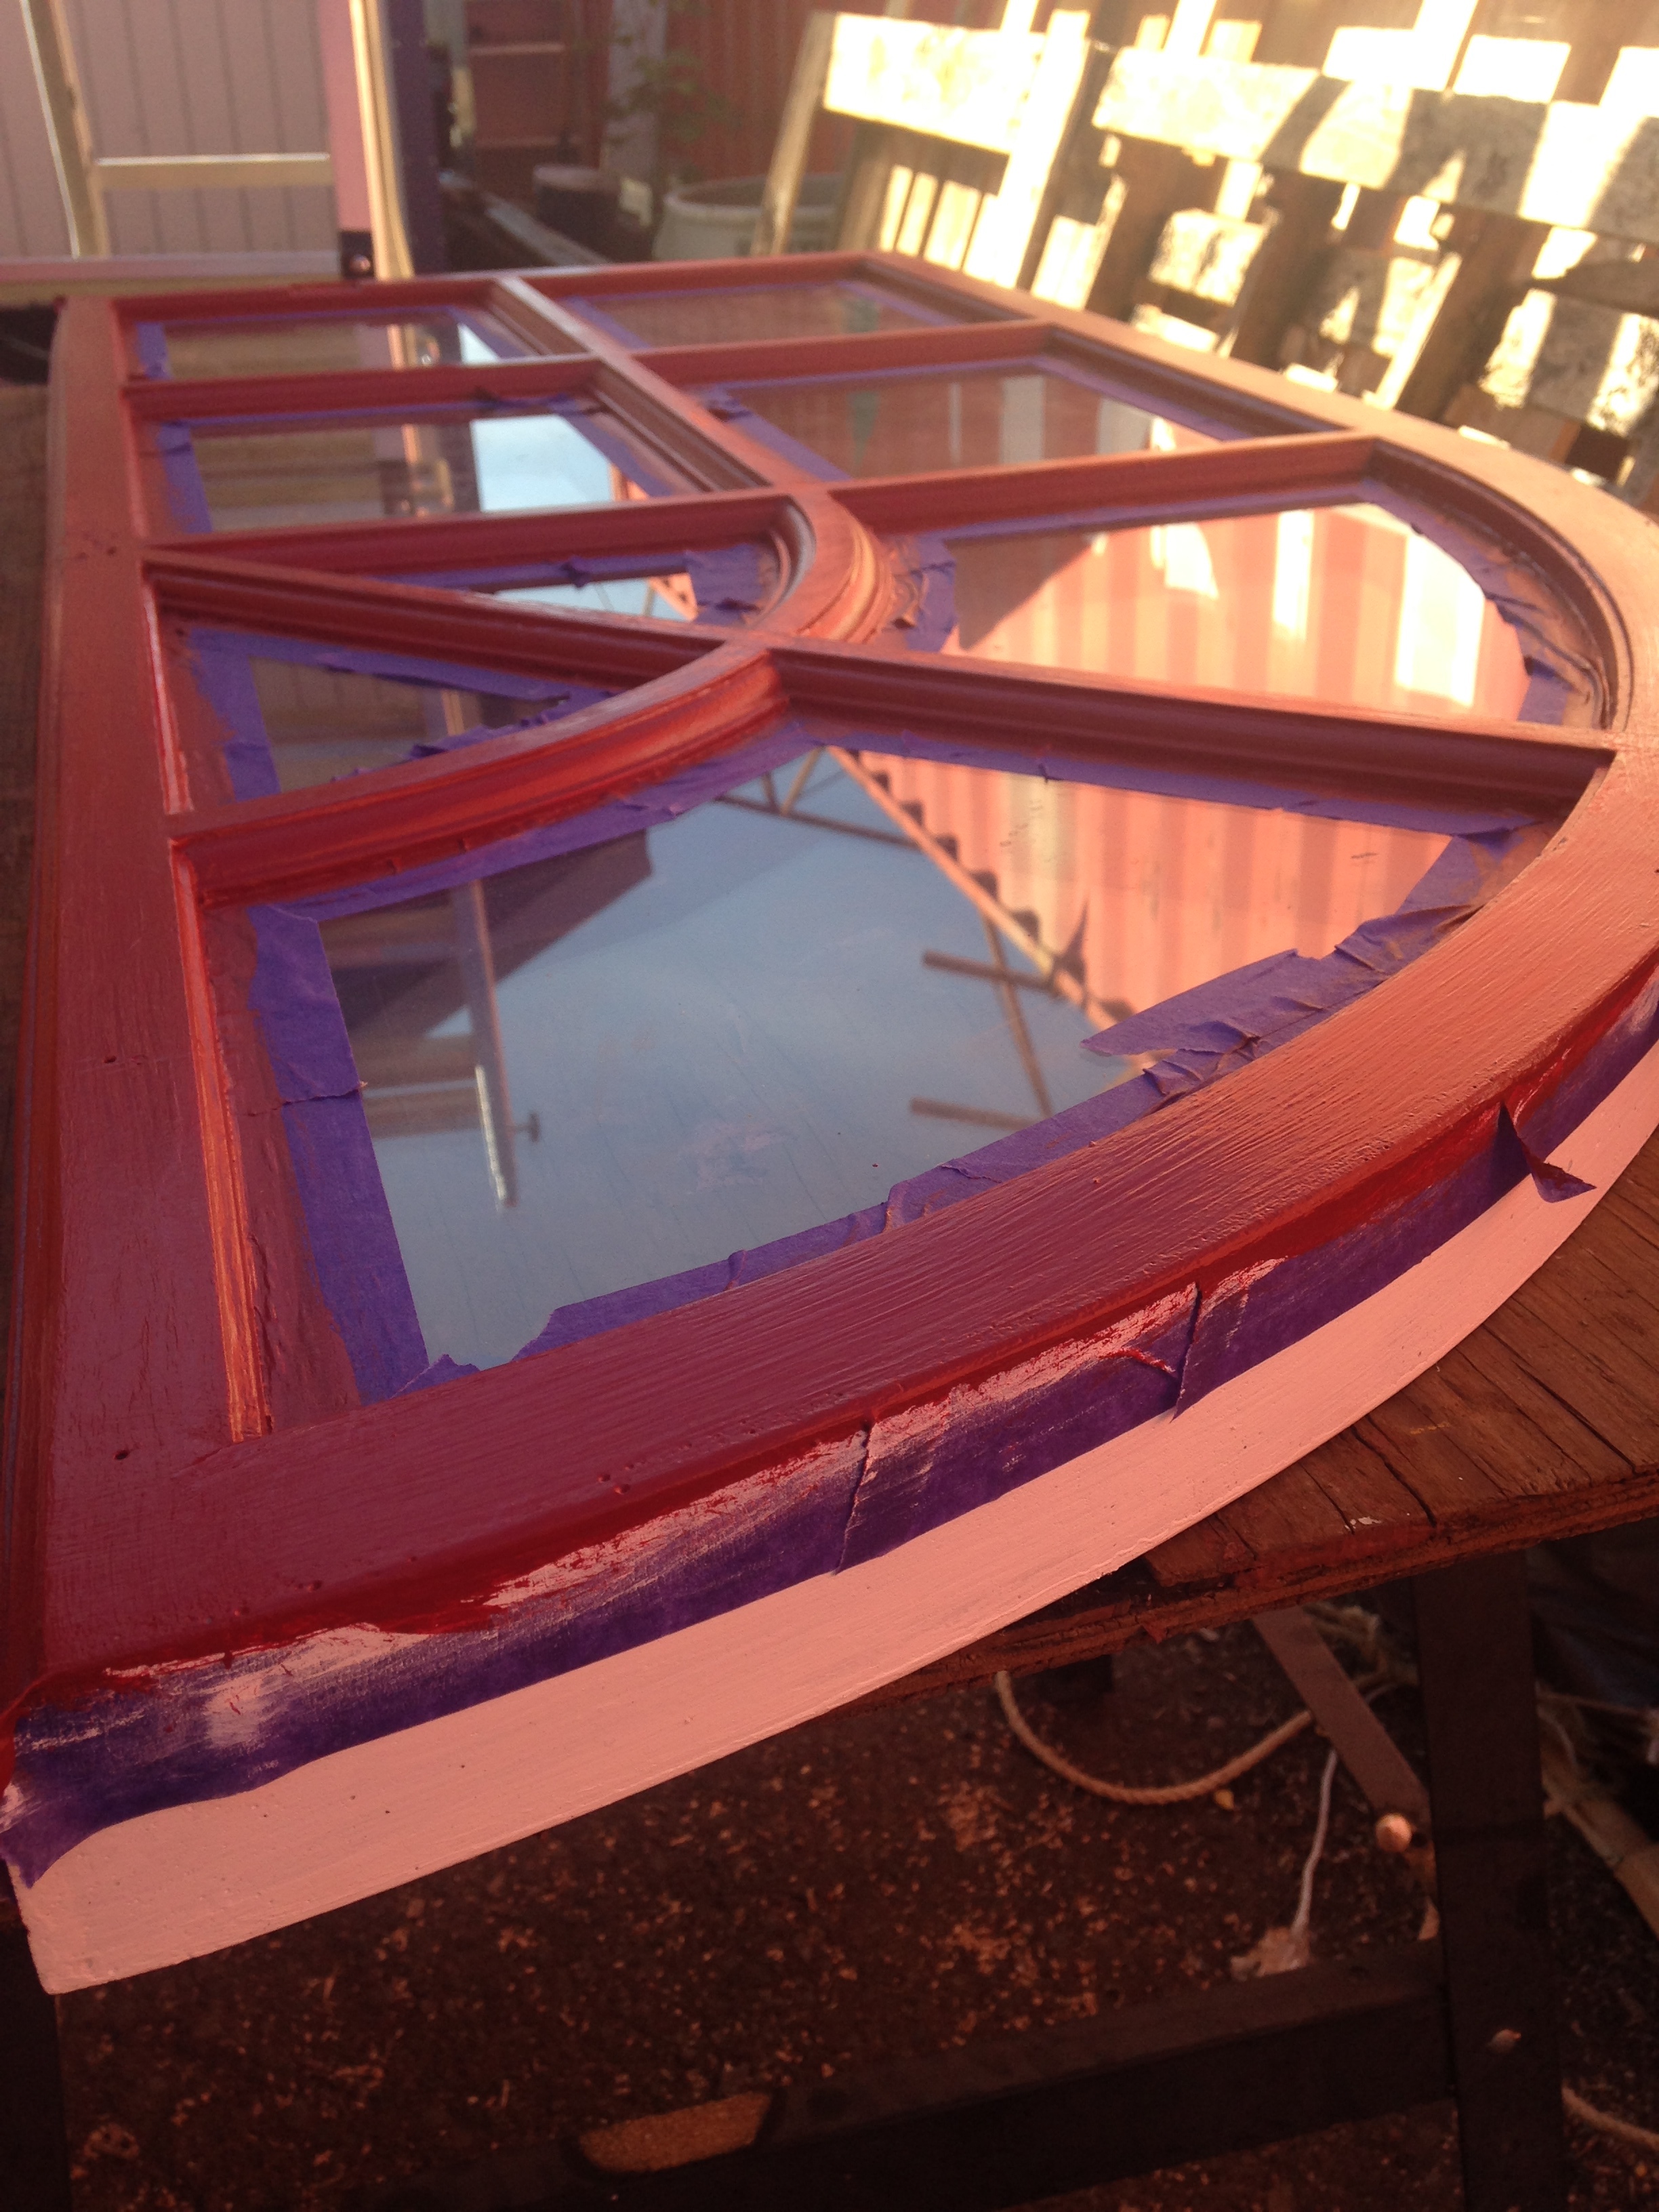
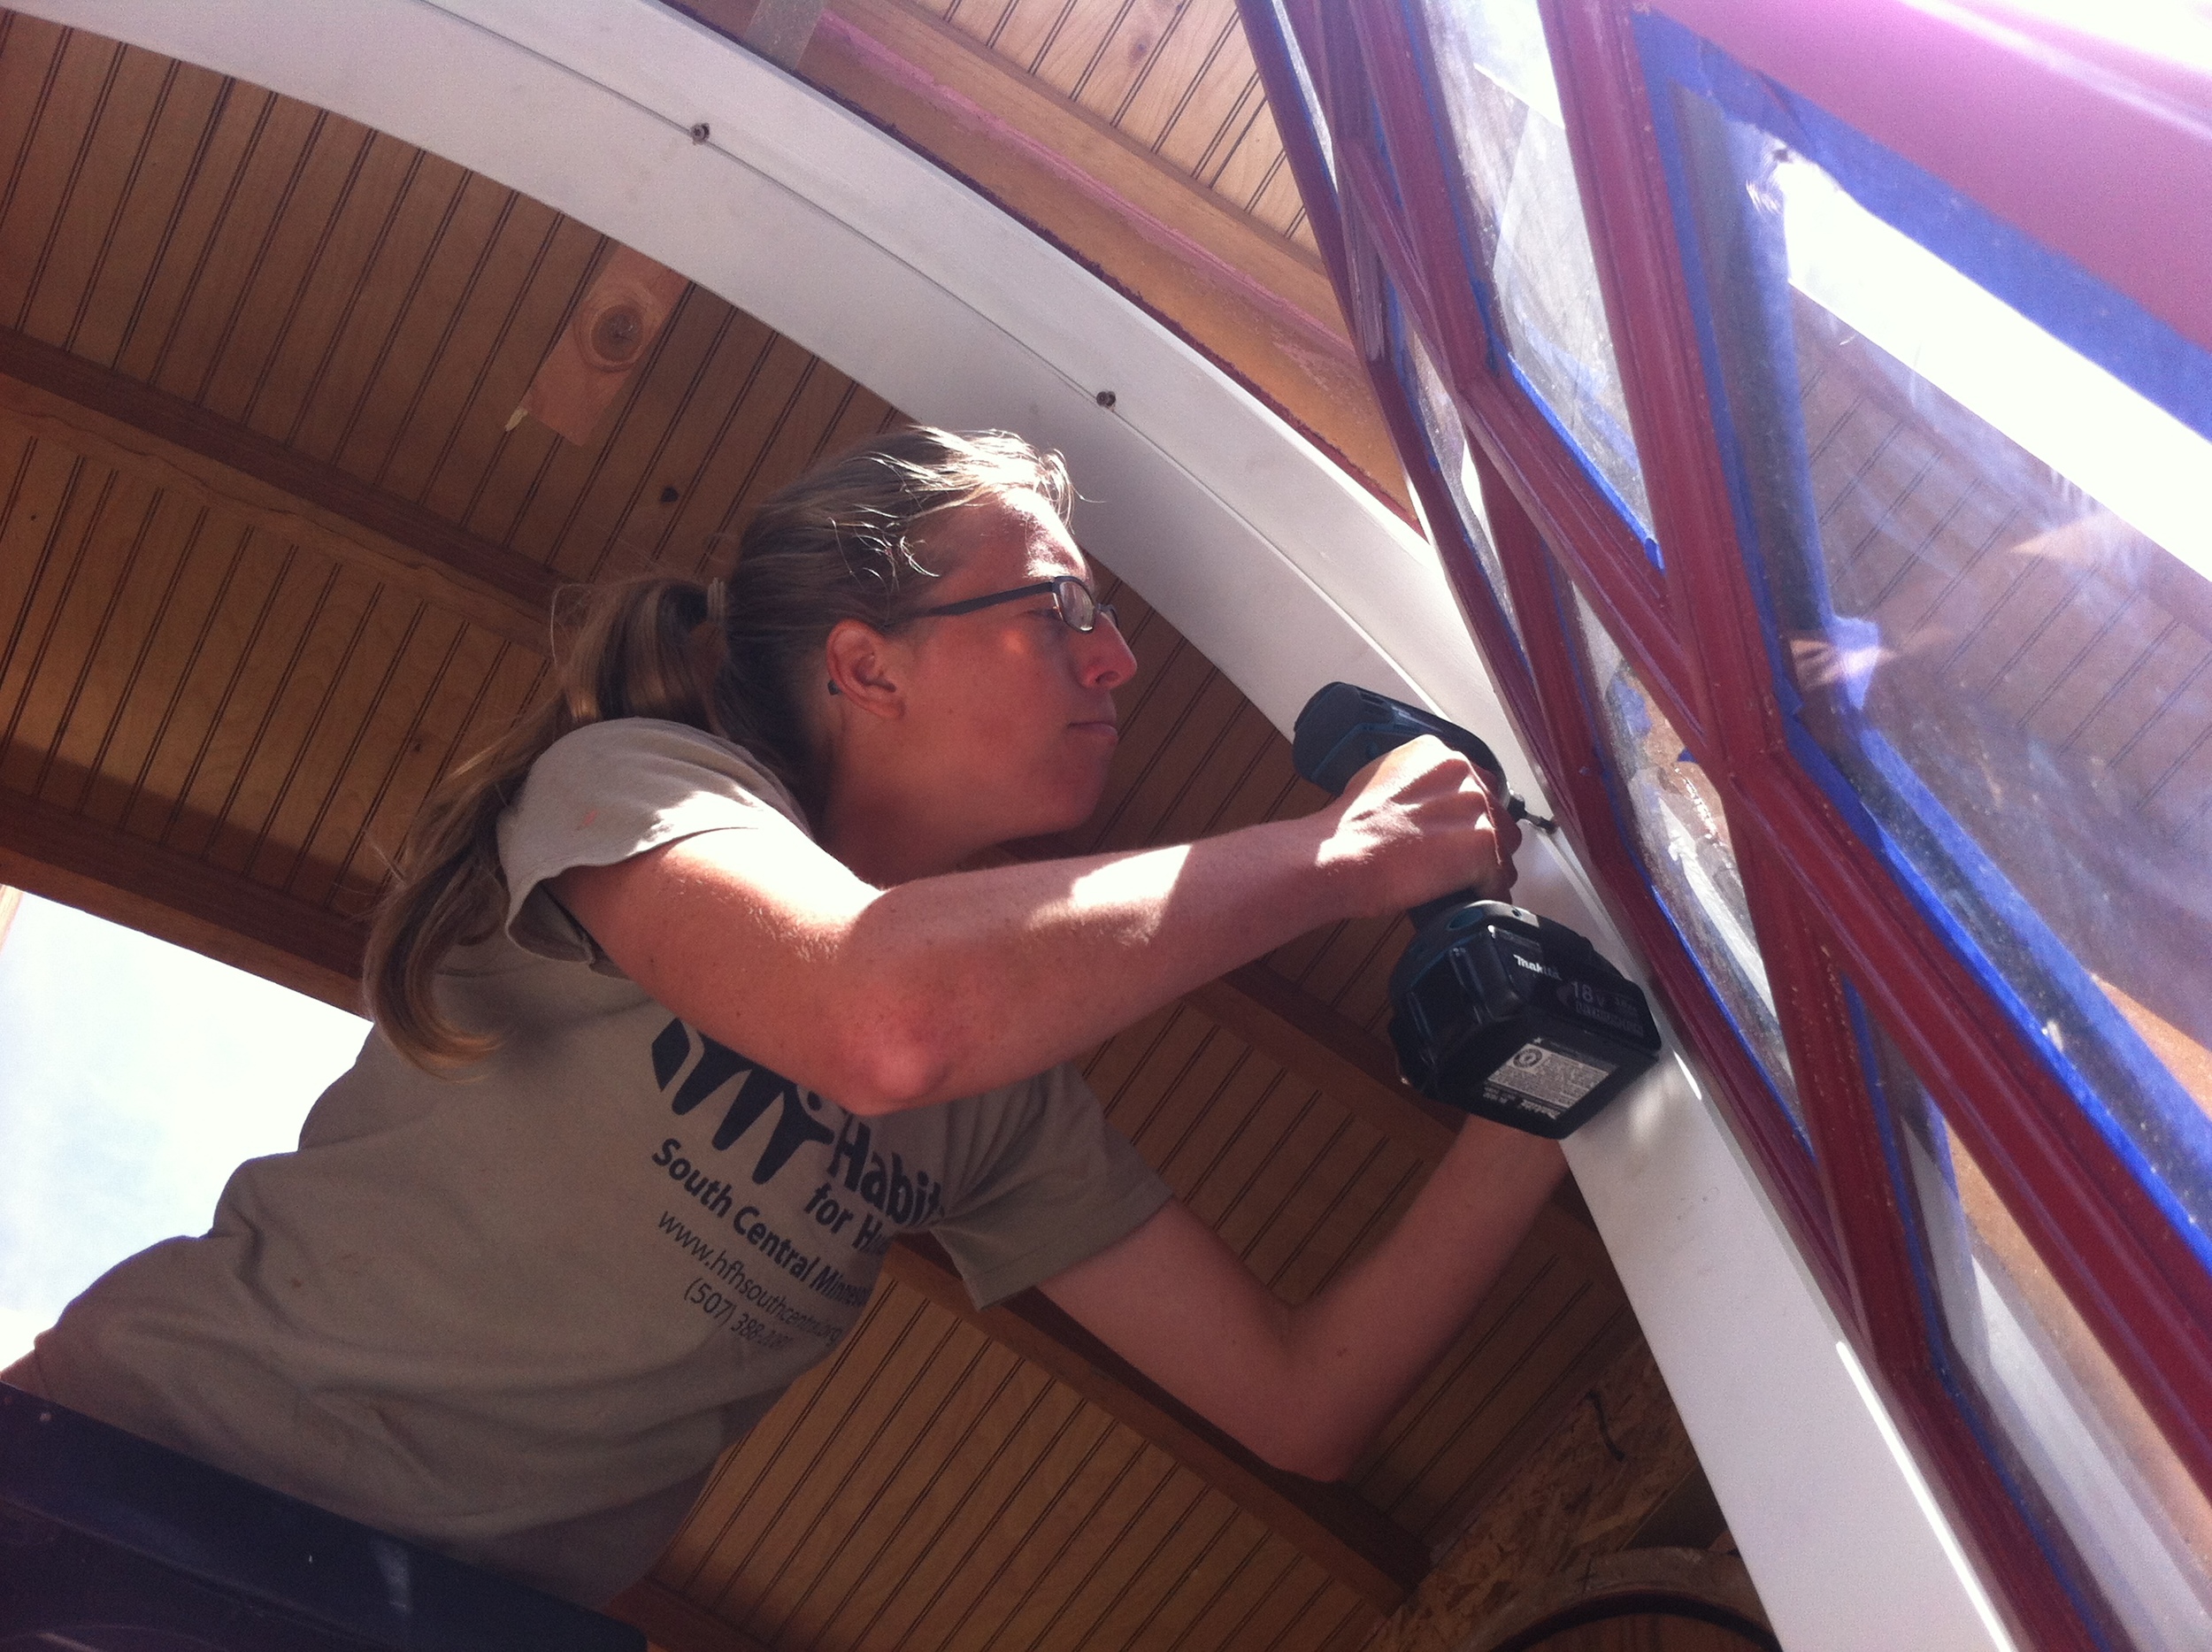
I glanced up at the window at one point and realized that I had my own red, white, and blue. My window is painted burgundy but the jamb hasn’t been painted on the interior yet, so it’s still white. And, of course, the painters tape is blue. This little house will give me freedom and independence, so it seemed fitting to celebrate the installation of My Arched Window, since my tiny house started with this window!
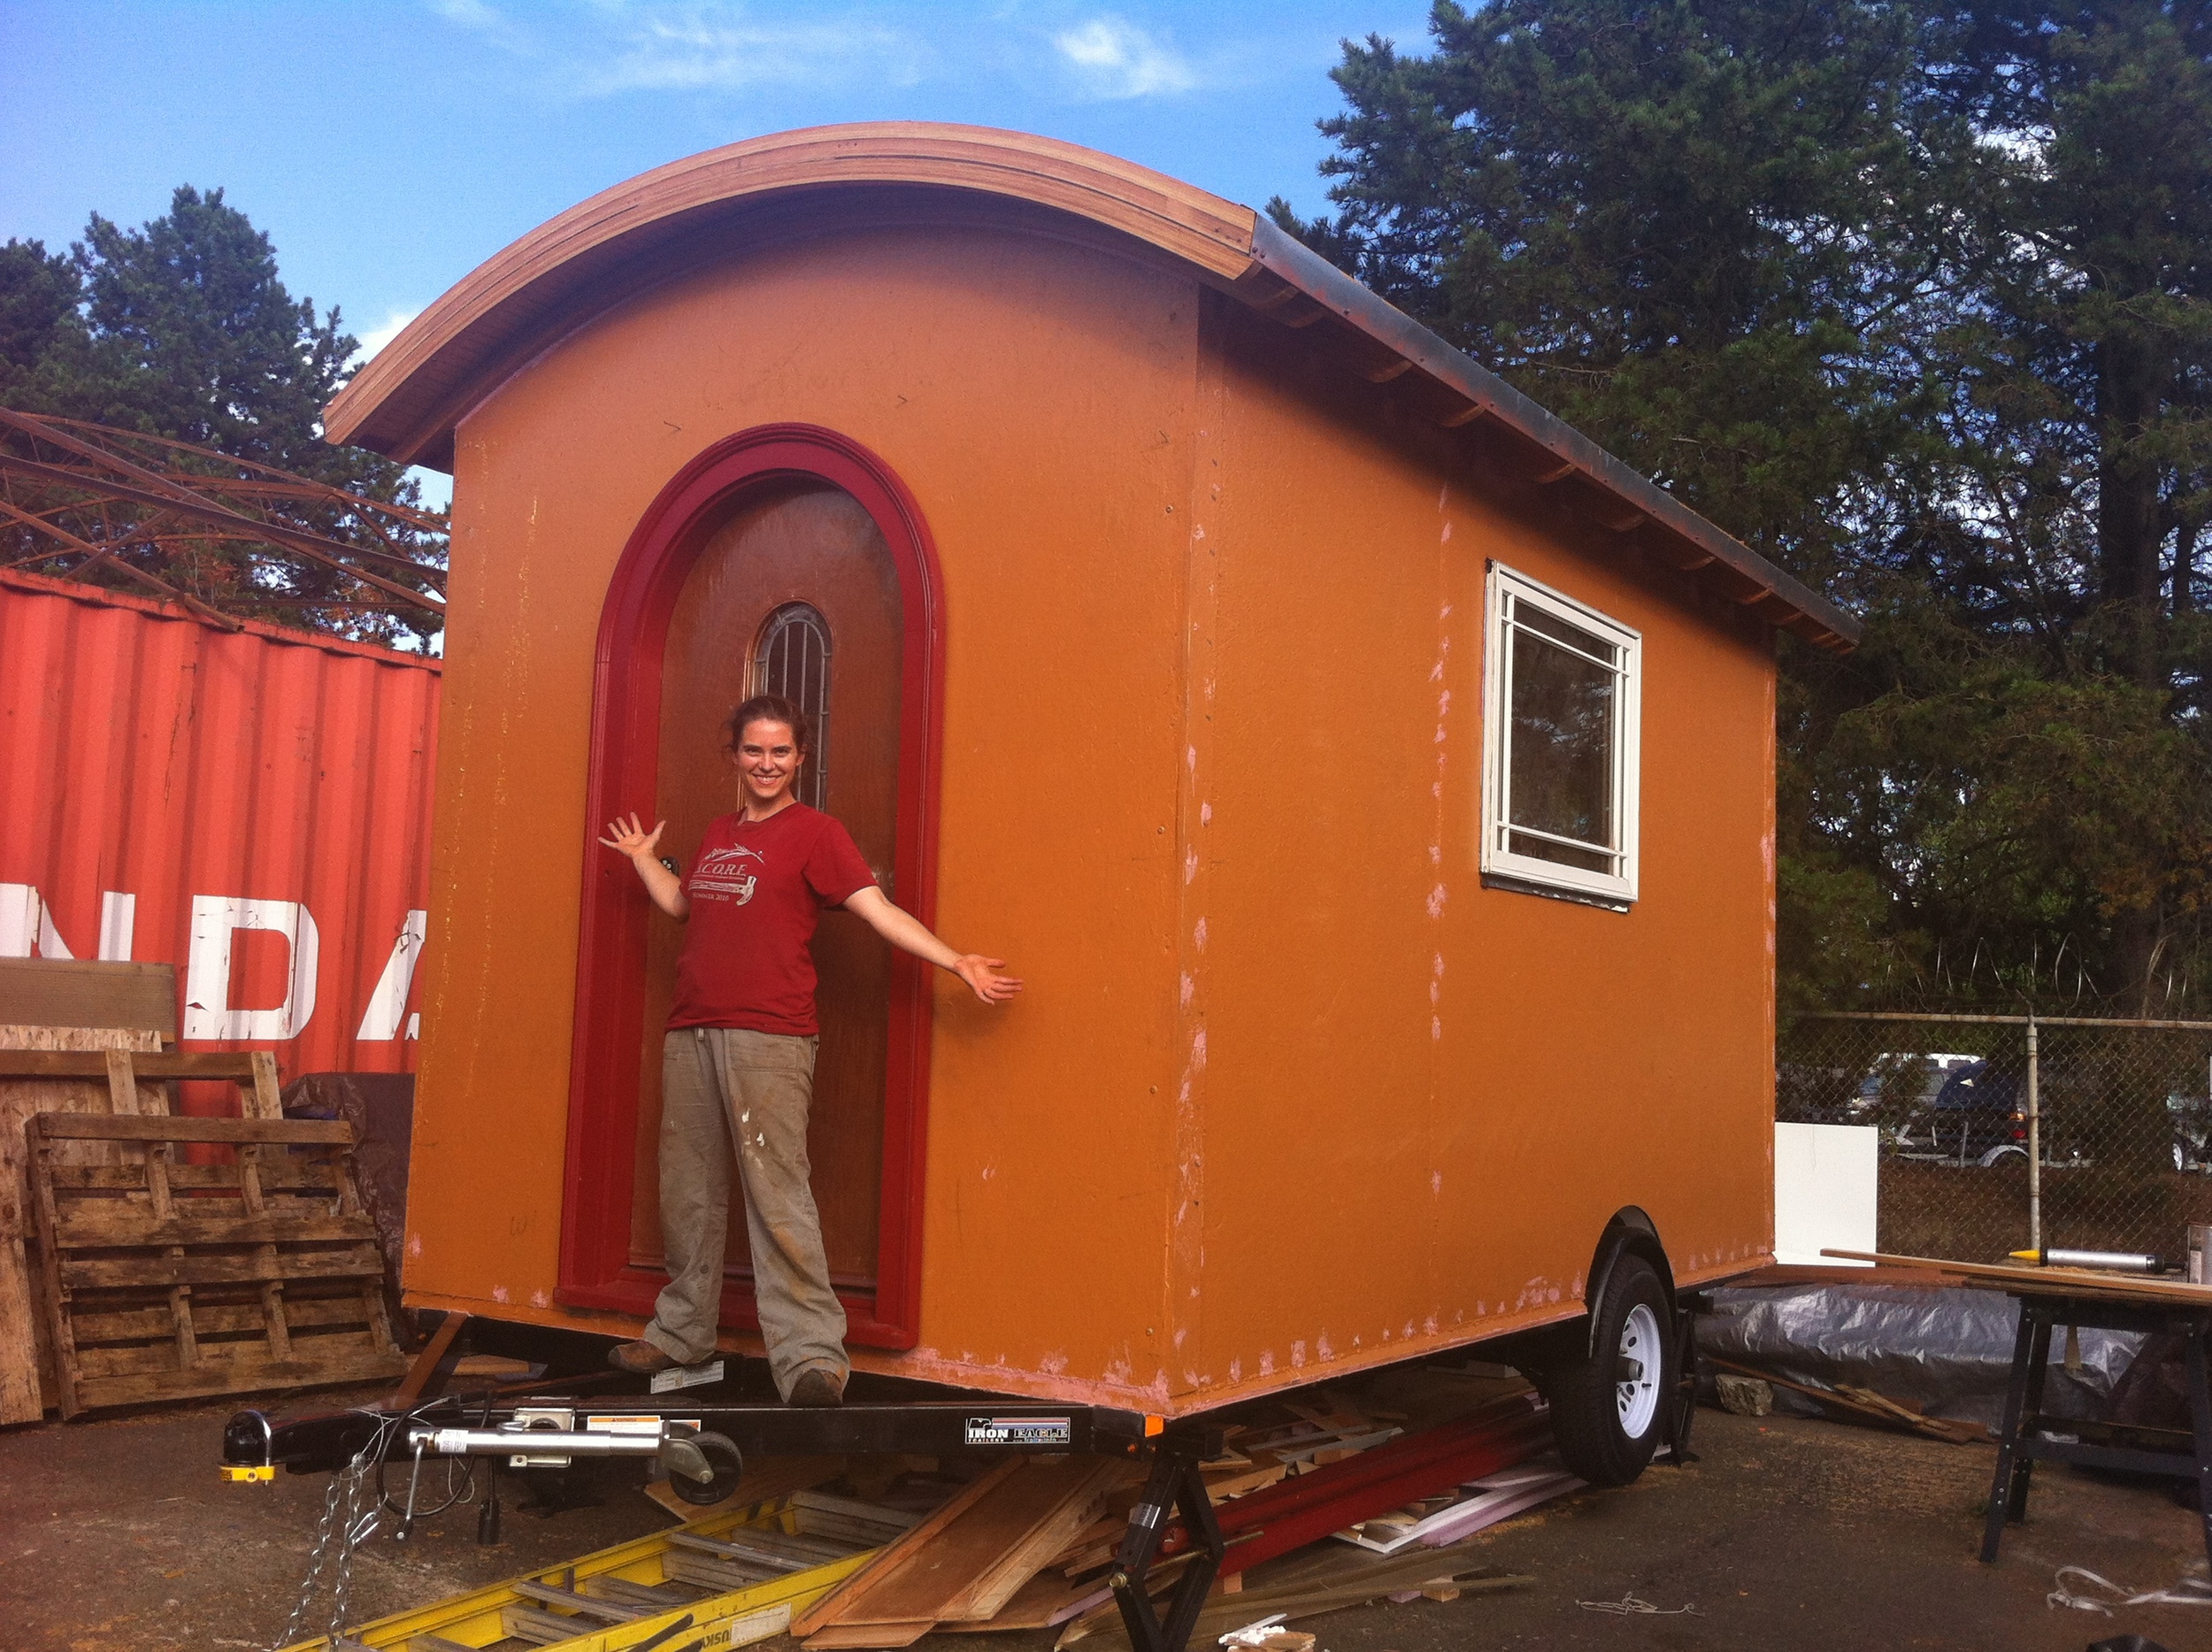
Installing the windows is always one of my favorite parts of a build, but getting the windows in was especially exciting for me because the roof had taken so long to get dried in. (See Plan F: Take 2 for more on that!) I hadn’t installed the windows because it was nice to have the openings while working on the roof. So putting the windows in felt like a reward. Besides, they’re just plain beautiful!
After Eric headed out Julie and I helped Laura with her siding for a couple hours and then headed to a great Fourth of July cook out. I couldn’t be happier with my own version of red, white, and blue!