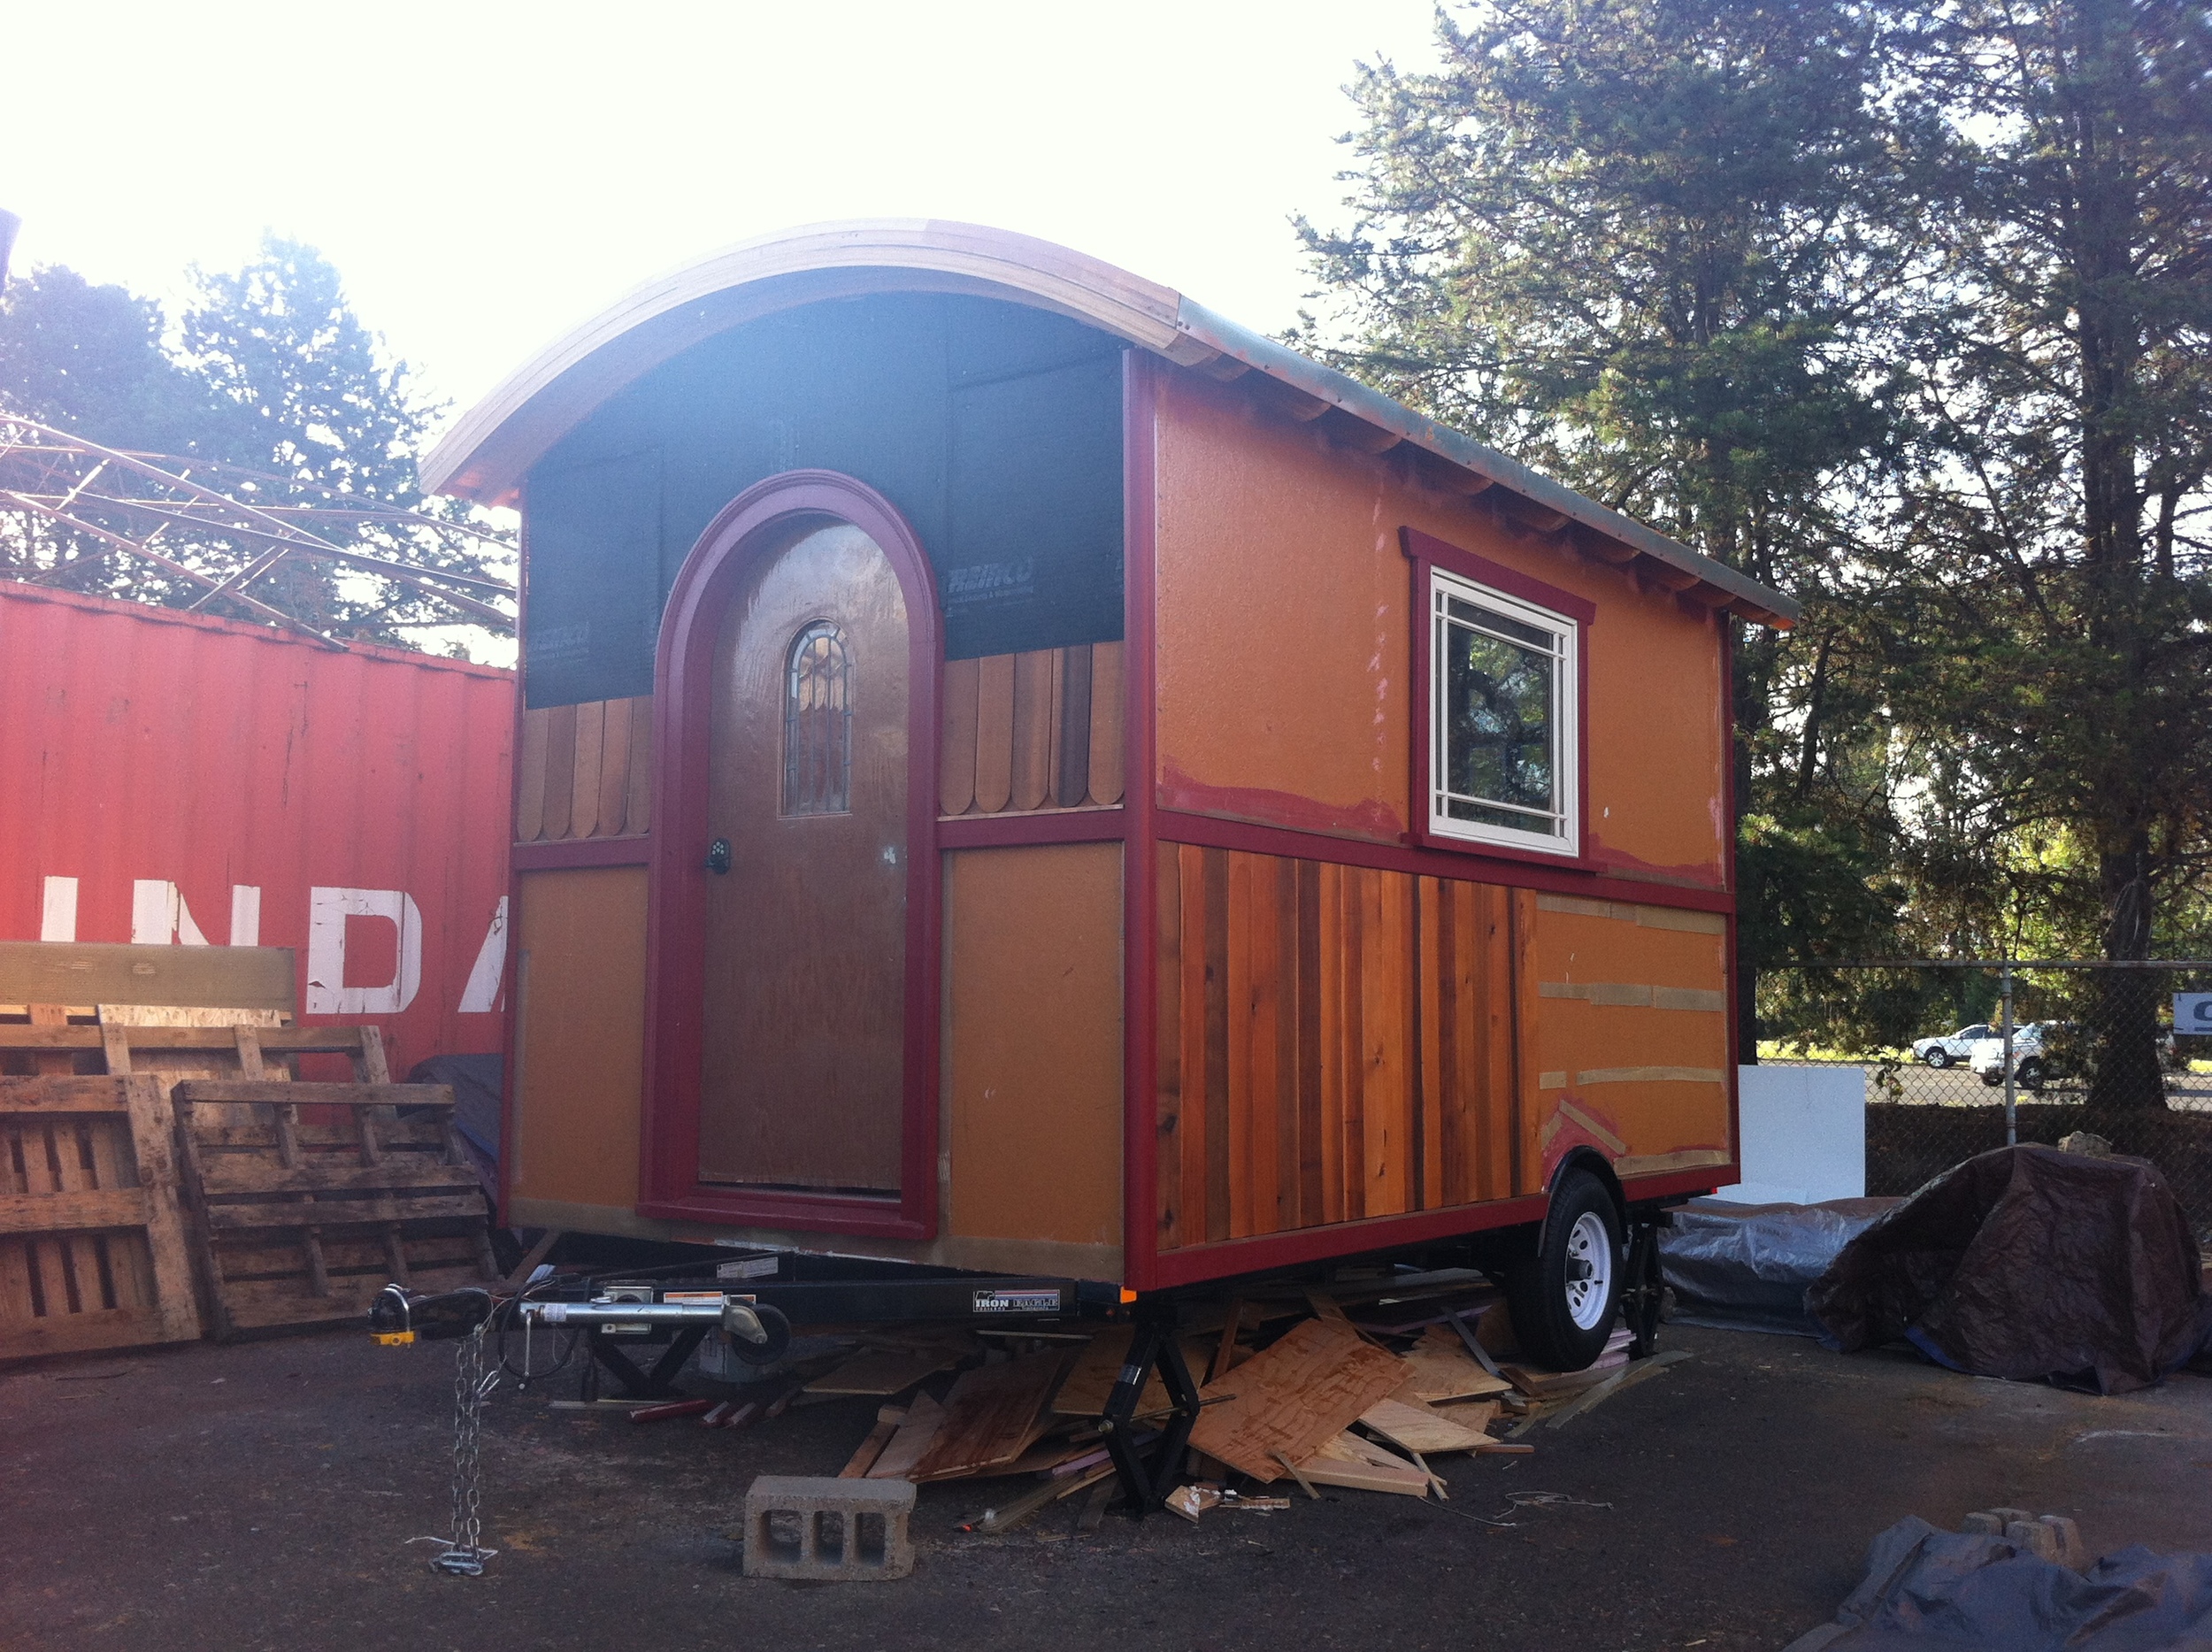
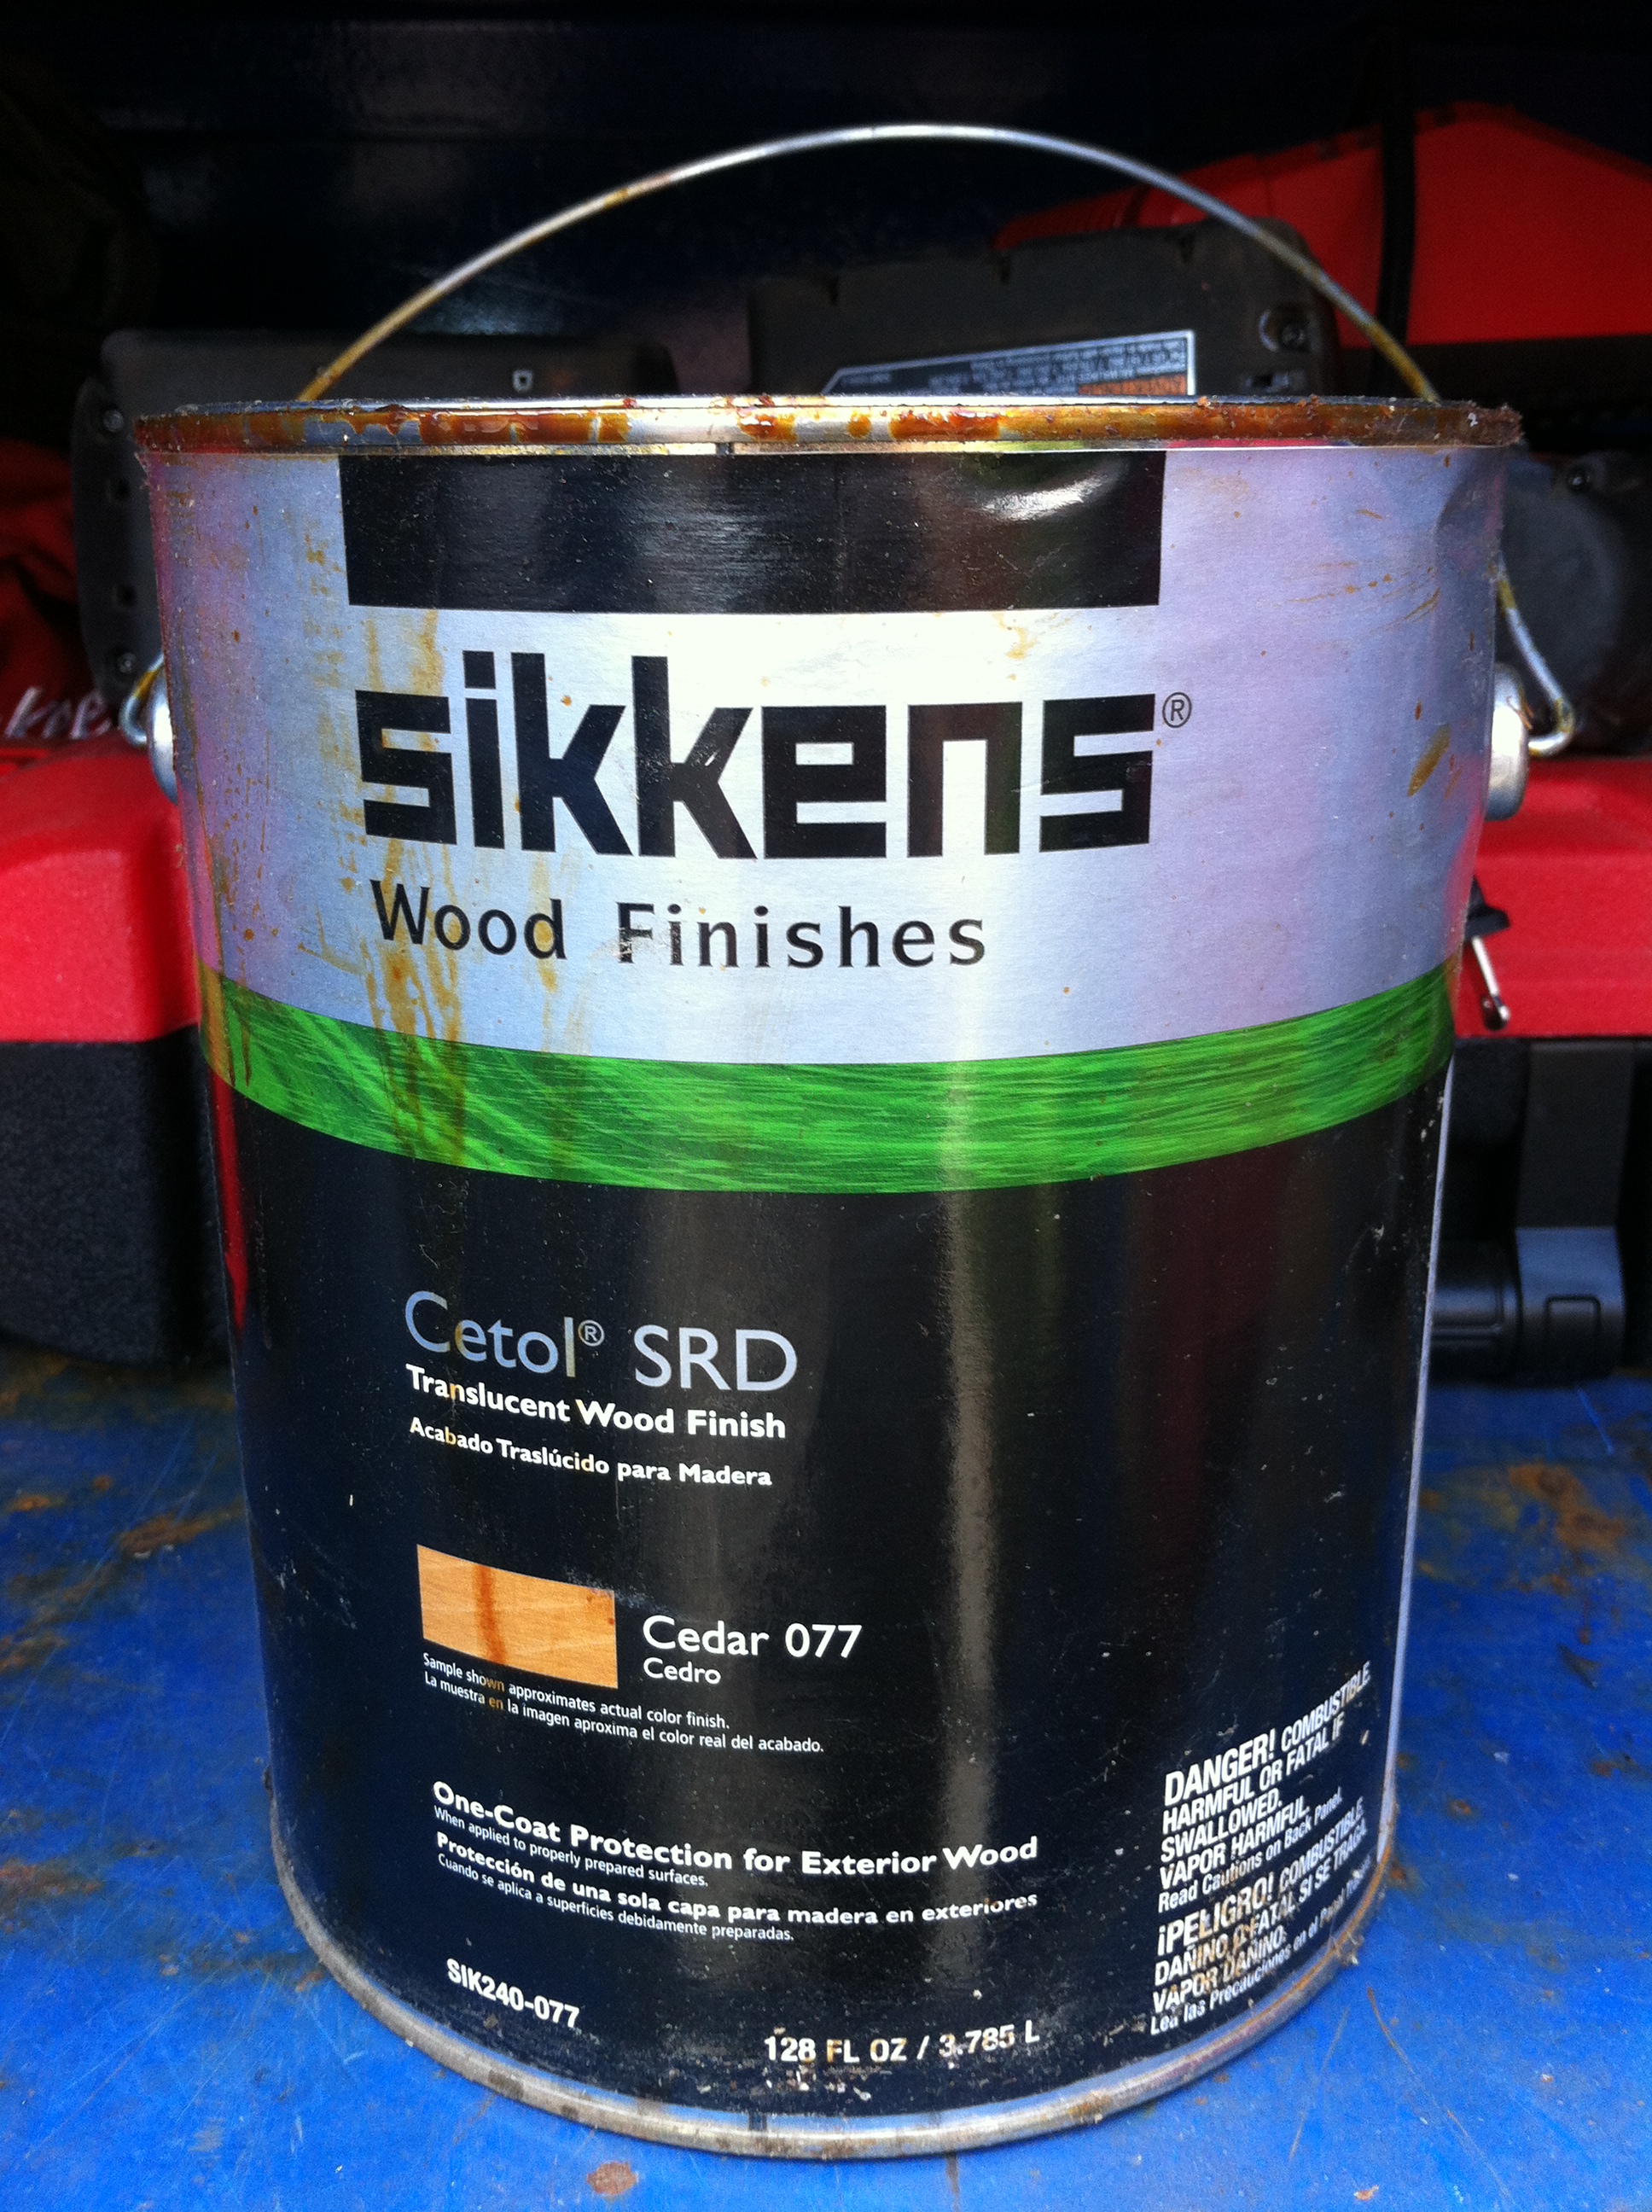
 Let’s talk about rain screens for a moment. In the Pacific Northwest rain screens are recommended because they prevent siding from rotting by draining away water that gets behind the siding. (Note that I didn't say any water that might get behind the siding. Around here we figure that water will get behind the siding!)
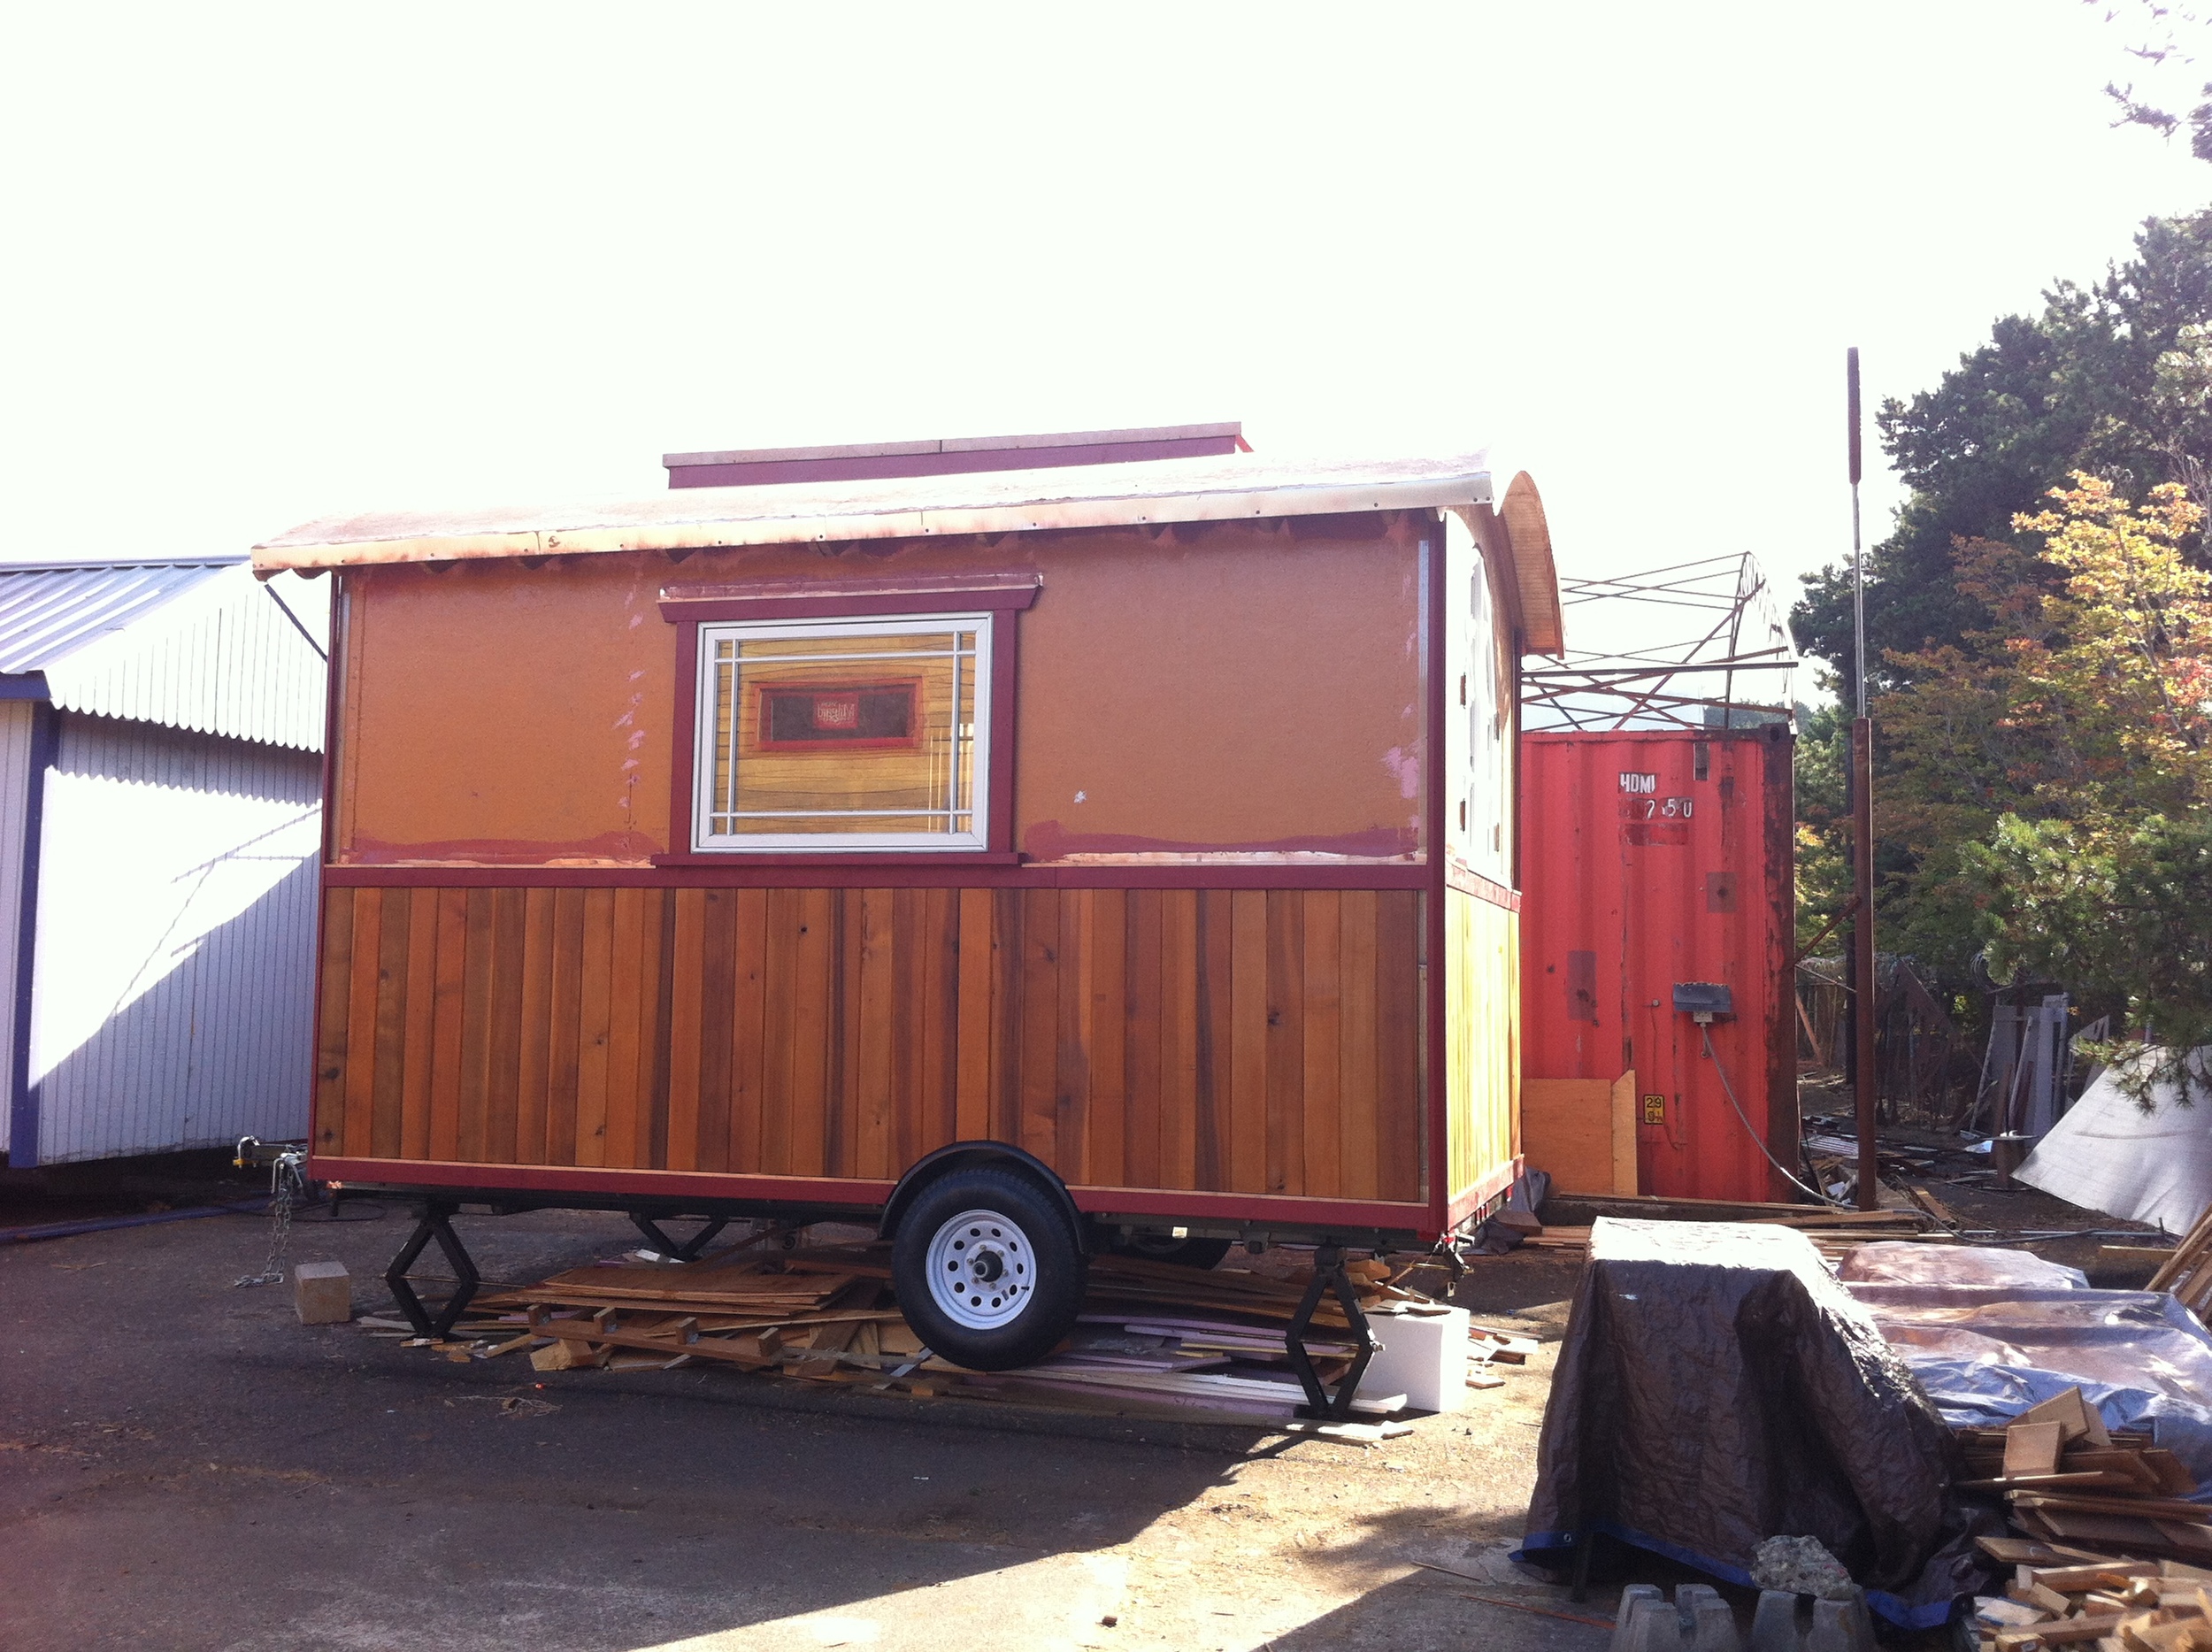
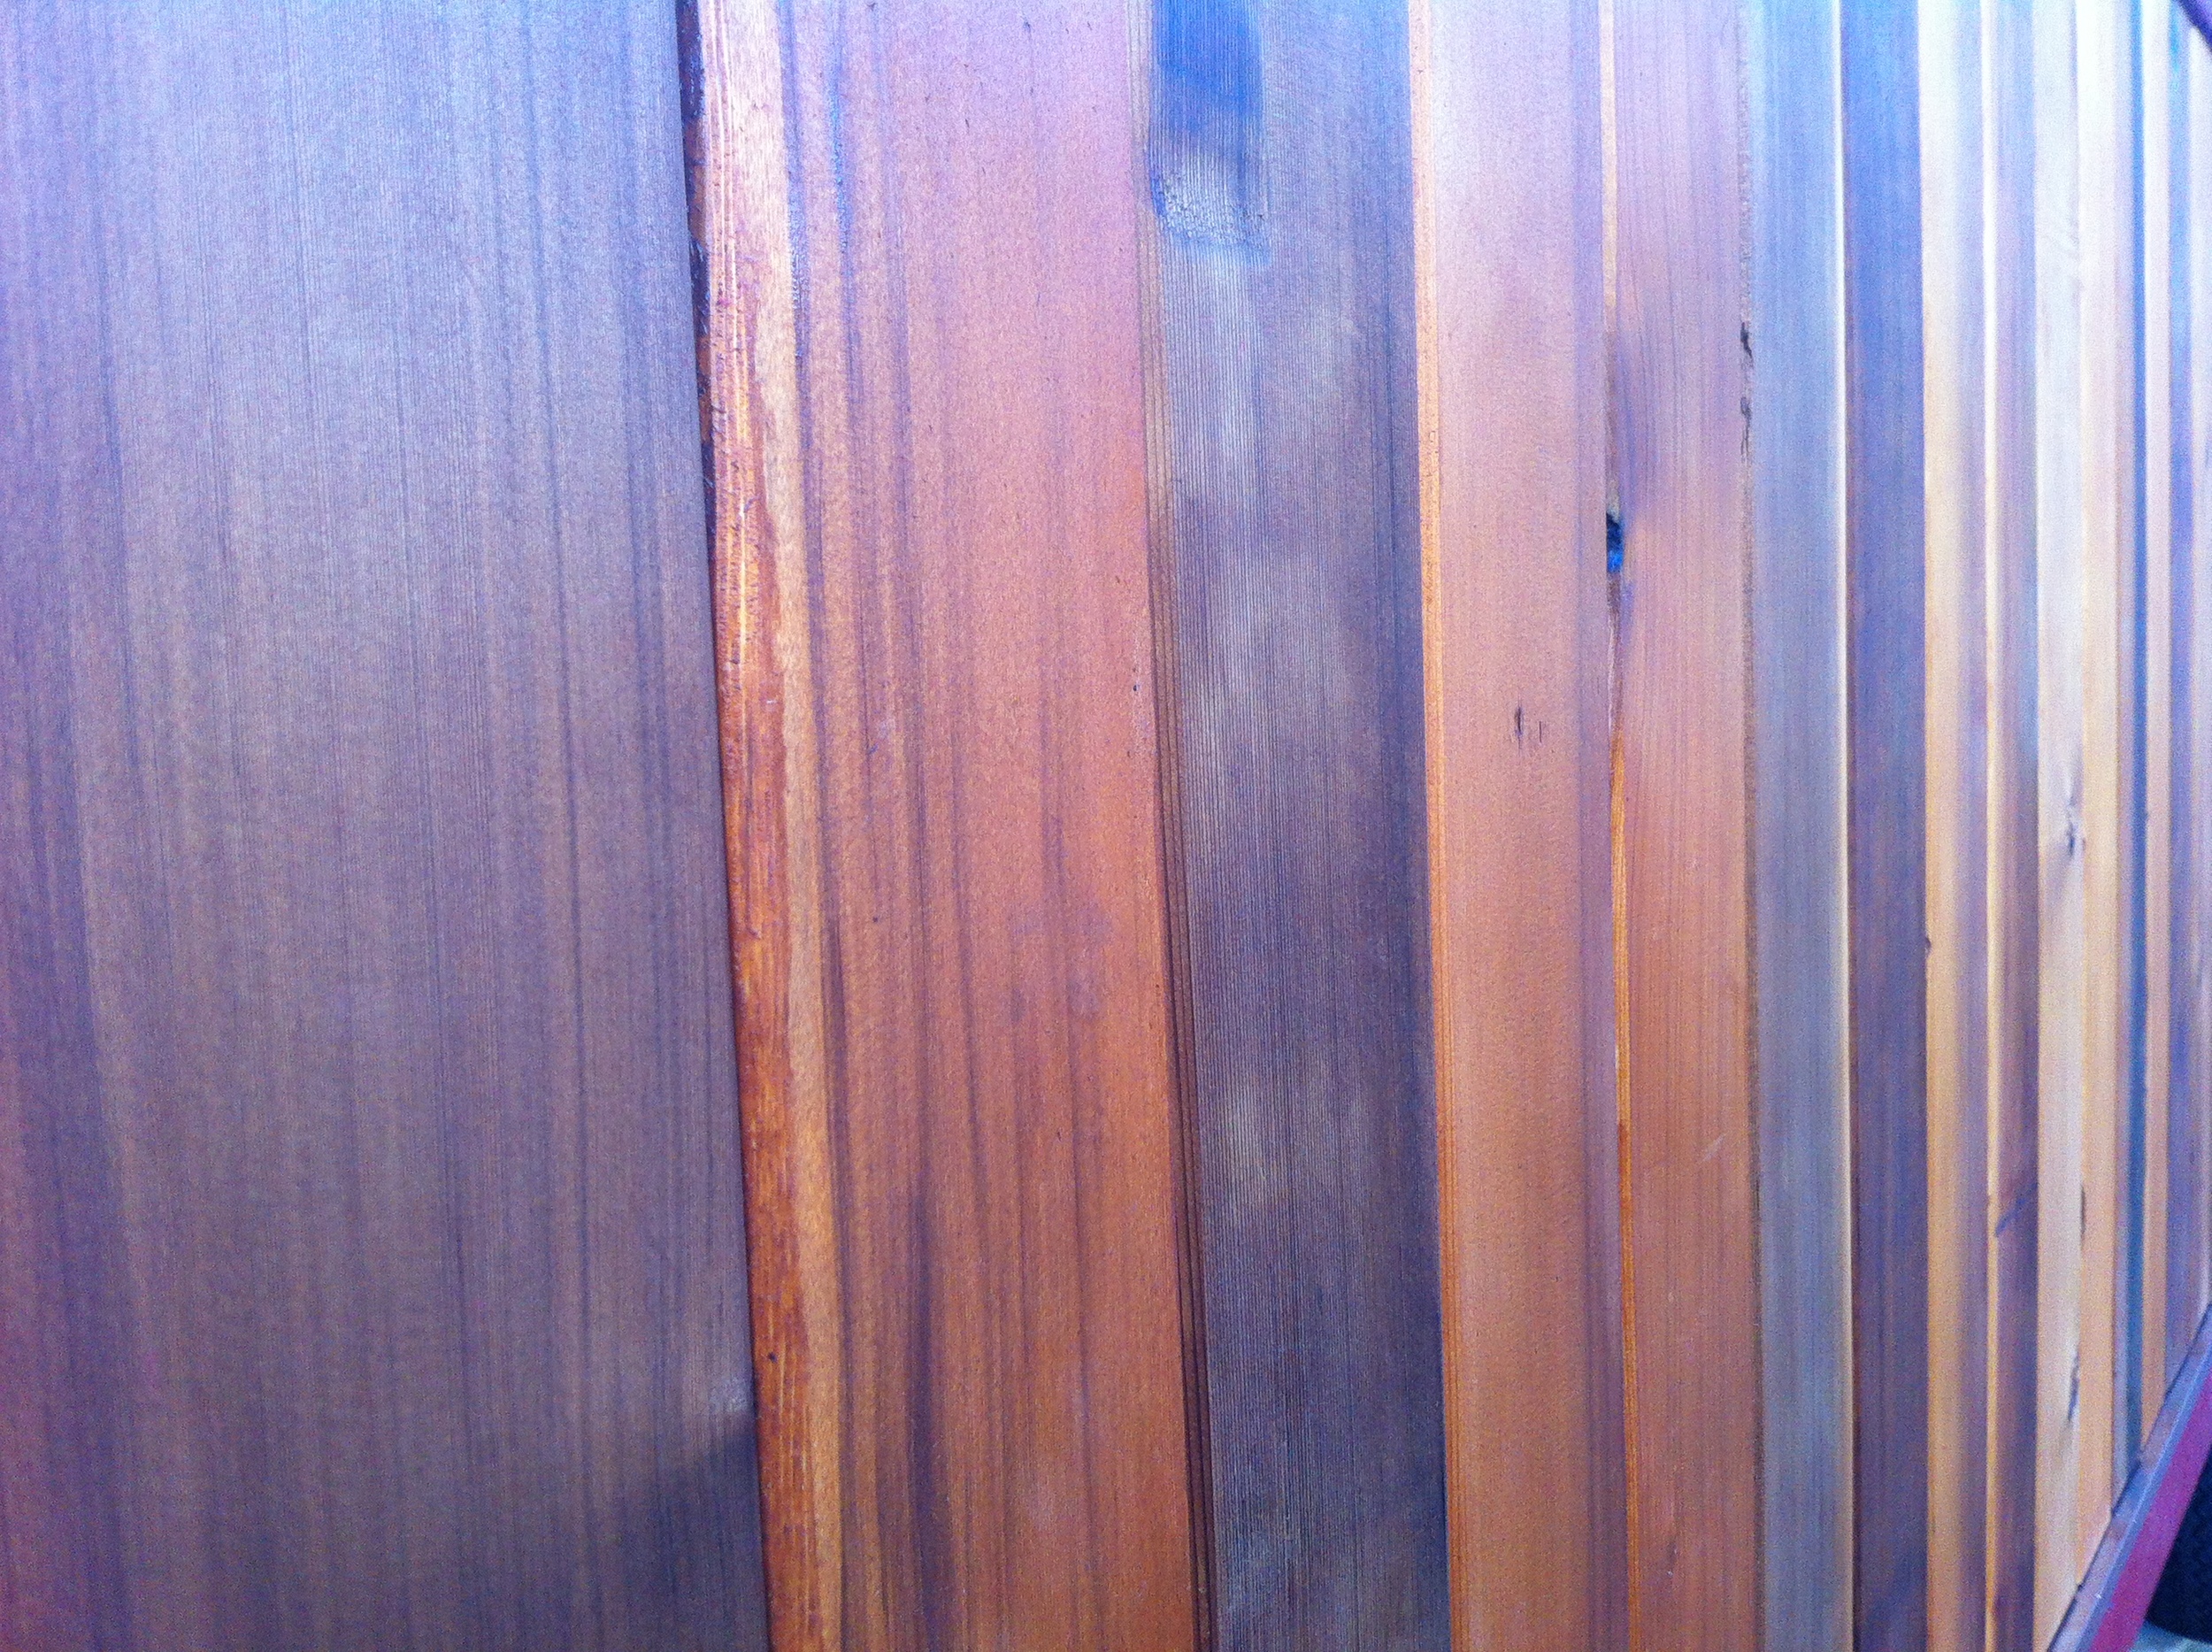
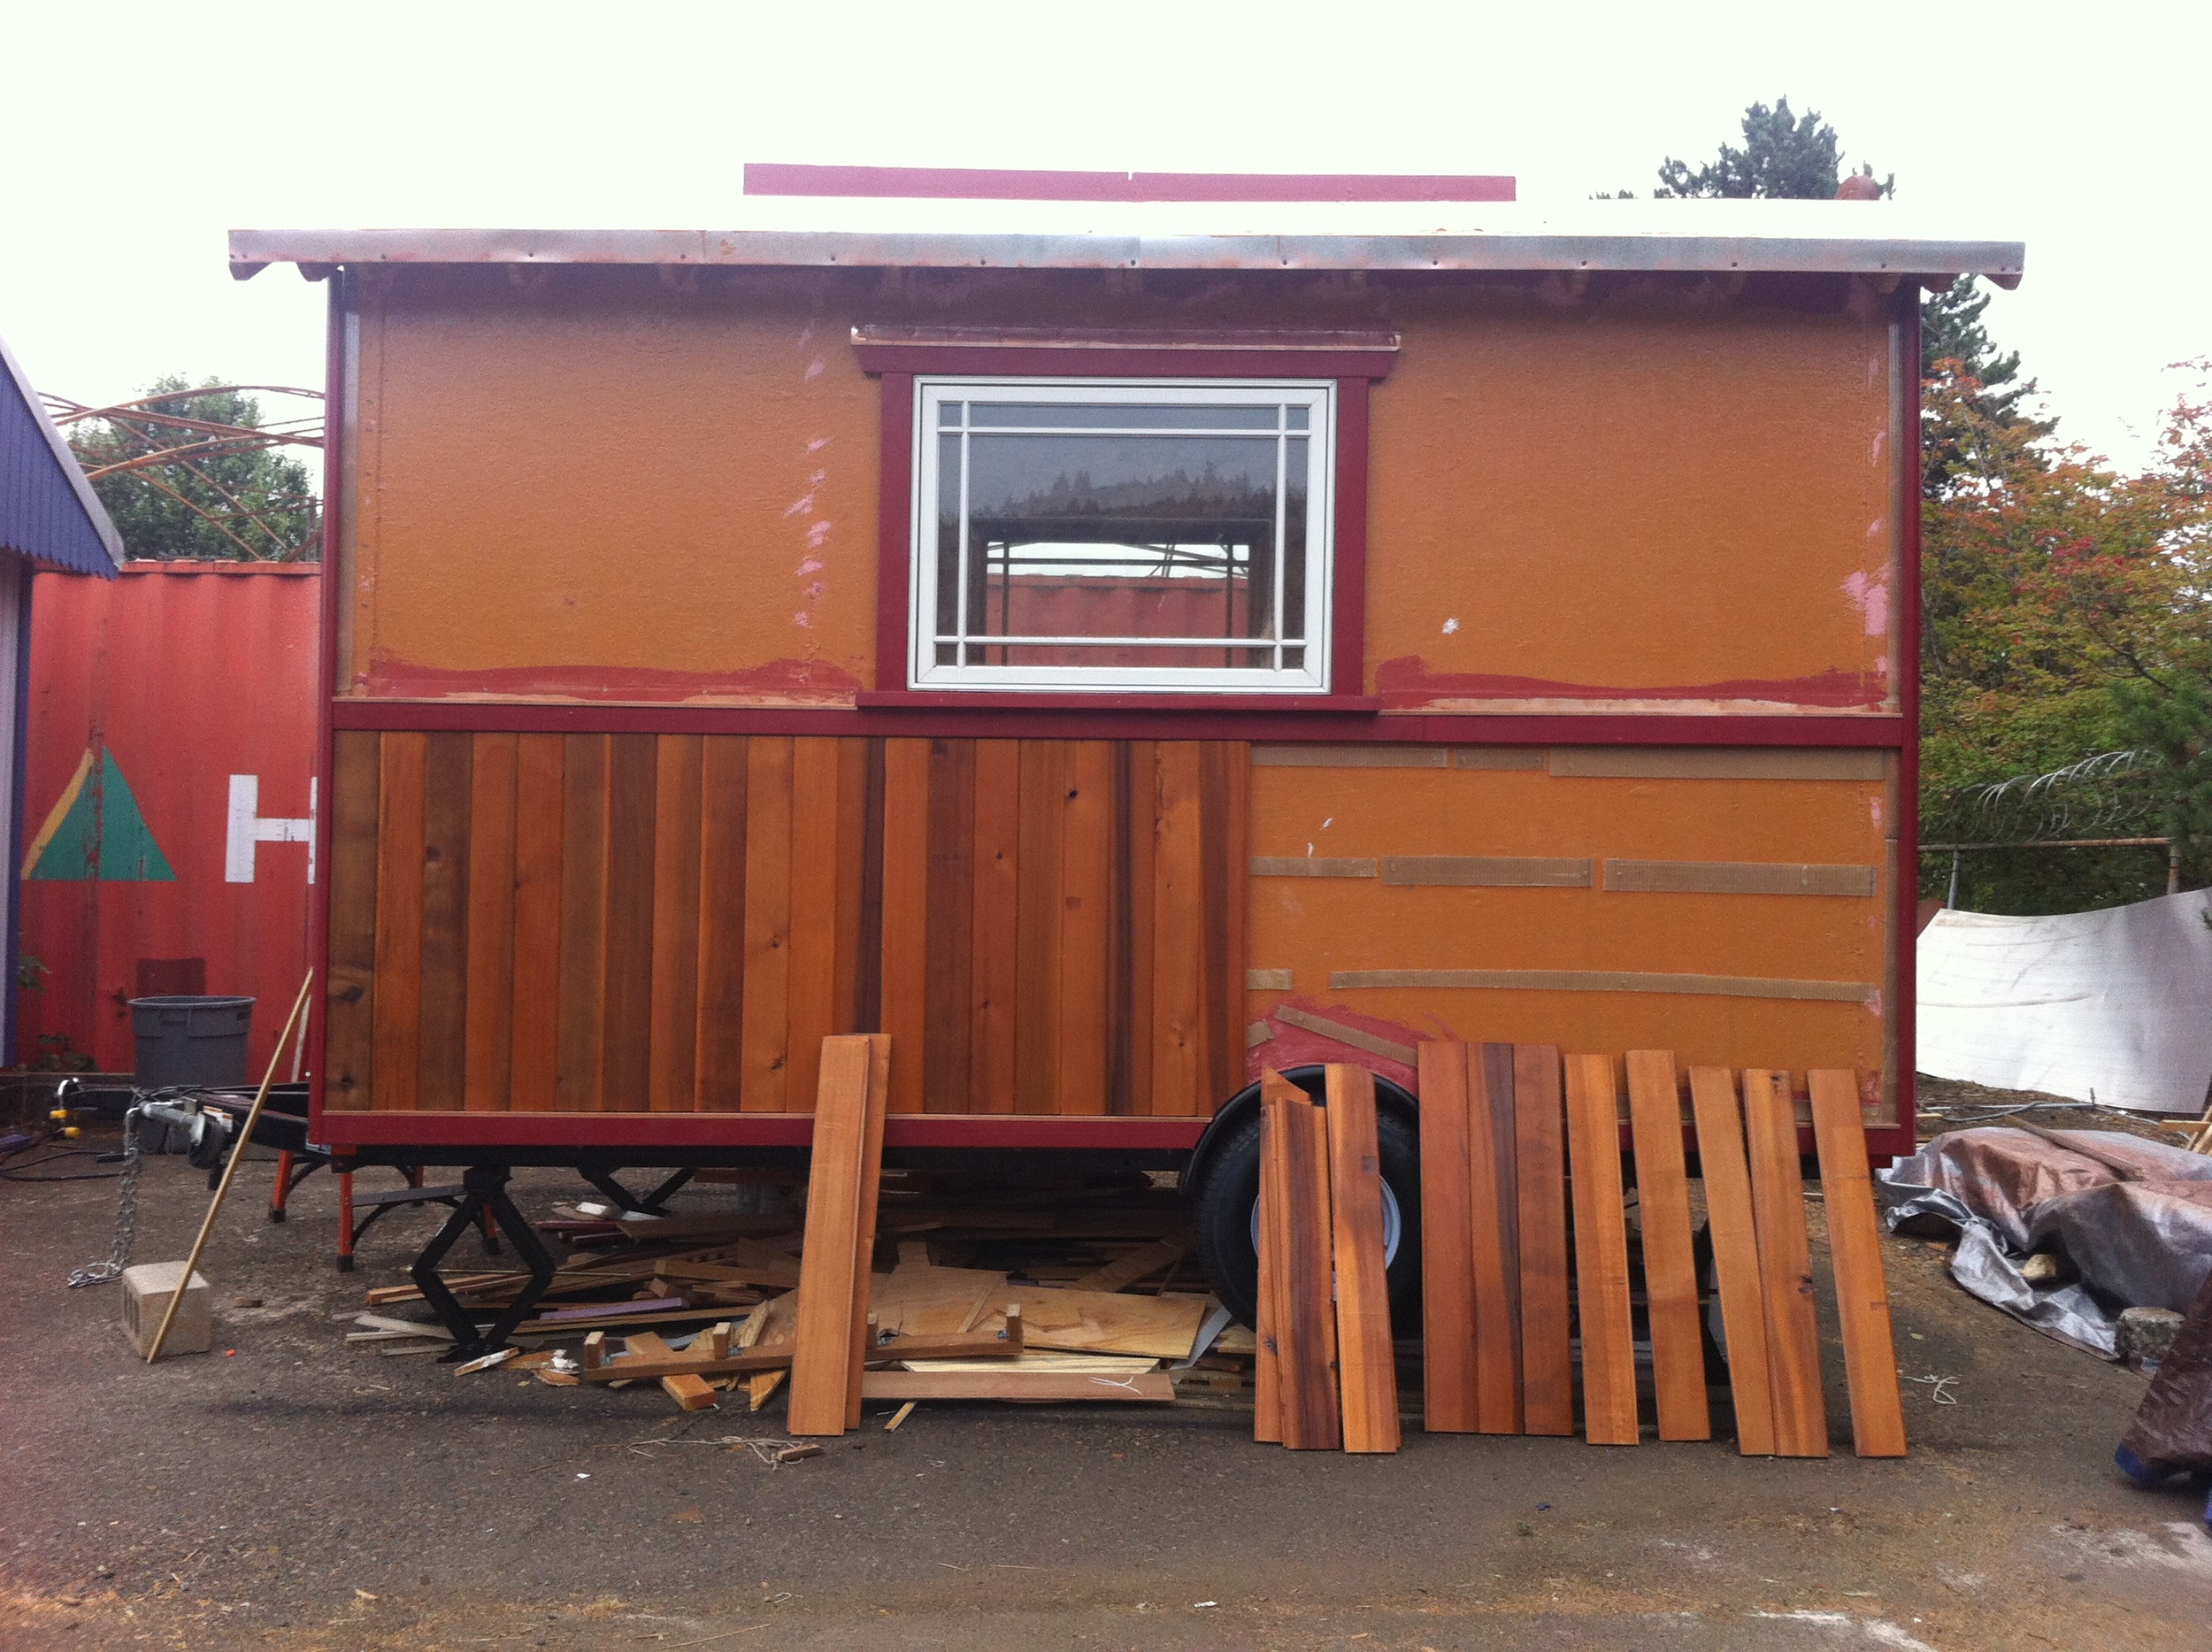
The most common system is to install vertical wood furring strips over house wrap (or over the exterior insulation if you’re doing an exterior insulation system like my build buddy Laura Klement). However, since I am installing vertical tongue and groove cedar siding, I had to do a horizontal rain screen system between my bottom band and belly band. And when you do a horizontal system you need it to be permeable so that water can drain away.
Let’s talk about rain screens for a moment. In the Pacific Northwest rain screens are recommended because they prevent siding from rotting by draining away water that gets behind the siding. (Note that I didn't say any water that might get behind the siding. Around here we figure that water will get behind the siding!)
The most common system is to install vertical wood furring strips over house wrap (or over the exterior insulation if you’re doing an exterior insulation system like my build buddy Laura Klement). However, since I am installing vertical tongue and groove cedar siding, I had to do a horizontal rain screen system between my bottom band and belly band. And when you do a horizontal system you need it to be permeable so that water can drain away.
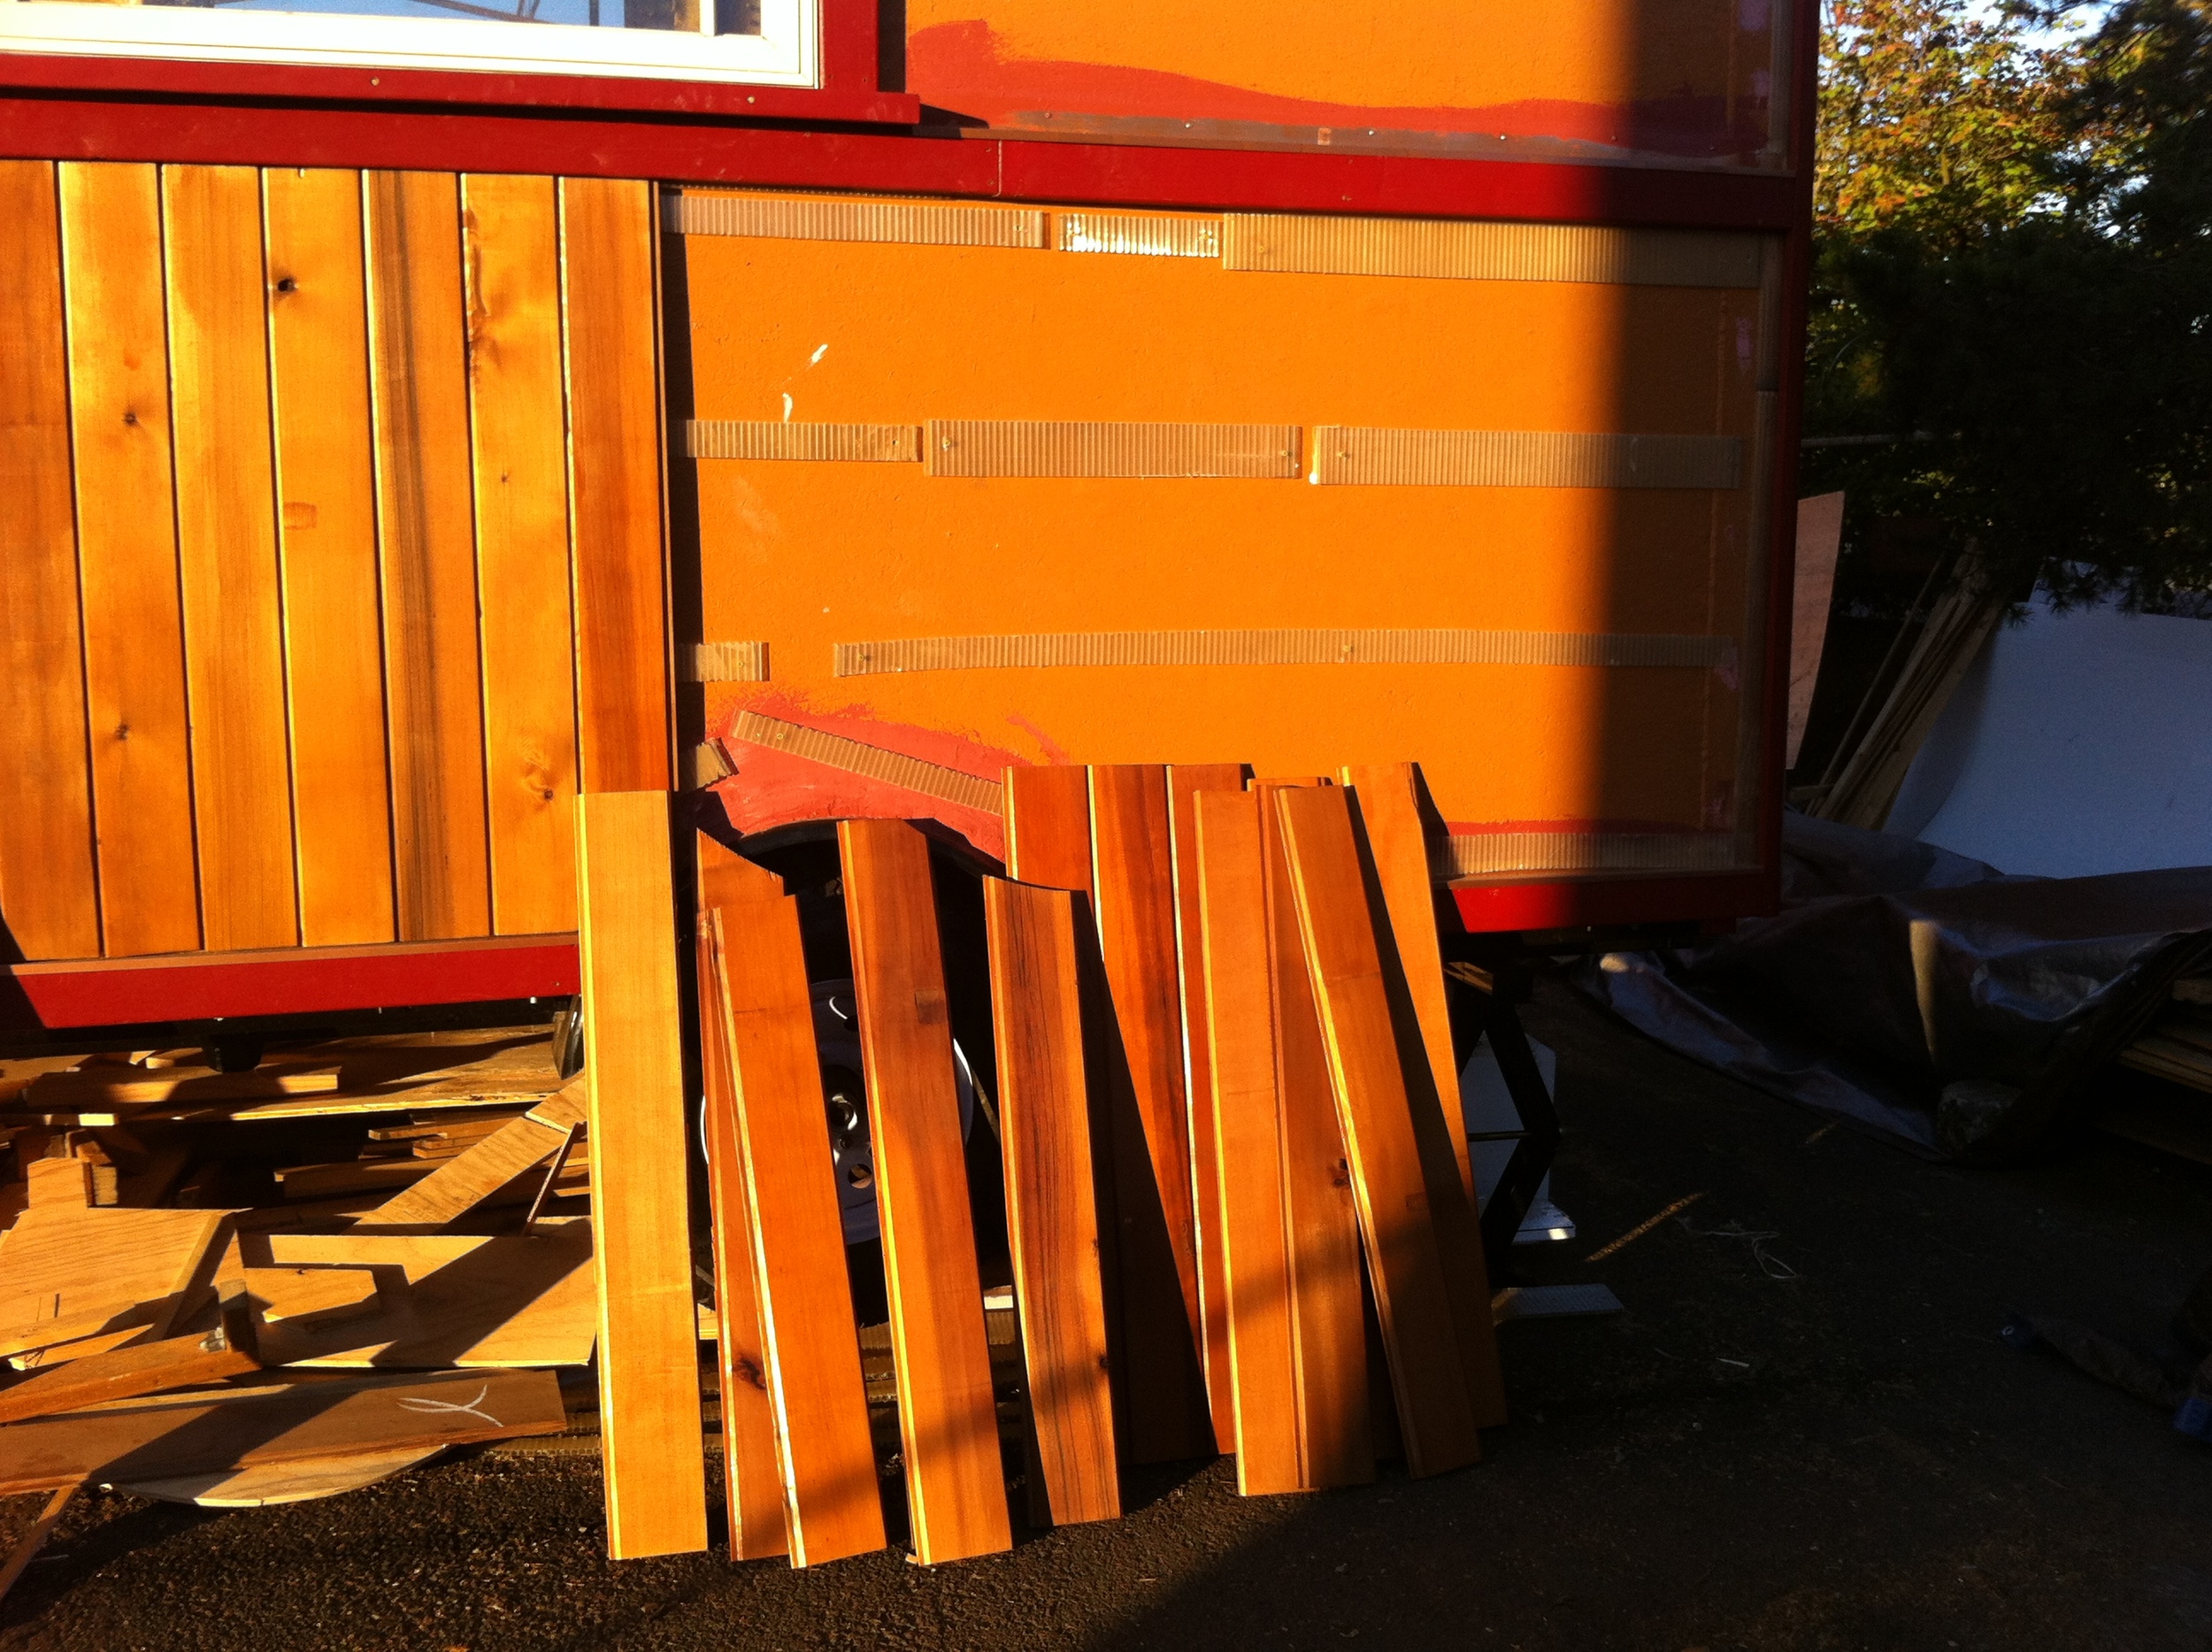
 My plan was to cut strips of corrugated plastic (the kind that’s used for lawn signs). But it turns out that the hardware stores don’t stock it and I didn’t want to wait around for a special order. Luckily, there happened to be several sheets of corrugated polycarbonate roofing material left over from another project available at my build site at Green Anchors. After getting the thumbs up to salvage them, I donned my protective gear and set about cutting them into strips.
I really wish I’d realized sooner that I’d need to pre-order corrugated plastic because I would have much rather worked with that than with the polycarbonate. In order to cut the poly I had to suit up in my raincoat, gloves, a face mask, goggles, ear plugs, and a dust mask. As you might imagine, this was an unpleasant task on a hot day!
When Jack showed up, he asked “Are you preparing for the apocalypse?” I laughed and assured him that this is indeed my apocalypse gear. Cutting the polycarbonate was also the death of the blade on my cordless circular saw. But the materials was there and it was free, so I’m pleased I was able to salvage it. (And I’ve treated myself to a new blade as I turn my attention to interior finish work.)
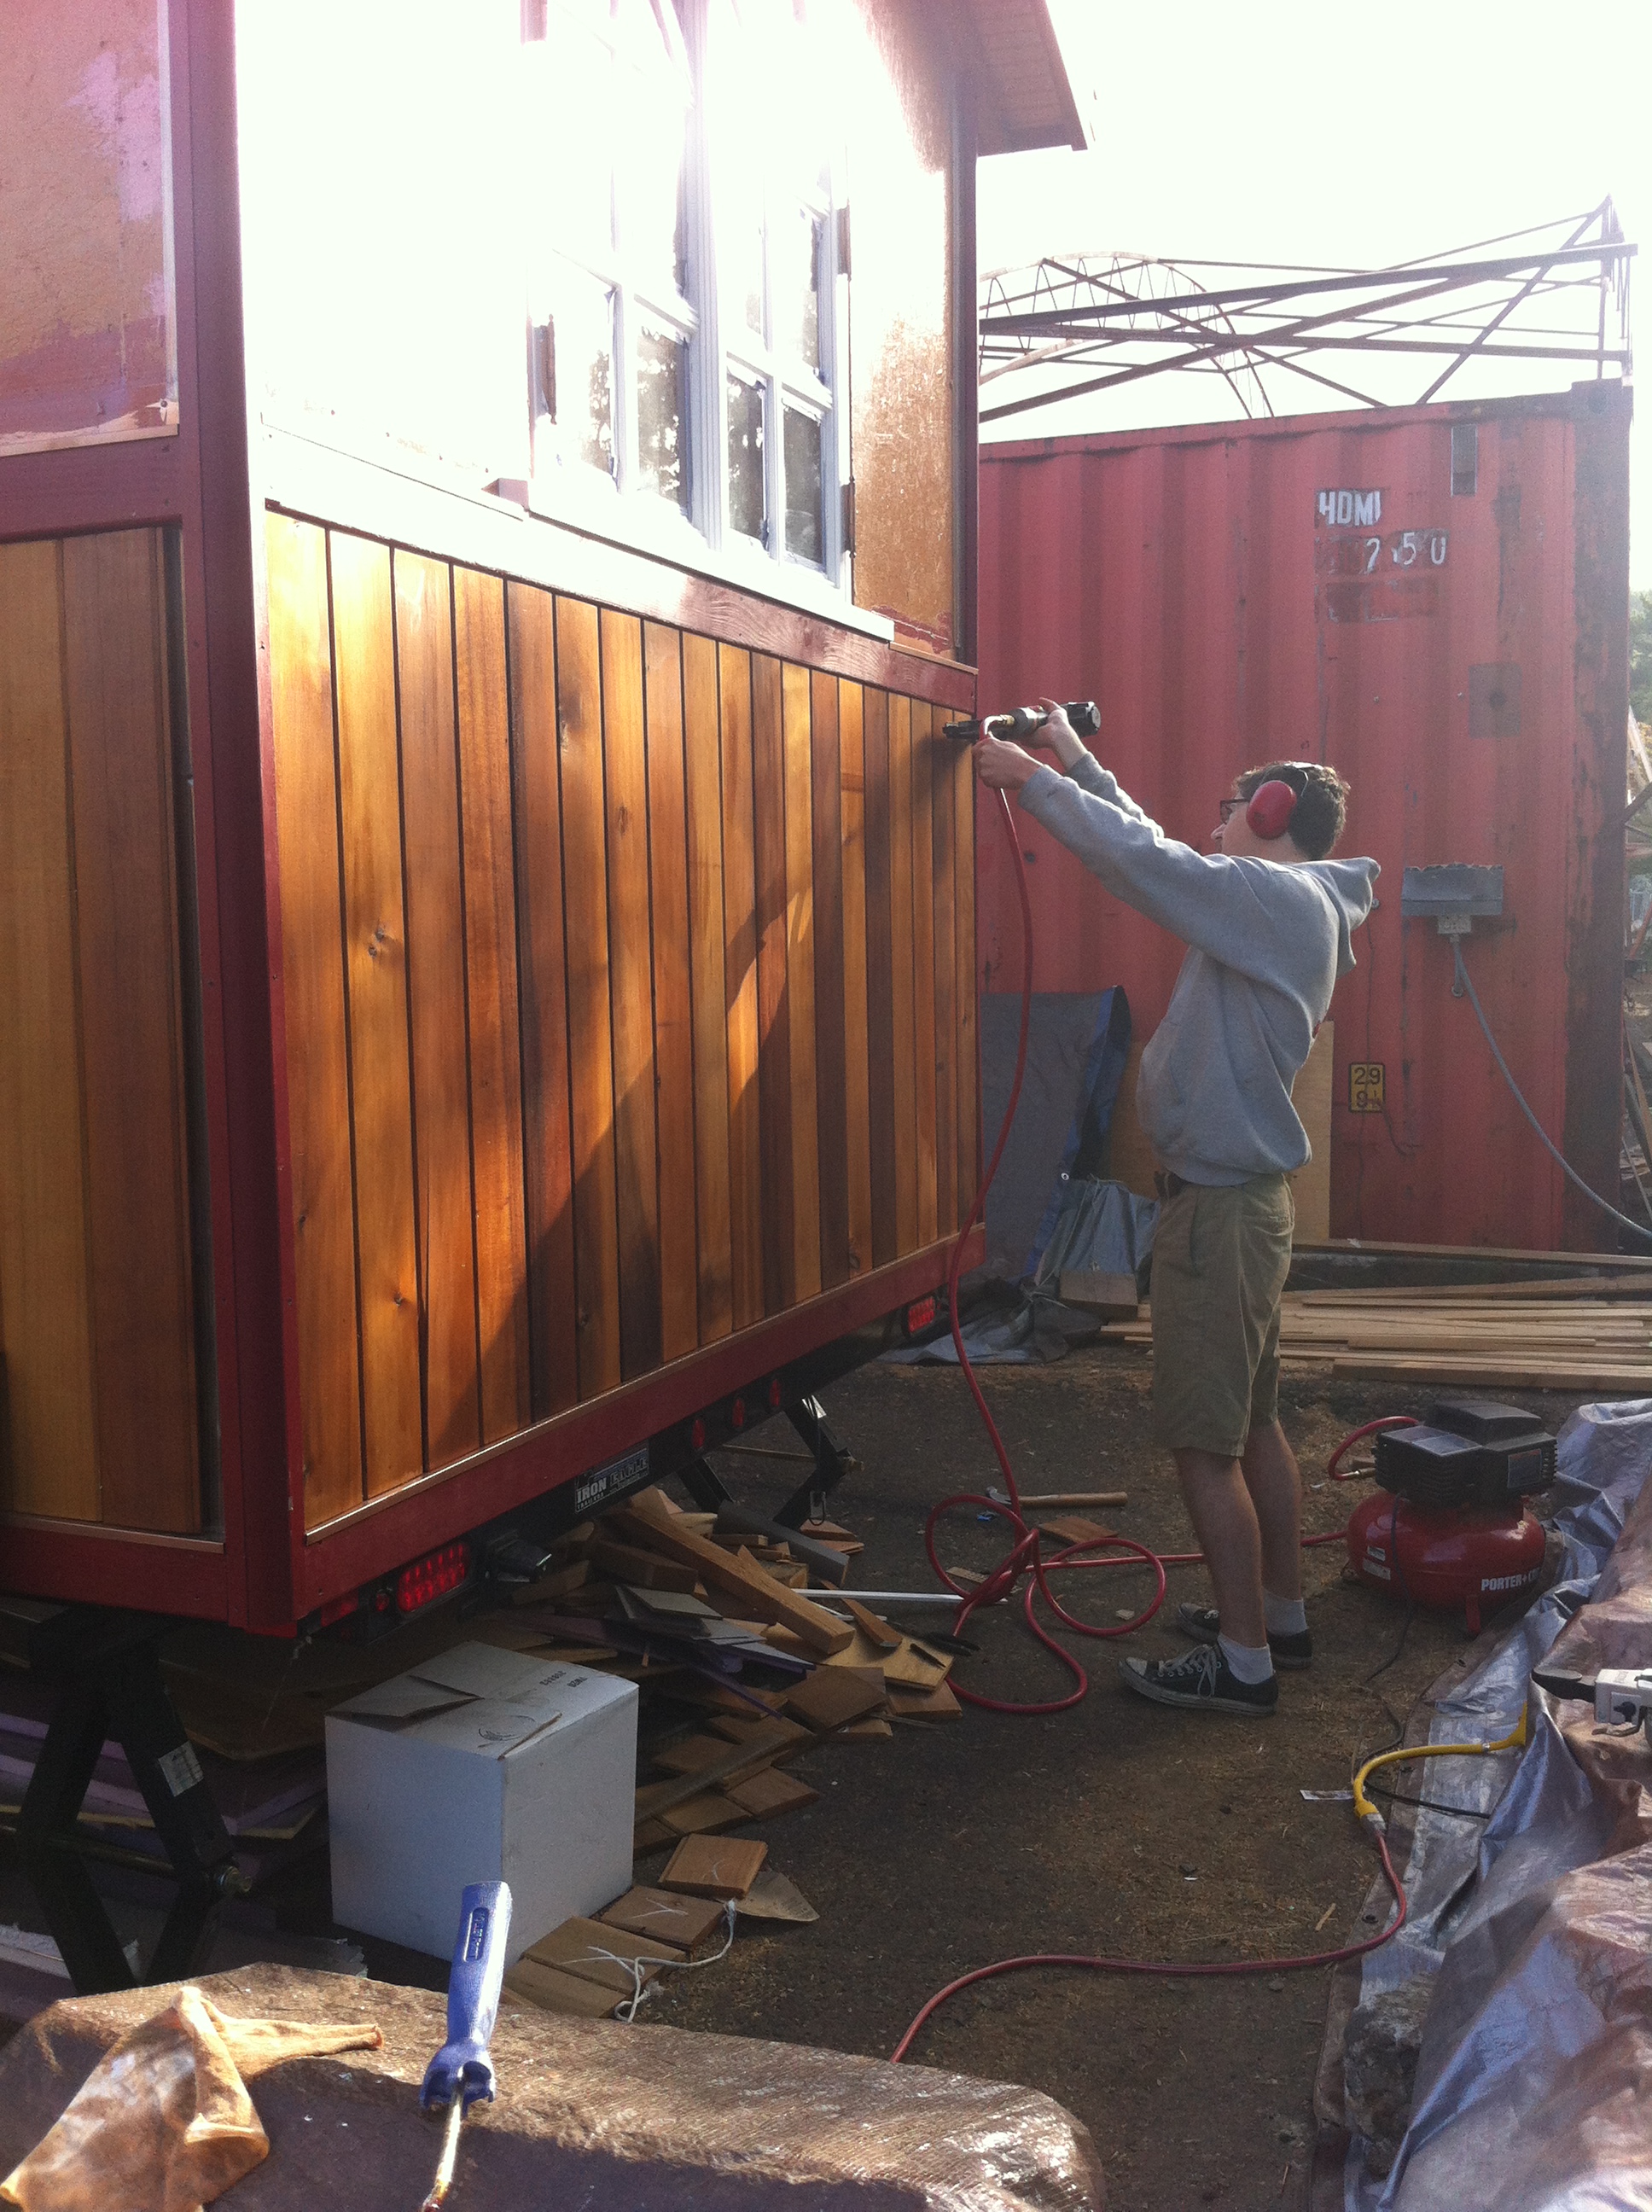
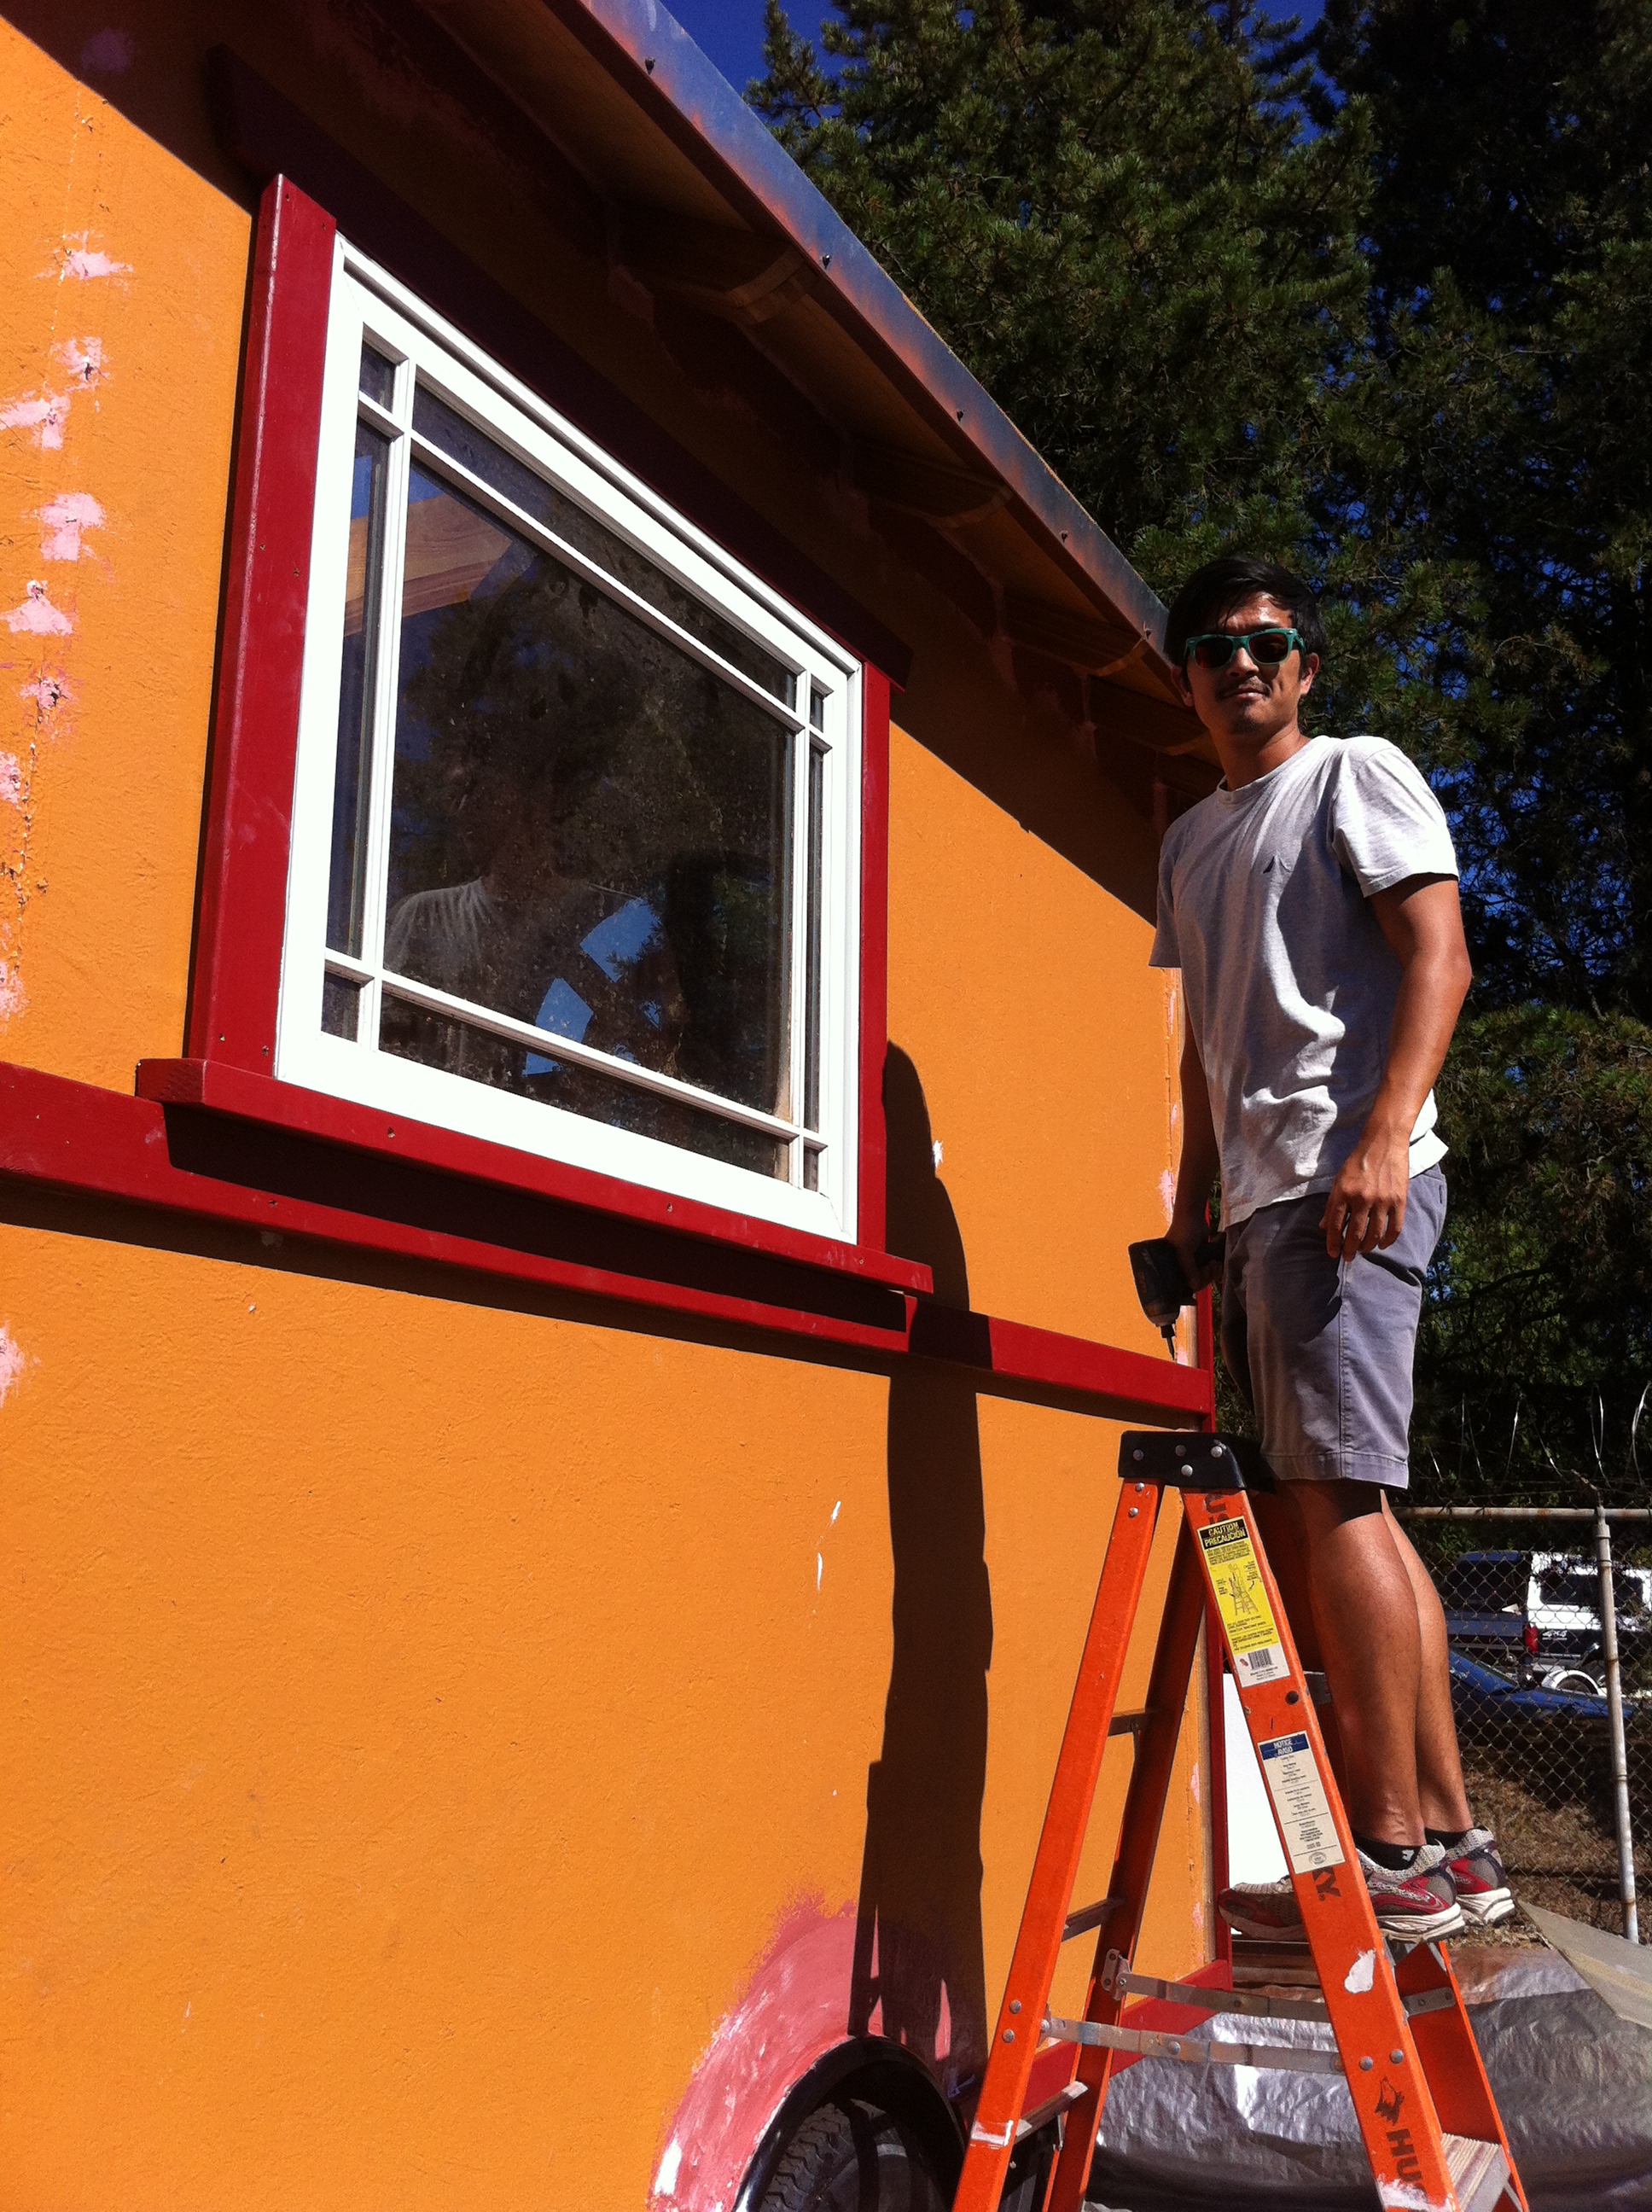
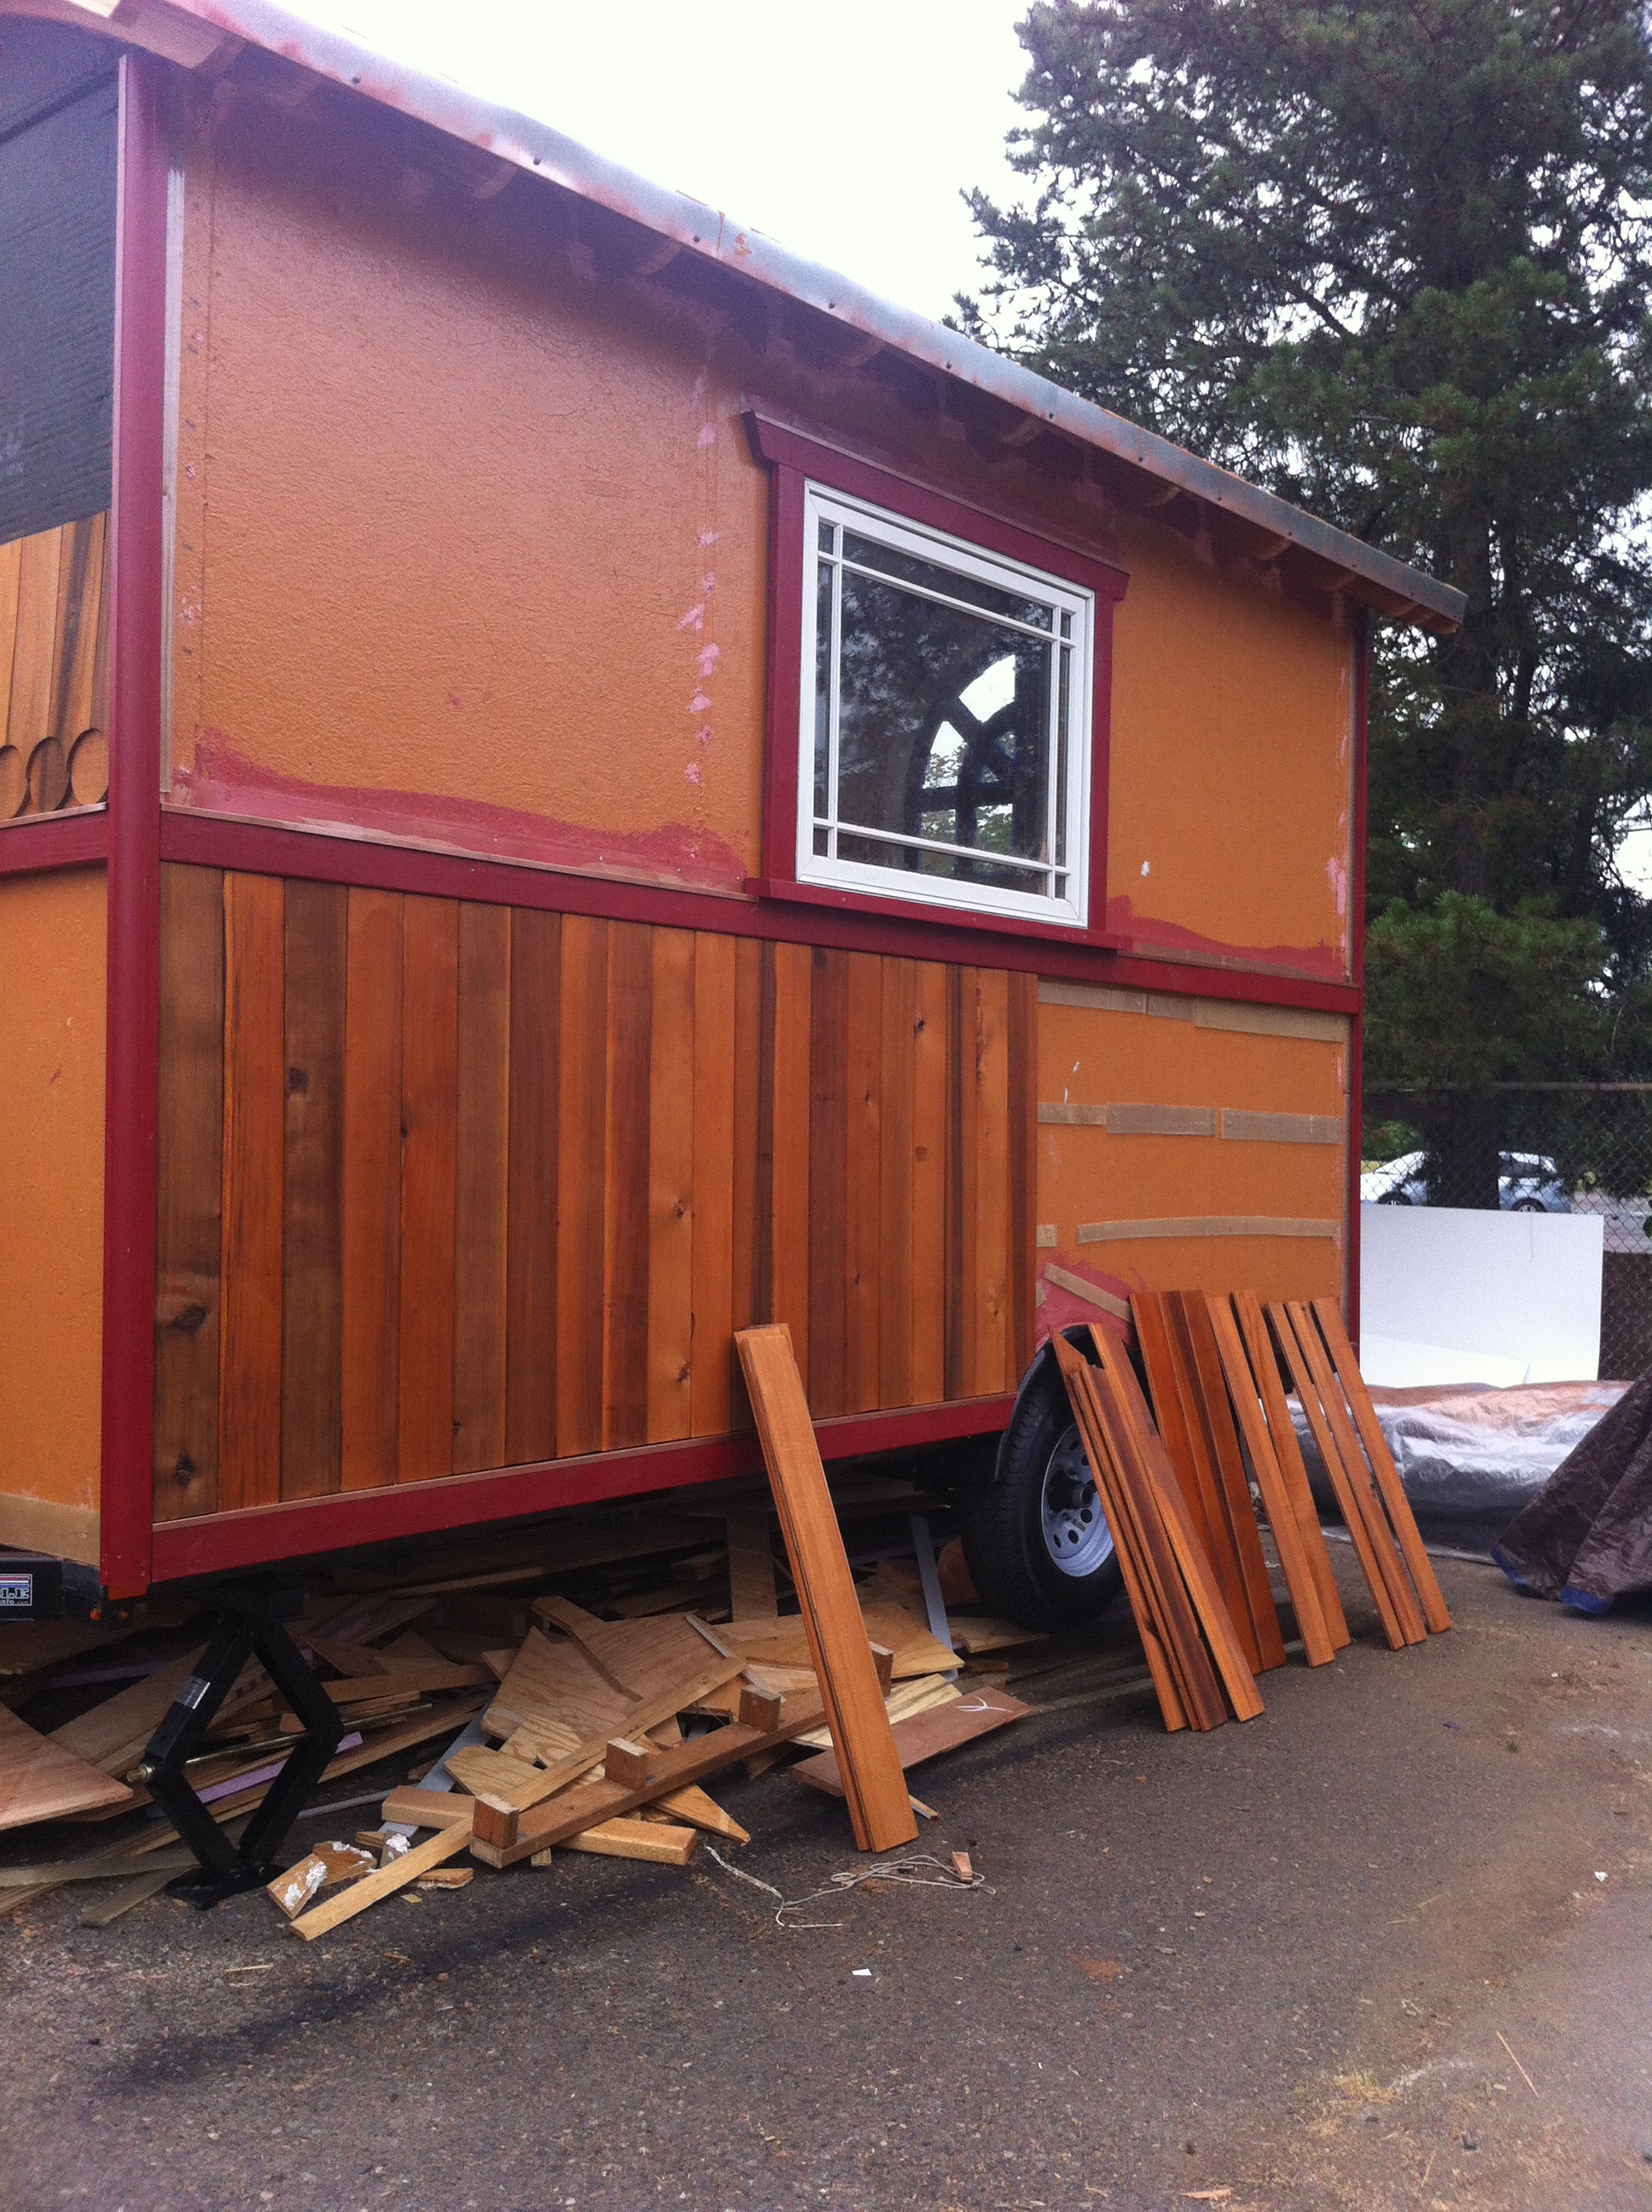
Luckily, installing the rain screen strips is easy. We just tacked them to the walls with 1 5/8” star drive screws every foot or so. Since the purpose of the rain screen is to create a space behind the siding, it doesn’t need to be fussy so it’s a time that you can put perfectionism aside and get some work done. Do be careful though that the rain screen doesn’t sit taller than any horizontal trim pieces because you’ll need to flash over them and the rain screen will get in the way if it’s too tall. (And then you'll have to cut them back which, I've learned, isn't much fun either!)
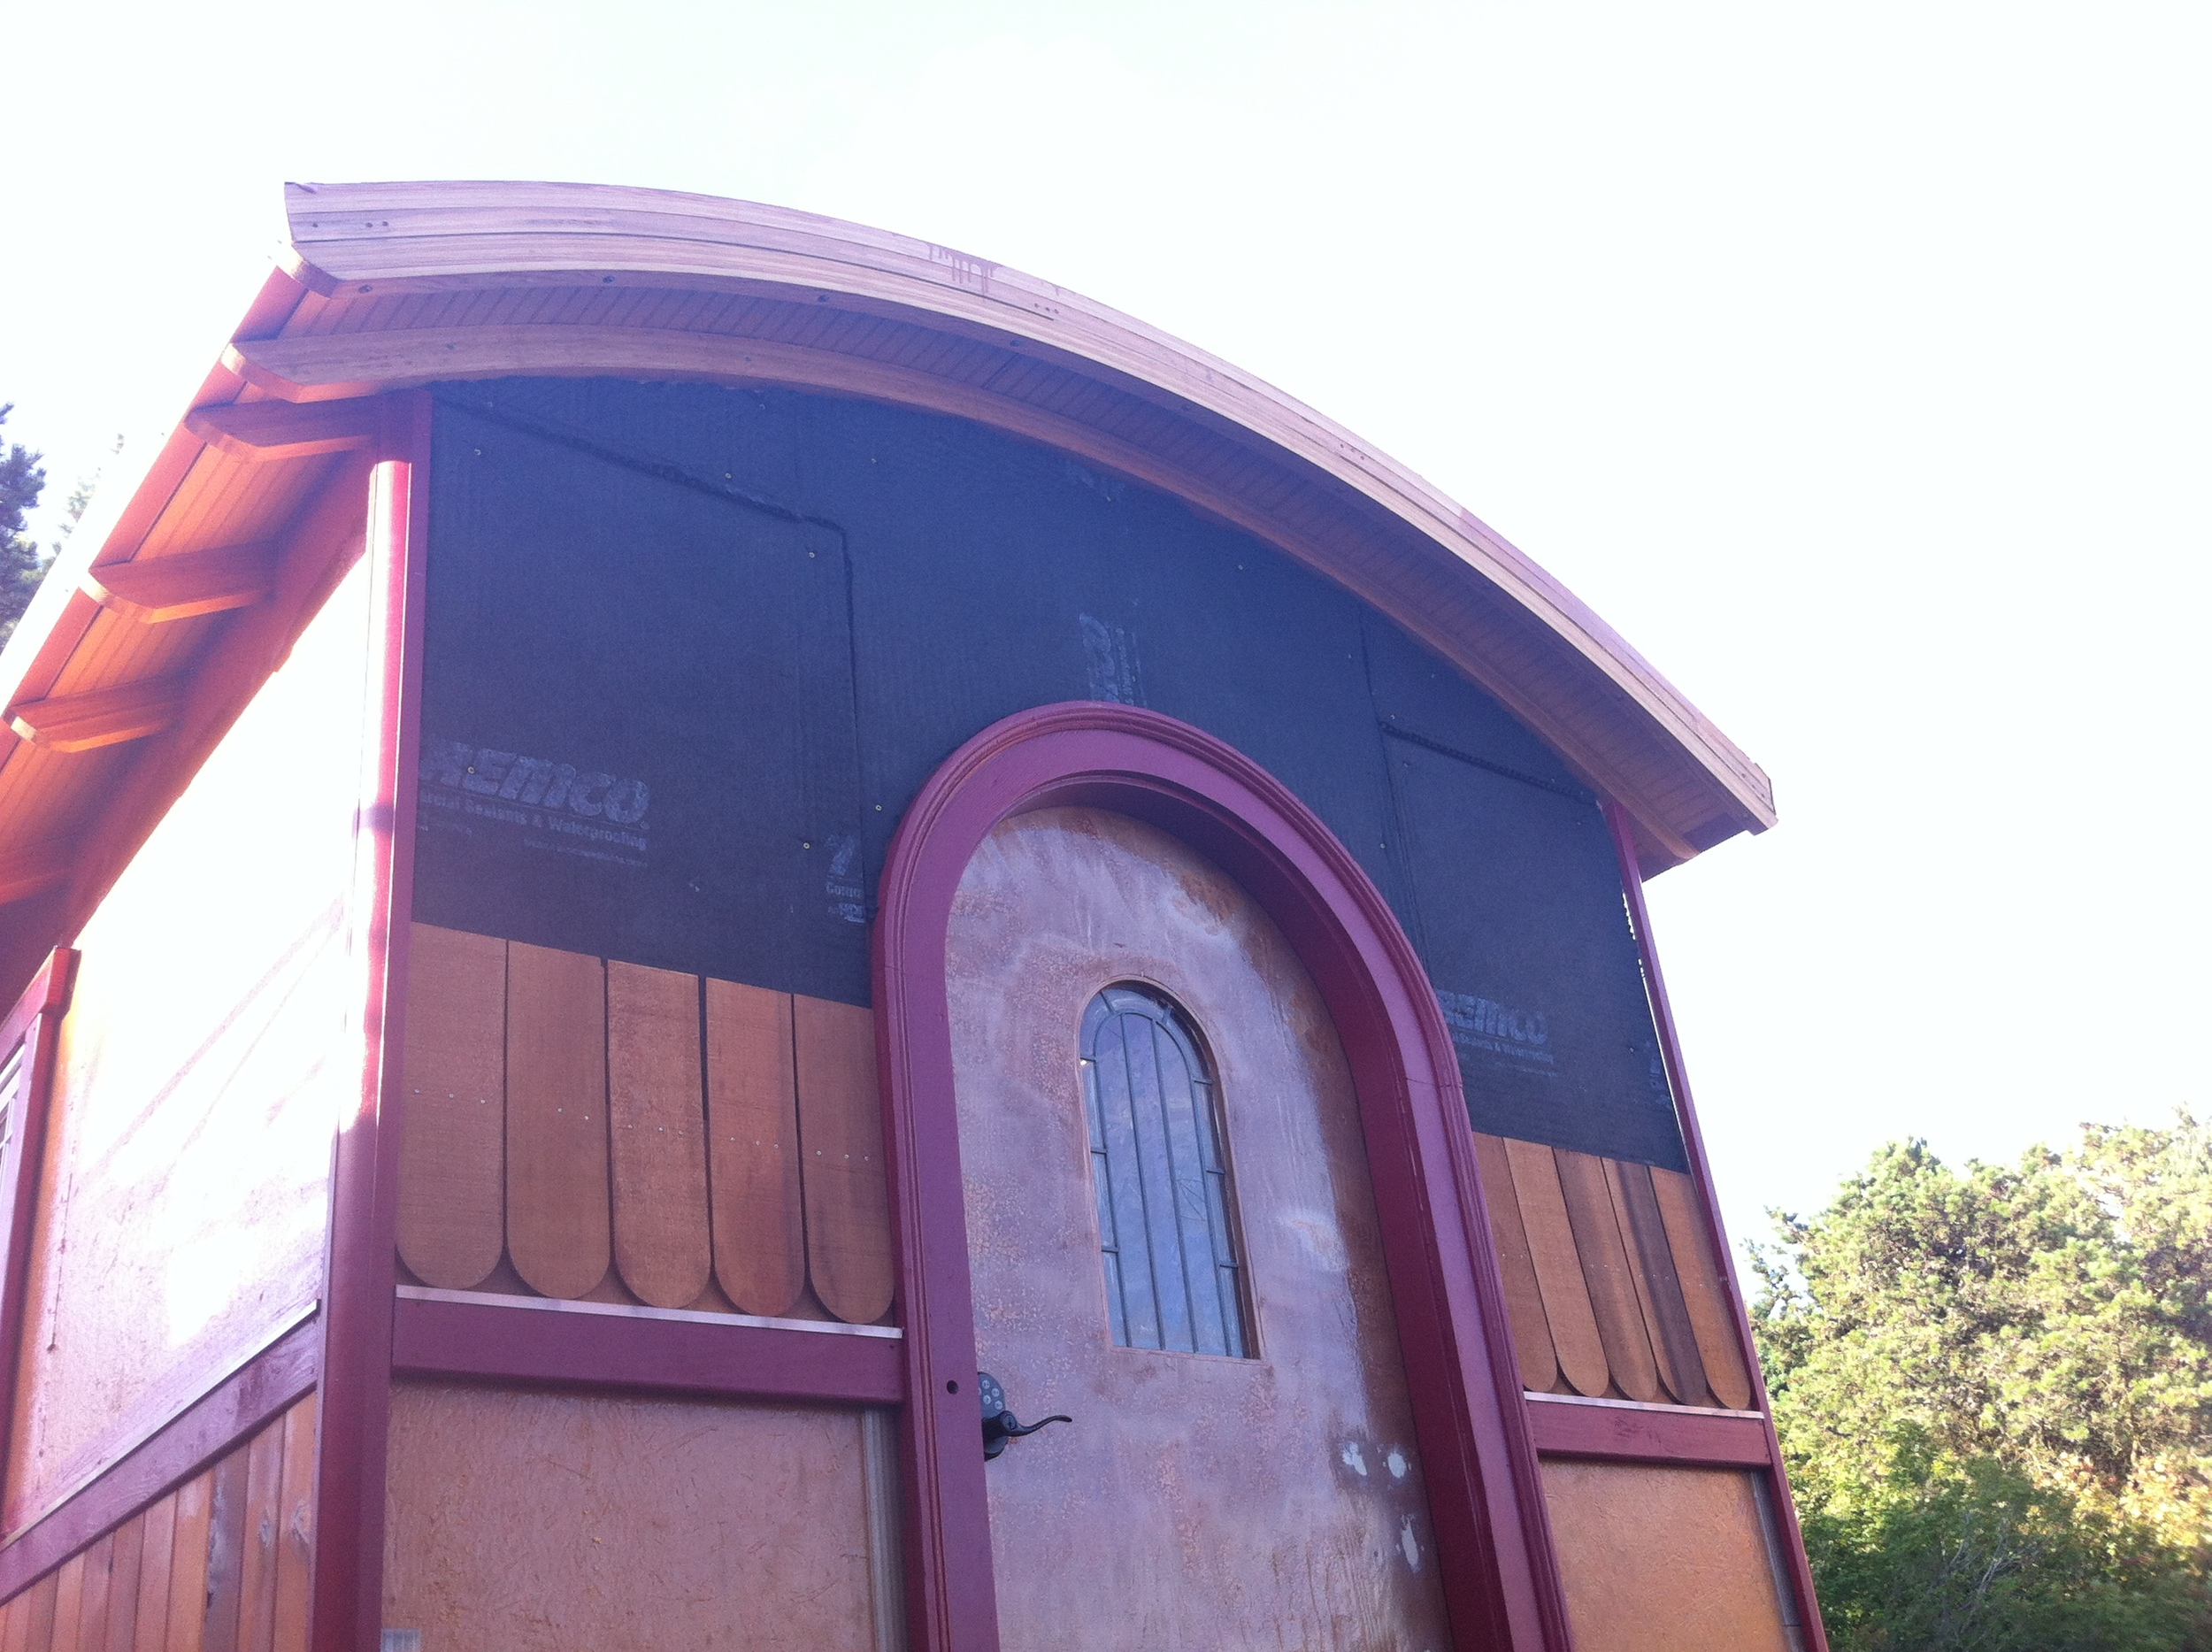
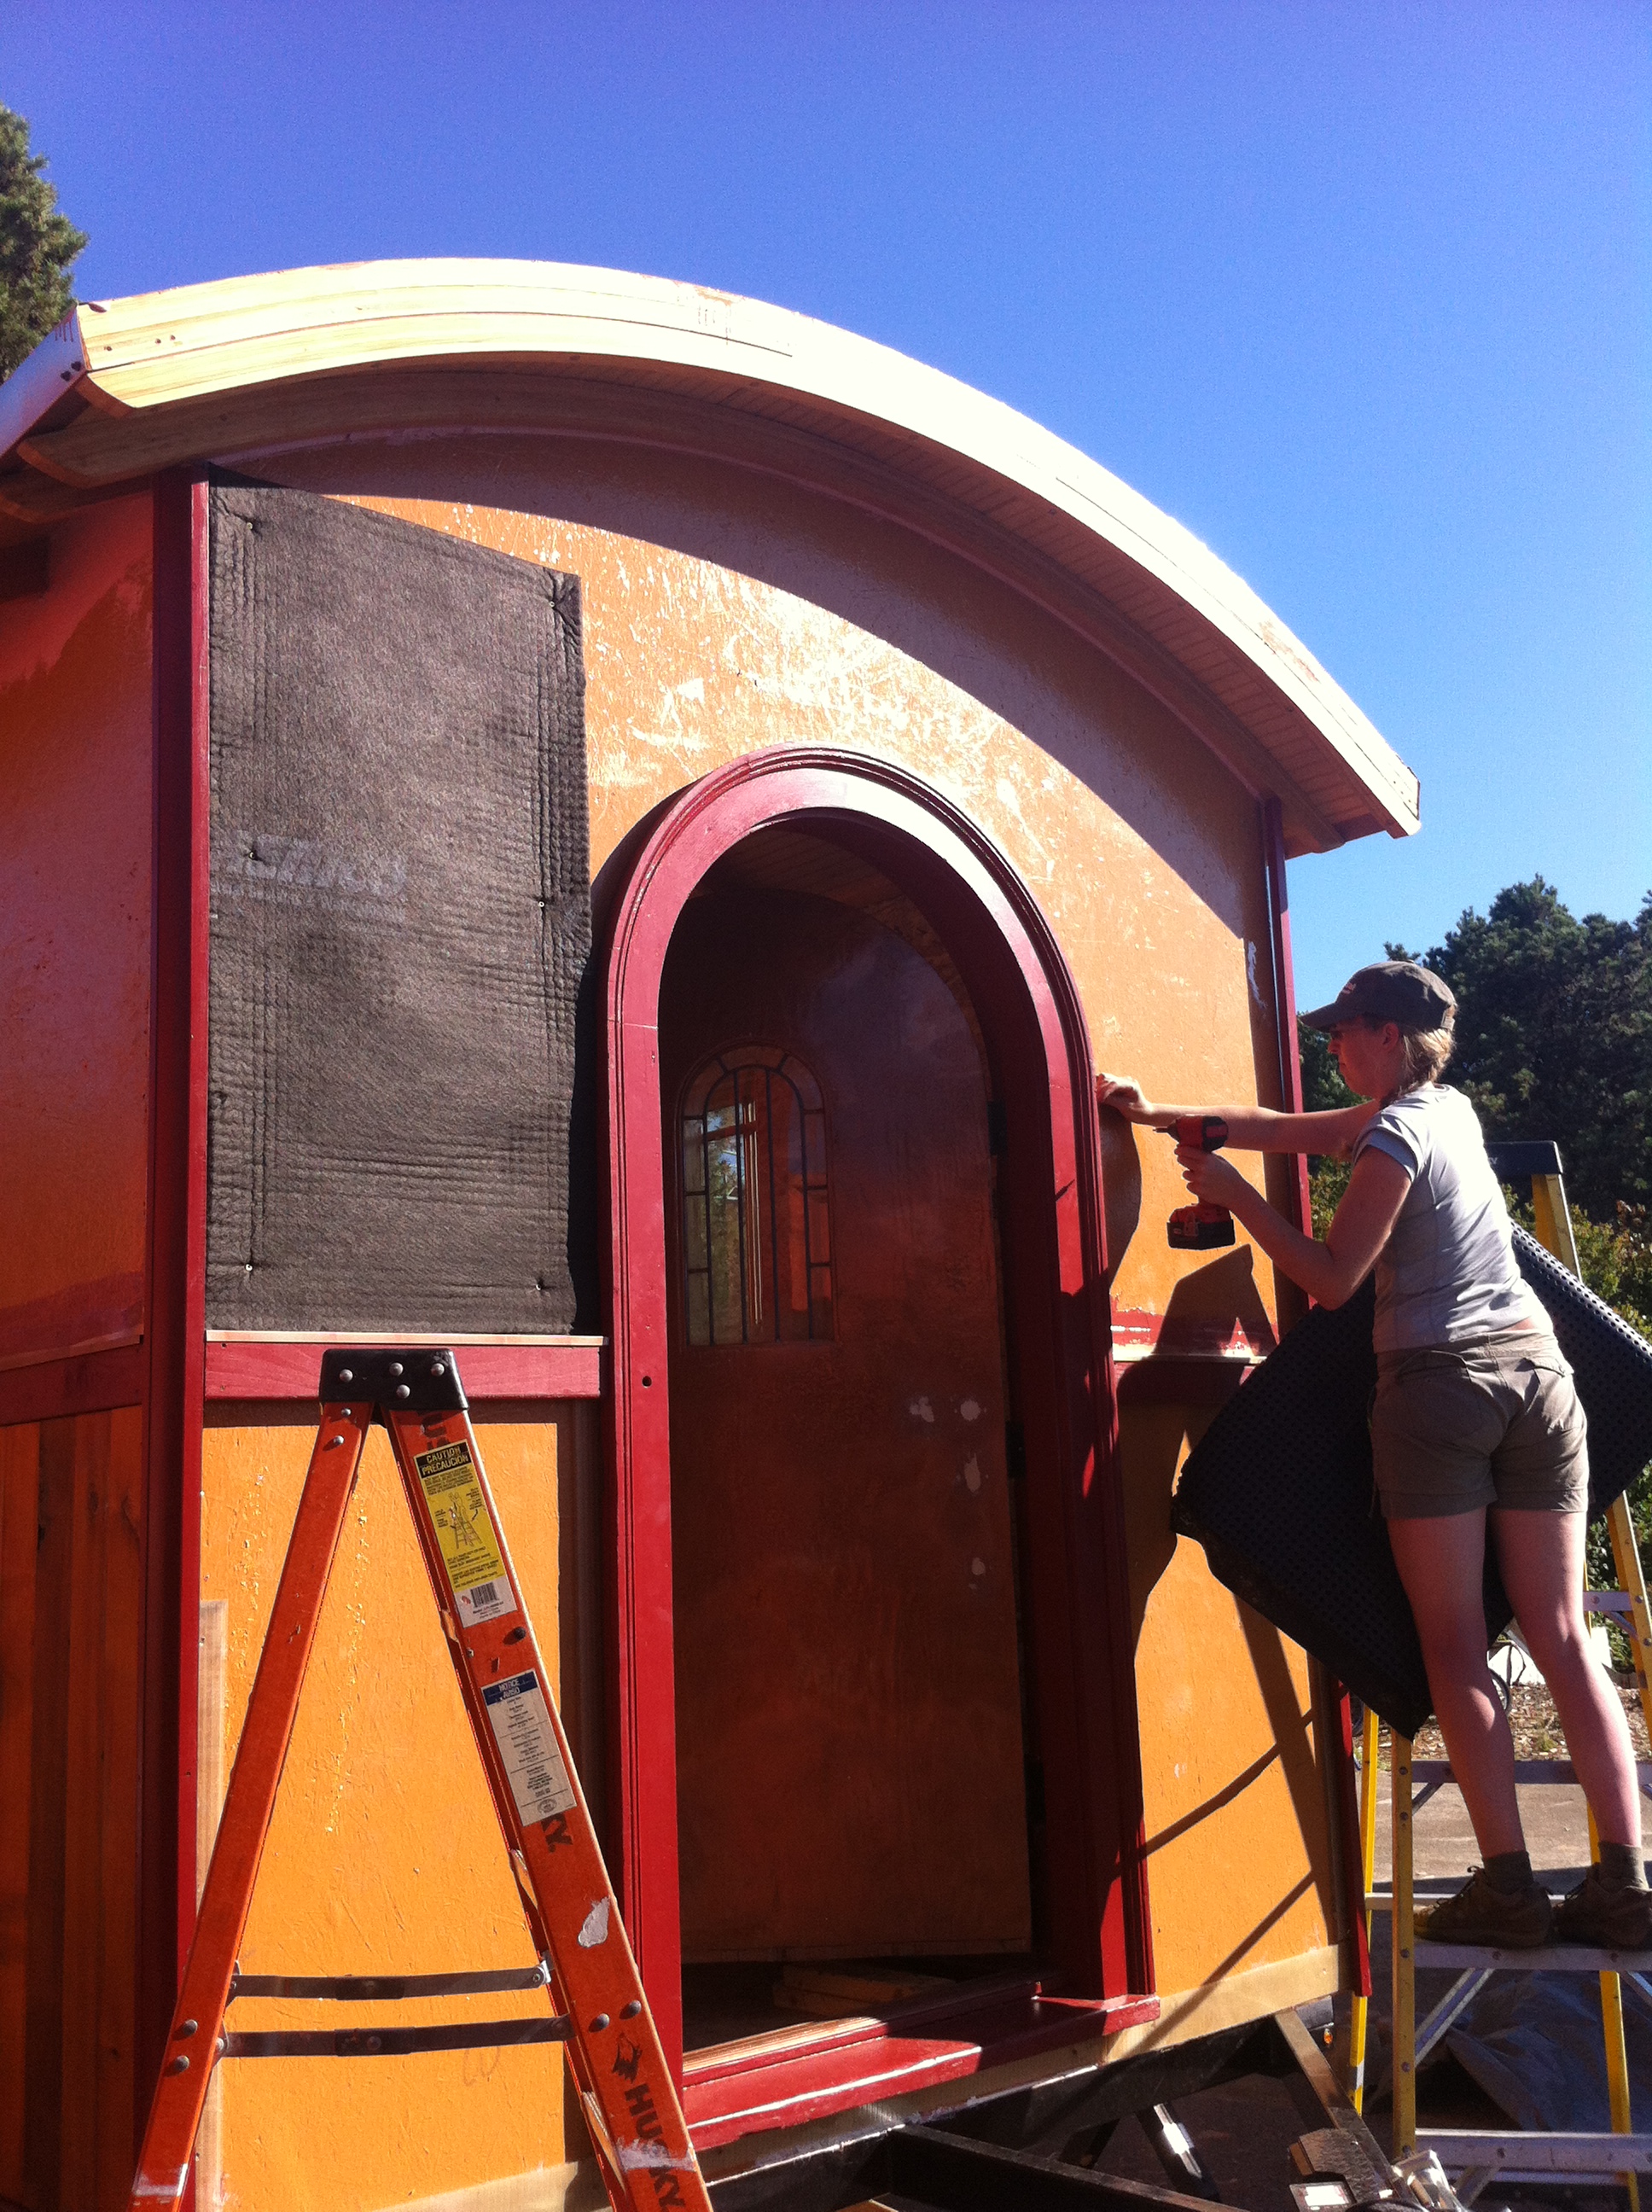
 Standard rain screen strips wouldn’t behind my shingles, so in the area above my belly band I installed a different type of rain screen. I lucked out because there were leftover TremDrain 1000 scraps available at the Breathe Building. This material is typically used for below-grade waterproofing, but it has the properties I need: lightweight and dimpled. And, like my polycarbonate material, it was free. Needless to say, I was happy to salvage it! And voila! A rain screen!