skylights

Painting My Skylight Frames

2014-04-28 13.17.23 
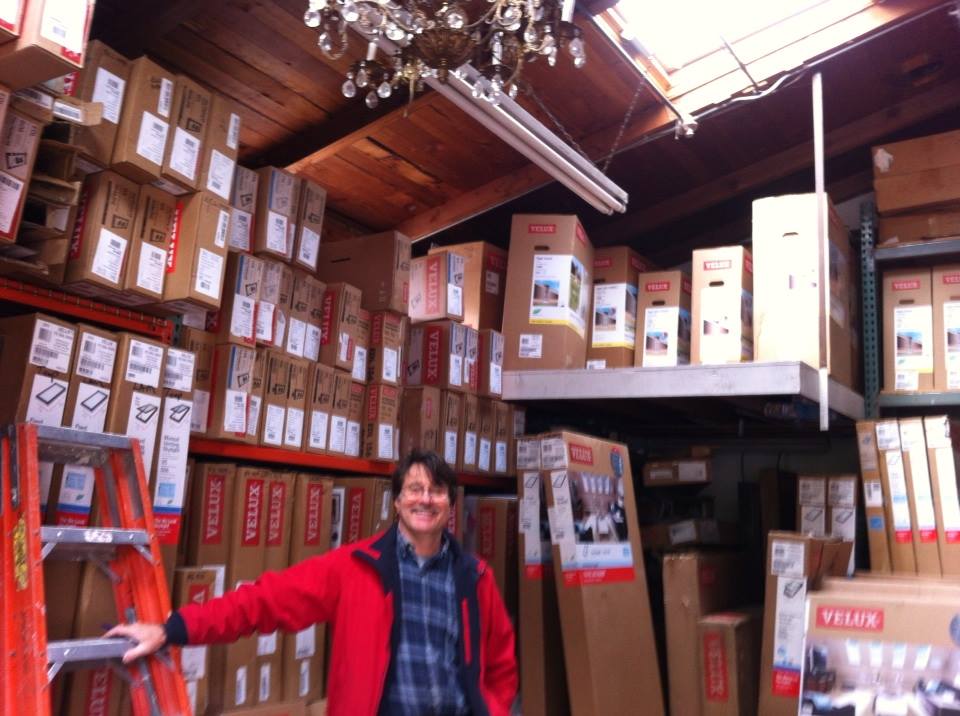
A couple weeks ago I purchased two Skylights for My Vardo from Mark at Natural Light Skylight Co. They are double-paned acrylic dome skylights with a plain black metal frame, which was all well and good except that my house is The Lucky Penny. It is not going to be plain. It is going to be a beautiful little house with copper accents.

So I decided to spray paint the frames with one of my new favorite art supplies: Rustoleum's hammered copper spray paint. I picked up a can at my local hardware store, Division's Do It Best Hardware (which, by the way, is the only place in town where I could find it!)

Voila! Beautiful copper skylight frames!

I started my skylight painting project by giving the windows a good cleaning and then covering the acrylic with newspaper, being careful to tape the edges thoroughly with masking tape. Then I set the skylight up on sawhorses, gave the can about 3,000 good shakes, and proceeded to spray the skylight frame down with a layer of spray paint. Once it was dry I re-taped the edges (because the tape pulls back from the edge when it dries after being painted) and then gave it another layer of paint. Voila! Drab skylight frames become beautiful!

Yes, I recognize that this spray paint is not the most eco-friendly product on the planet. I know, I know. But it is really beautiful. And I recognize that building a tiny house on wheels all about the trade-offs. There are a few places where I have to compromise one thing for another. I'm using styrofoam in the SIPS for my Tiny House - even though stryofoam is a material I detest in general - because I believe it's an appropriate application. It's lightweight, insulative, and doesn't break down. This is a problem for one-time food containers, but great for keeping my house warm! The spray paint uses aerosols and it's high in VOCs, but I'm not using much of it, and it's a quick and easy way to bring a little bling to The Lucky Penny.

Skylights for My Vardo

Skylights Many of my favorite spaces have skylights, so they’ve been an integral part of my tiny house designs from the beginning. Many people decide to forgo skylights in their wee homes because of the cost or the complexity of flashing them properly. So I’m thankful that Tandem and both of the tiny houses on wheels I’ve lived in have skylights over the loft. They open up the space exponentially!

I wasn’t quite sure how skylights would work in my vardo, but living with an oculous in My Home Sweet Yurt convinced me that there’s something magical about the quality of light from directly above. I have loved being able to fall asleep with the stars hanging overhead and to wake up with a view of a squirrel tiptoeing onto the end of a branch to nibble on a fig. Once I had my heart set on having skylights overhead, I decided it would be worth the effort of figuring out how to install them on a curved roof!

Showman's Wagon

My friend John Labovitz, who built a tiny house truck called Polymecca, introduced me to the term mollycroft to describe the shape of a streetcar’s roof. A mollycroft roof is curved – both down to the sides and to the front and back – with a monitor that pops out of the center. Traditionally streetcars and showman’s wagons had little panes of glass in the clerestory, bringing light into the space. My roof design is a modified mollycroft; it won’t slope down to the front and back and the light will come from skylights at the top, rather than from the sides. However, I think (I hope!) it will look enough like a mollycroft roof to honor the gypsy wagons of yore.

Mark in his skylight stacks

Yesterday I purchased two skylights for my gypsy wagon from Mark at Natural Light Skylight Co who has been selling skylights for over 30 years. Mark primarily sells new Velux skylights because he believes they’re the best ones on the market. But, on the side, he also sells used skylights he’s removed from projects when he installs the latest and greatest. I’d love to have new Velux skylights, but it’s not in my budget, so I was pleased that Mark had these two 2x4 acrylic dome skylights.

When I first called Mark up to ask about the availability of his used skylights he helped me find the vocabulary to describe what I was looking for. And when he asked me what my project was and I told him I am building a gypsy wagon he said, “No kidding?! I made myself a gypsy wagon years ago and traveled the country in it.” When I met him to look at what he had in stock, he told me about his gypsy wagon adventures and asked about mine. He also helped me noodle through design questions to come up with a plan for installing shades. (Battening Down the Hatches in the yurt helped me figure out that shades make a big difference!)

Over the next couple weeks, before I begin construction of my roof system, I’ll be working on getting my skylights ready for installation. I anticipate this will involve finally using the can of hammered copper spray paint that I picked up at the hardware store a month ago...