


I'm on Plan F.

Over the past three years I've considered dozens of different ways to build my vardo roof, with its exposed rafters and skylight box. This weekend I found myself working on Plan F. Fortunately, I had some great people by my side.
Because My Curved Rafters are exposed to the interior my roof system needed to be constructed on top of the rafters. This has left my roof vulnerable during several Portland rain showers, so I've been eager to get it closed up.
I was already on Plan D when I had Eave Caps for My Vardo Roof fabricated by Vinje & Son Custom Sheet Metal earlier this week. But yesterday morning when Christian, Angela, Karin and I went to install the eve caps, we realized that the top part of the skewed U-shaped metal completely interfered with our ability to anchor it to the rafters. (I have since learned about right angle drill attachments, but did not know about them yesterday morning!)
I was pretty frustrated that Plan D hadn't worked. So we took a little break and muddled through Plan E. Fortunately, I had a great group of Tiny House Helpers by my side, including my oldest friend Christian, Randy (who had braved Hail & High Water with me last weekend and was back to sort my trim (again!) and pick the best pieces to stain), and two women who have built their own tiny homes: Angela of Mighty Micro Builder and Karin who built Serenity.
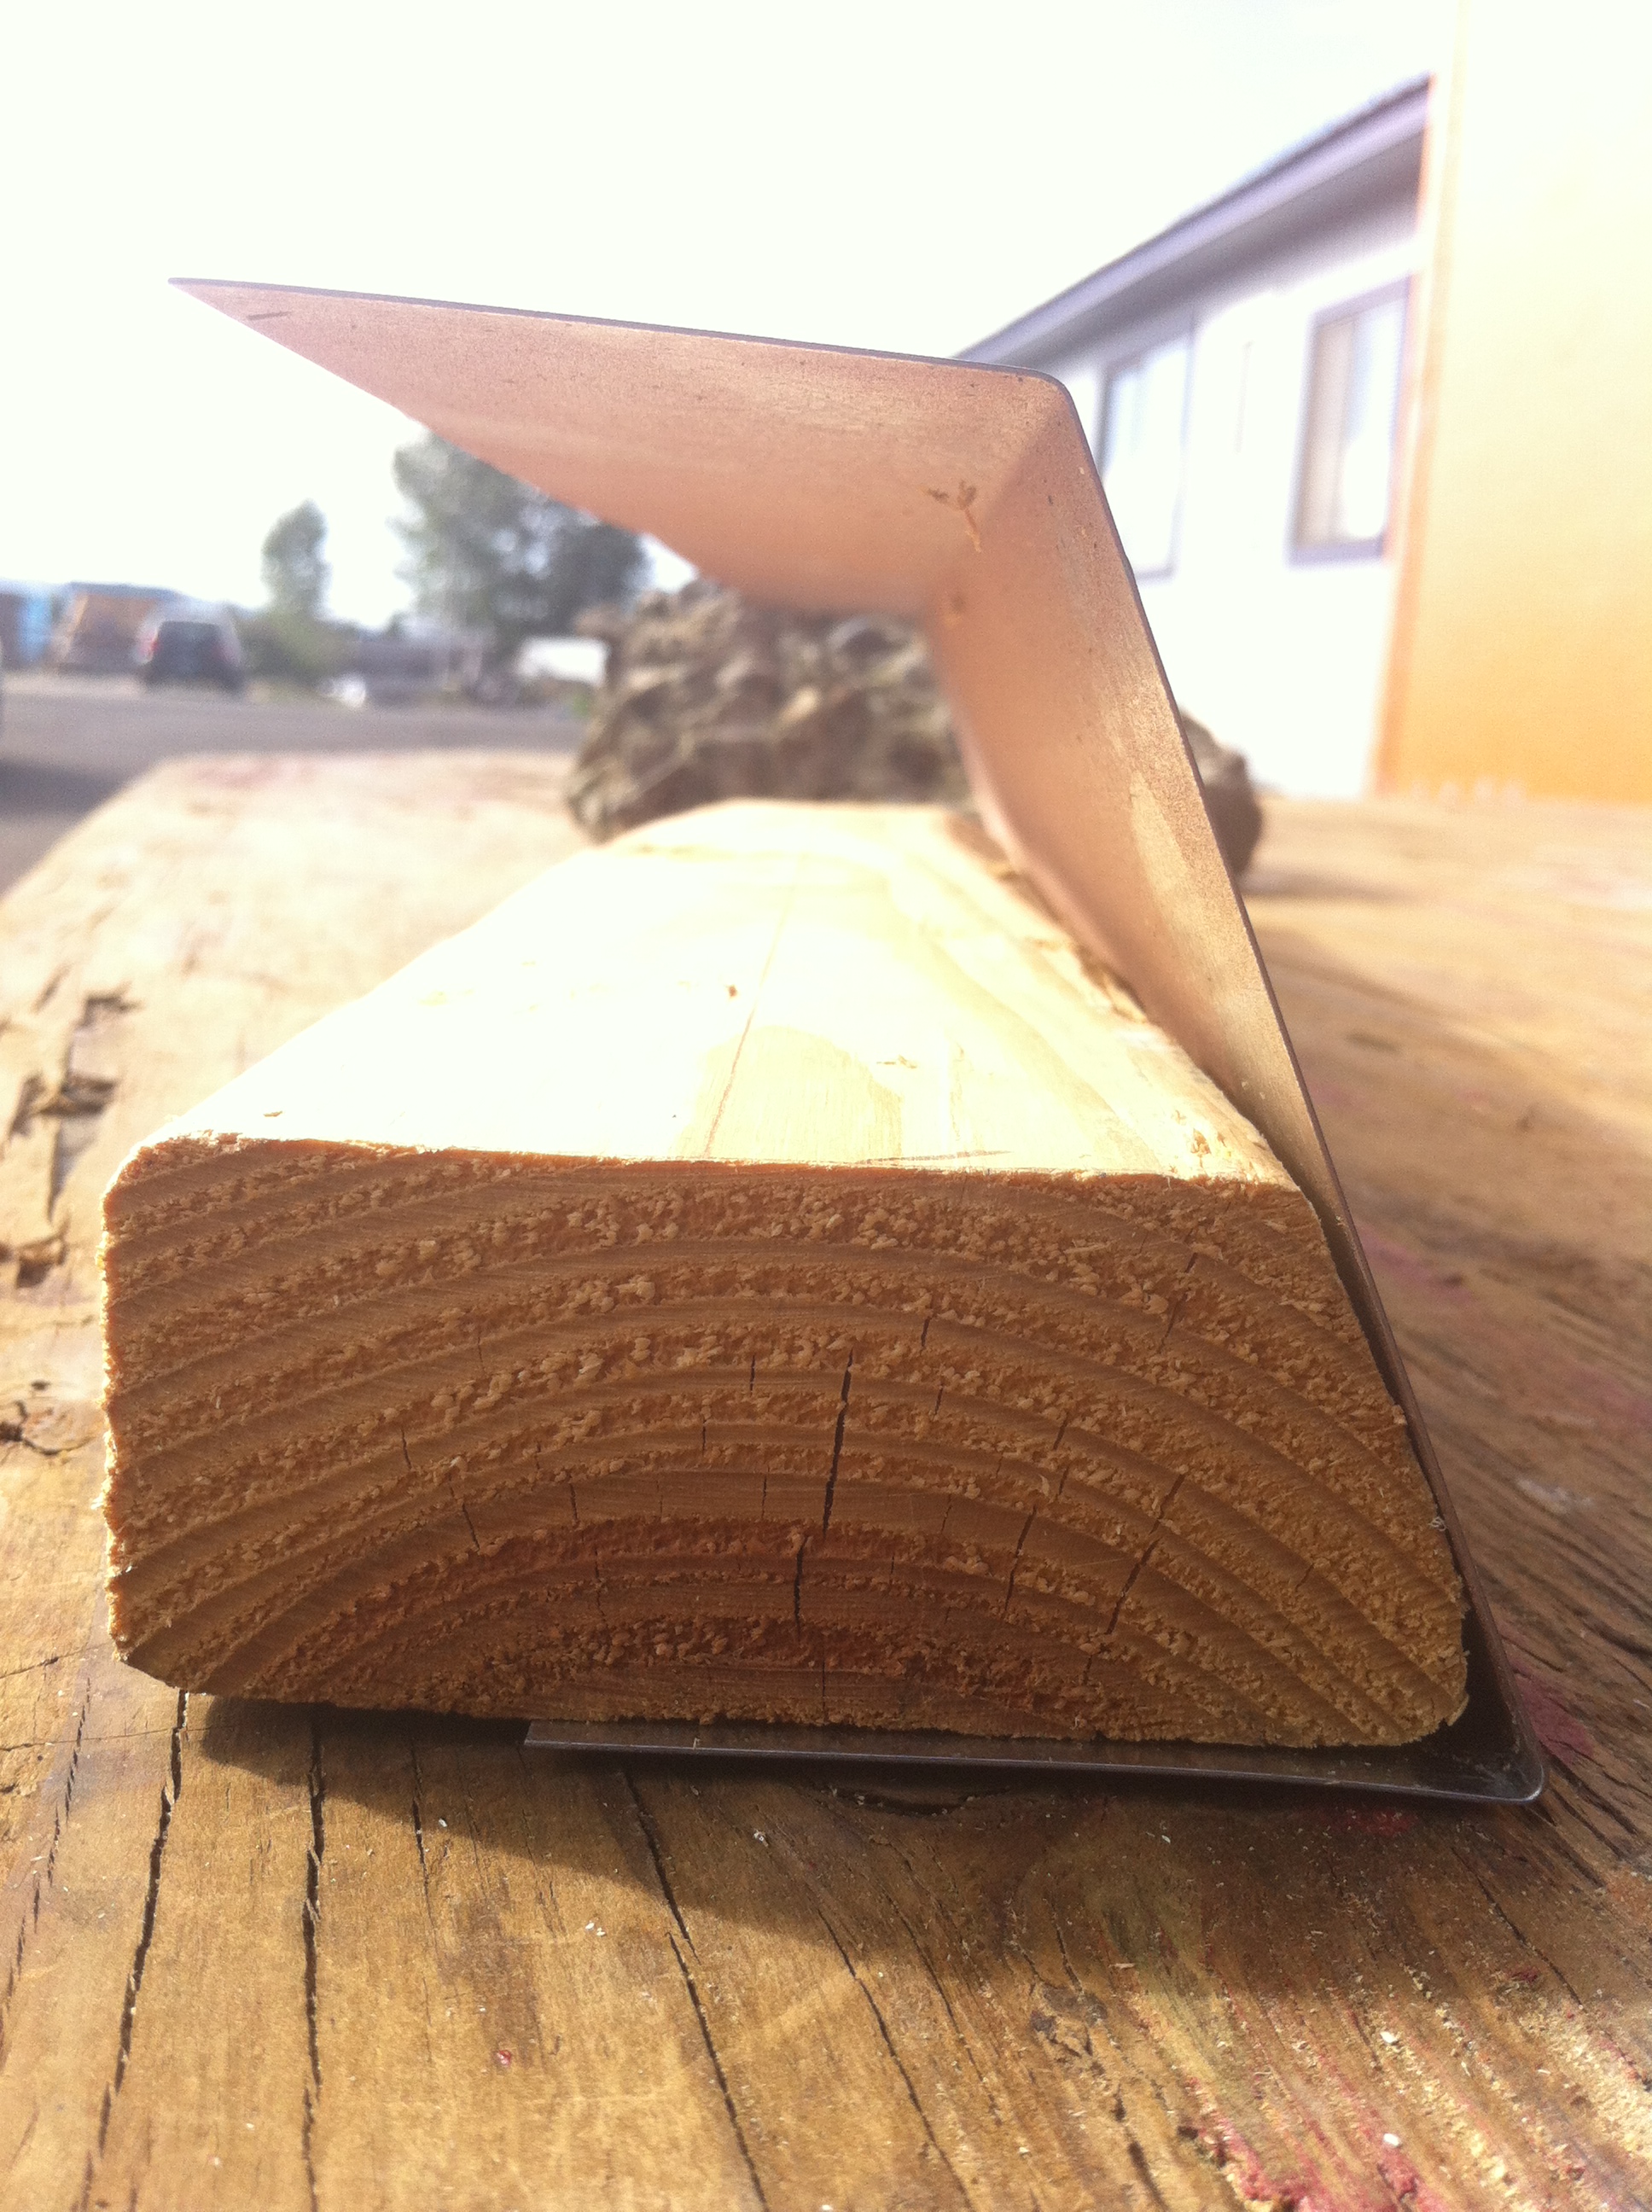
Angela suggested that we install a 2x4 flat against the rafters as a nailer so that we could attach the 2 x 4 to the rafters and the eve cap to the 2 x 4. Furthermore, it would create an outrigger to which I could attach my barge rafter, which was something I'd lost when I ditched Plan A. The trouble we found was that if we slipped a 2 x 4 into the bottom of the bent eve cap it would be at a completely different angle. If the wood wasn't in contact with the vertical metal surface of my eve caps we wouldn't have very good attachment. So we decided to rip off the corner at 26 degrees so that our nailer would slip into the eve cap and give us a proper attachment surface.
I cut a sample piece to try it out and we realized that by the time we ripped off the corner at 26 degrees the board wouldn't be much longer than the flashing and it would once again be tricky to attach it. So Karin suggested we head to the hardware store and pick up some 2 x 6s. Voila, Plan F.
Karin did a great job of cheering me up, telling me about some of the frustrating moments of her build and assuring me that it's okay to be upset and that My Tiny House Helpers will still love me even if I fall apart. She pointed out, that in fact it's a good experience for others to see what sort of challenges I encounter and to learn about the problem-solving process. She reminded me that those who have been there before can relate. I know all this, but let me assure you after several weeks of working 10 hour days either at the Breathe Building or on my build site, I was having a hard time with logic. When I thanked Karin for her patience and kindness she assured me that I'll be returning the favor someday. I have no doubt. No doubt at all.
We swooped into the hardware store, picked the four straightest 2x6s in the pile, and headed back to site where Christian ripped the corners off of the boards and nipped an inch and a half off the end of each one.
And then I made an unfortunate discovery. Read on to learn all about Plan F: Take 2.