 In November, as the temperatures started dropping, I spent some time Battening Down the Hatches. But during this last cold snap, and especially after I encountered some Moisture Management Problems, I decided it would be worthwhile to take additional steps to weatherize the yurt. The quick fix would be to buy another space heater and plug it in, but I couldn’t bear to waste energy like that.
So Saturday morning I called to Pacific Yurts to discuss weatherization strategies. The fellow I talked to suggested that I make sure the yurt is nice and tight top and bottom to eliminate air infiltration and drafts. He said that it’s a good idea to add foam weather stripping between the fabric cover and the perimeter band, which is something I’d been considering. He also recommended covering the windows up with another piece of reflective insulation. I’d already done that in my Battening Down the Hatches process, so I knew I was on the right track. I asked whether it was important that the insulation be shiny side visible. My understanding was that a reflective surface is only useful if there is an air gap between it and the next surface. But he said it doesn’t really matter, so I decided to switch it back so the white cloth cover is showing. It is prettier this way.

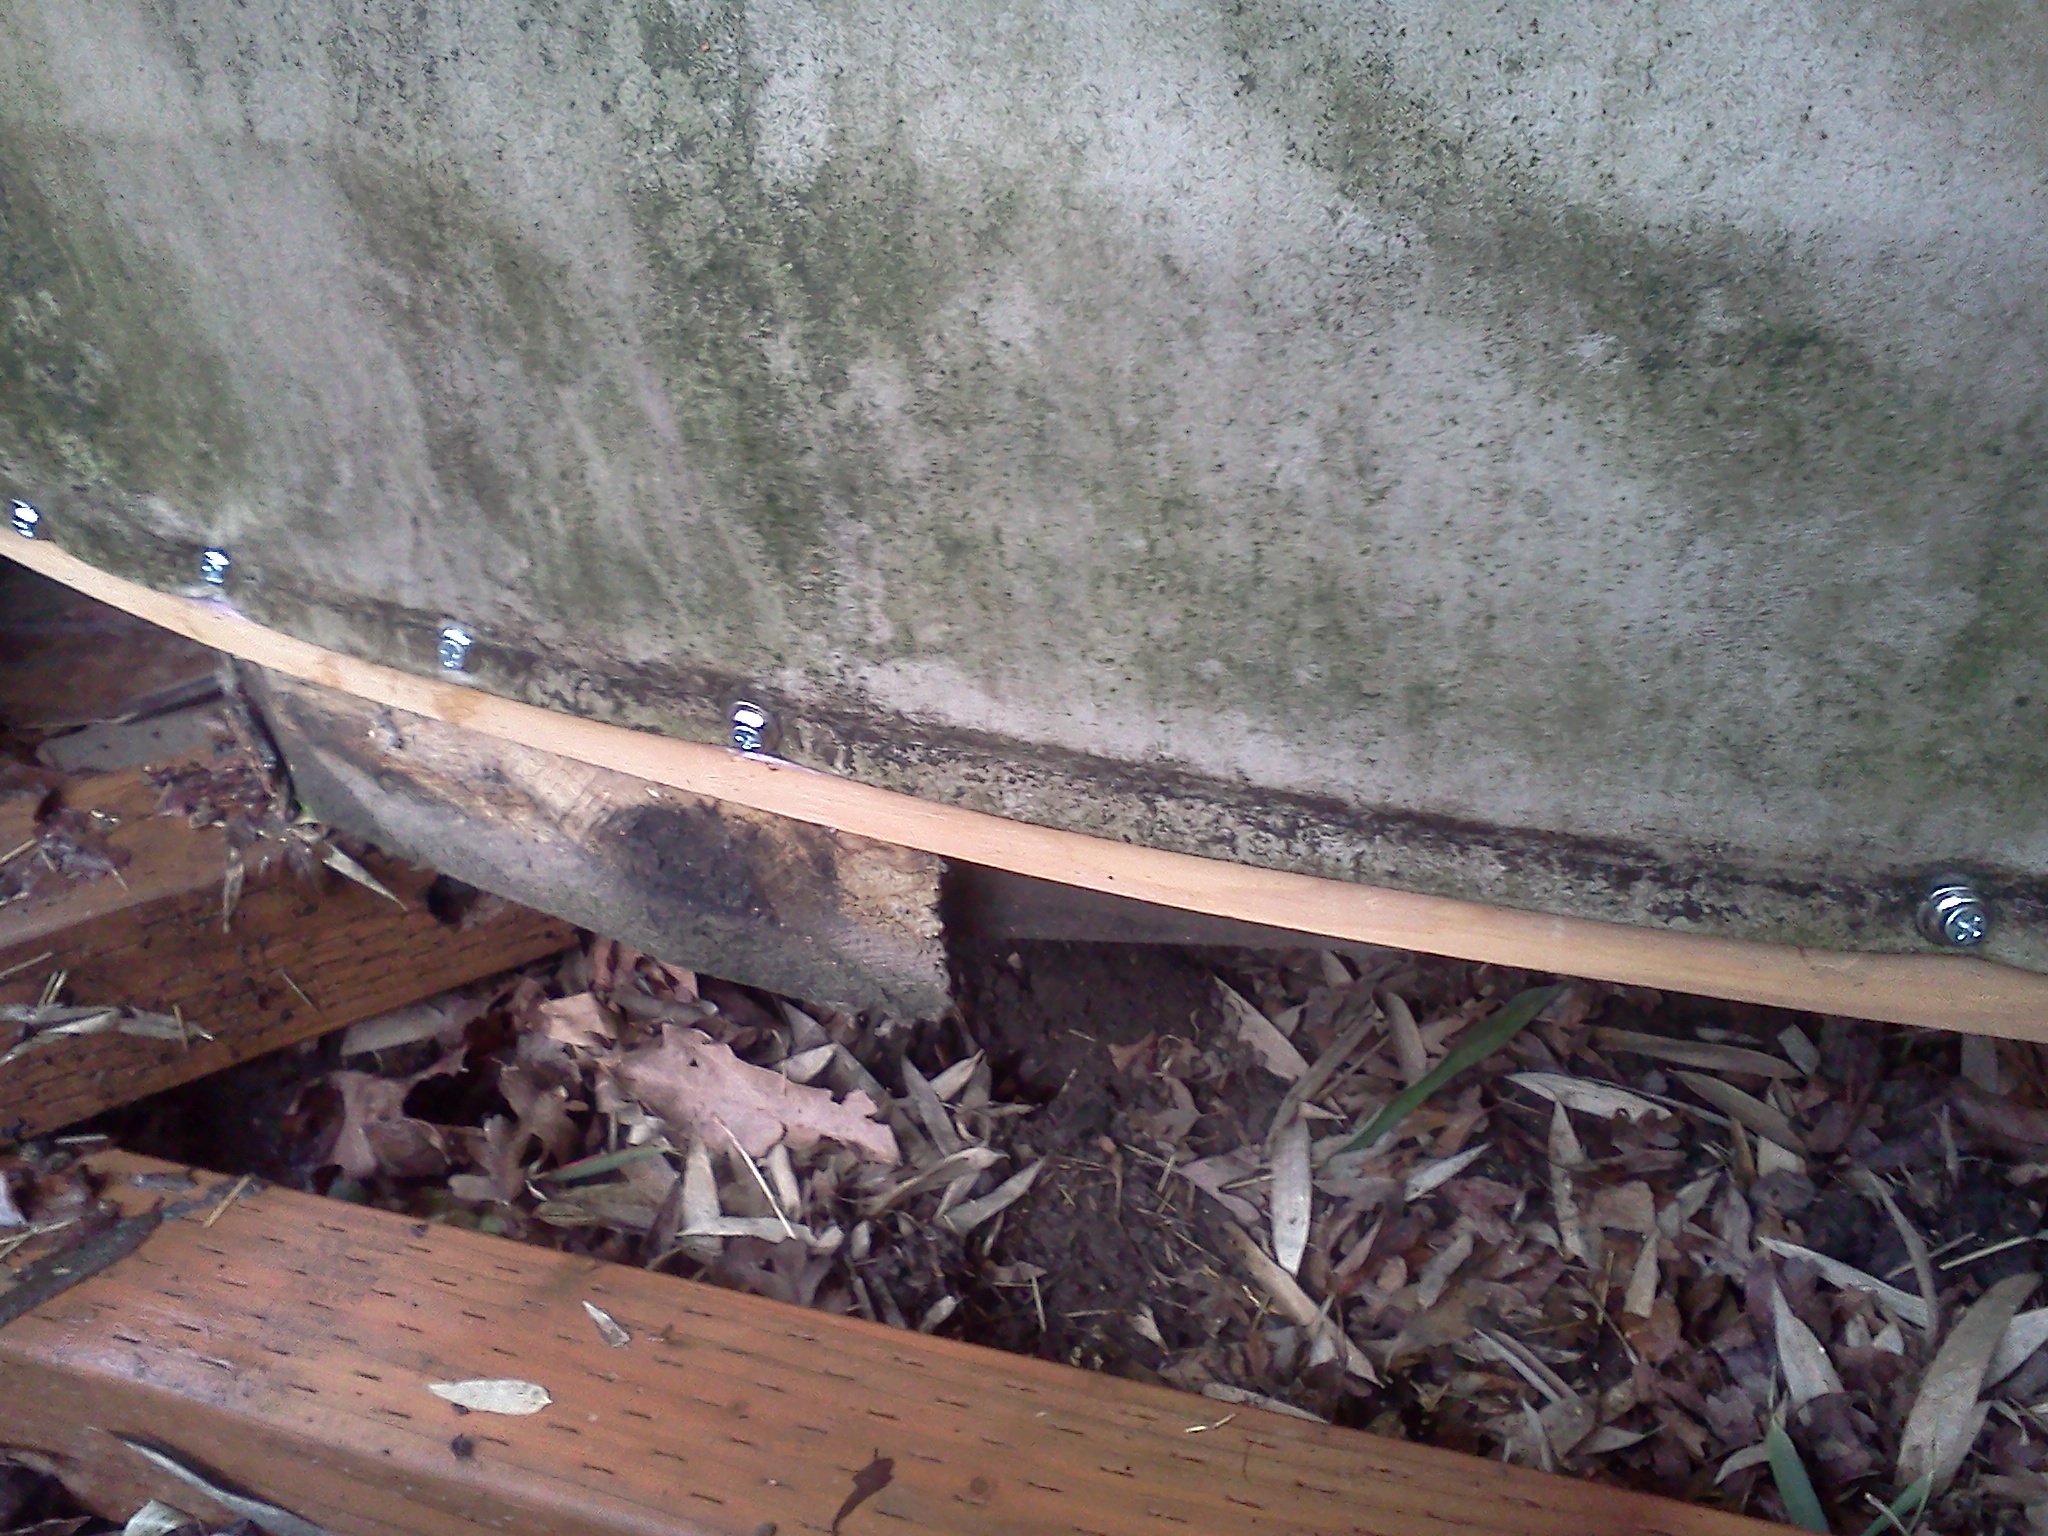
Air infiltration had definitely been my biggest problem. I’d already addressed the obvious air leak by weather stripping the door. However, most of the cold air was entering at the floor all around the perimeter. The perimeter band of plywood was warped in a few places so there were air gaps between the fascia board and the platform. The fabric of the yurt was loose so air was sneaking up through the bulges between the screws. I could feel the cold air rising against the walls and I’d had some Moisture Management Problems. Sometimes, when the wind picked up, the walls of the yurt would flap as a wave of cold air rushed through. Brr!

My tools were at Derin’s since I’d been helping out with Building an UrbaNest, so I rented a Zipcar to fetch my tools and the weatherizing supplies I would need. Unfortunately, once I started removing the screws so I could cinch the yurt cover down tight I realized that the perimeter band was too weathered to hold new screws. The band had done its job well for a dozen years, but it was now done. So Sunday I used Getaround for a trip to the legendary Mr. Plywood. They ripped a sheet of 3/8” plywood down to 6” strips for me. At home I removed the old screws section by section so the yurt lattice wouldn’t pop out and replaced the perimeter band as I went.
 I discovered using long screws is really important when working on a curve like this! The 1 ¼” screws were worthless and kept popping out so I finally decided to make a trip to Hankin’s Hardware to pick up some 2” screws which did the trick. (By the way, I love that Hankin’s is a co-op hardware store AND that there were three other bikes in the rack. You know you’re in a cool neighborhood when people ride their bikes to the hardware store!) Once the perimeter band was in place I cinched the fabric tight, sandwhiching two layers of foam between the yurt cover and the new perimeter band. The project took all day, but I’m already pleased by the difference. It was really windy last night and I didn’t feel the drafts.
This morning I plan to add extra screws between each of the existing screws just to make sure there aren’t any gaps. Then I’ll readjust the insulation layers inside the yurt and put all my furniture back in place so I’ll be cozier here for the rest of the winter.
 I spent the weekend Weatherizing the Yurt and the following couple of days it was so warm in here I had to turn the heater down to its halfway point! But this also coincided with unseasonably warm weather. We had temperatures in the 60s in January! So I couldn’t tell if my weatherization had actually helped or if it was so much warmer in the yurt just because it was warmer outside.


