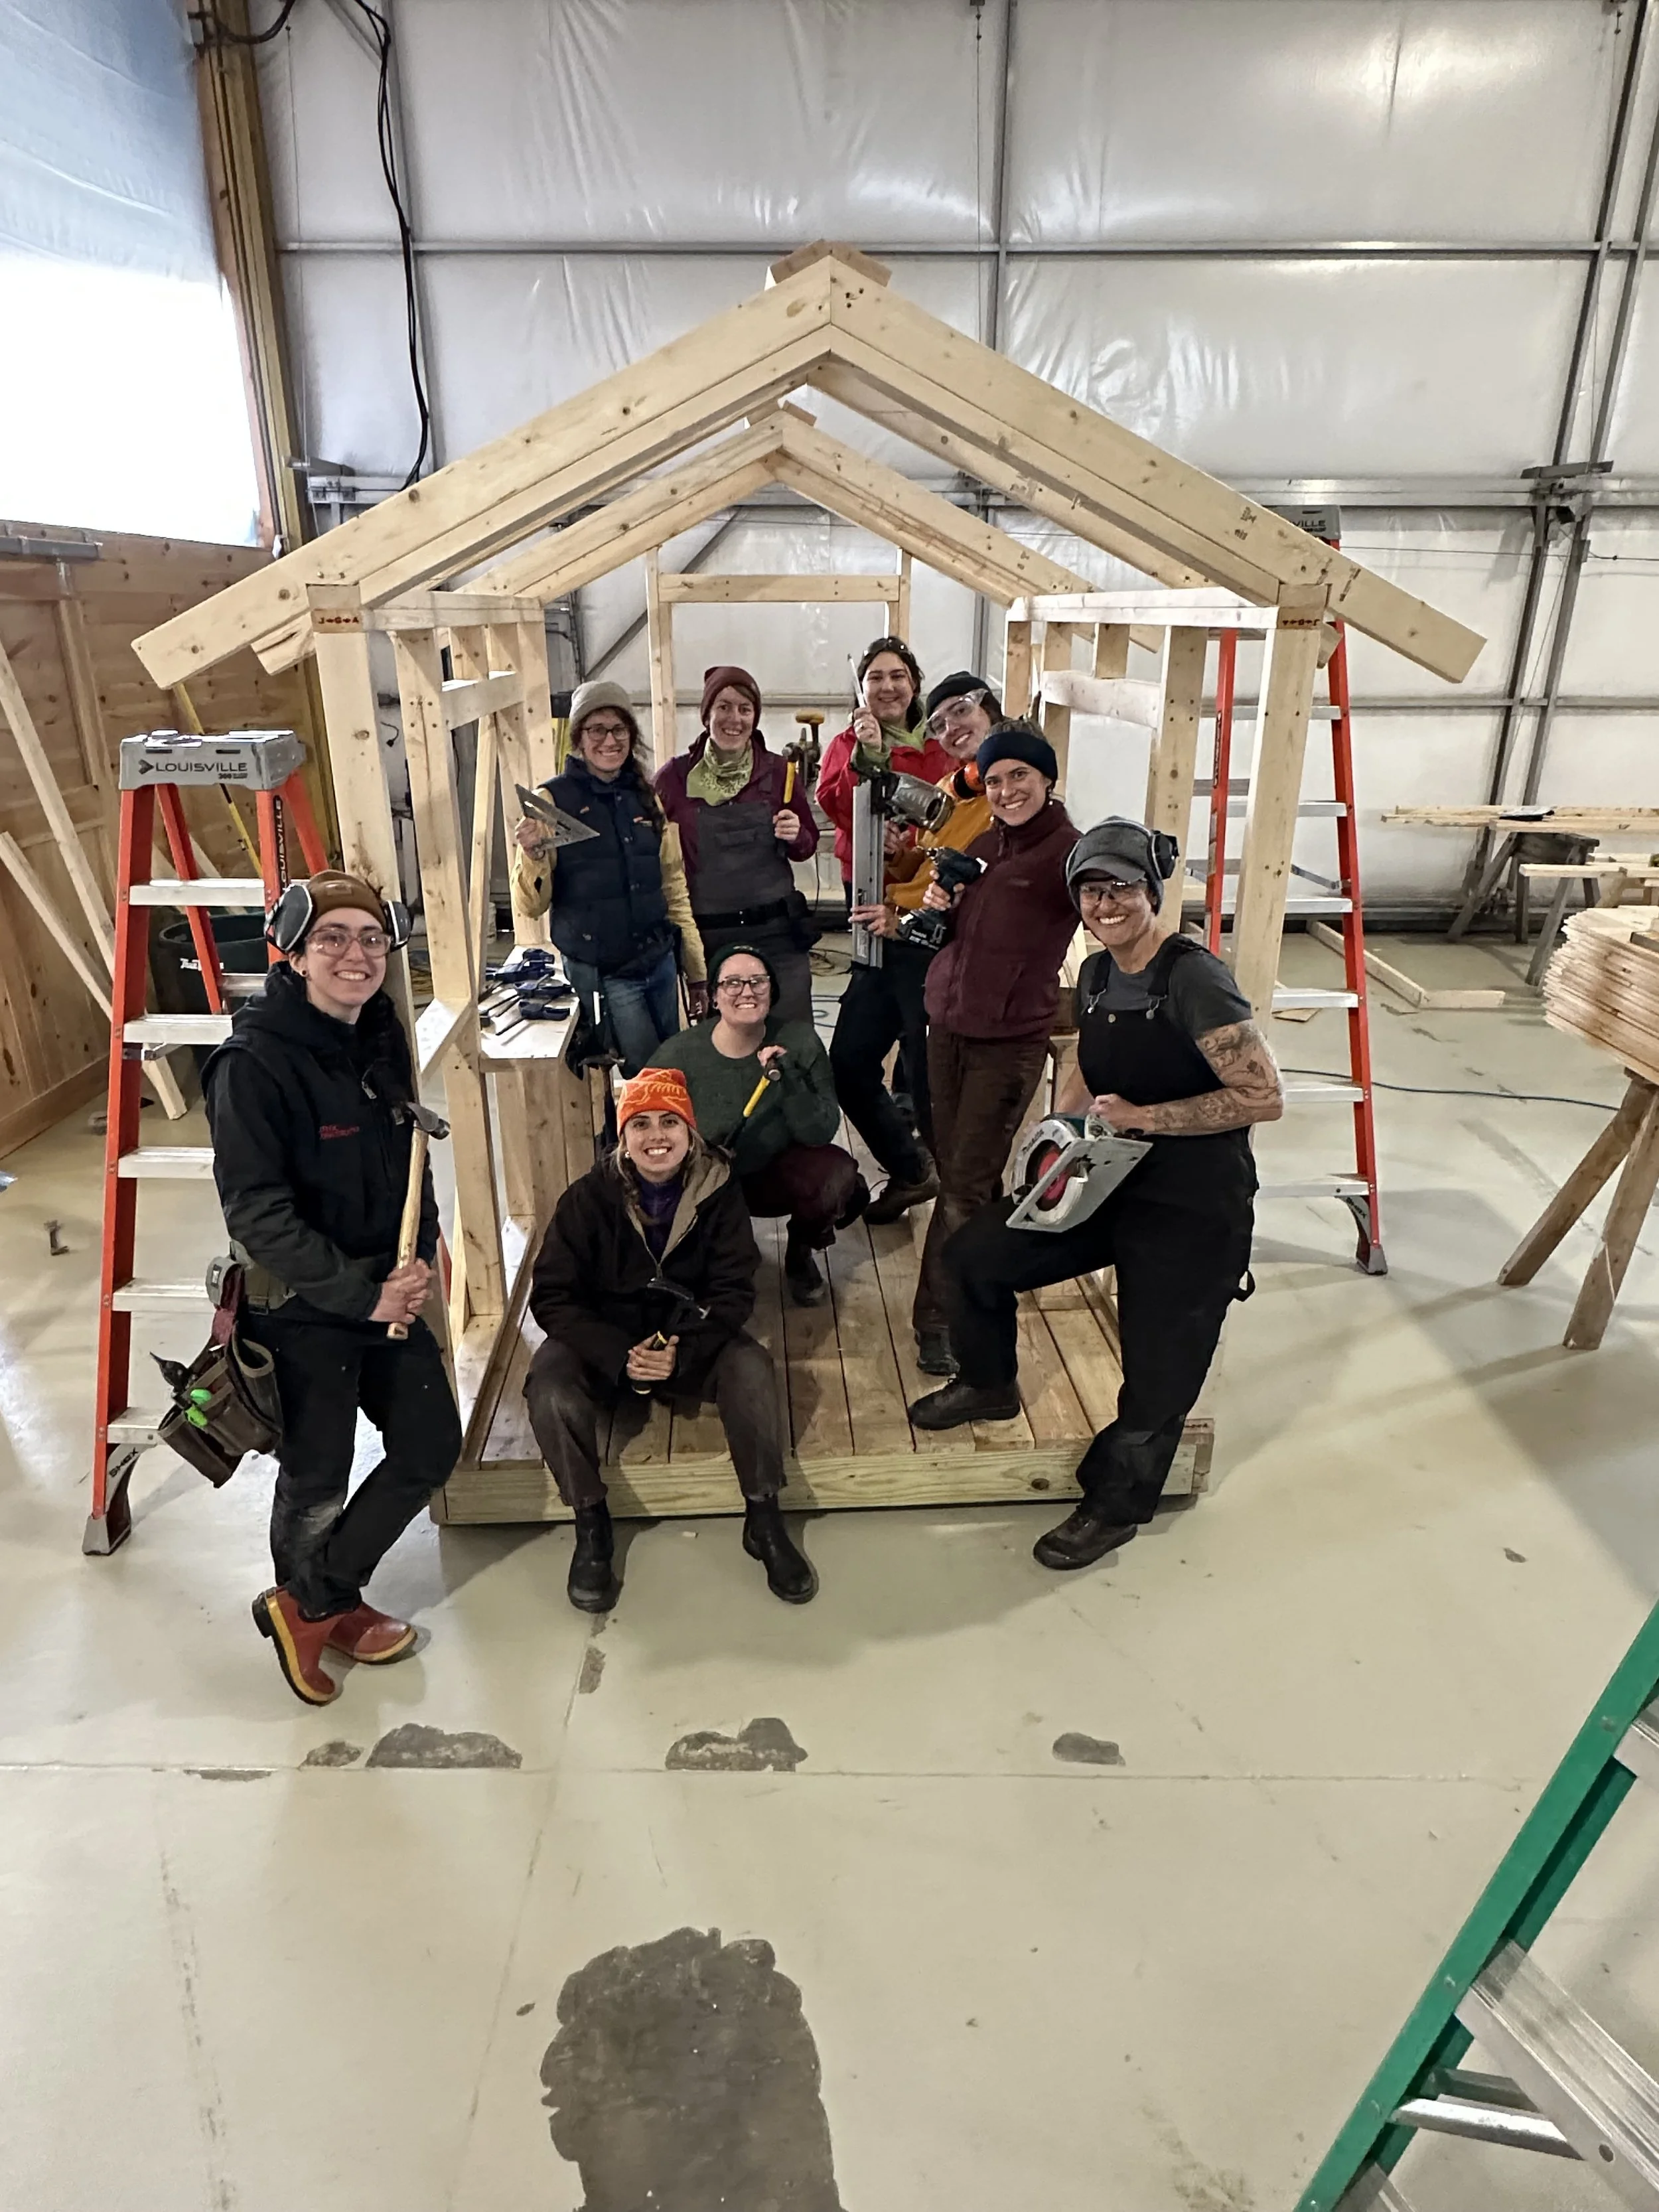
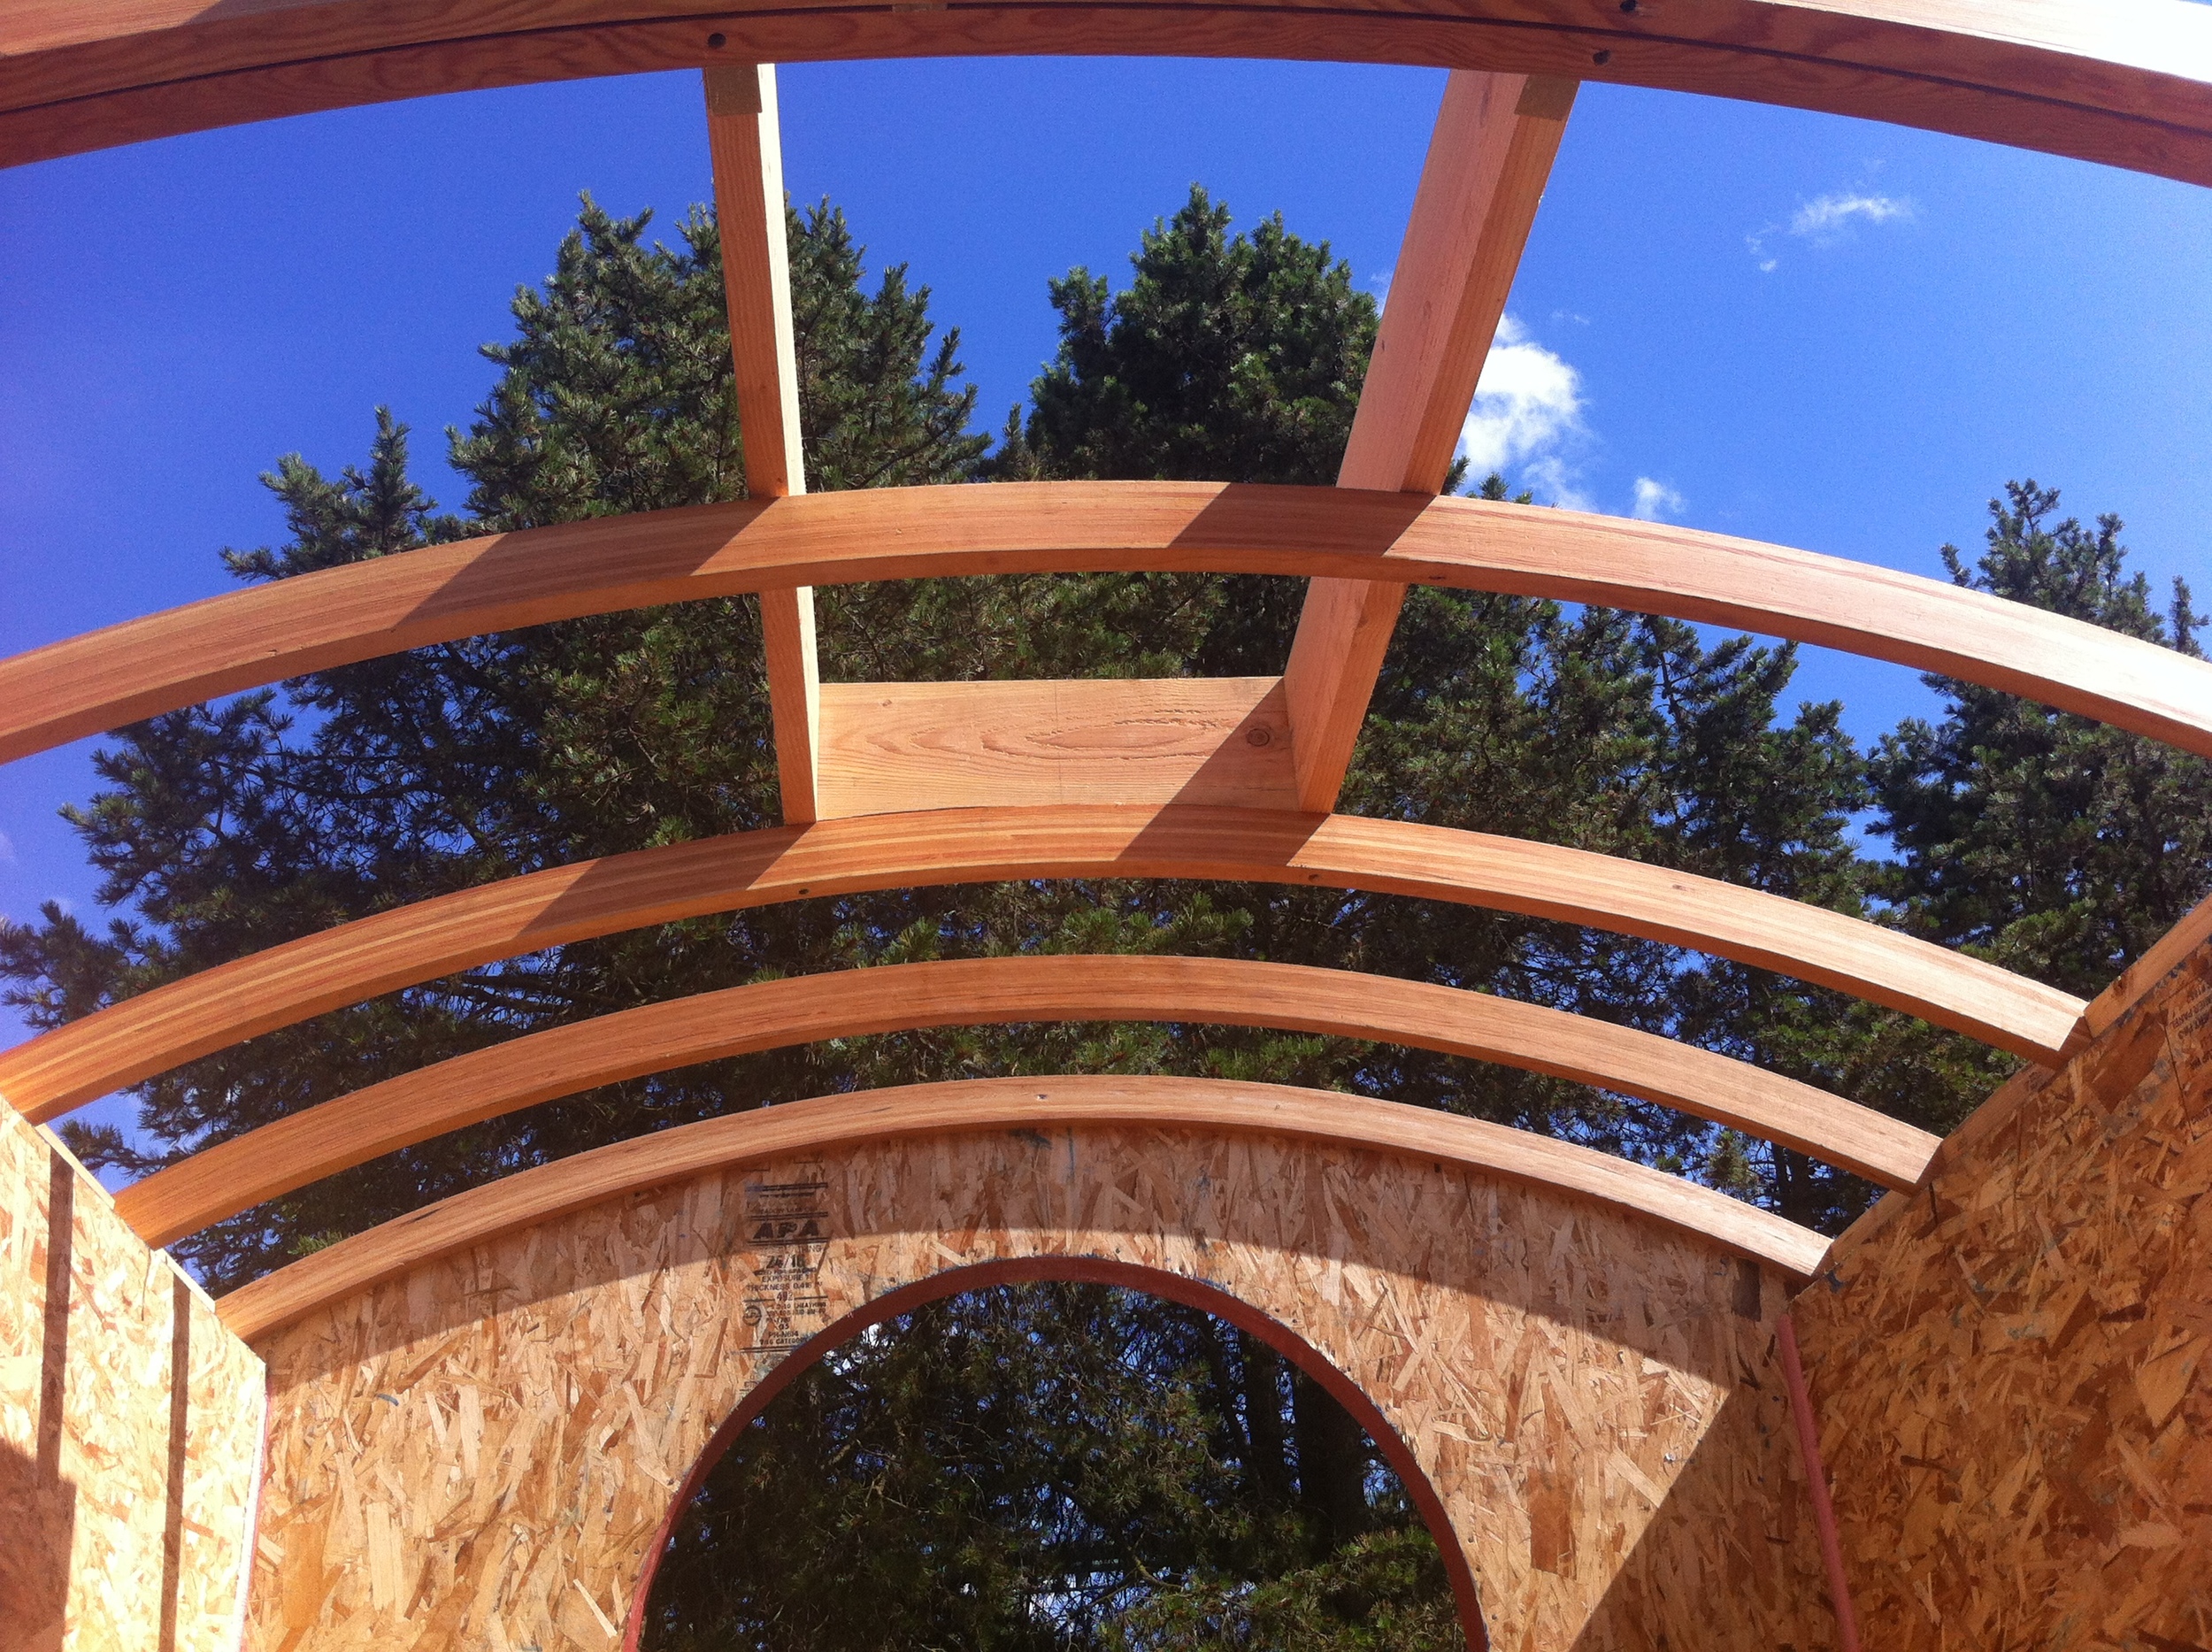
 Memorial Day Weekend was momentous for me. On Friday we had My SIPs Wall Raising. On Saturday we applied My Tiny House Air Barrier. On Sunday and Monday we had my Vardo Rafter Raising. Fortunately, I had lots of Tiny House Helpers. Then I (mostly) took a break from building for a couple of weeks. I spent the last couple days of May in Walla Walla, Revisiting Homeownership, and then lead a guided bike tour for Portland’s ADU Tour.
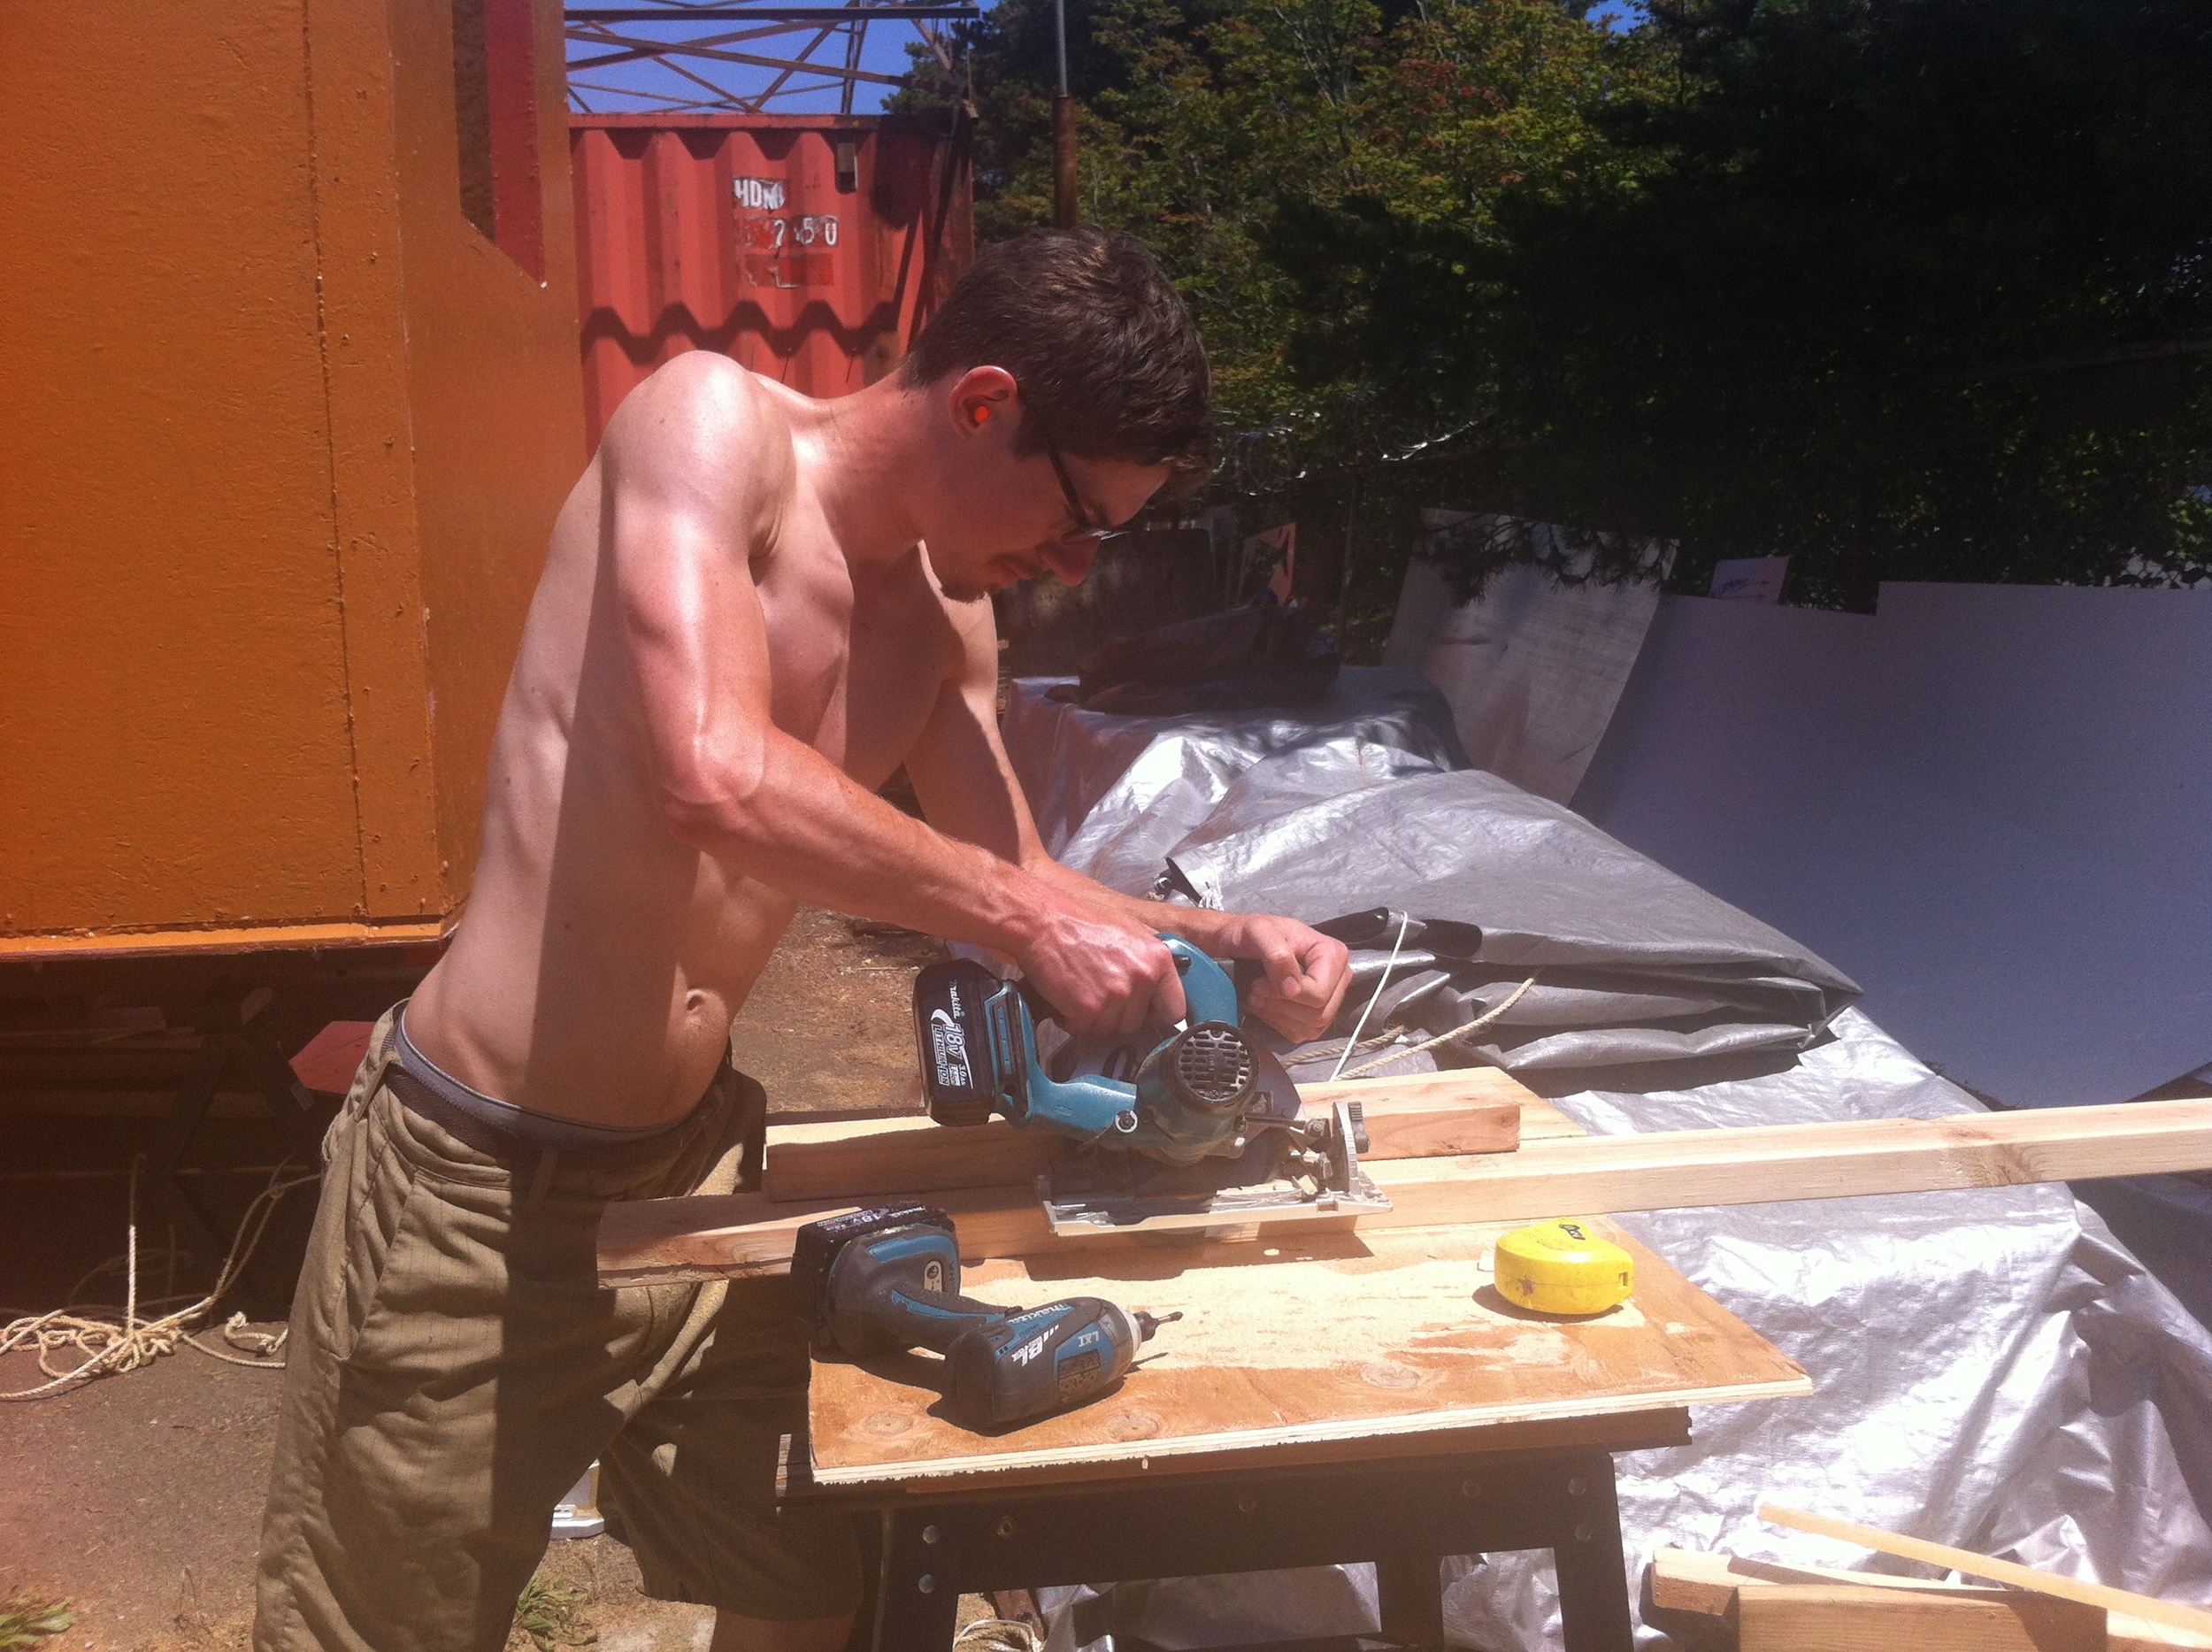
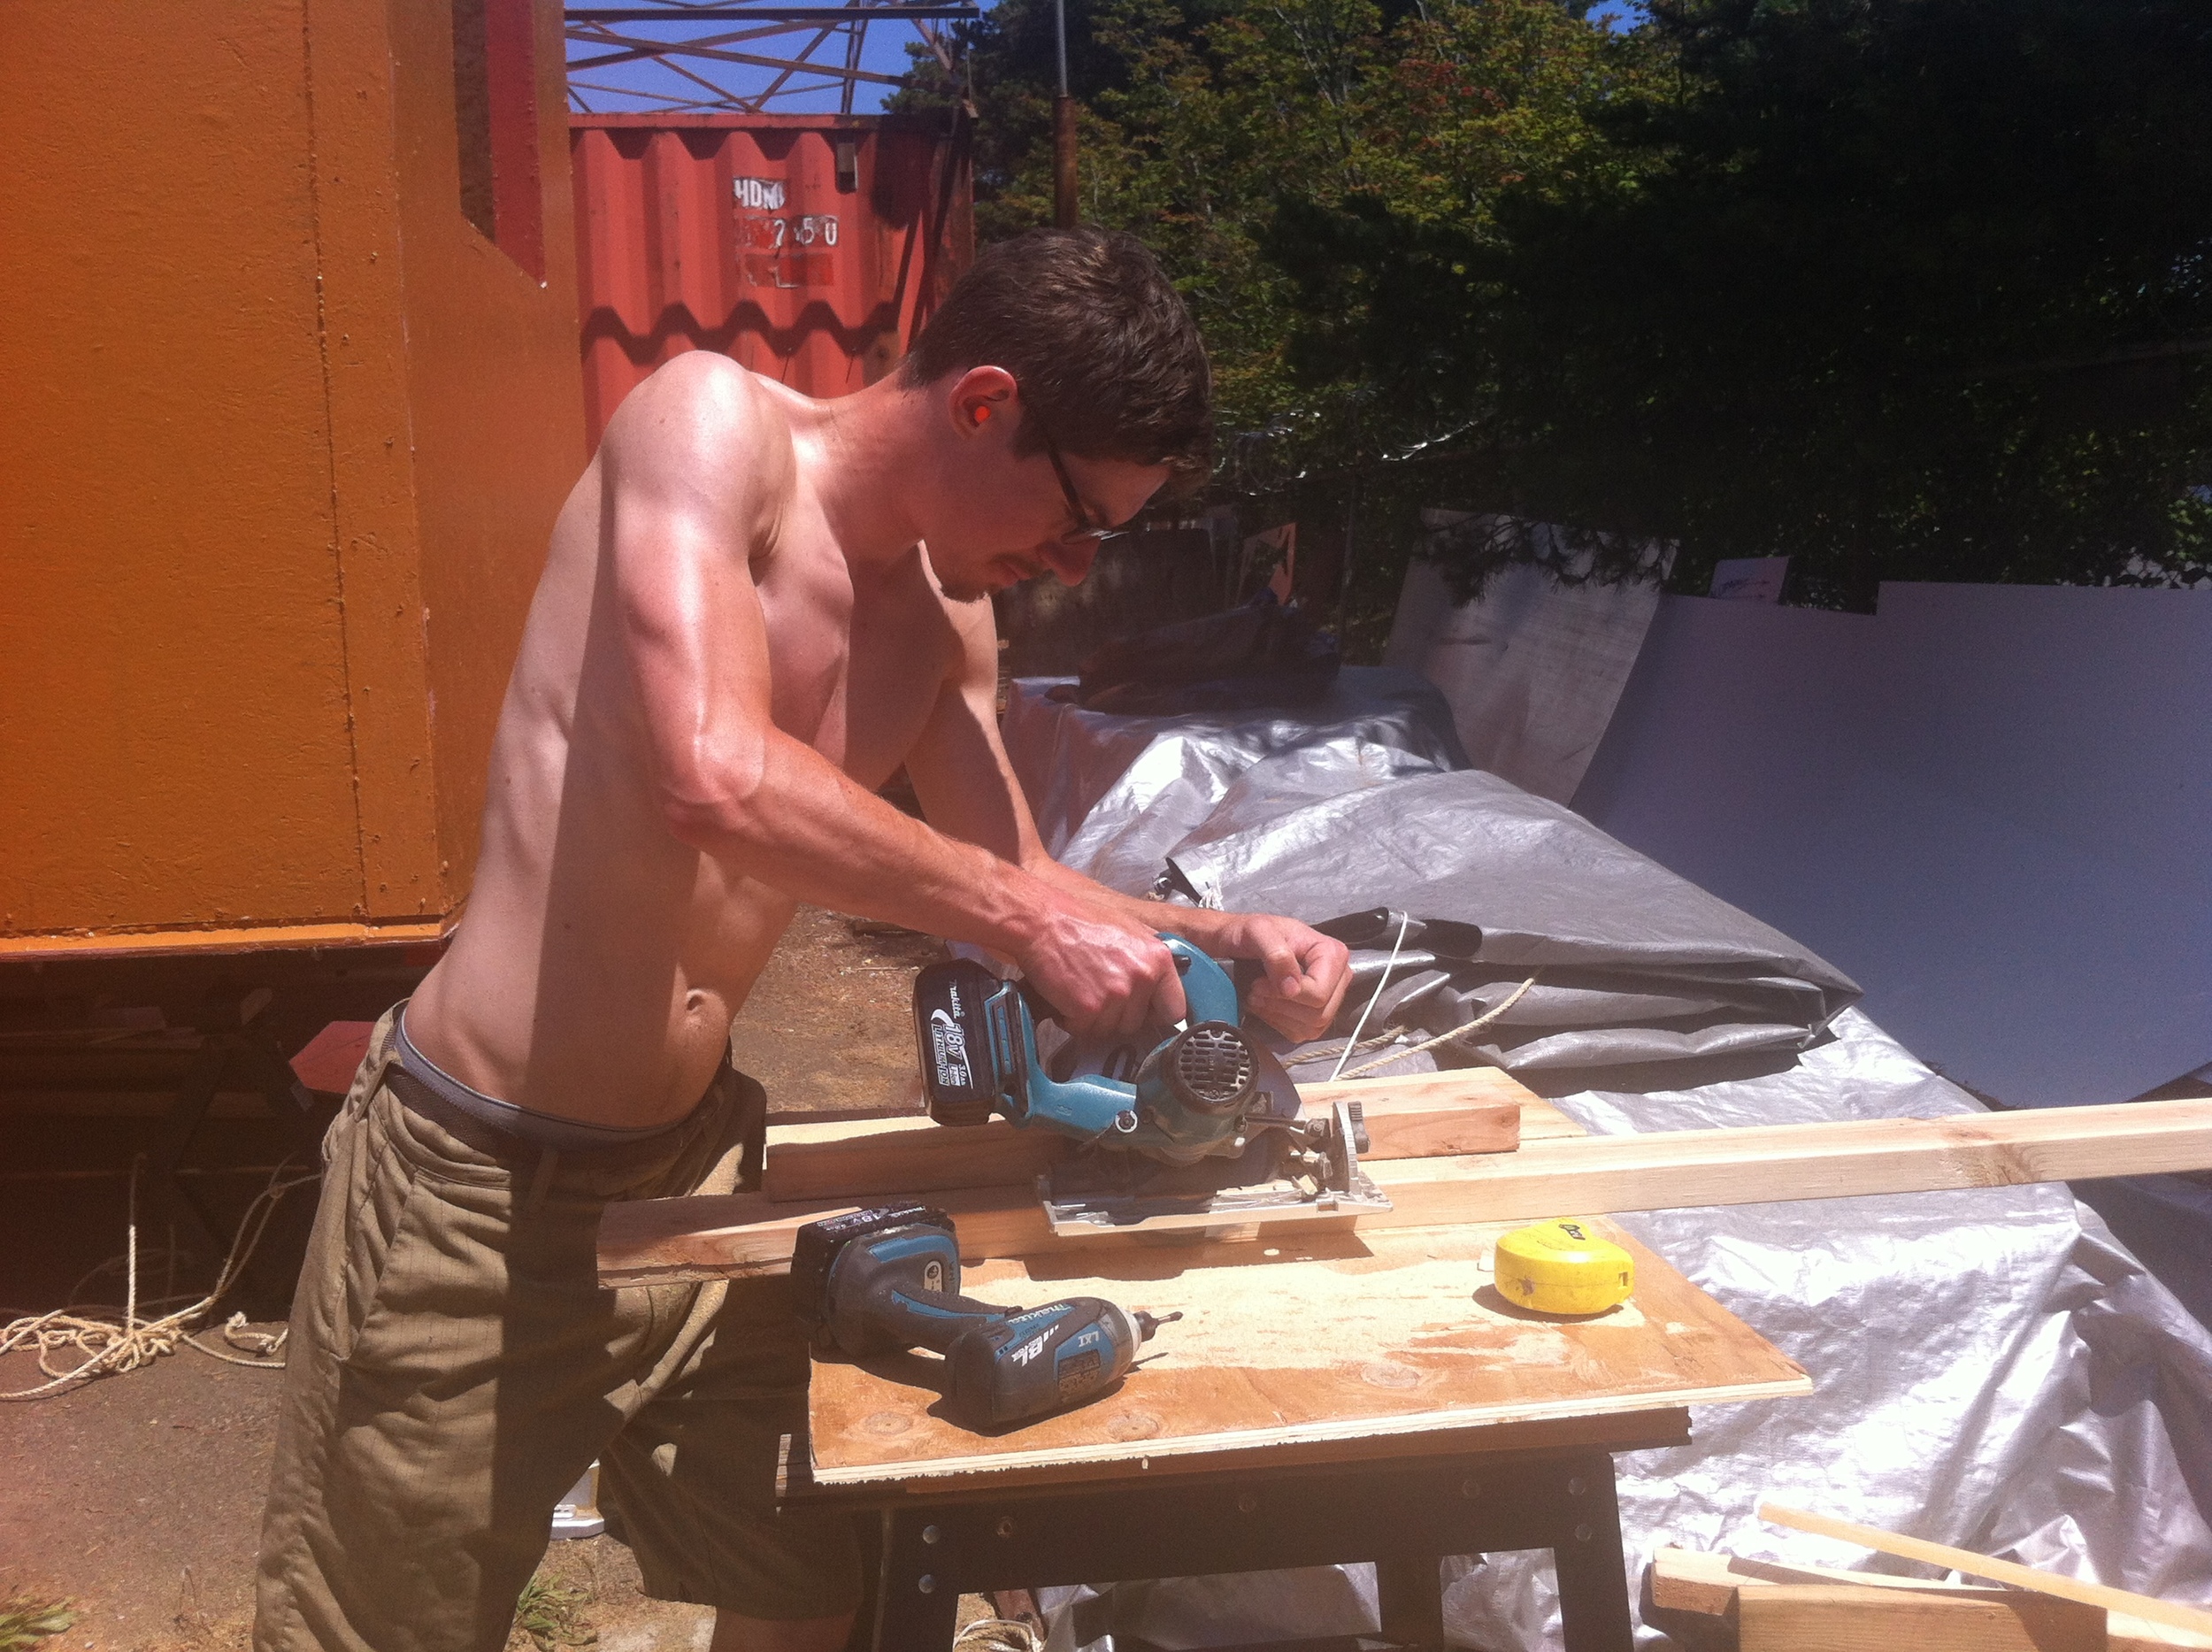
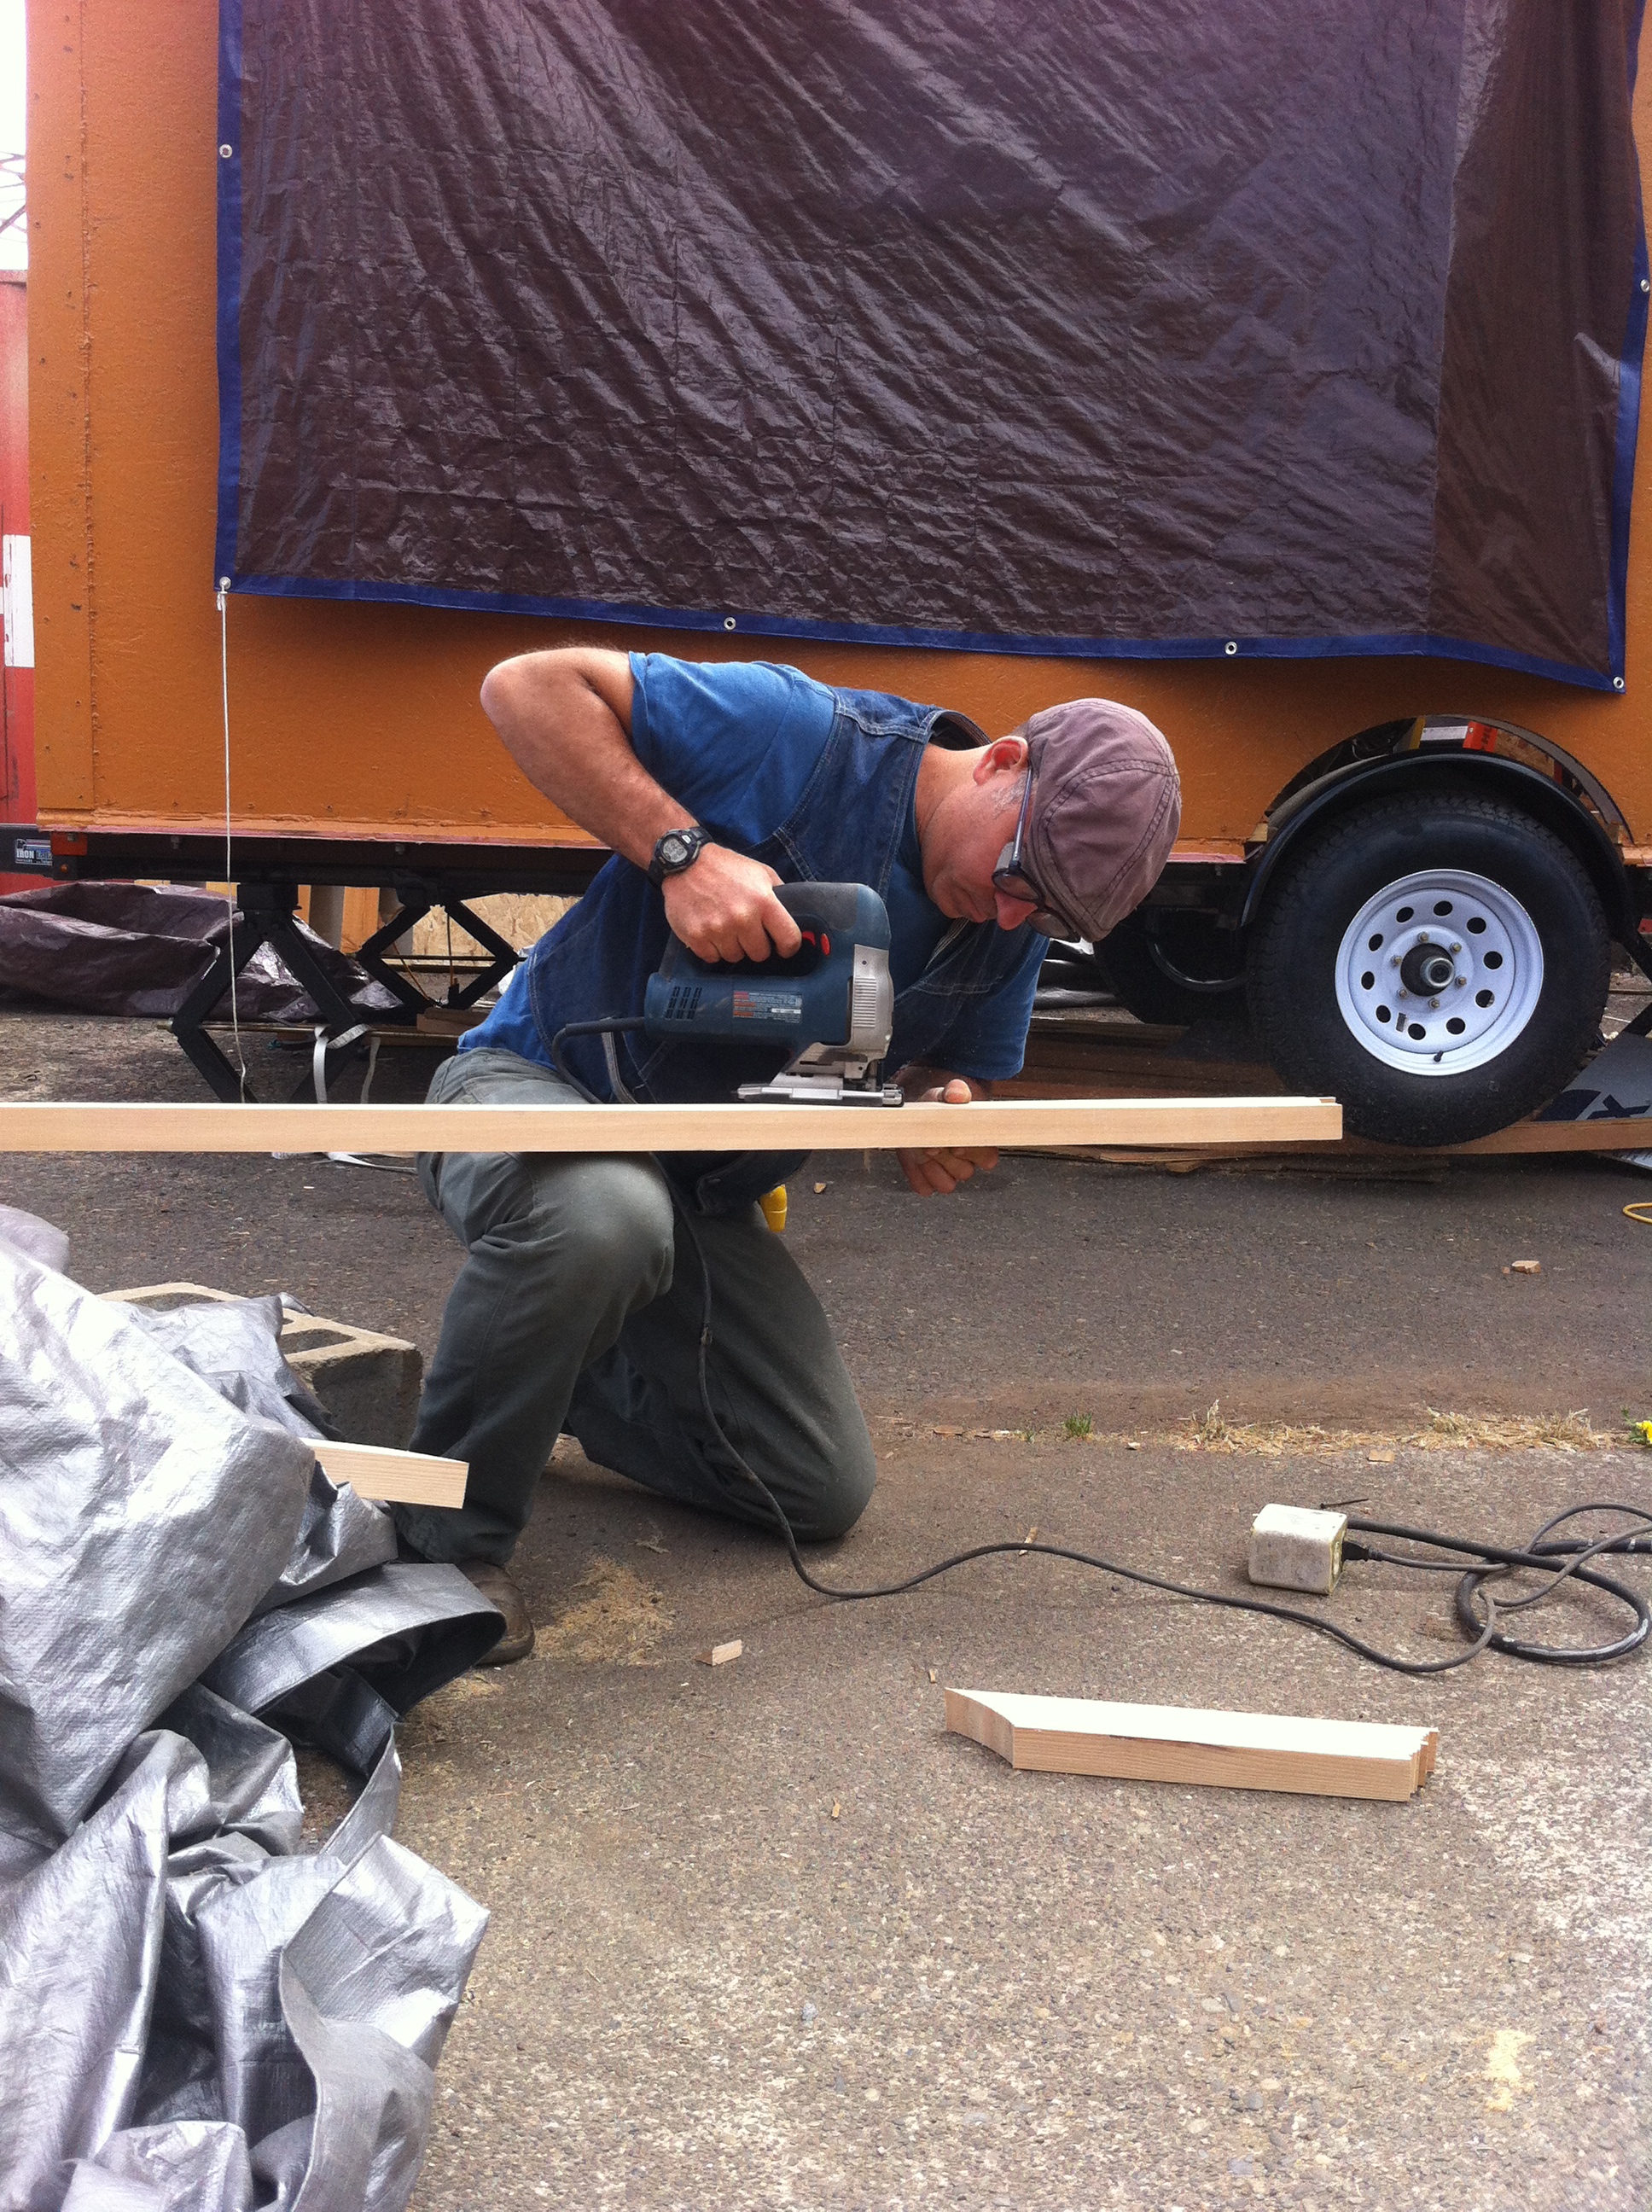
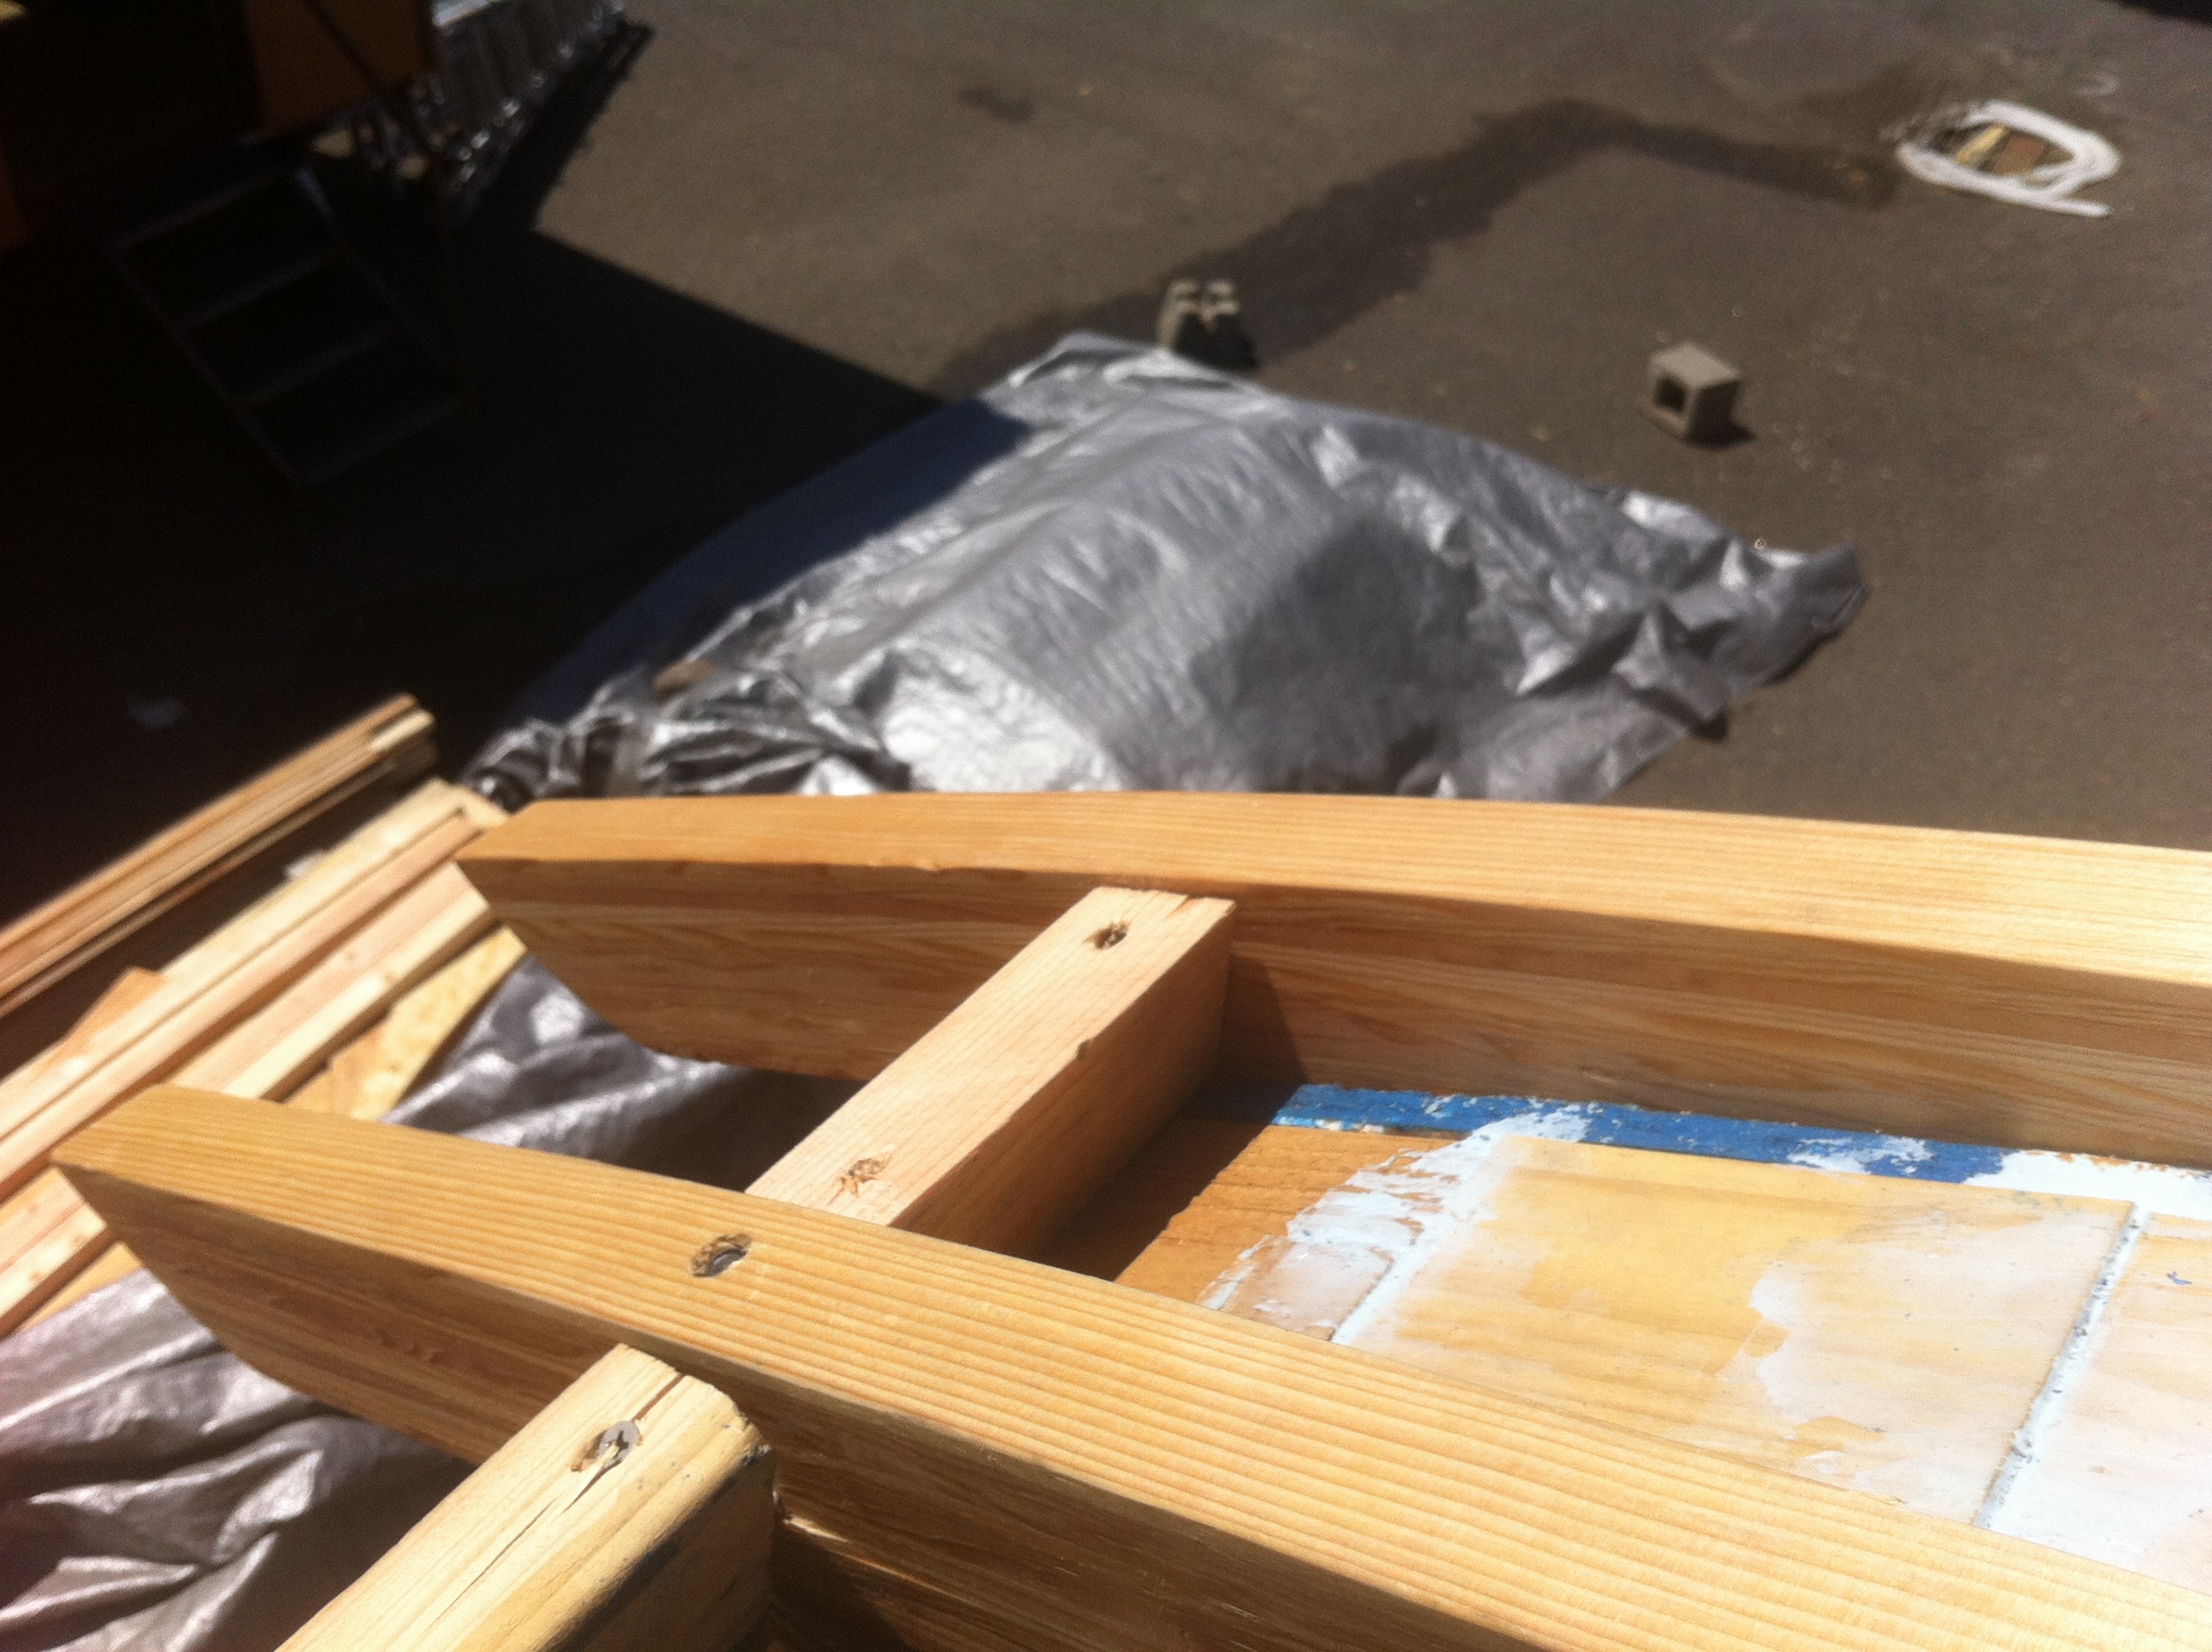
The first Monday of June, I snuck in a build day with my friend Chris who helped me install blocking between my rafters. This involved nipping off a corner at 26 degrees. Fortunately, Chris got really good at doing this with my circular saw.
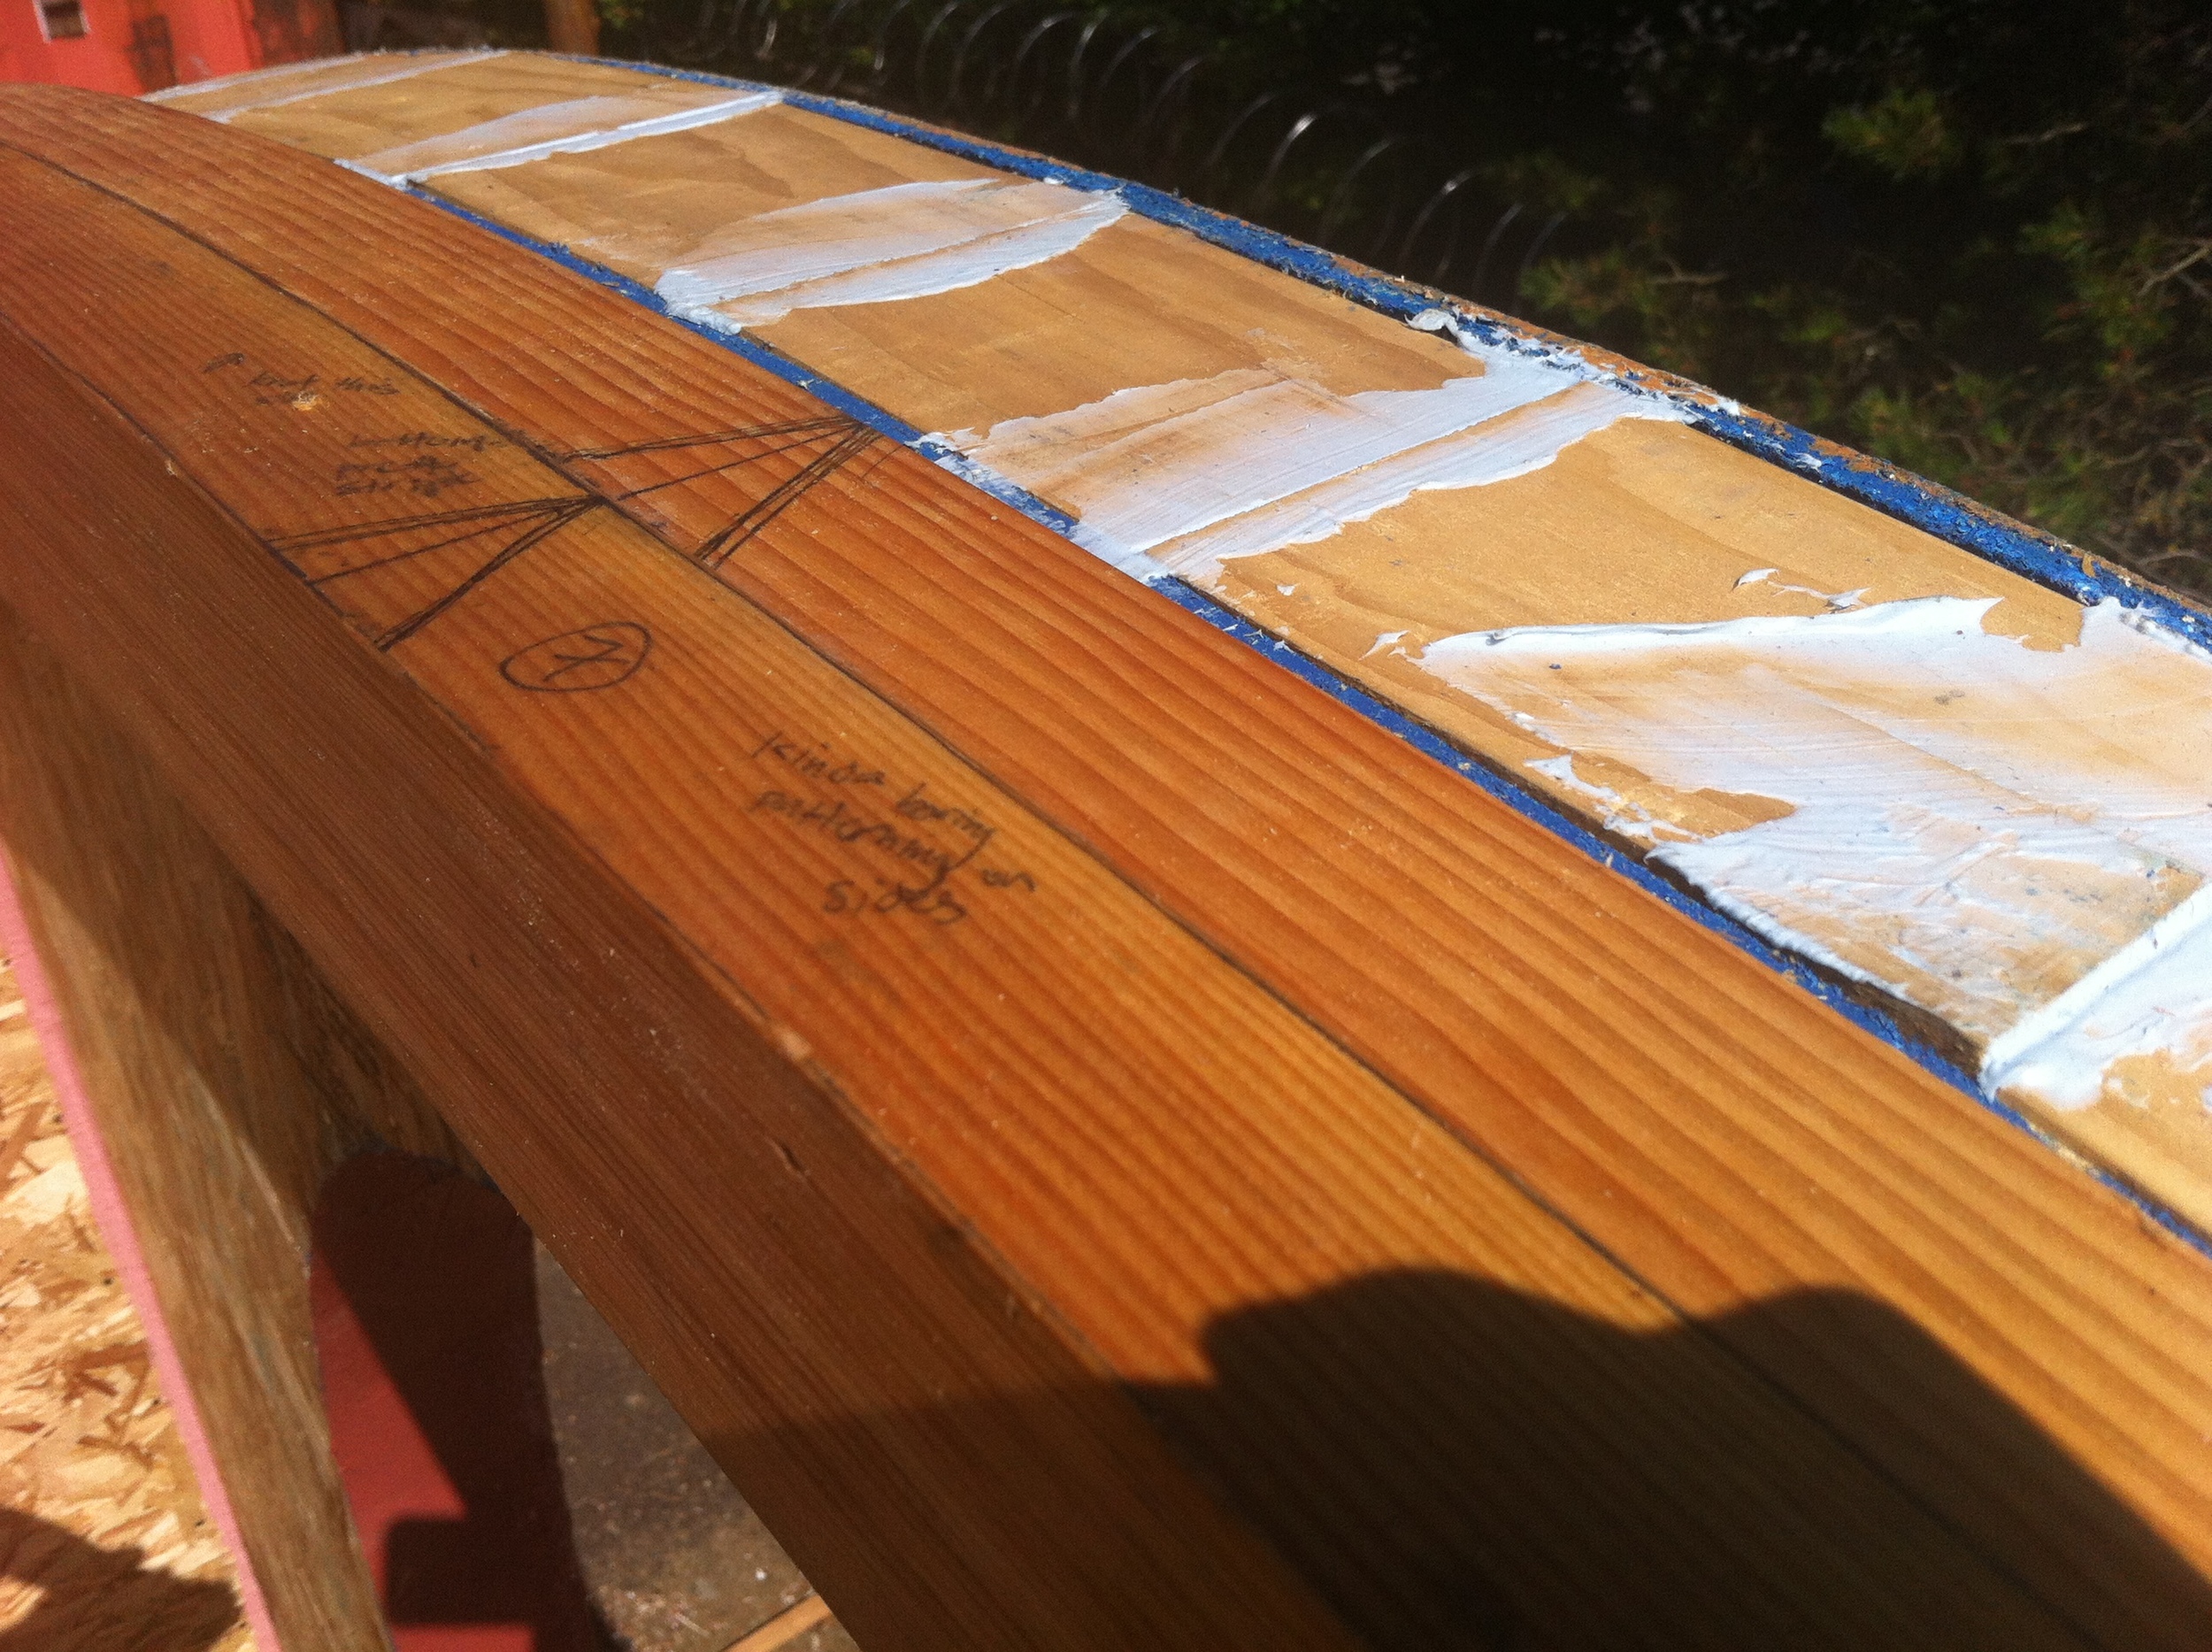
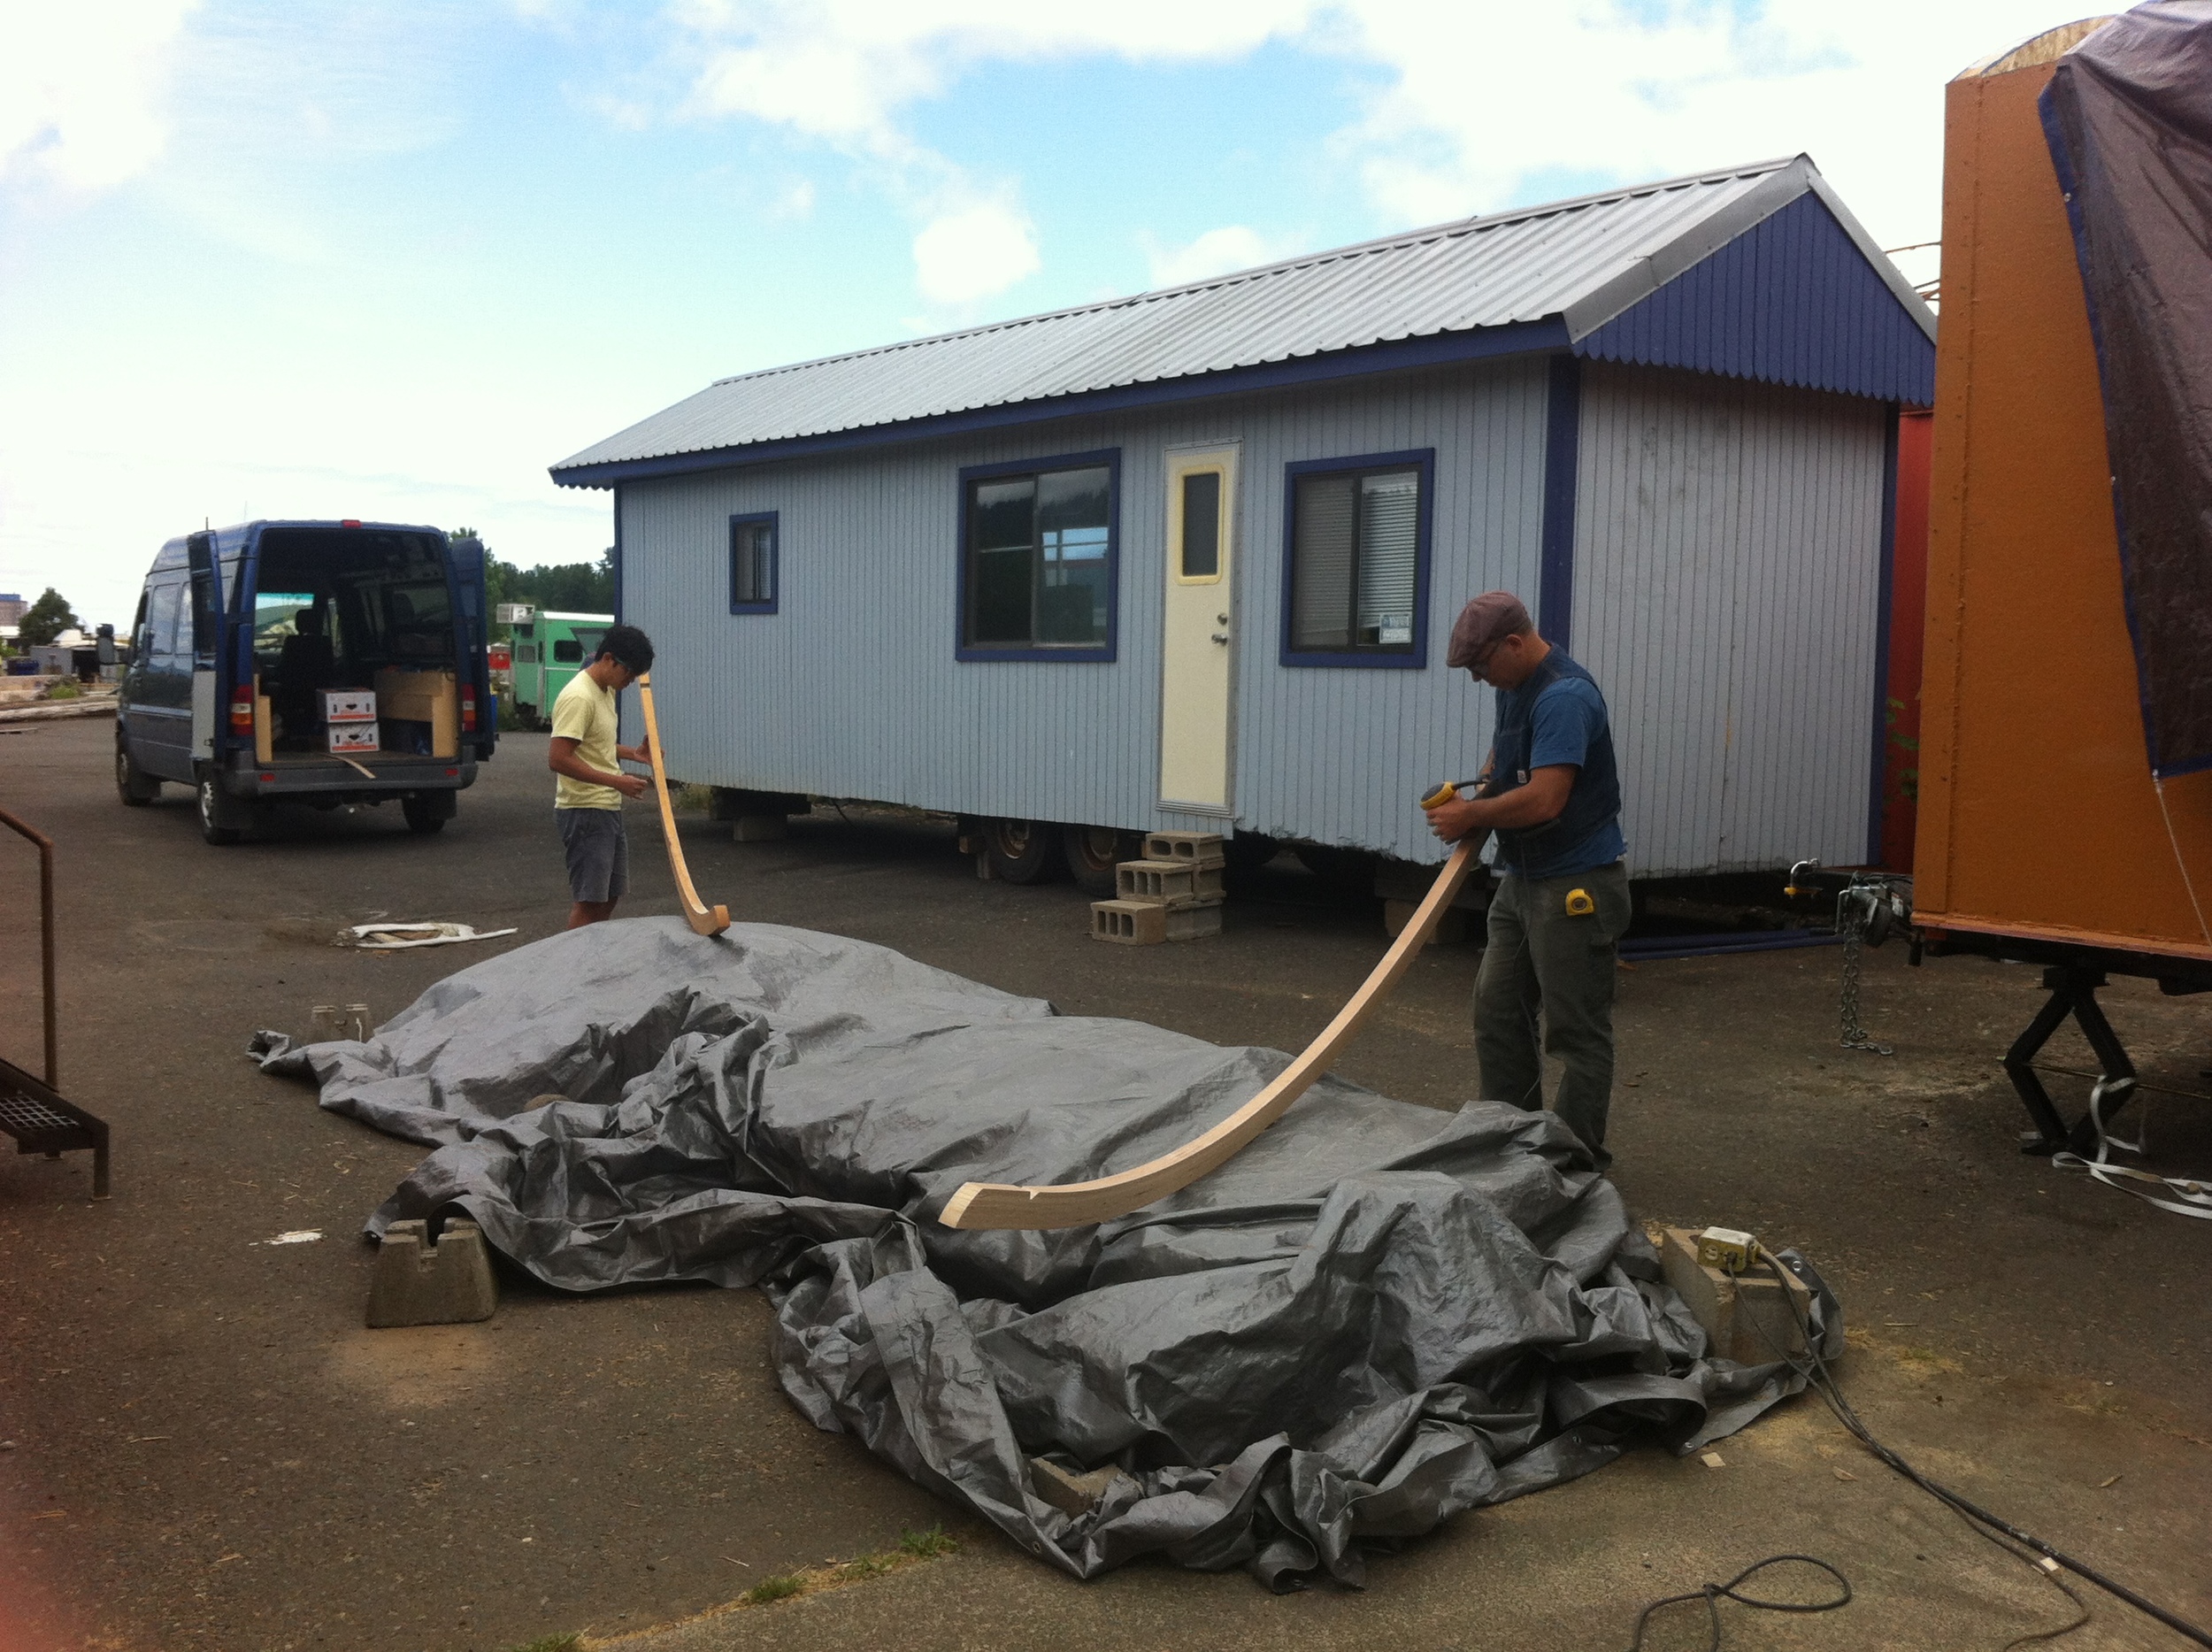
Then we worked on figuring out a plan to close up the end walls. While I was finishing up Building My Arched Rafters, I Ordered My Tiny House SIPs. I figured it might be tricky to match the curve of the rafters, so my plan was to build rafters that would fit into the end wall. But then I learned that the SIPs company could cut the panels to a radius and put blocking in for me. So Patrick Sughrue of Structures Northwest and I figured out what the radius must be based on the rise of 15” at the 8’ mark. It turns out that, even though the rafter jig was based on a radius, the rafters have a more oblong curve because of the spring back that happens when they’re released from the form.
So when we put the rafter up against the end wall to test it, we discovered the curves didn’t match up properly. Once I had the birdsmouths in the rafters there was only ¼” difference between the curves at the top but 2 ½” difference at the ends.
So Chris and I explored a lot of different options last week and Tony chimed in, too, when he swung by. “Why don’t you just build more rafters?” he asked. “I can’t do that,” I said. “I already returned the jig. I’d have to source the strips and I wouldn’t be able to get the fir strips milled down in time so I’d have to use hemlock lathe. I’d have to build the rafters and plane them and sand them and birdsmouth them and seal them and install them.”
Eventually we decided to cut a curved piece of plywood to seal up the exterior and on the interior install the barge rafters I’d built. We got the rafters in place, tarpped everything up again, and called it a day.
The trouble was, it just looked off to me. As Jacob Deva Racusin, one of my natural building instructors, taught me, there are two rules to hack:
- Is it safe?
- Can you live with it?
Using the rafters this way was safe, but I couldn’t live with it. I couldn’t sleep that night. At 3 AM I found myself devising a new plan. And I’ve learned about myself that when I come up with a plan at in the middle of the night I’d better at least give it some good thought in the morning.
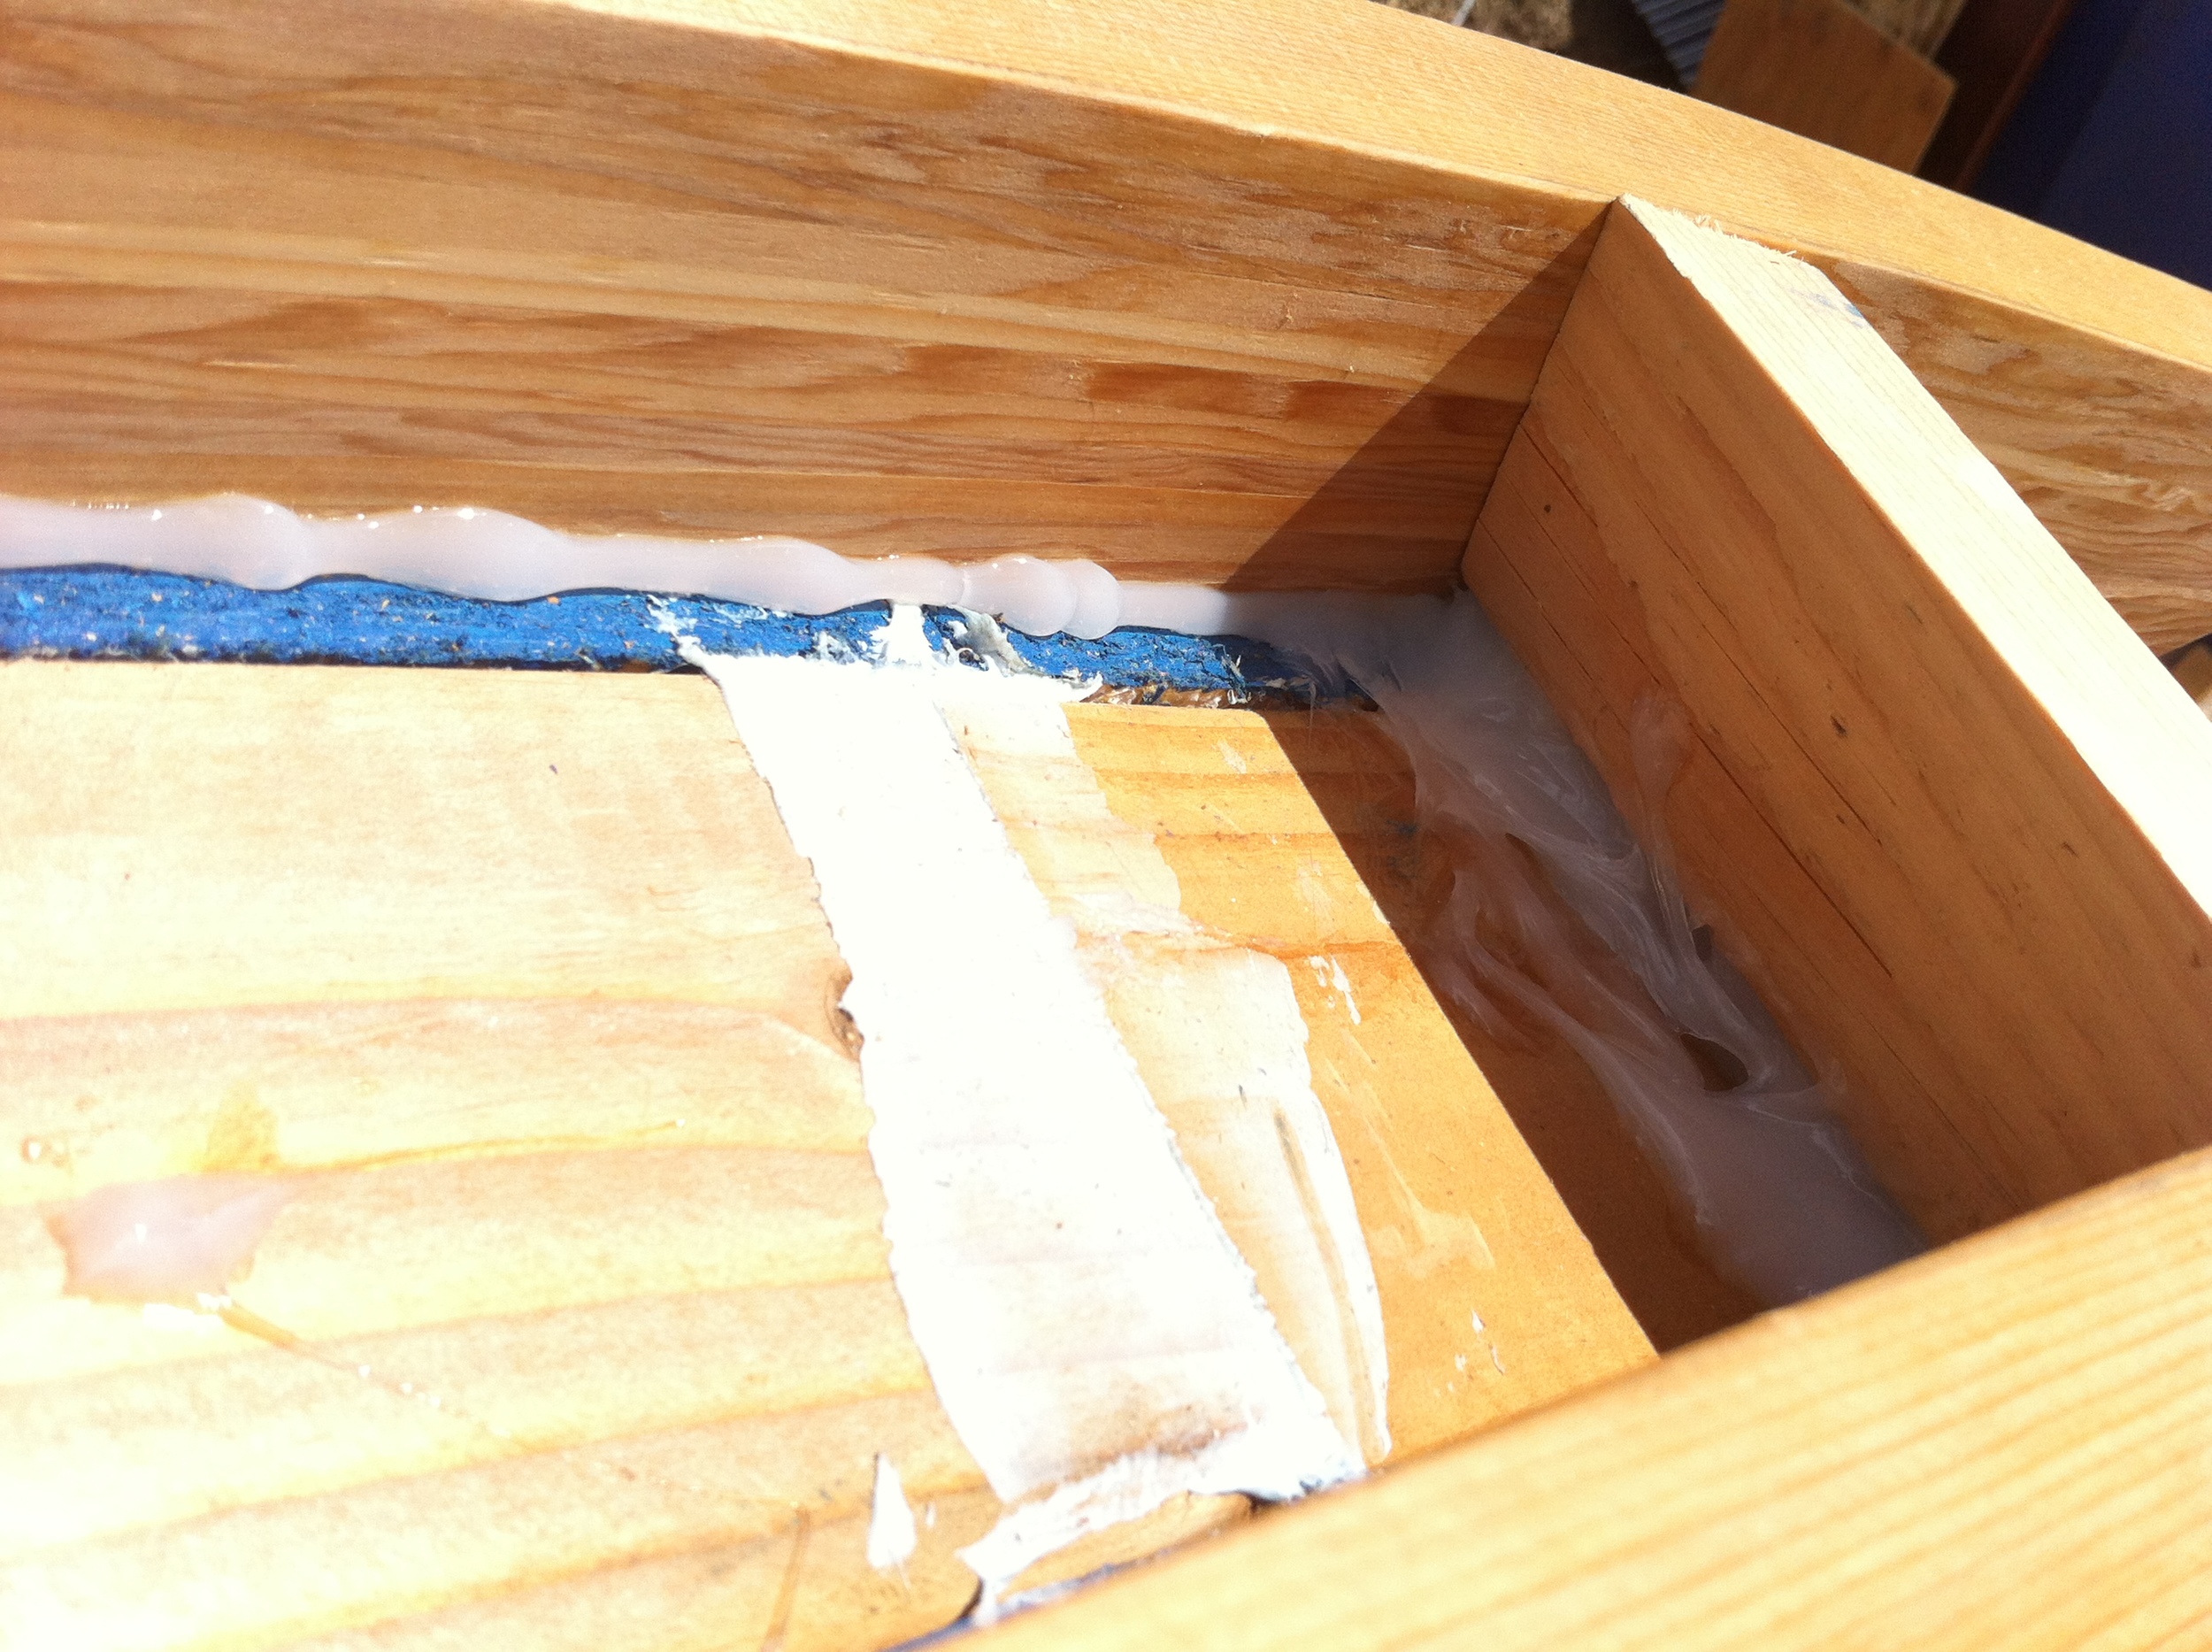
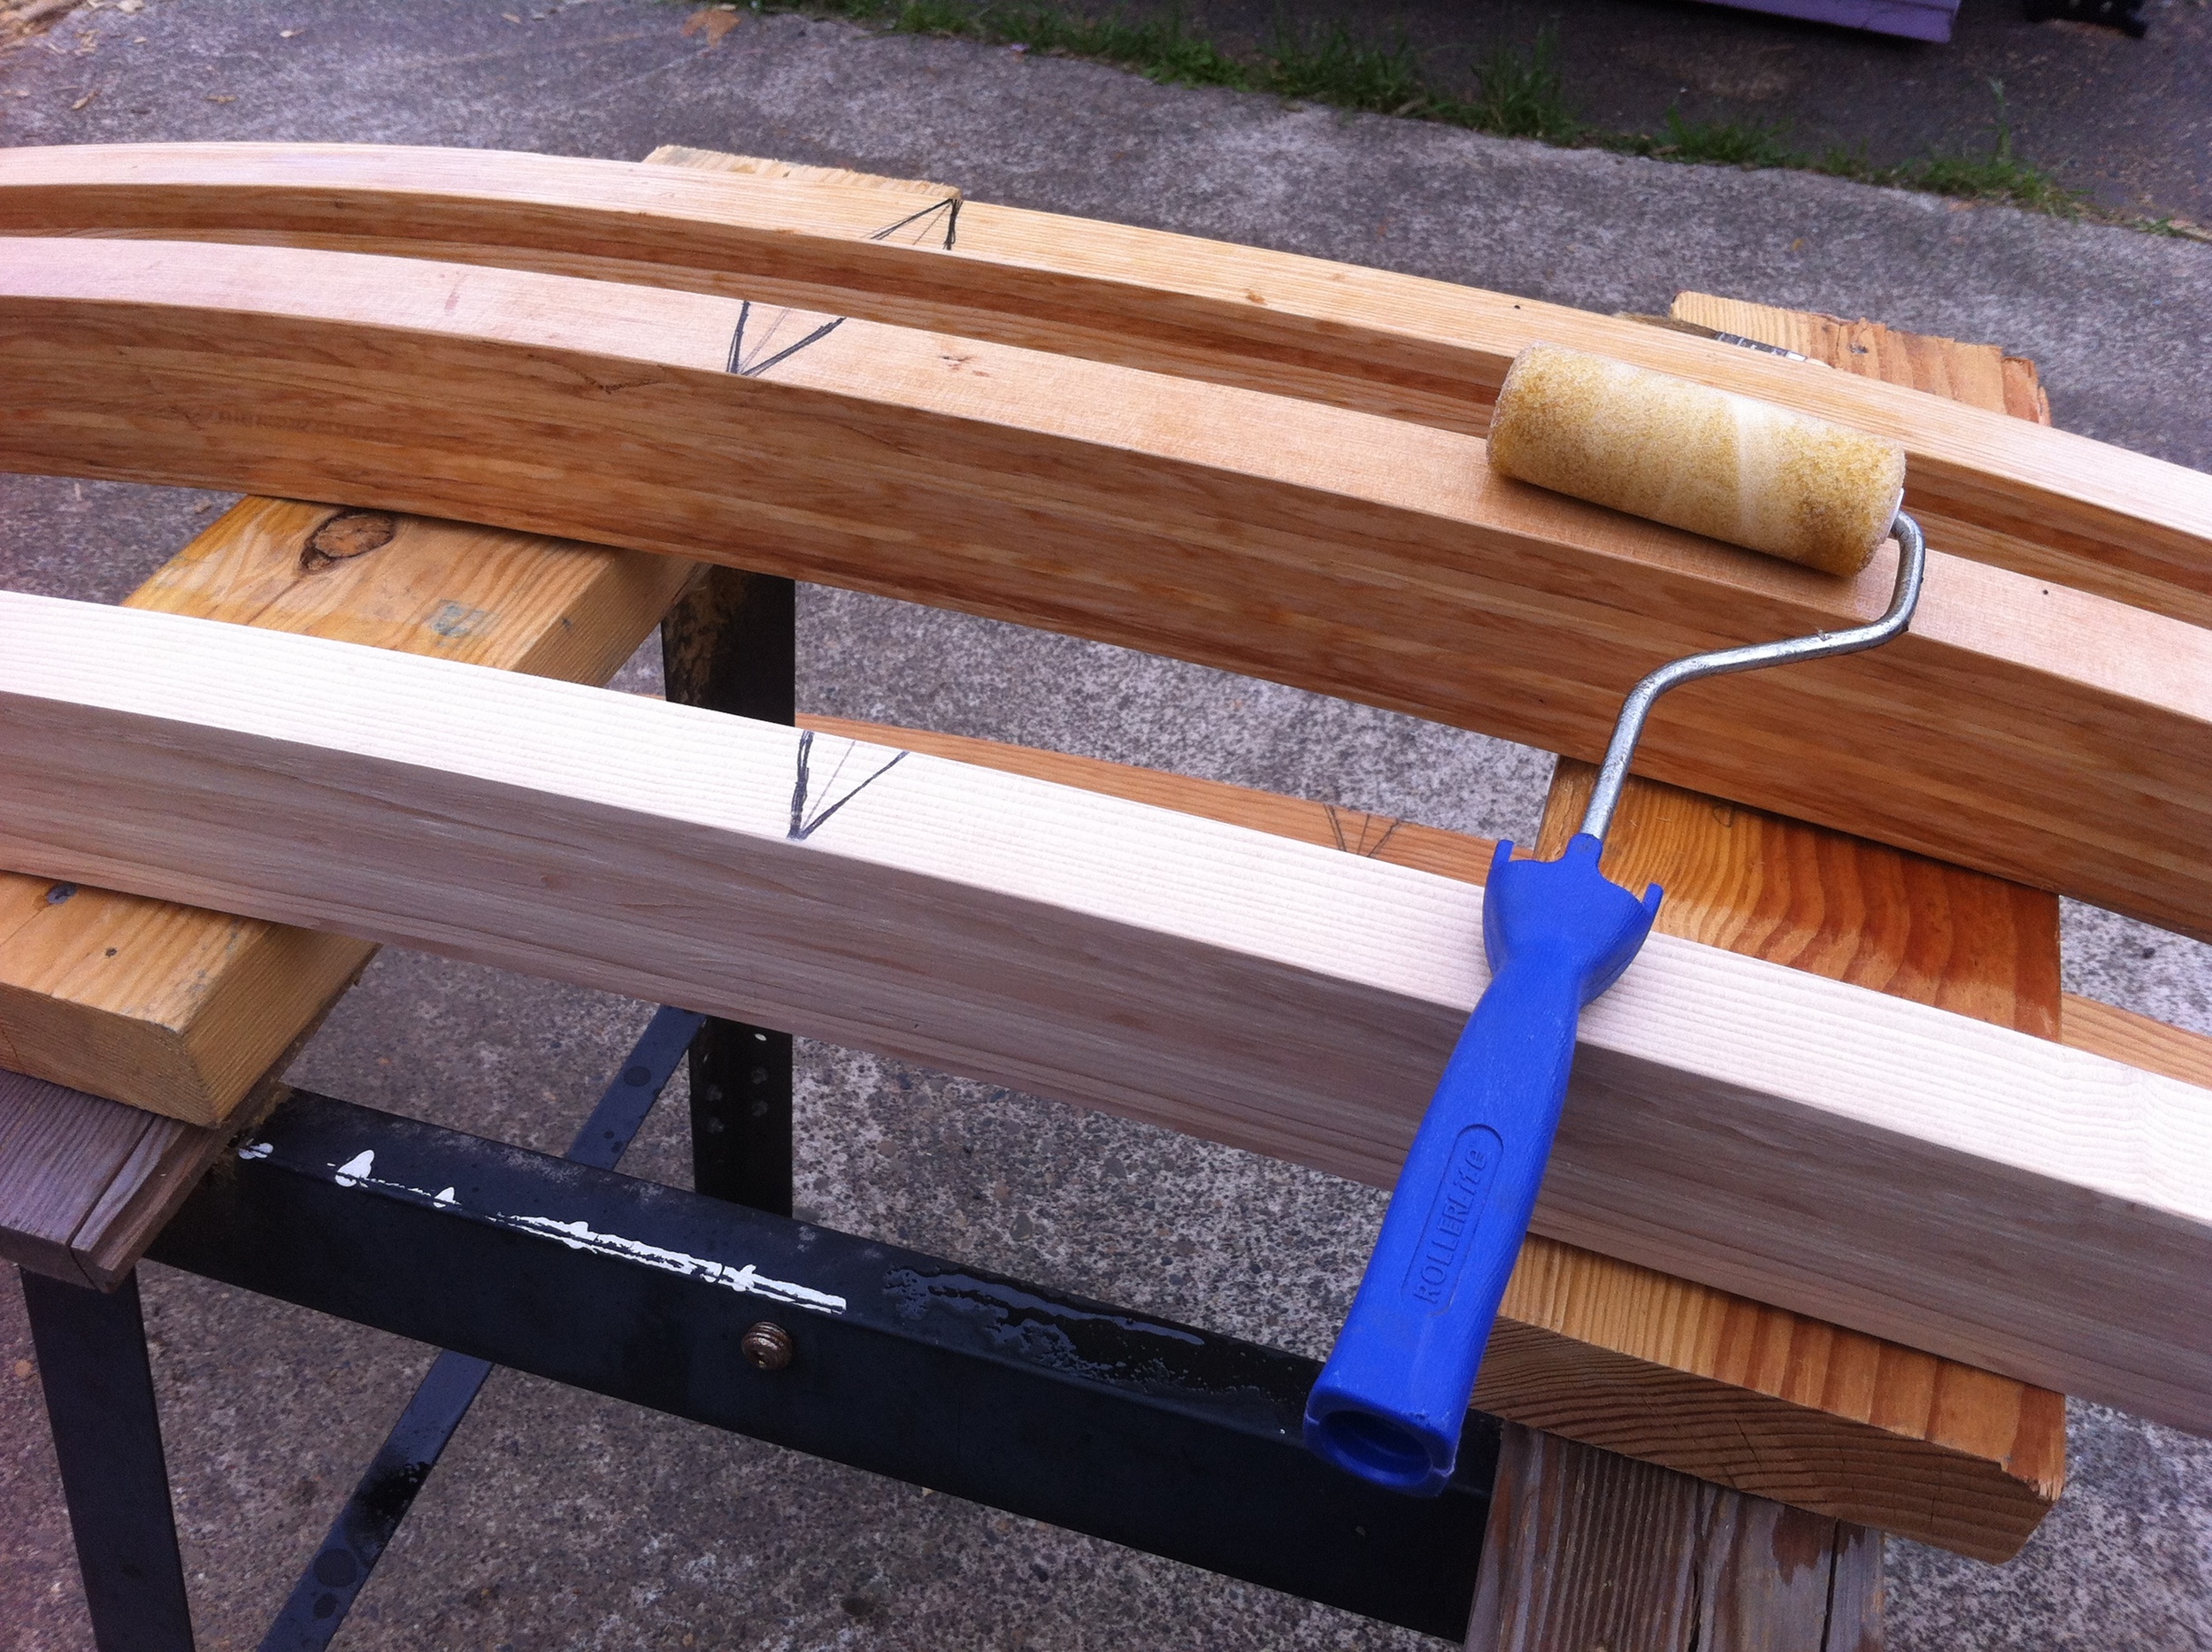
The next morning I decided it was going to be a pain, but it was still a good plan. So a couple days later my friend Willie helped me pick up the rafter jig again from Katy and I ordered 52 strips of 12' long hemlock lathe and built myself four new rafters – one for each side of each end wall.
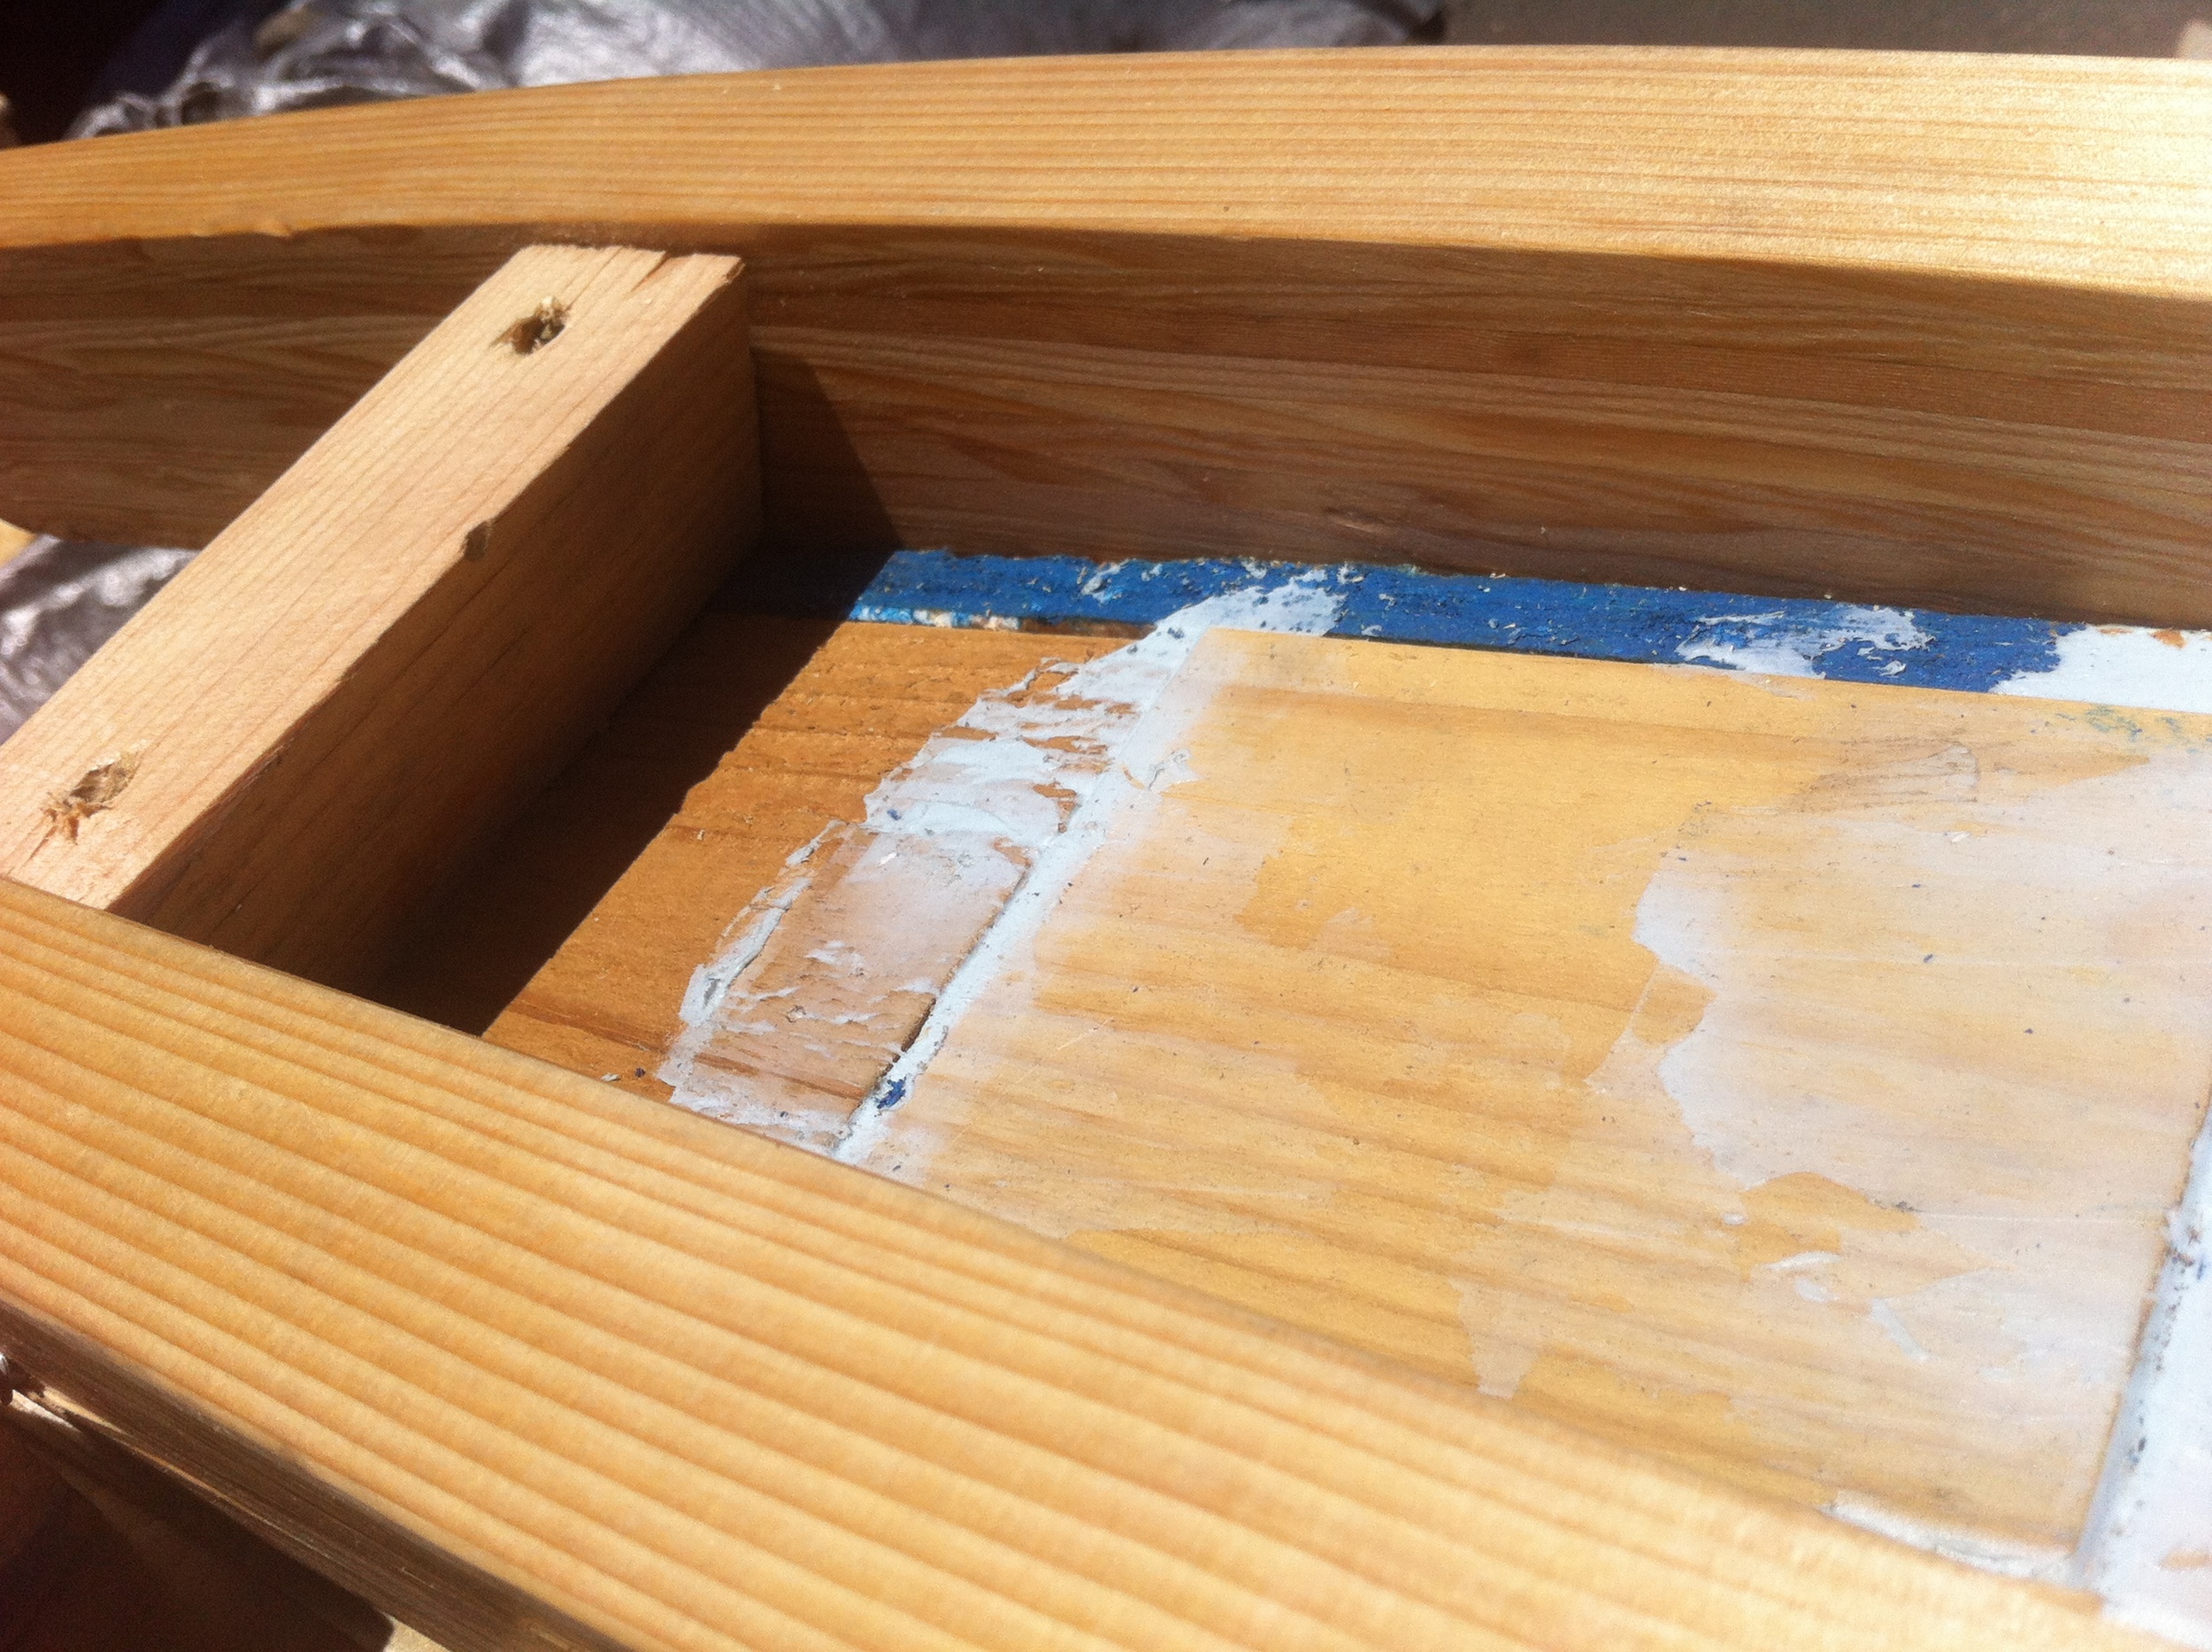
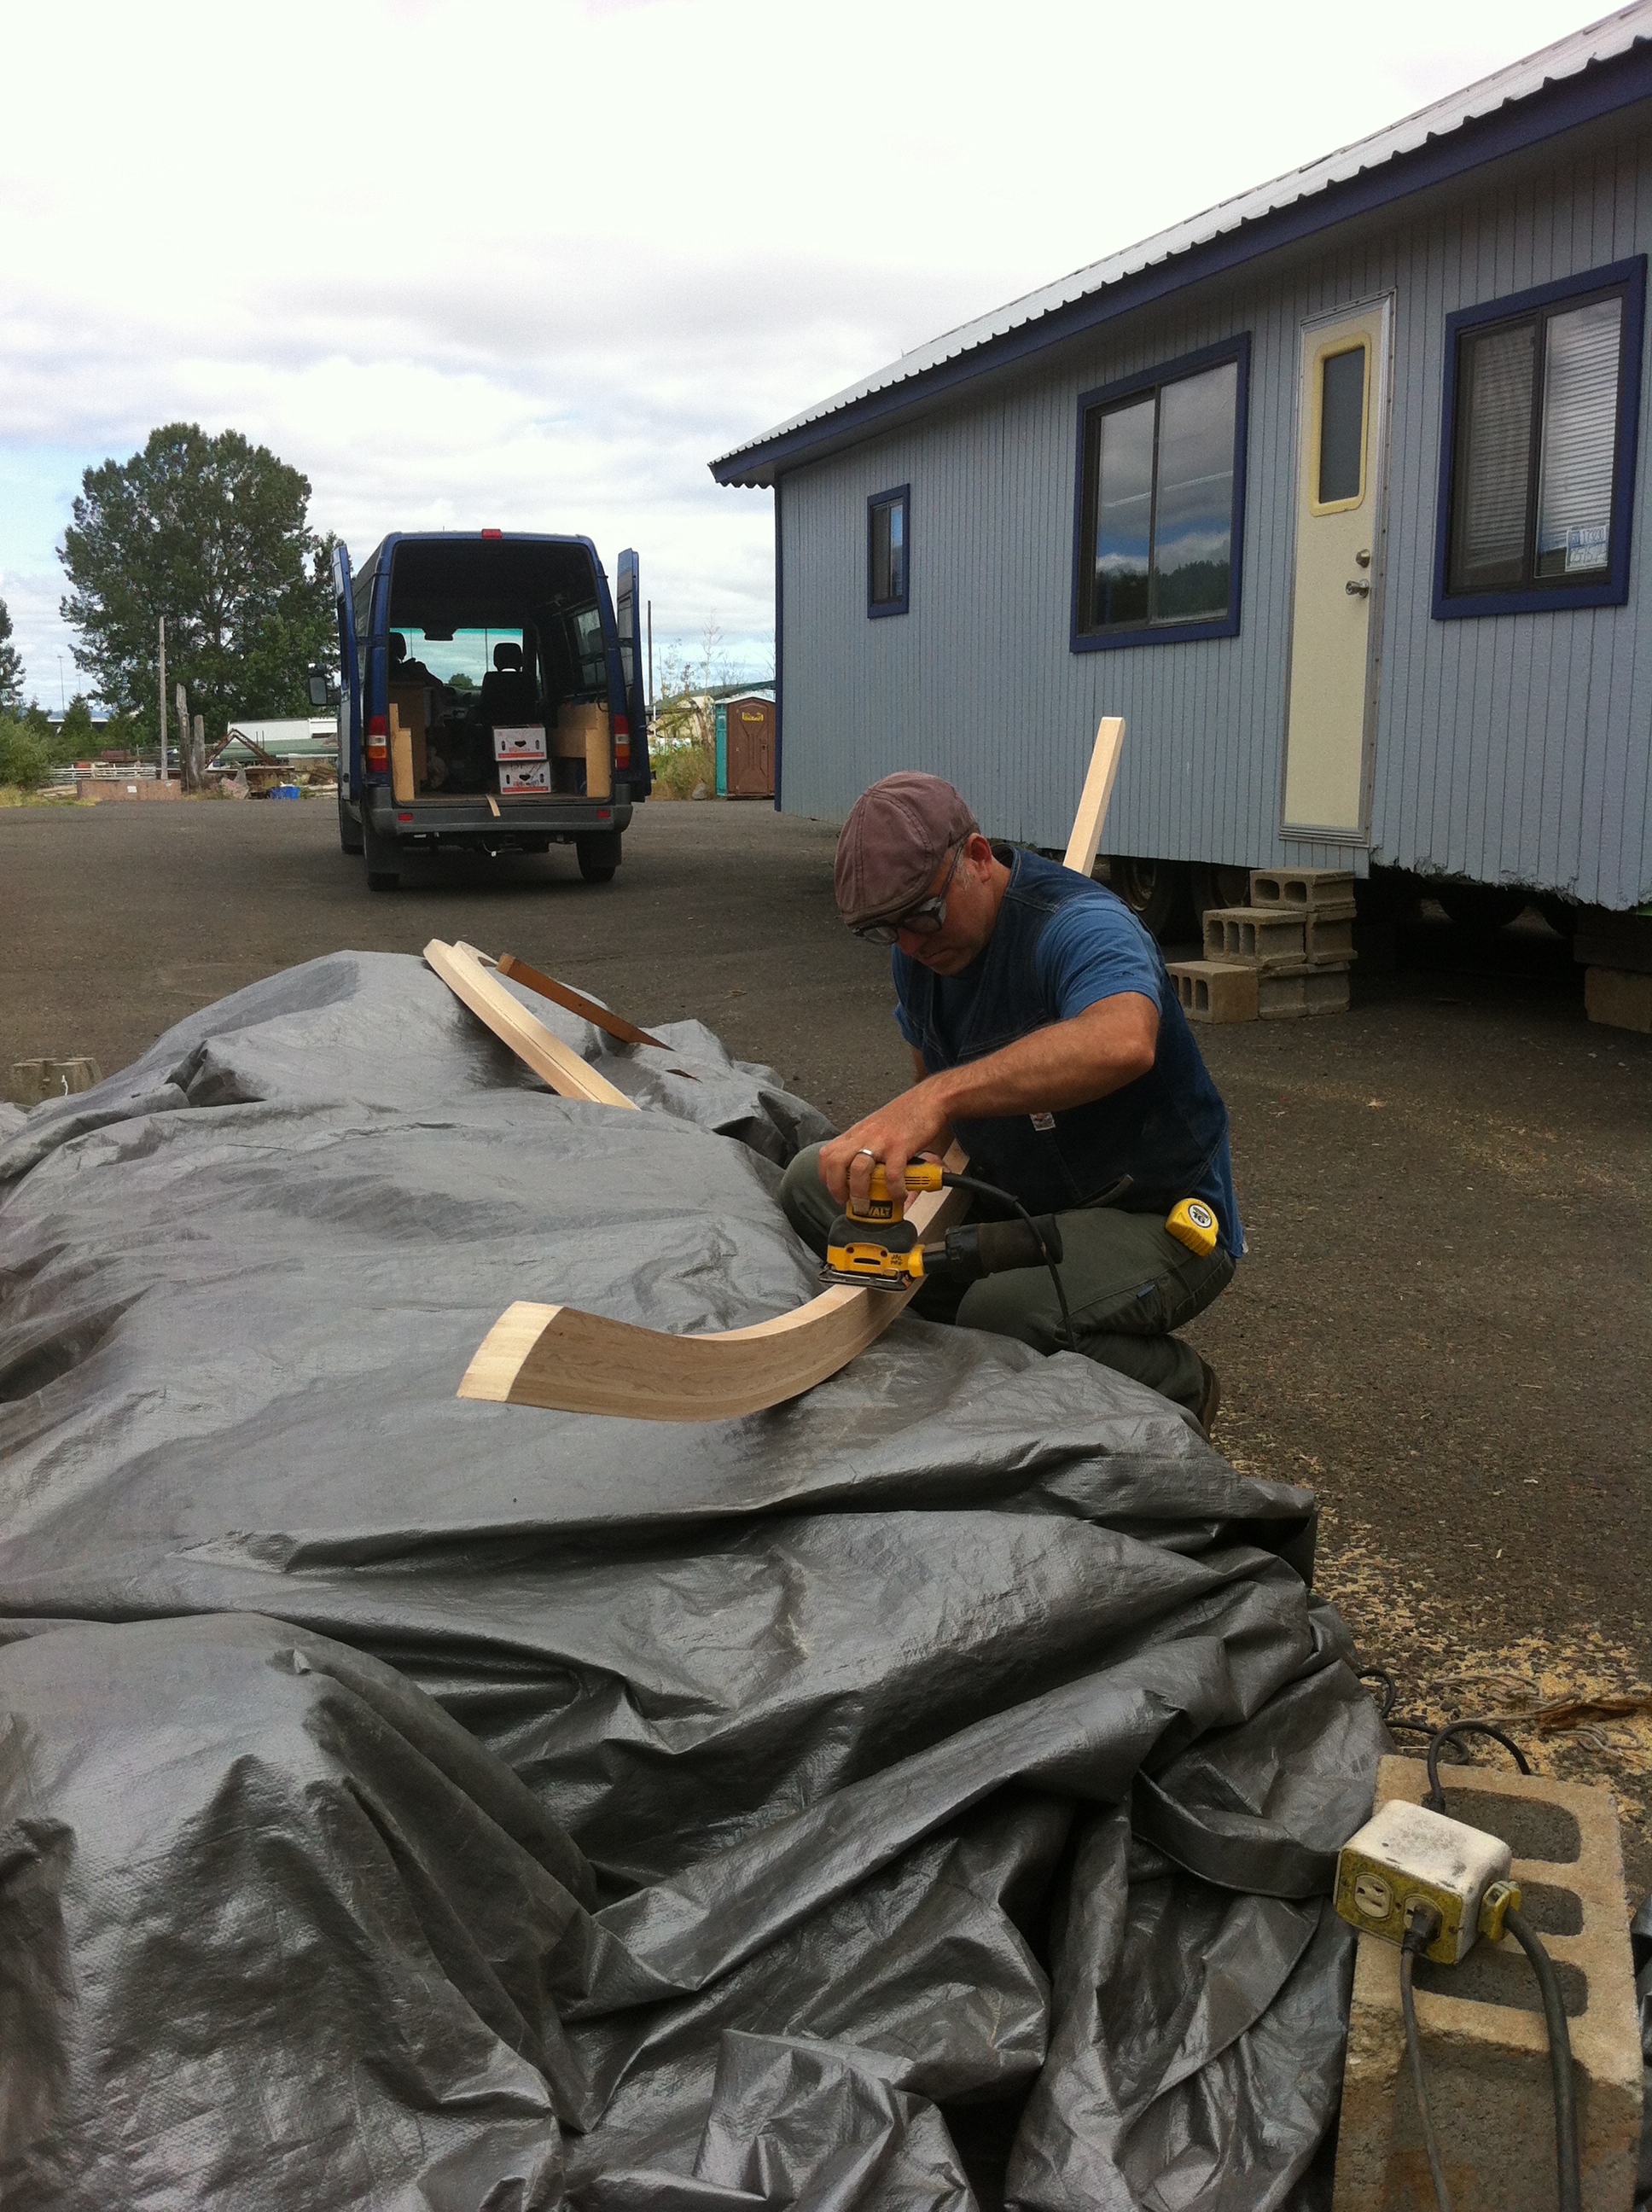
Then I spent the weekend out of state at a family reunion where I got to show off baby pictures of my tiny house (which were, of course, completely upstaged by my nephew who is admittedly way cuter!) Yesterday Eric helped me plane the rafters and Jack arrived just in time to help us sand them. We took a lunch break while waiting for the sealer to dry and then installed the rafters and fixed the blocking.
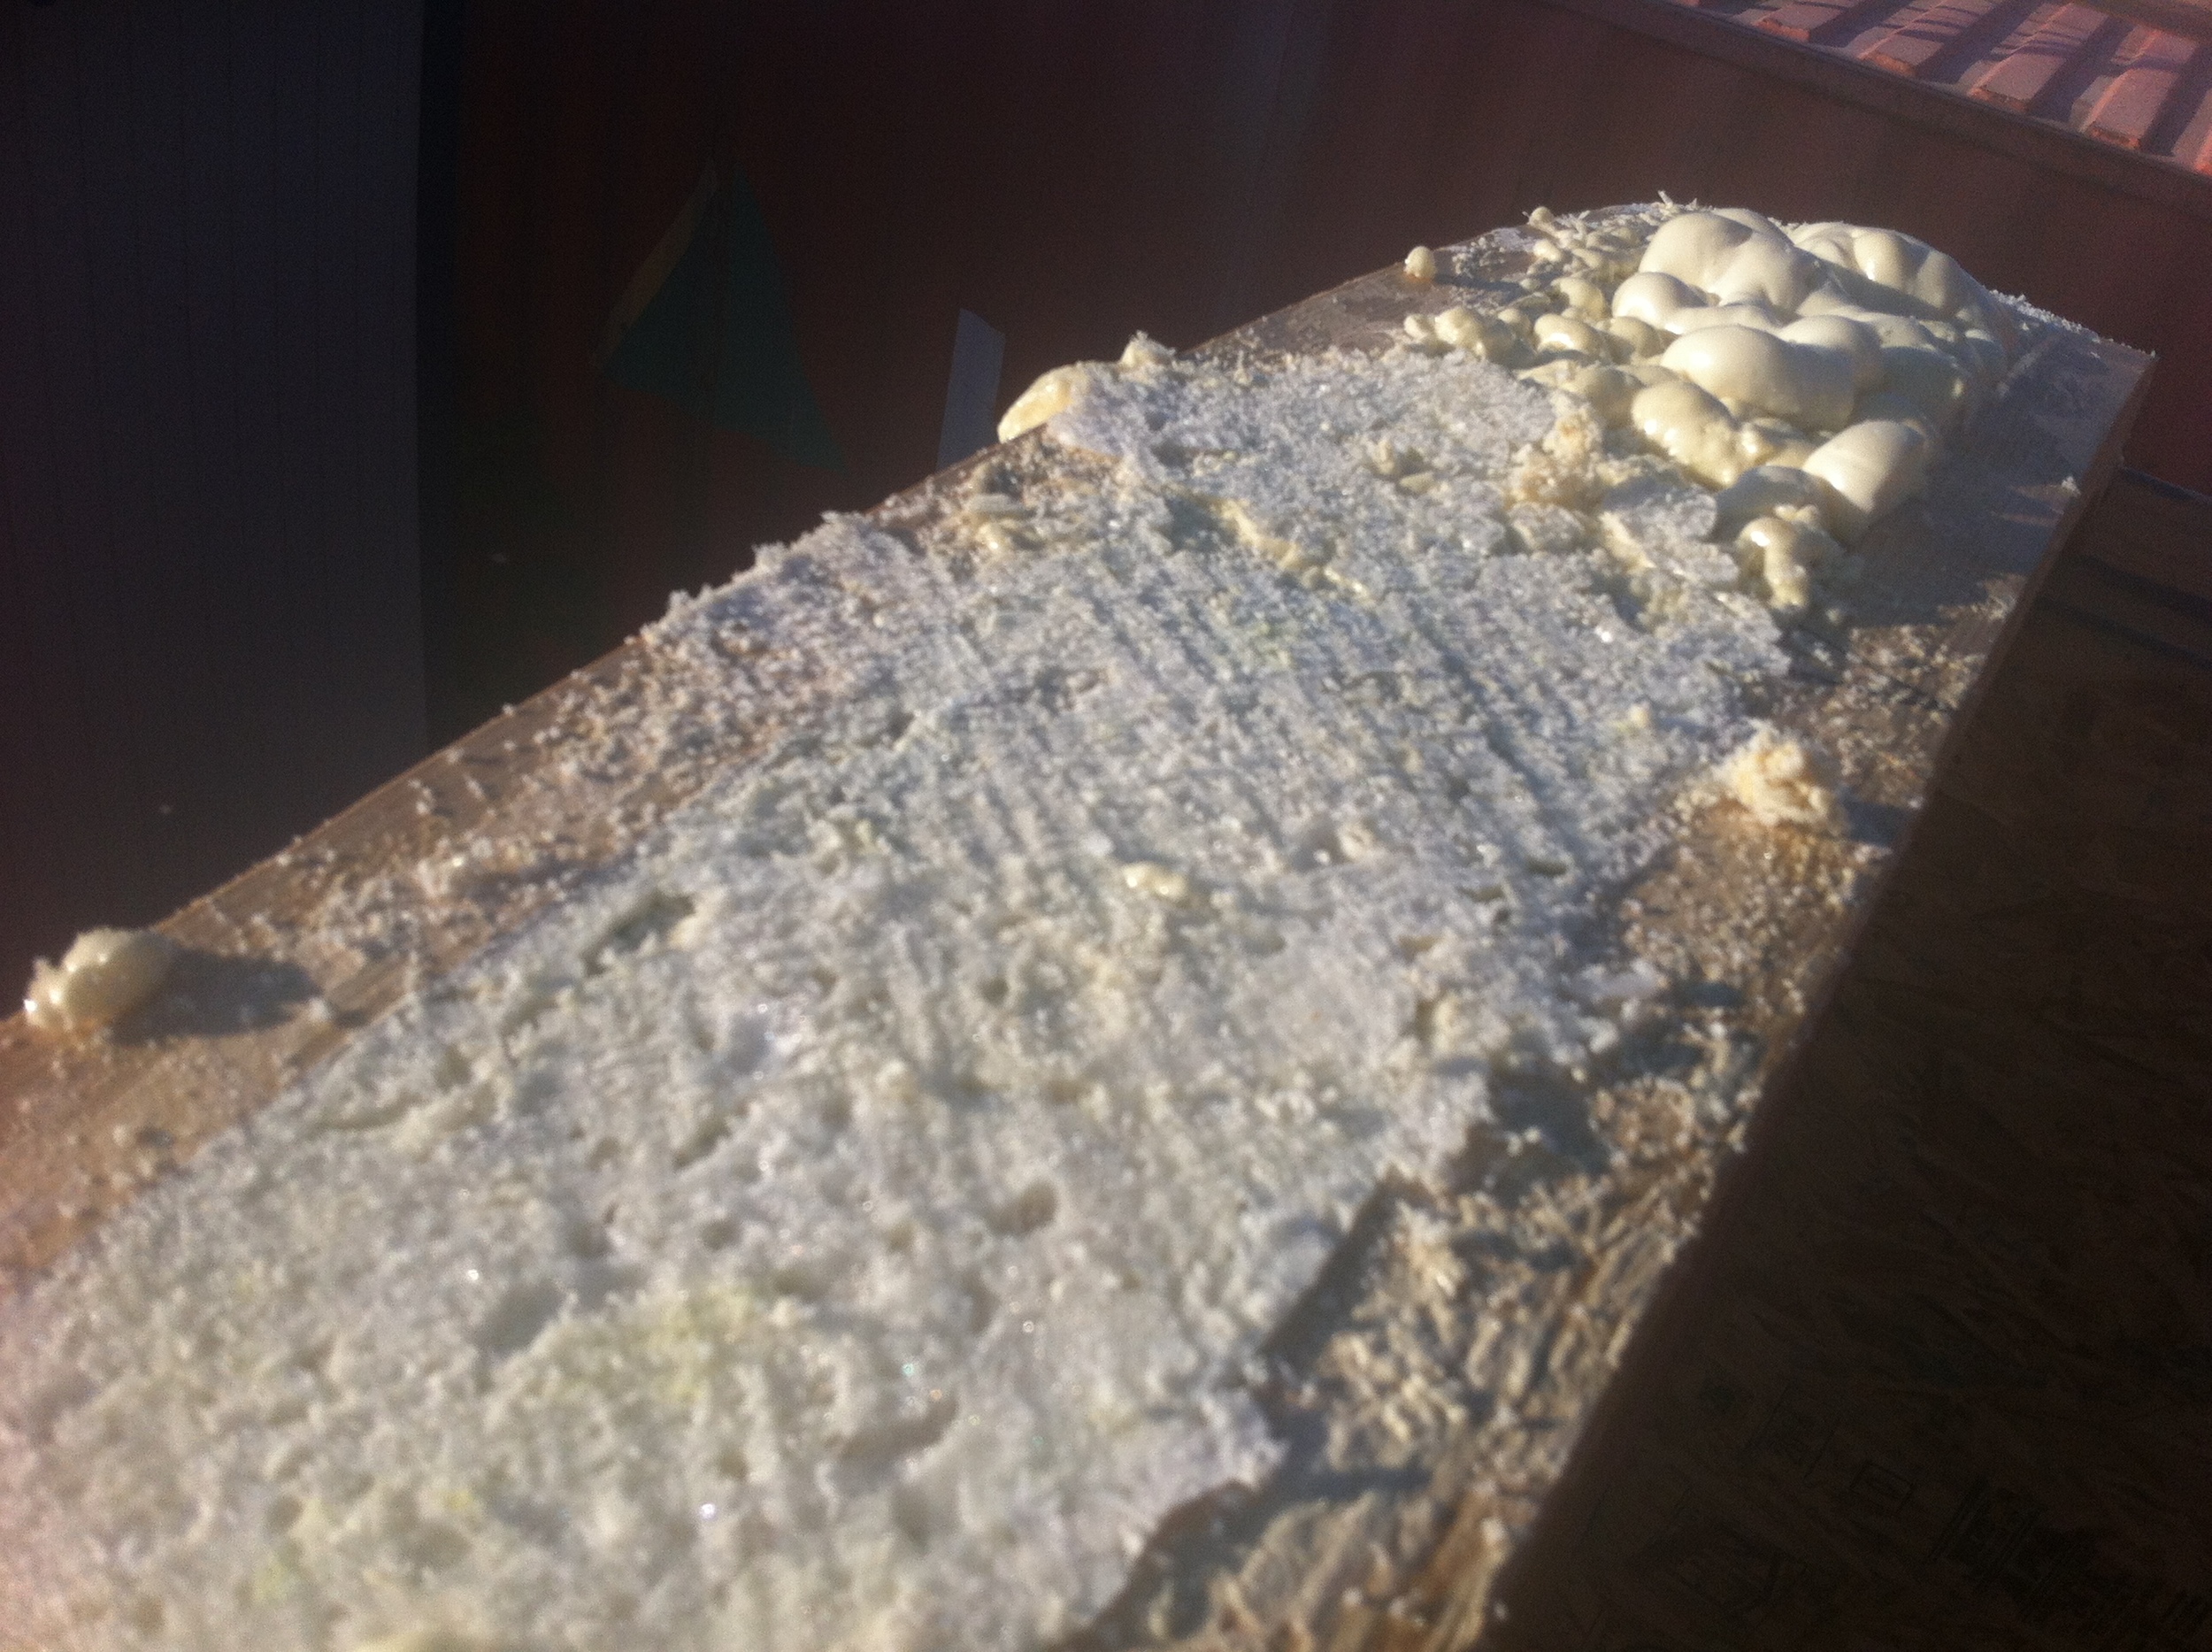
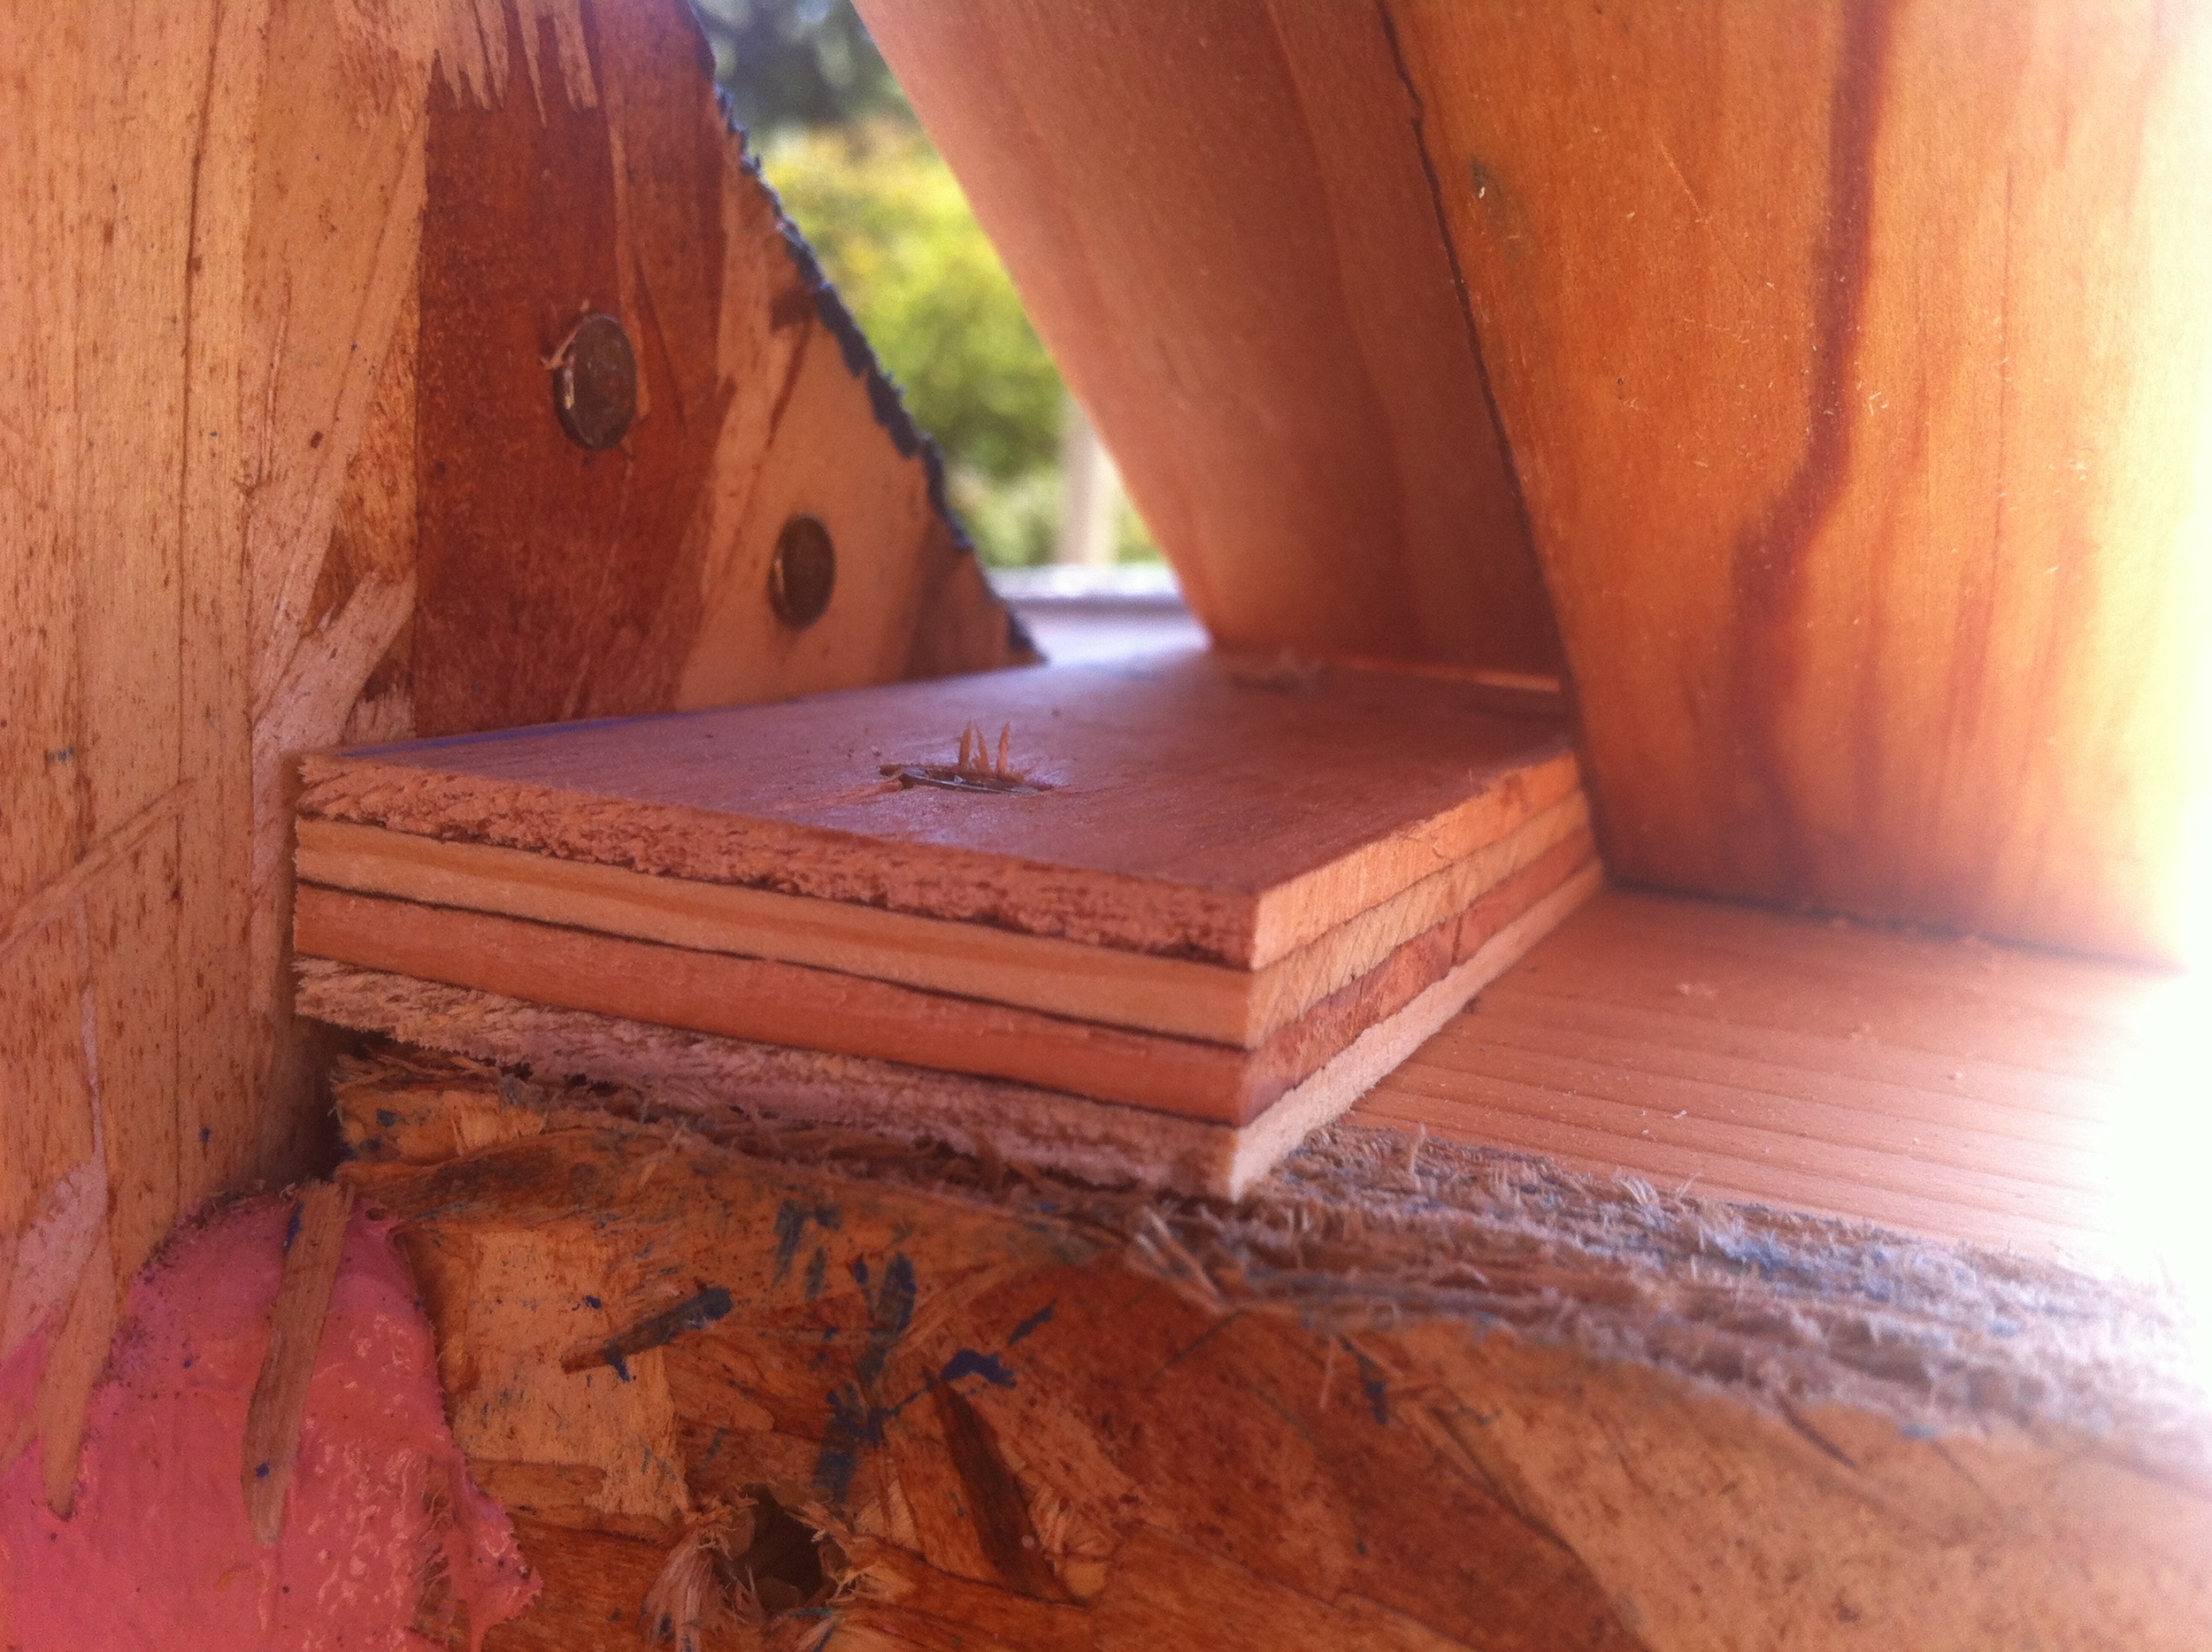
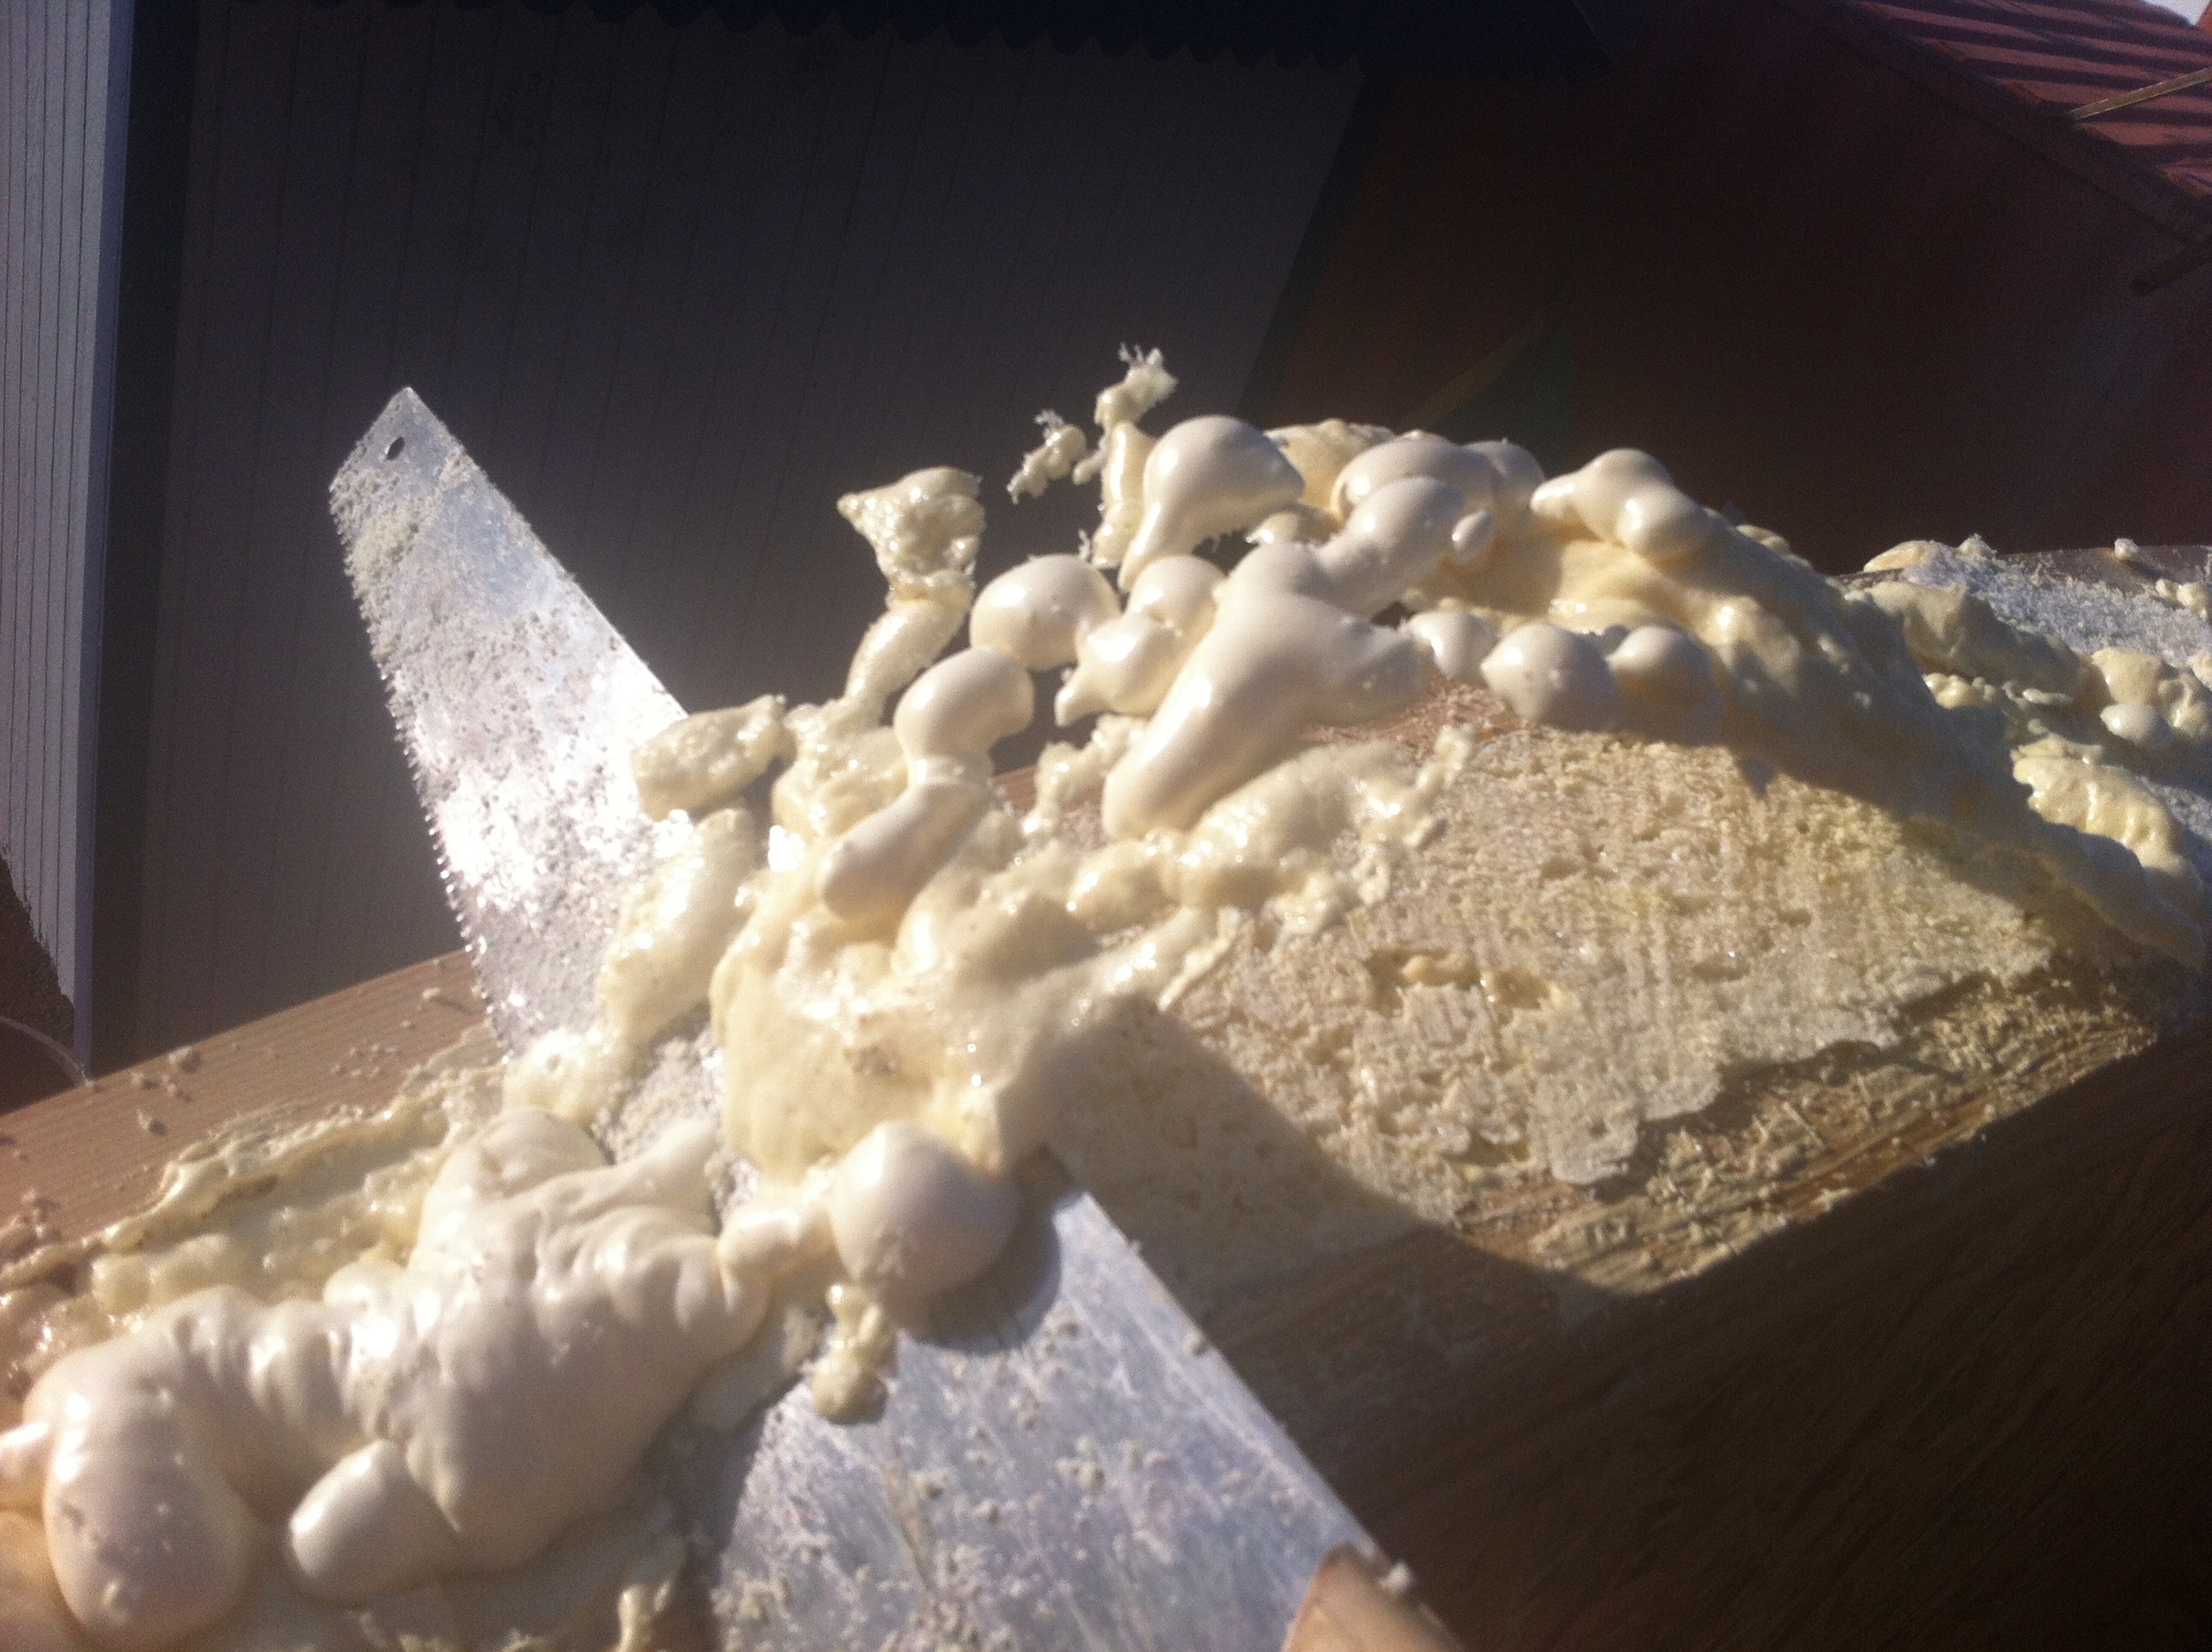
I filled the gap between the new end wall rafters with spray foam and got myself good and sticky as I always seem to do when attempting to make Great Stuff go where I want it to. The trick here is to just let the foam do its thing and then shave away the excess with an old saw once it’s hardened.
We wanted to get the bead board up, too, but the staples I’d picked up weren’t long enough to hold the bead board into the rafters on that curve. So we set the bead board aside (again!) and tarpped the roof up.
I plan to have work parties again this weekend with the assistance of more Tiny House Helpers. Hopefully we’ll be Building My Roofbox on Saturday and Sunday. Stay tuned!

