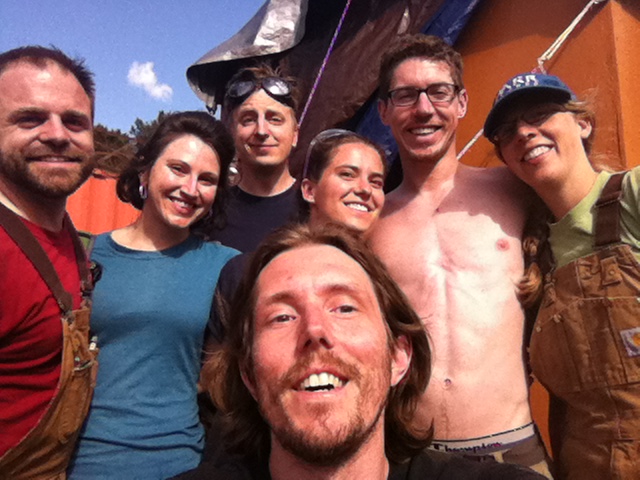
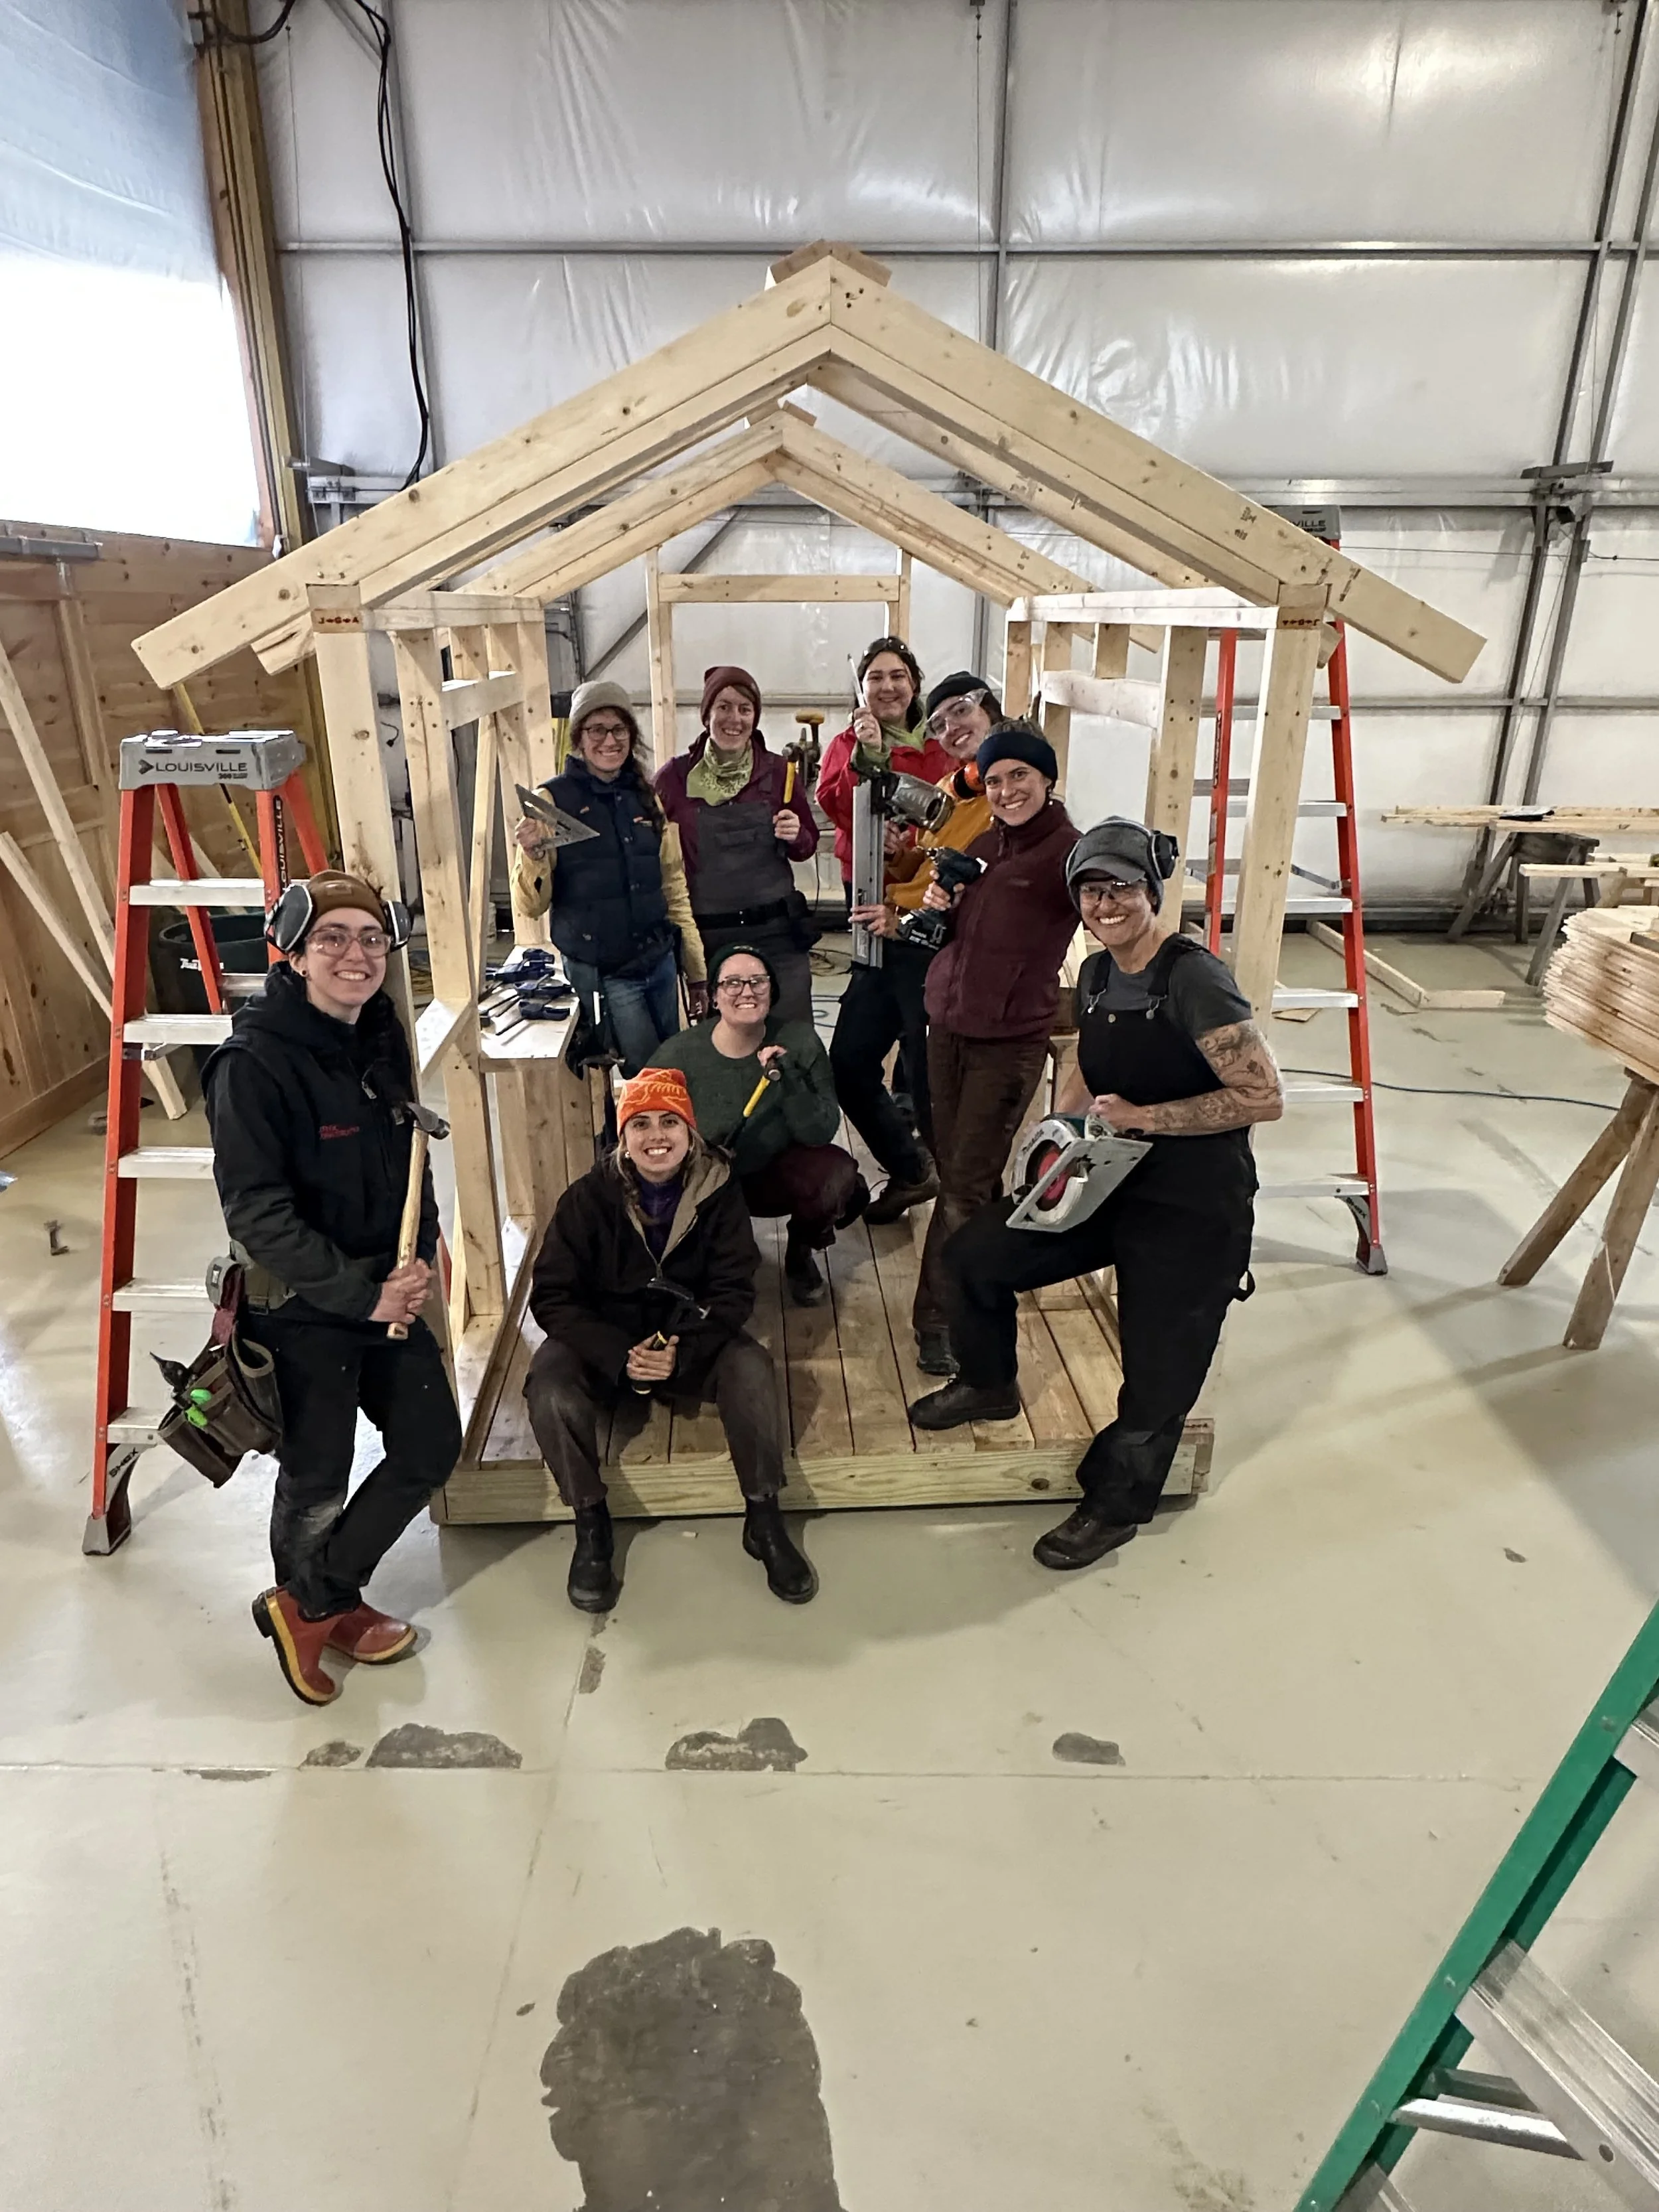
 I am grateful to all the Tiny House Helpers who spent their Memorial Day weekend giving shape to the Lucky Penny. Special thanks to Angela Ramseyer of Mighty Micro Built who made the trip down from Whidbey Island to be my right-hand-woman for the weekend, Chris Robison who spent three whole days helping, and to Randy, Tony, Audrey and Tomas who committed two days of their holiday weekend. My tiny house on wheels is well on its way!
My SIPs Wall Raising was on Friday. On Saturday we applied My Tiny House Air Barrier and put up one of the walls of my build buddy Laura’s tiny house. Yesterday we raised the rafters for the Lucky Penny and raised another of Laura’s walls. Today we put the skylight box into place and prepped the beadboard sheets for installation.
I knew that Sunday would require some noodling as we figured out the spot for the birdsmouths, the scribing for the skylight box, and the spacing of the rafters (since they couldn’t be quite even). My roof is fairly complex because I have both curved rafters and skylights. Fortunately, I had lots of help and plenty of sounding boards. Everyone played a role in getting my roof overhead.
On Sunday Aline finished up the spot sanding on the rafters to remove scuffmarks and Randy and Anita sealed the rafters with a clear sealer. (I’d already sanded and sealed the rafters, but they were jostled around enough between then and now that they needed a little more TLC.) Angela scribed the rafter curve onto the skylight box and made the cuts with a jigsaw. Tony and I worked together to figure out the placement of the birdsmouths and to map out the rafter layout on the top plate. Tony and Angela, who have both built themselves tiny houses on wheels, were a great help as I figured out how to take the ideas that were in my head and my sketch book and manifest them in three dimensions in the real world.
We had just put the rafters up when the wind and rain kicked up and we realized we would be rained out. So we threw the tarp over the top of the Lucky Penny and secured it down all around. Aline and Tony buzzed up to the Ace Hardware in St. John’s to pick up four more tarps to cover my door and windows. Once we’d battened down the hatches we headed to Proper Eats where a few other tiny housers joined us for dinner. It was a very celebratory atmosphere, especially because amongst us there are three tiny houses in the works and several of the other tiny houses have recently found great parking spots!
Today Tony, Chris, and I secured My Arched Rafters into place with Timbertite screws. This involved drilling a pilot hole followed by a larger hole to countersink the screw head. Supposedly we didn't need to predrill but enough of us had put time into the rafters by this point we wanted to be careful with them! We ratcheted the Timbertite into place with an impact driver fitted with a 5/16" hex head. Once the rafters were secure, Miles, Matthew, and Rebecca helped hoist the skylight box into place. Fortunately, Angela did a great job with her scribing and cutting so the skylight box lined up nicely with the rafters that were placed to support it. We secured the skylight box into the rafters with more Timbertites.
Meanwhile, Matthew and Rebecca worked on reversing the swing of My Arched Door and Audrey and Tomas put a layer of sealer on the beadboard sheets. I’d considered using true beadboard the way Katy Anderson does for her vardos, but the sheet good seemed like it would be quick and lightweight. We had started to put the beadboard in place when I realized that the staples weren’t holding well enough. I wanted to keep working, but I decided it would be best to tarp everything up well and call it a day. Or rather, call it a couple weeks. I’m going to have to let the Lucky Penny sit for a couple weekends because I’ll be out of town and leading a Guided Tour for Portland’s ADU Tour.
Fortunately, I already have some Tiny House Helpers lined up for the weekend of June 14-15 and a couple more for the weekend of June 20-21. If you’d like to join in on the fun, please contact me. If you can’t make it out to help, but you’d like to Support the Lucky Penny, you can contribute via The Lucky Penny Wish List or send me notes of encouragement on Facebook. Thanks everyone!
P.S. Lots more photos to come!


