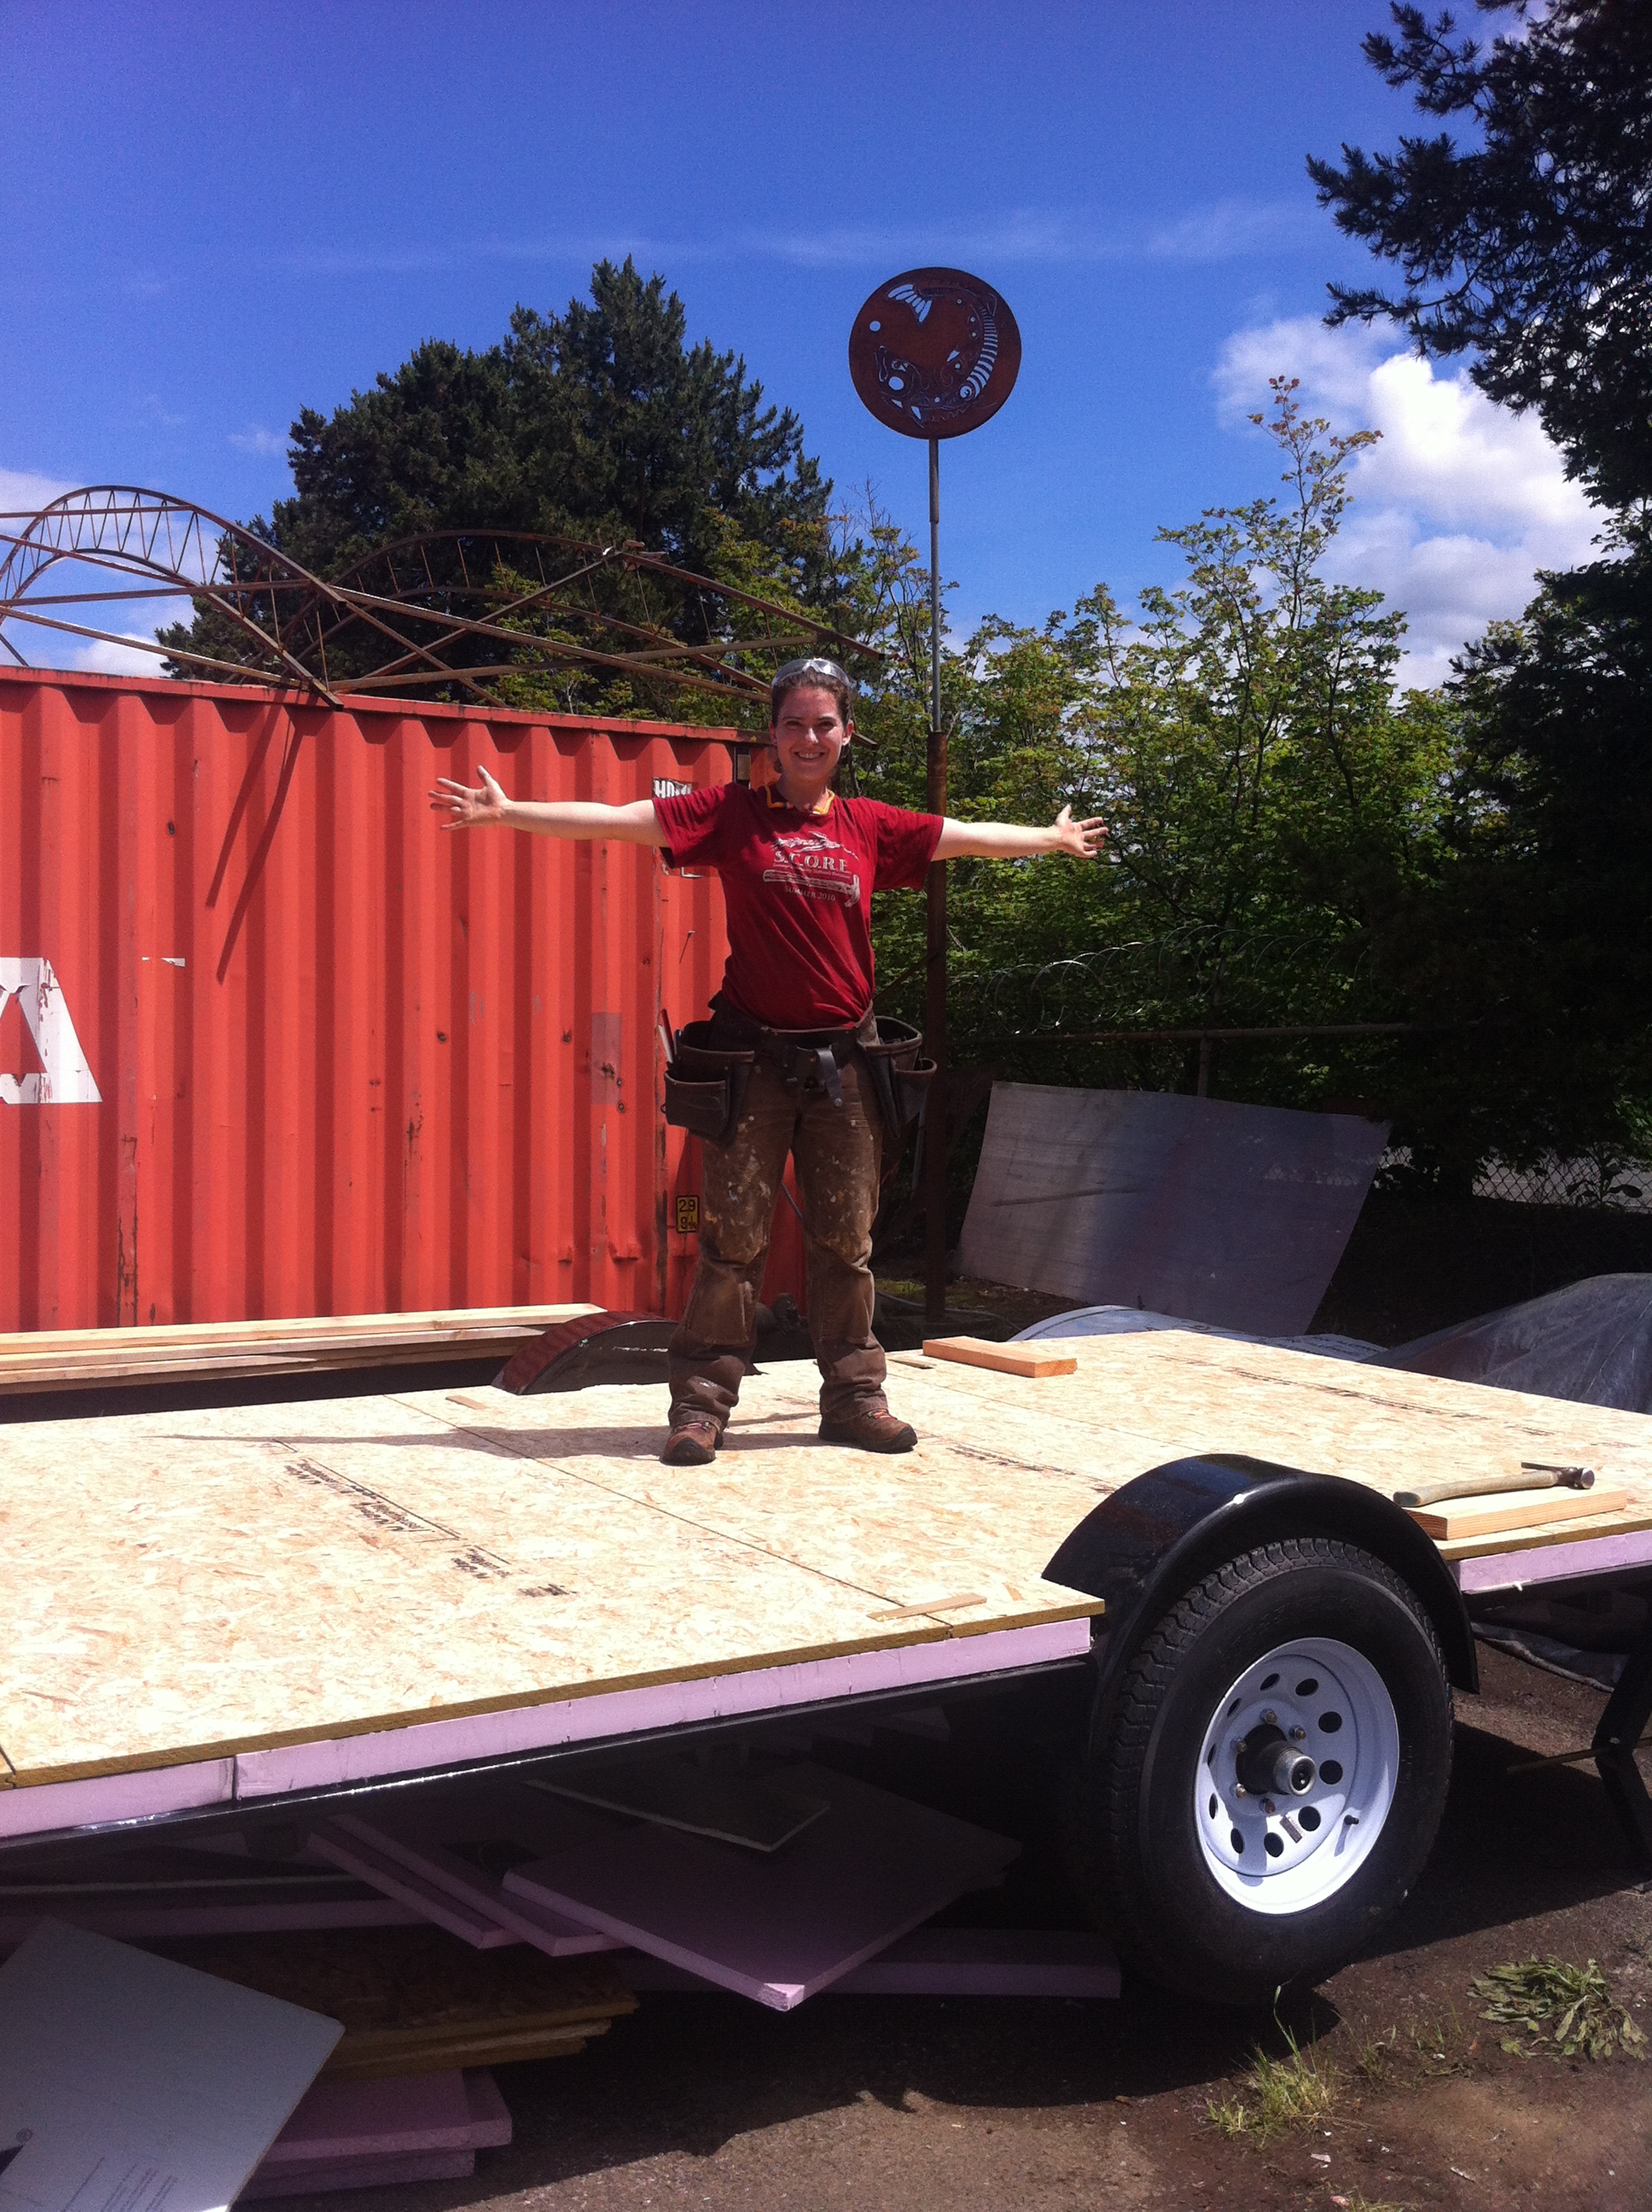
My Tiny House Build Began on Friday last week when friends helped me pick up My Custom Vardo Trailer and work on my floorbox. I wasn’t able to finish the floorbox that day because I couldn’t source the ½” rigid foam I needed, but I managed to have plenty of Floorbox Lessons Learned anyhow.
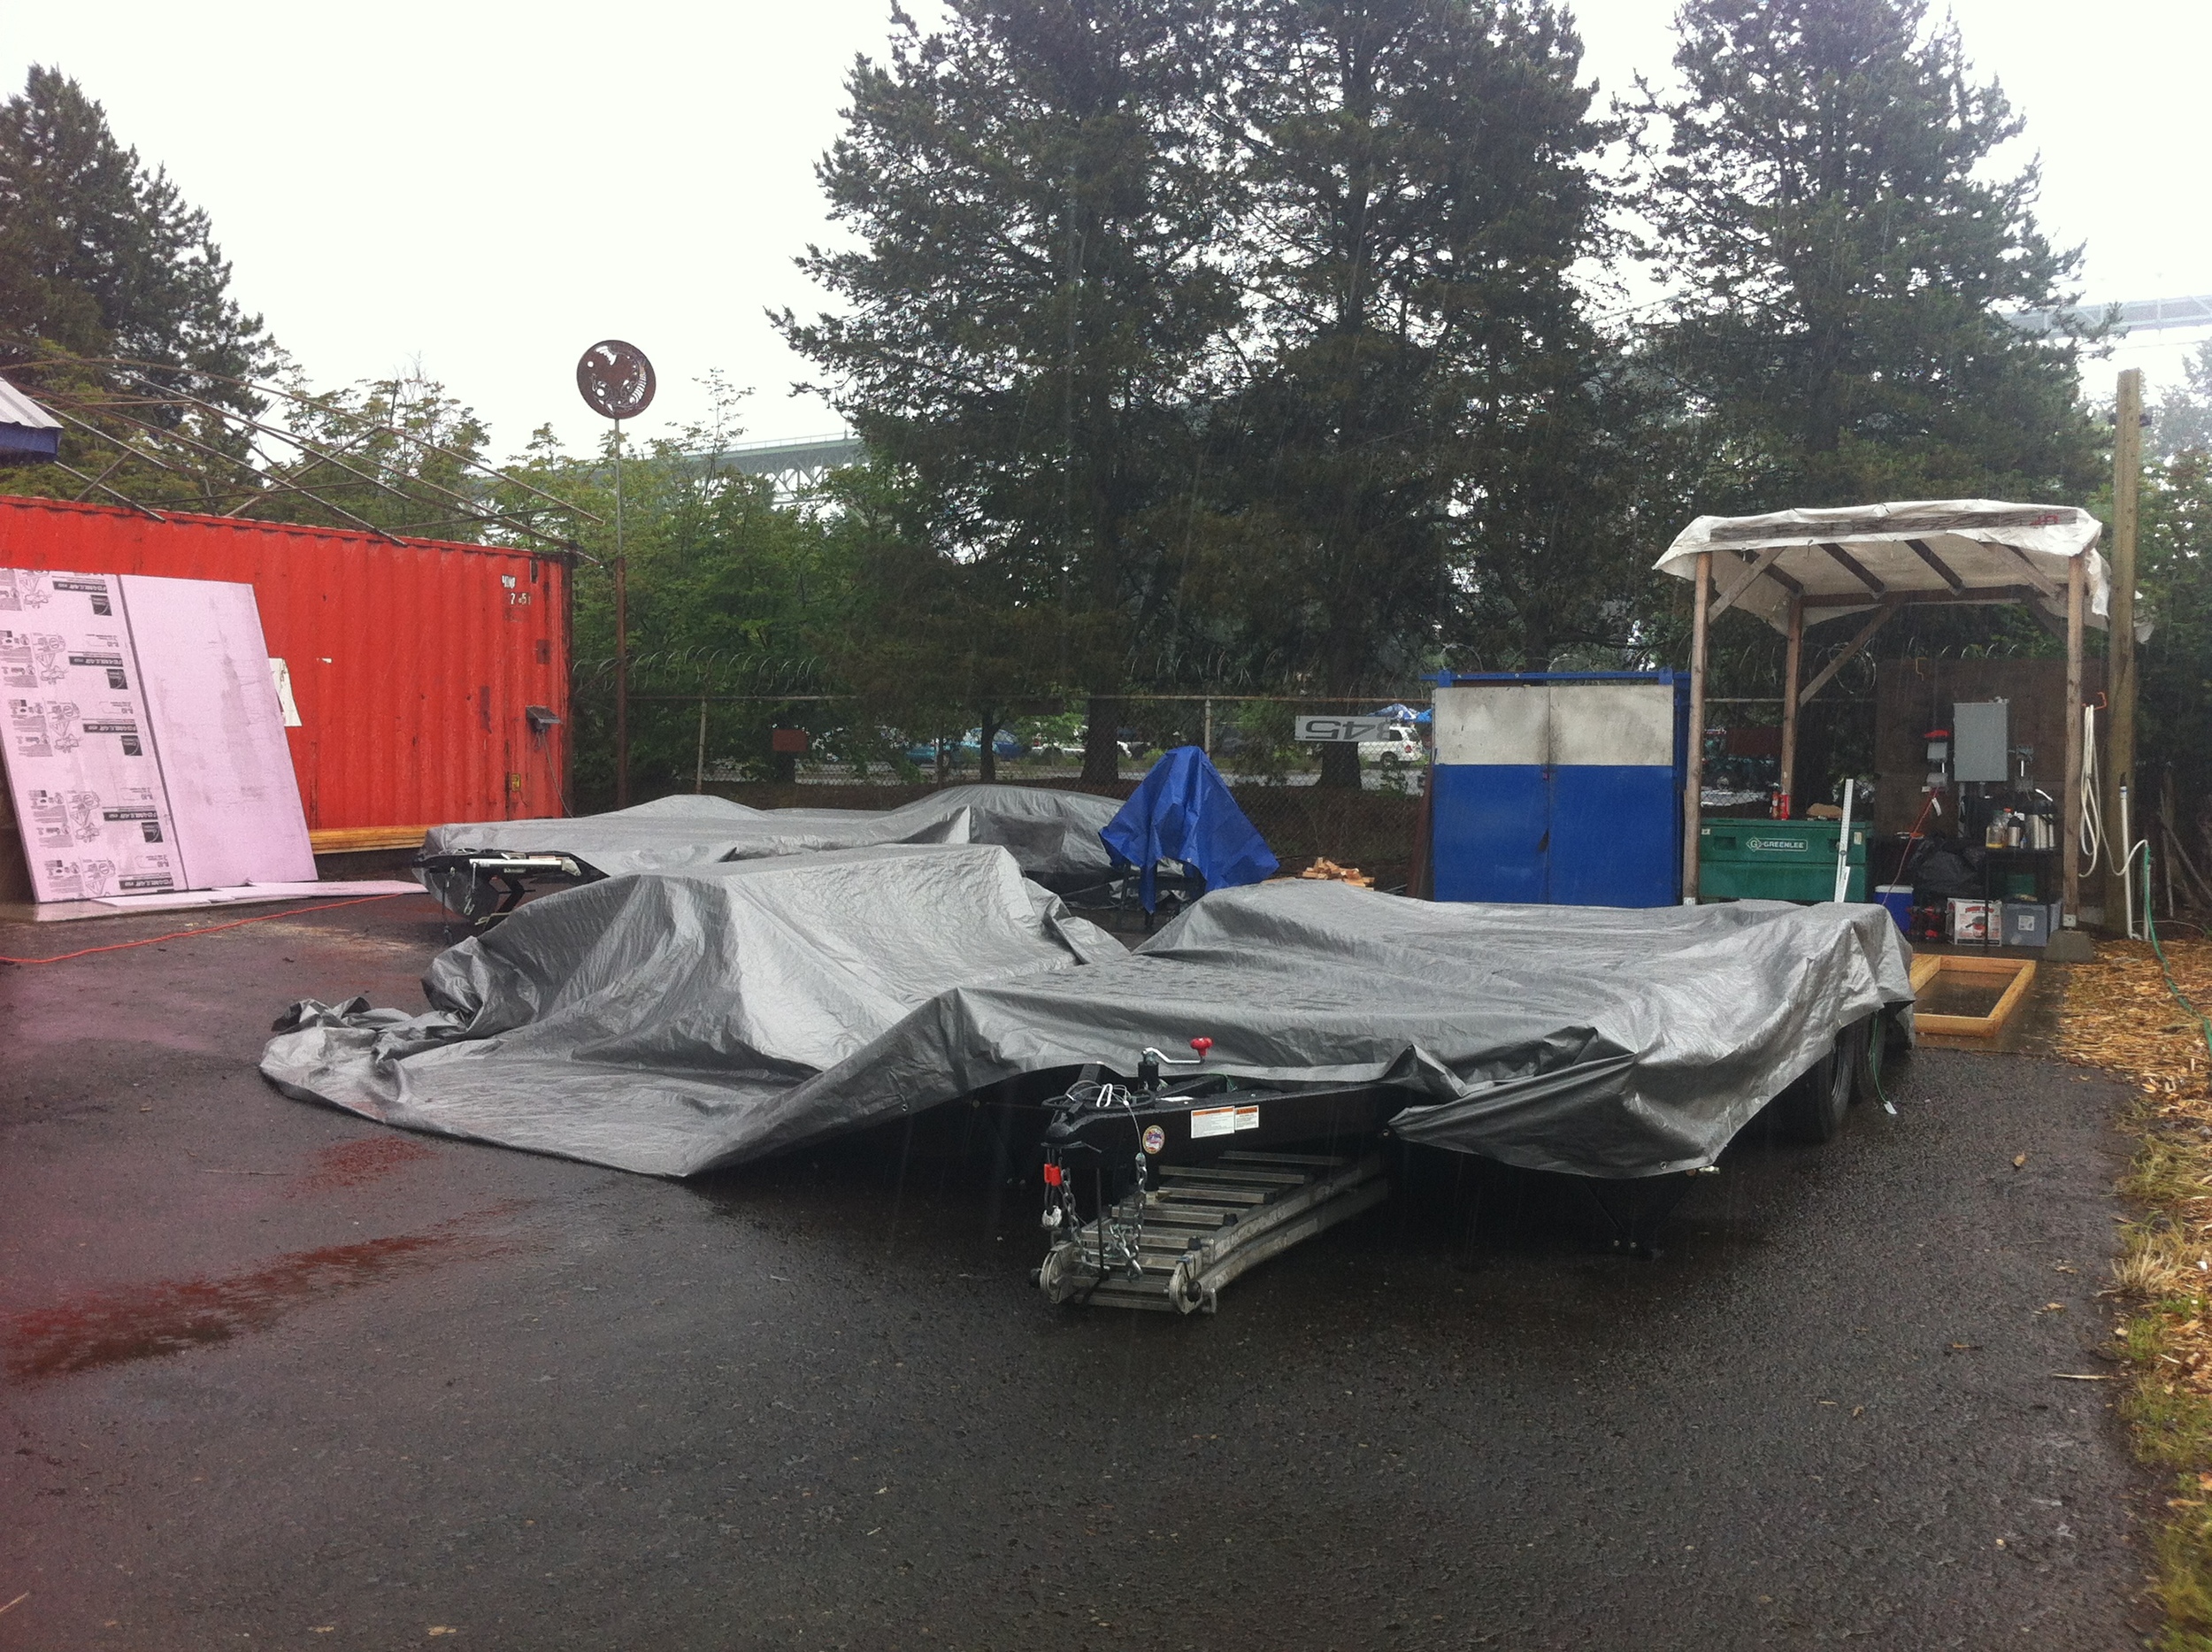
Over the weekend I helped my build buddy Laura with her floorbox and wall framing. Sunday was a crazy-rainy day so Laura, Jeff, Logan, and I snuck in moments of foam layering for my floorbox during the collective 30 minutes or so when it was dry enough. We worked on Laura’s framing during the mist, the drizzles, and the showers. We hunkered down in her car during the pure downpours.
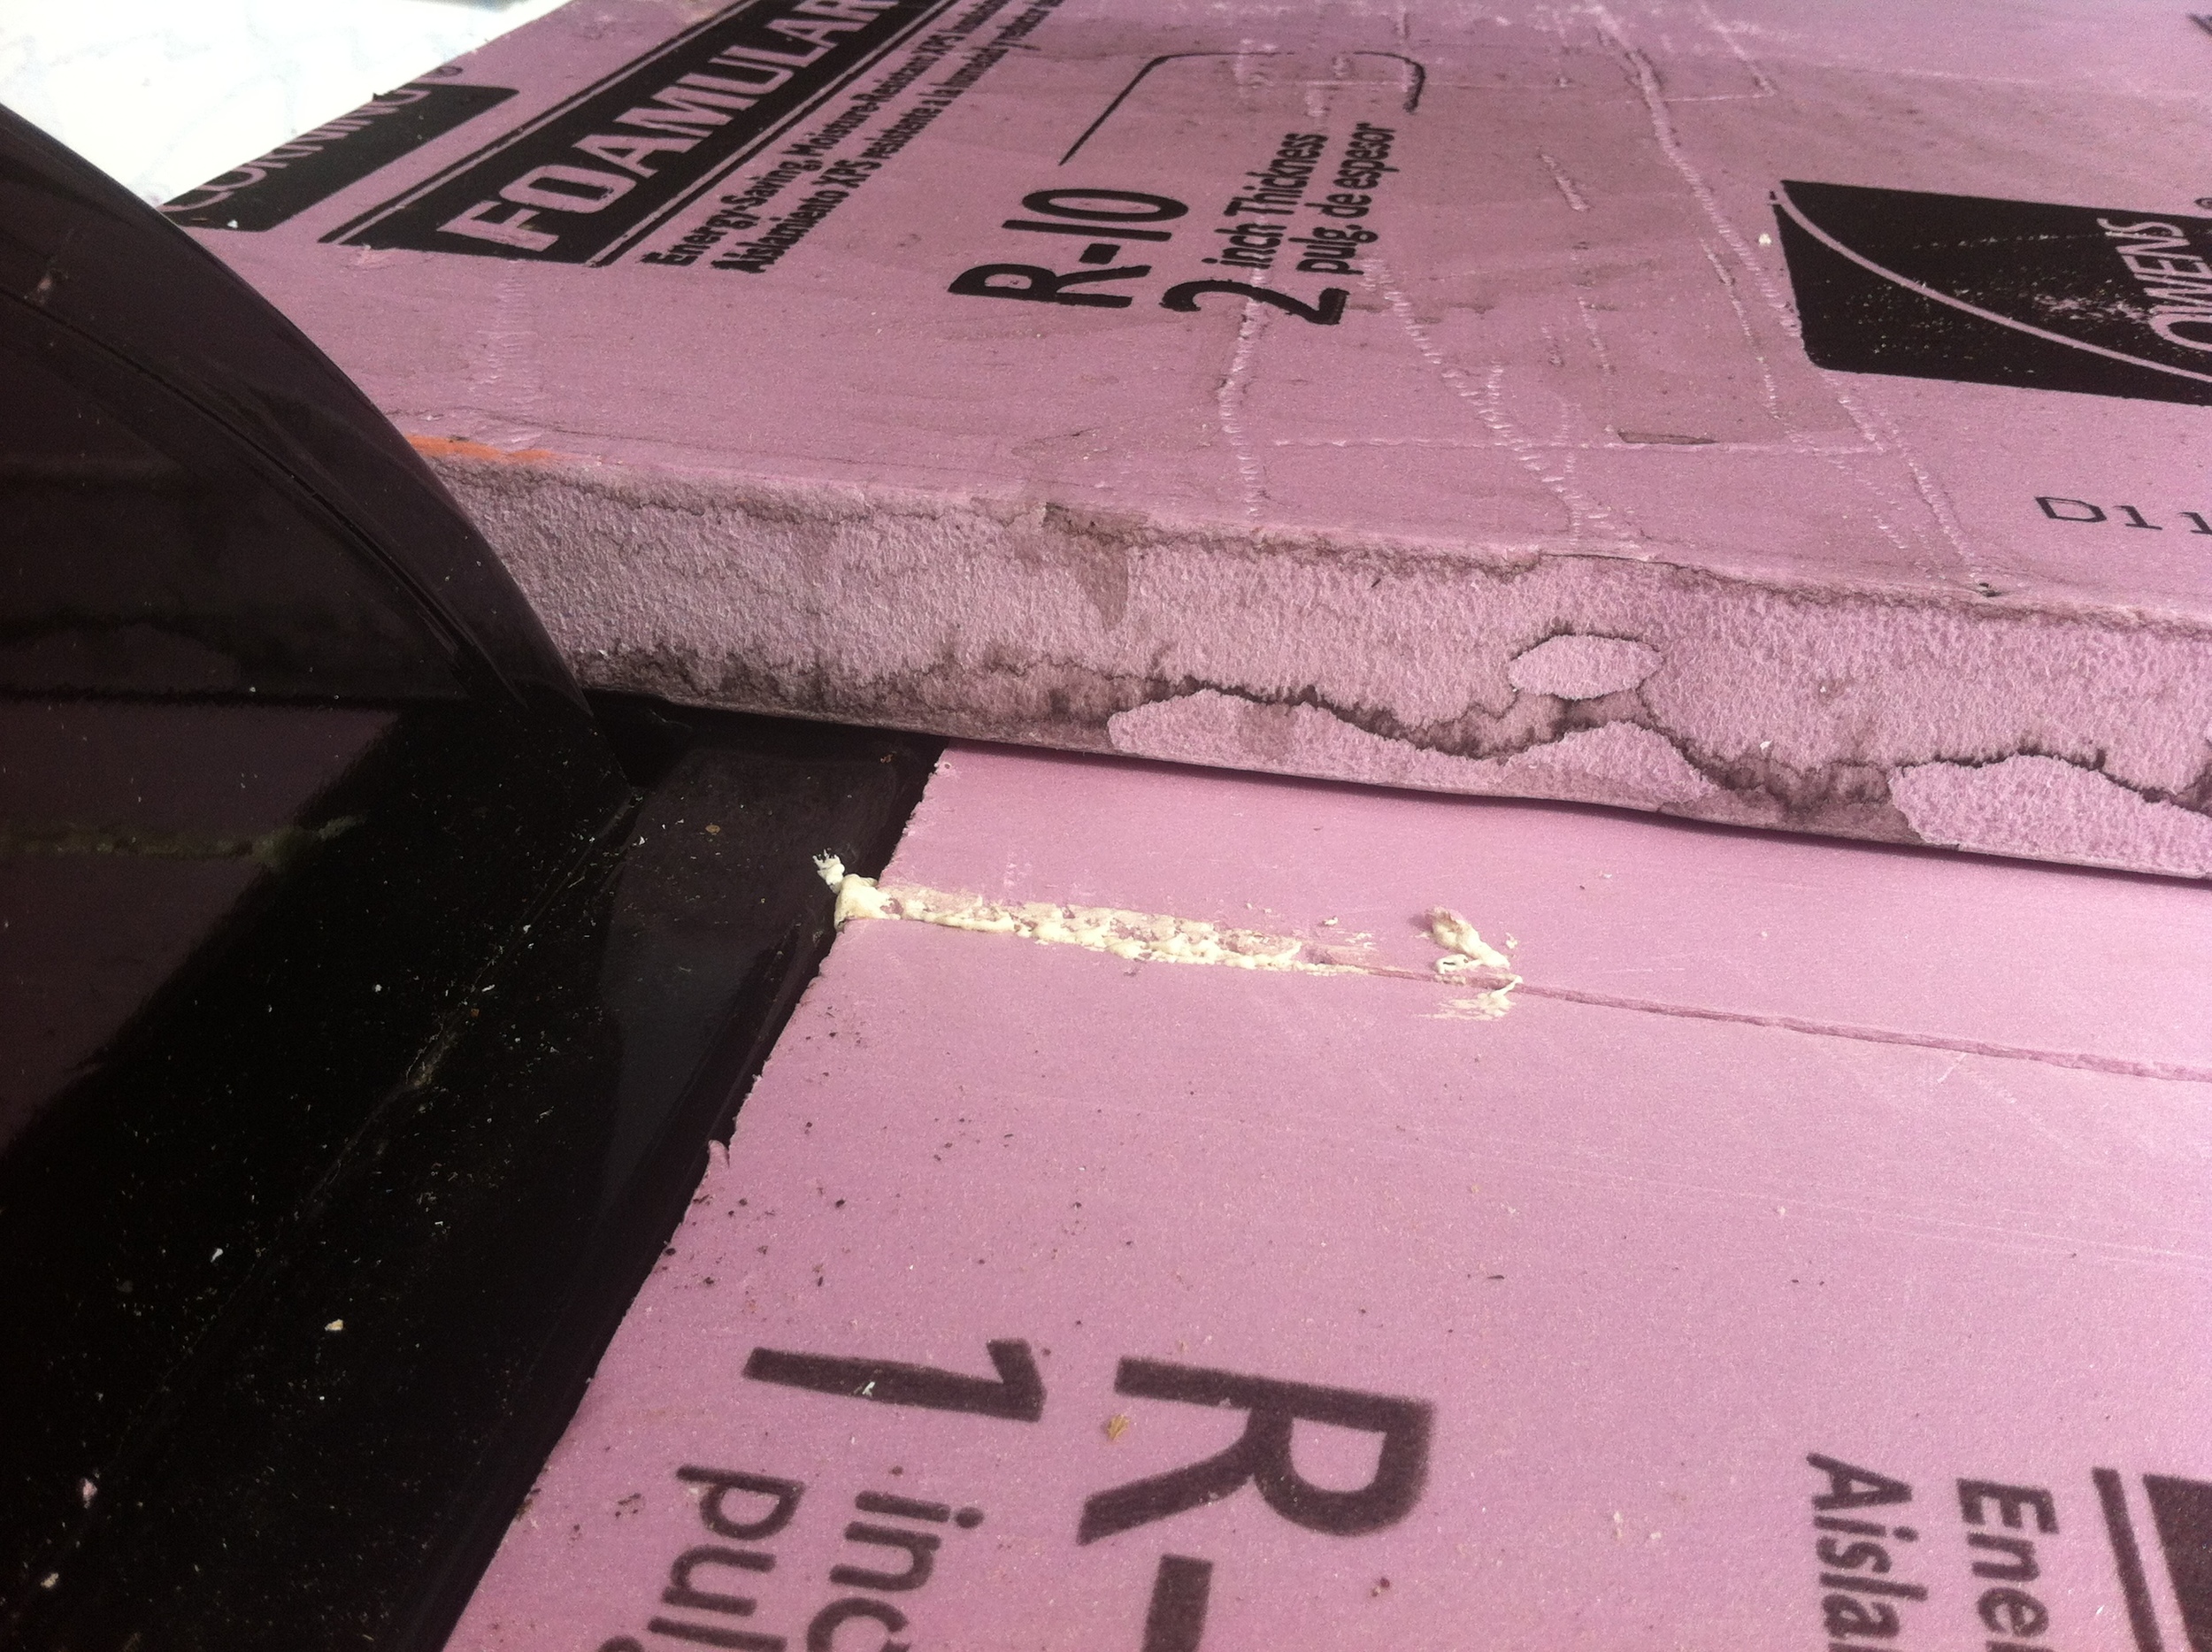
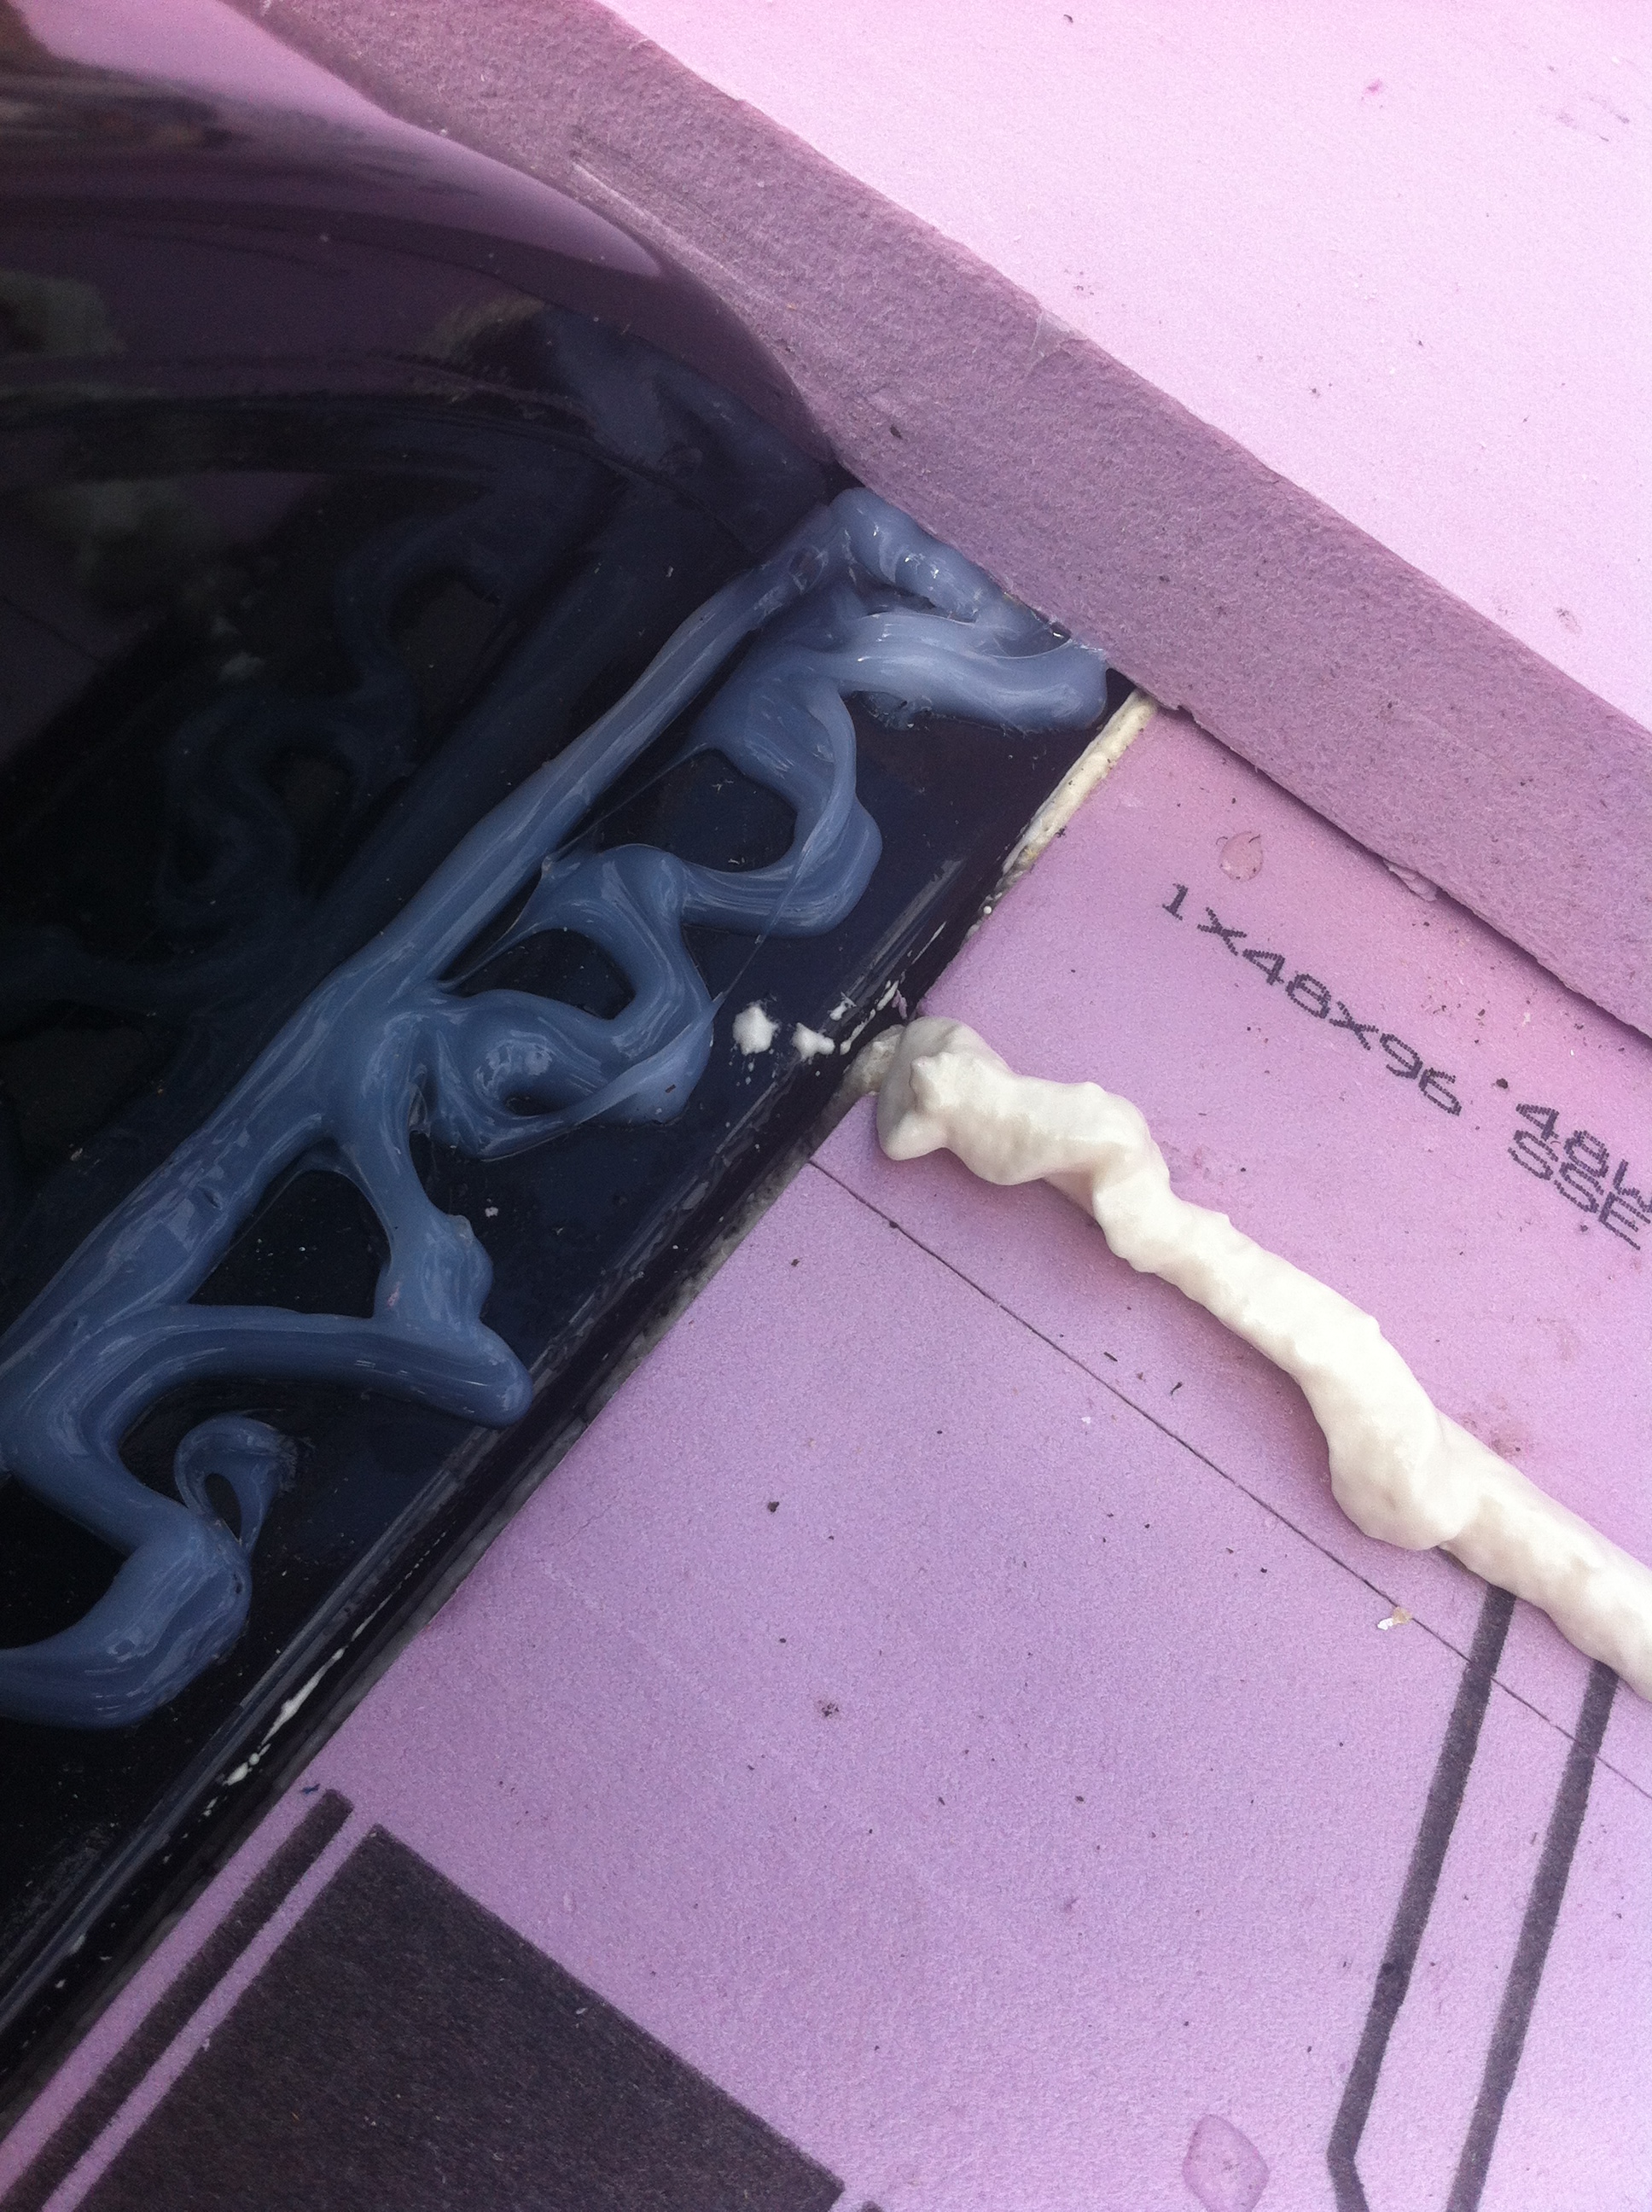
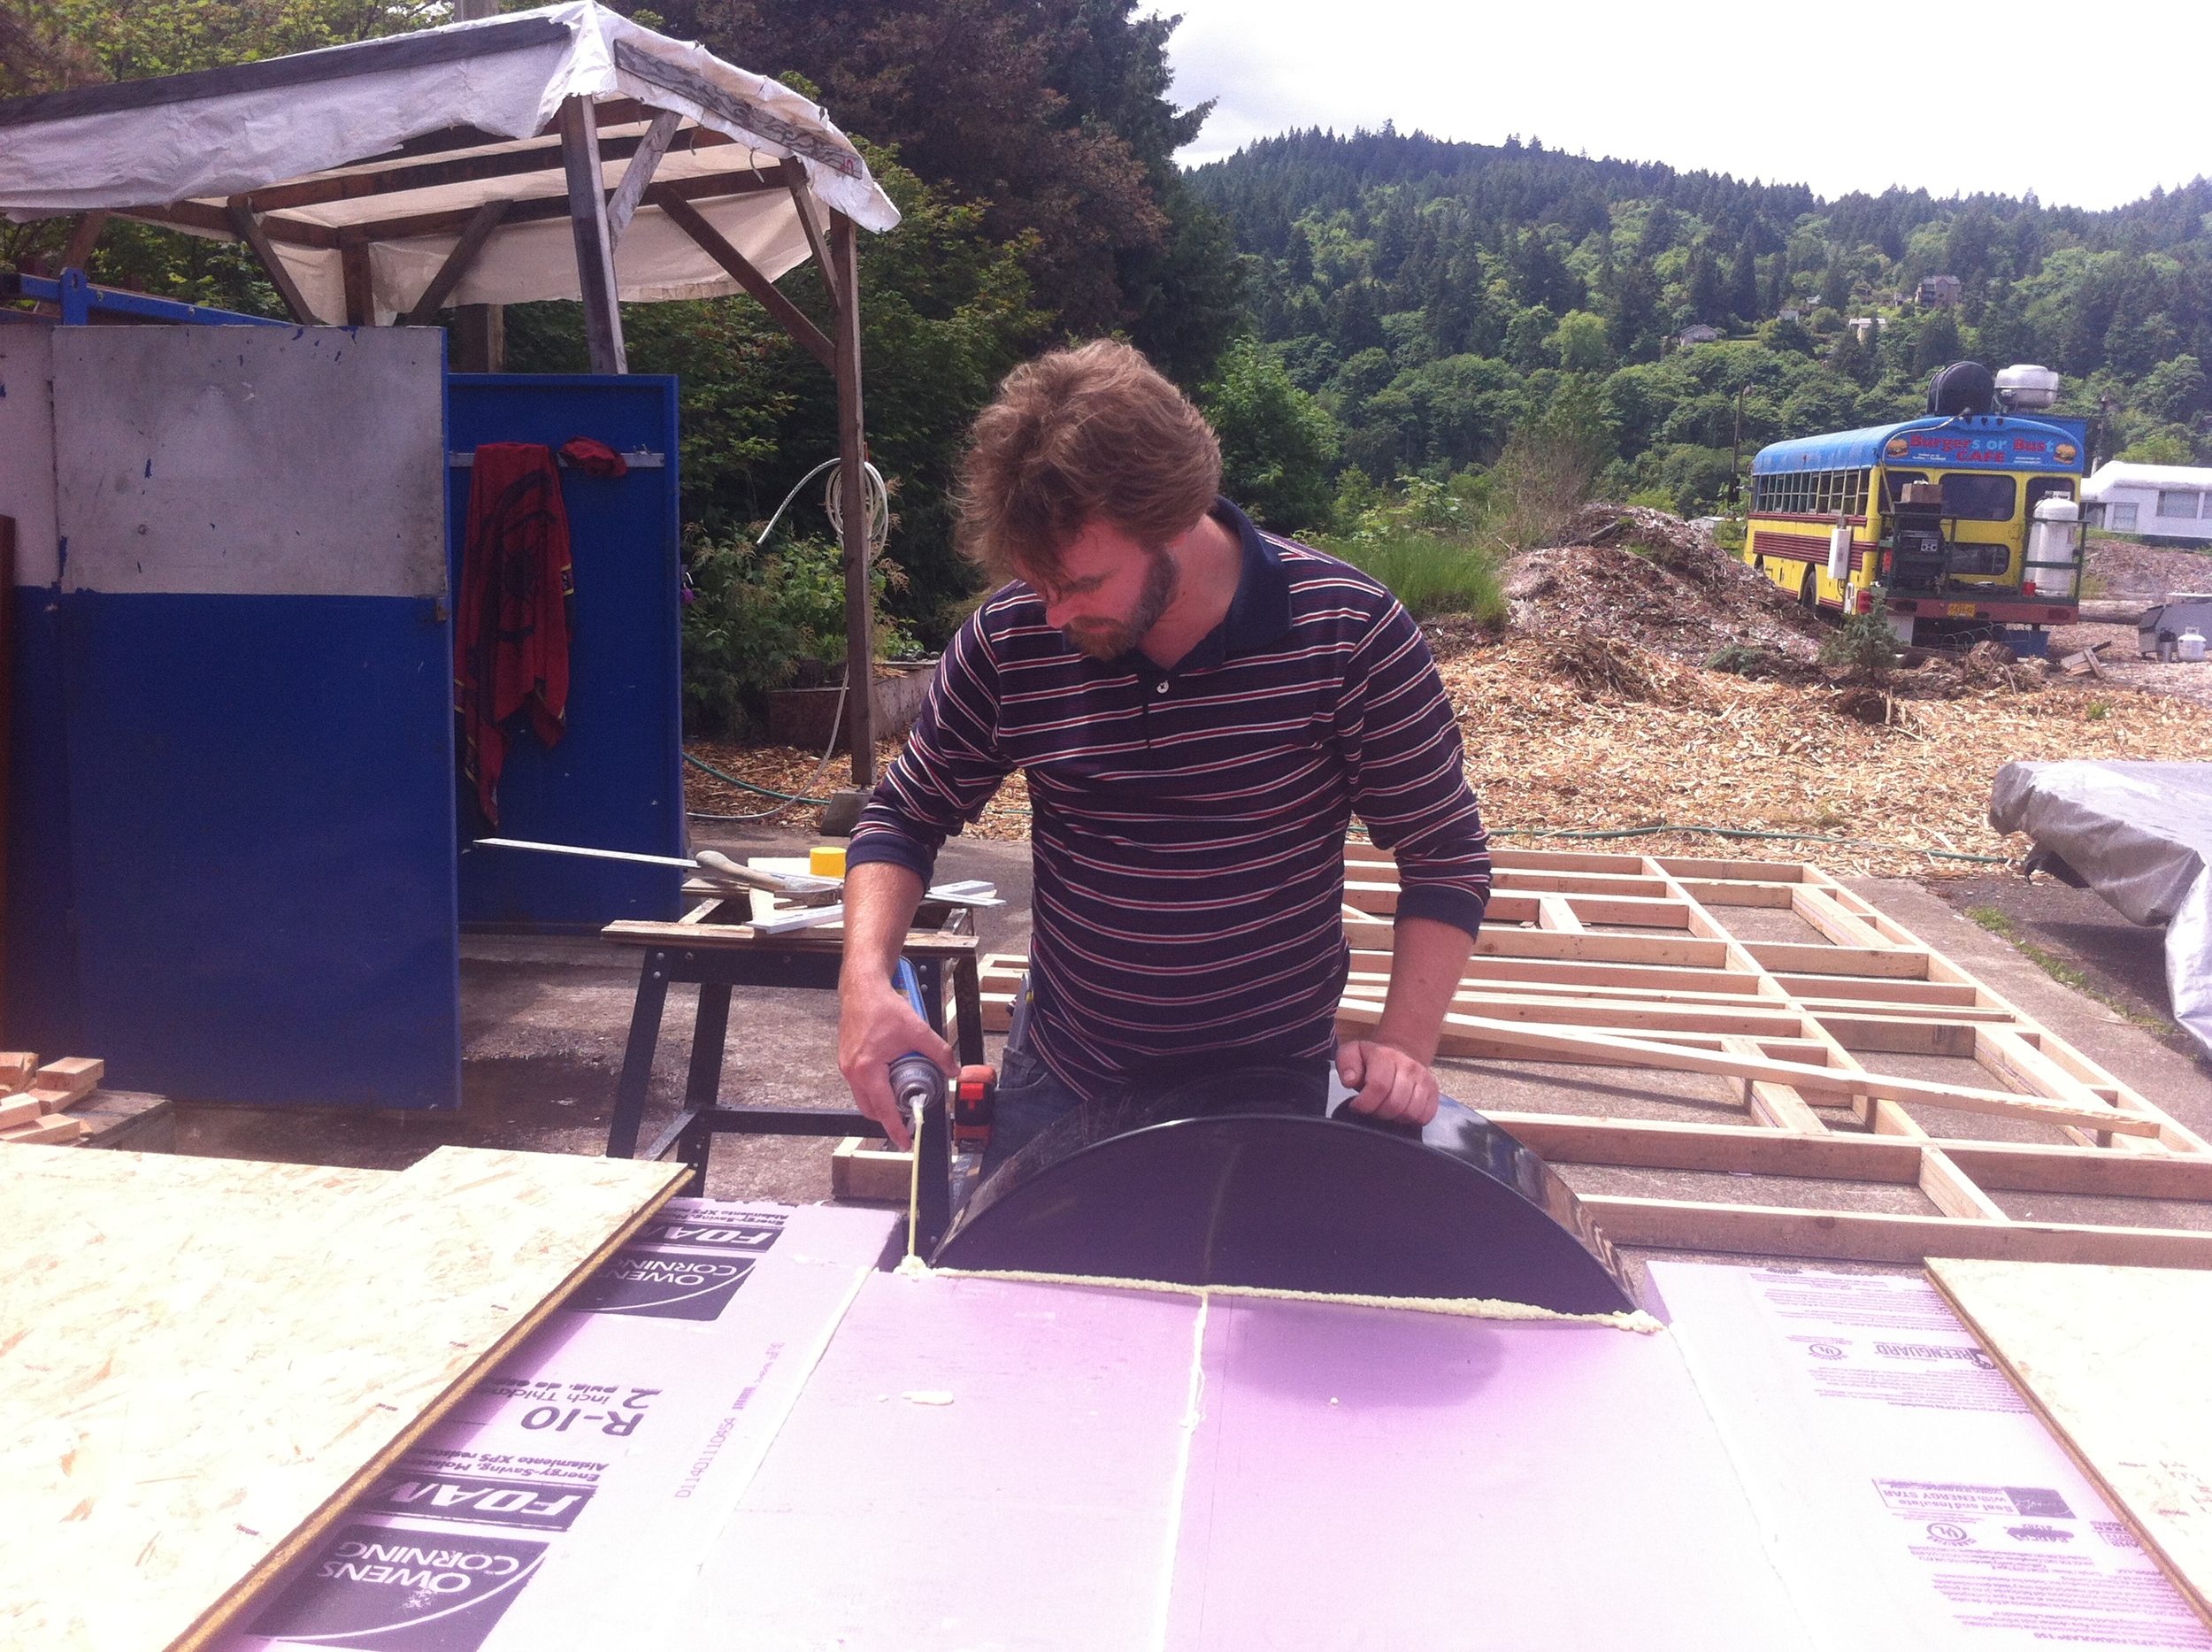
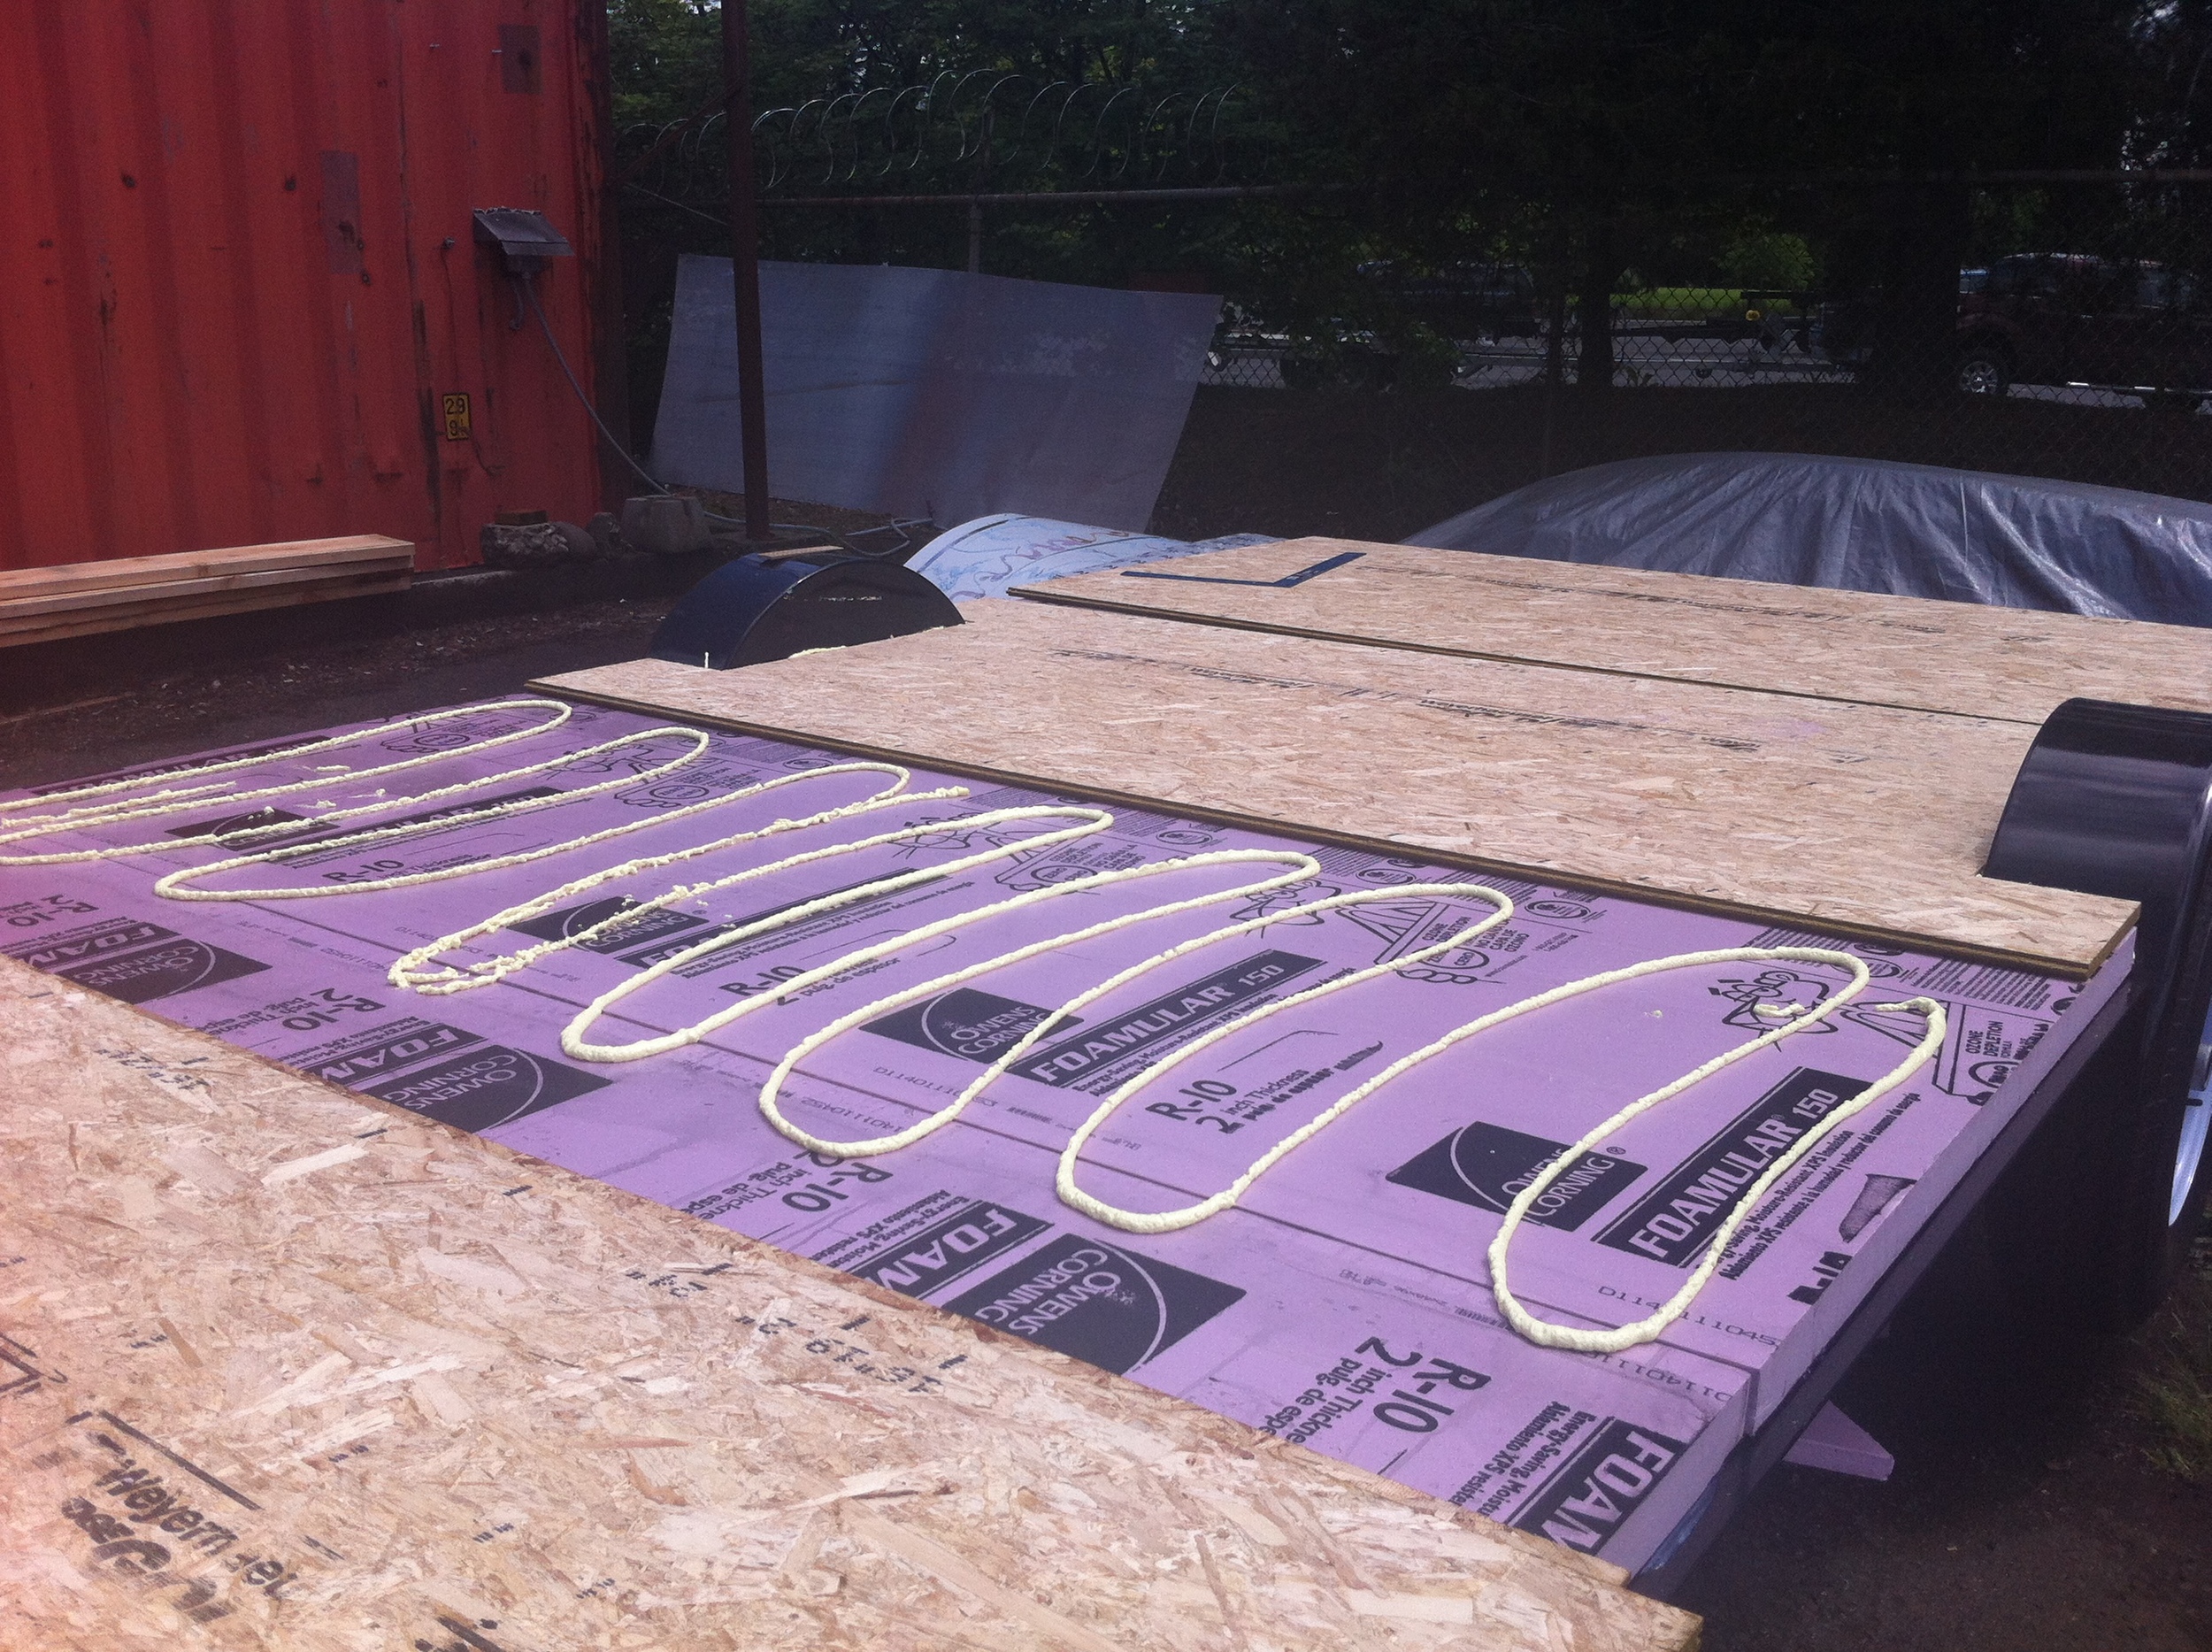
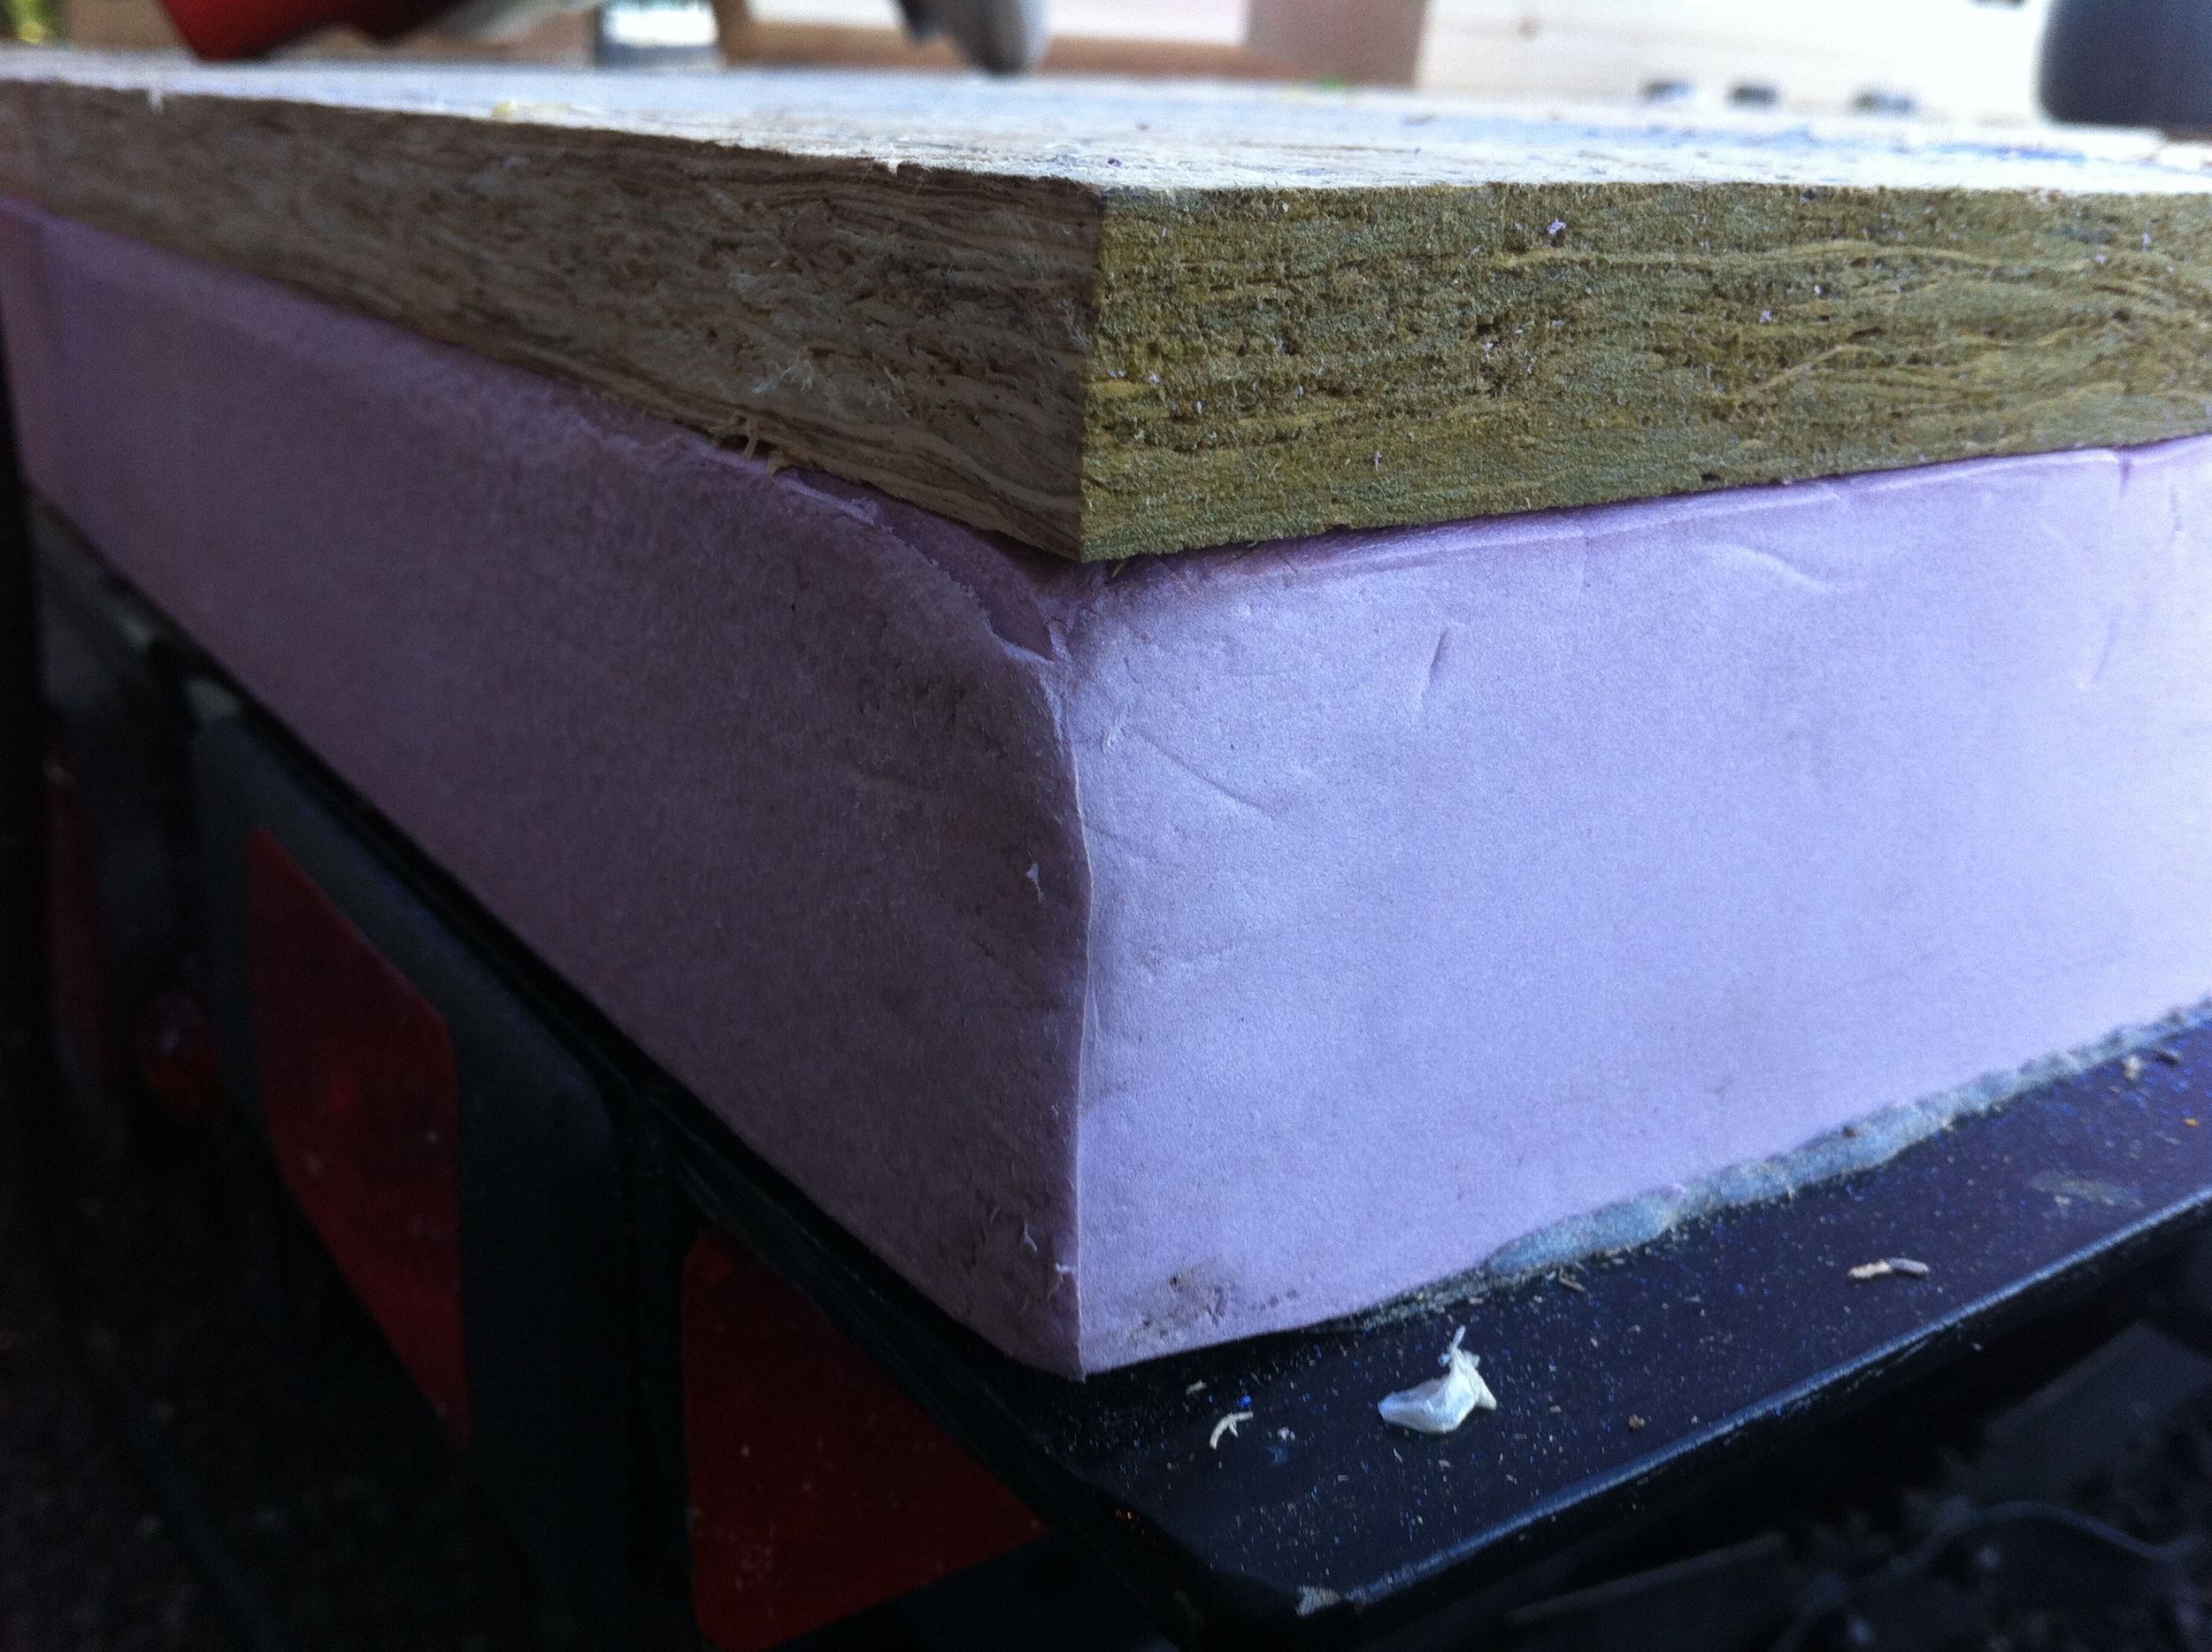
On Monday my friend Christian helped me finish up the floorbox. We layered in the rest of the foam, lapping the seams so that none of them were directly above the ones in the previous layer. Between each course and around all the edges we sealed up the gaps with a low-expansion spray foam. The top layer of foam is 2” that spans the trailer frame and is sealed to the trailer with silicone caulk.
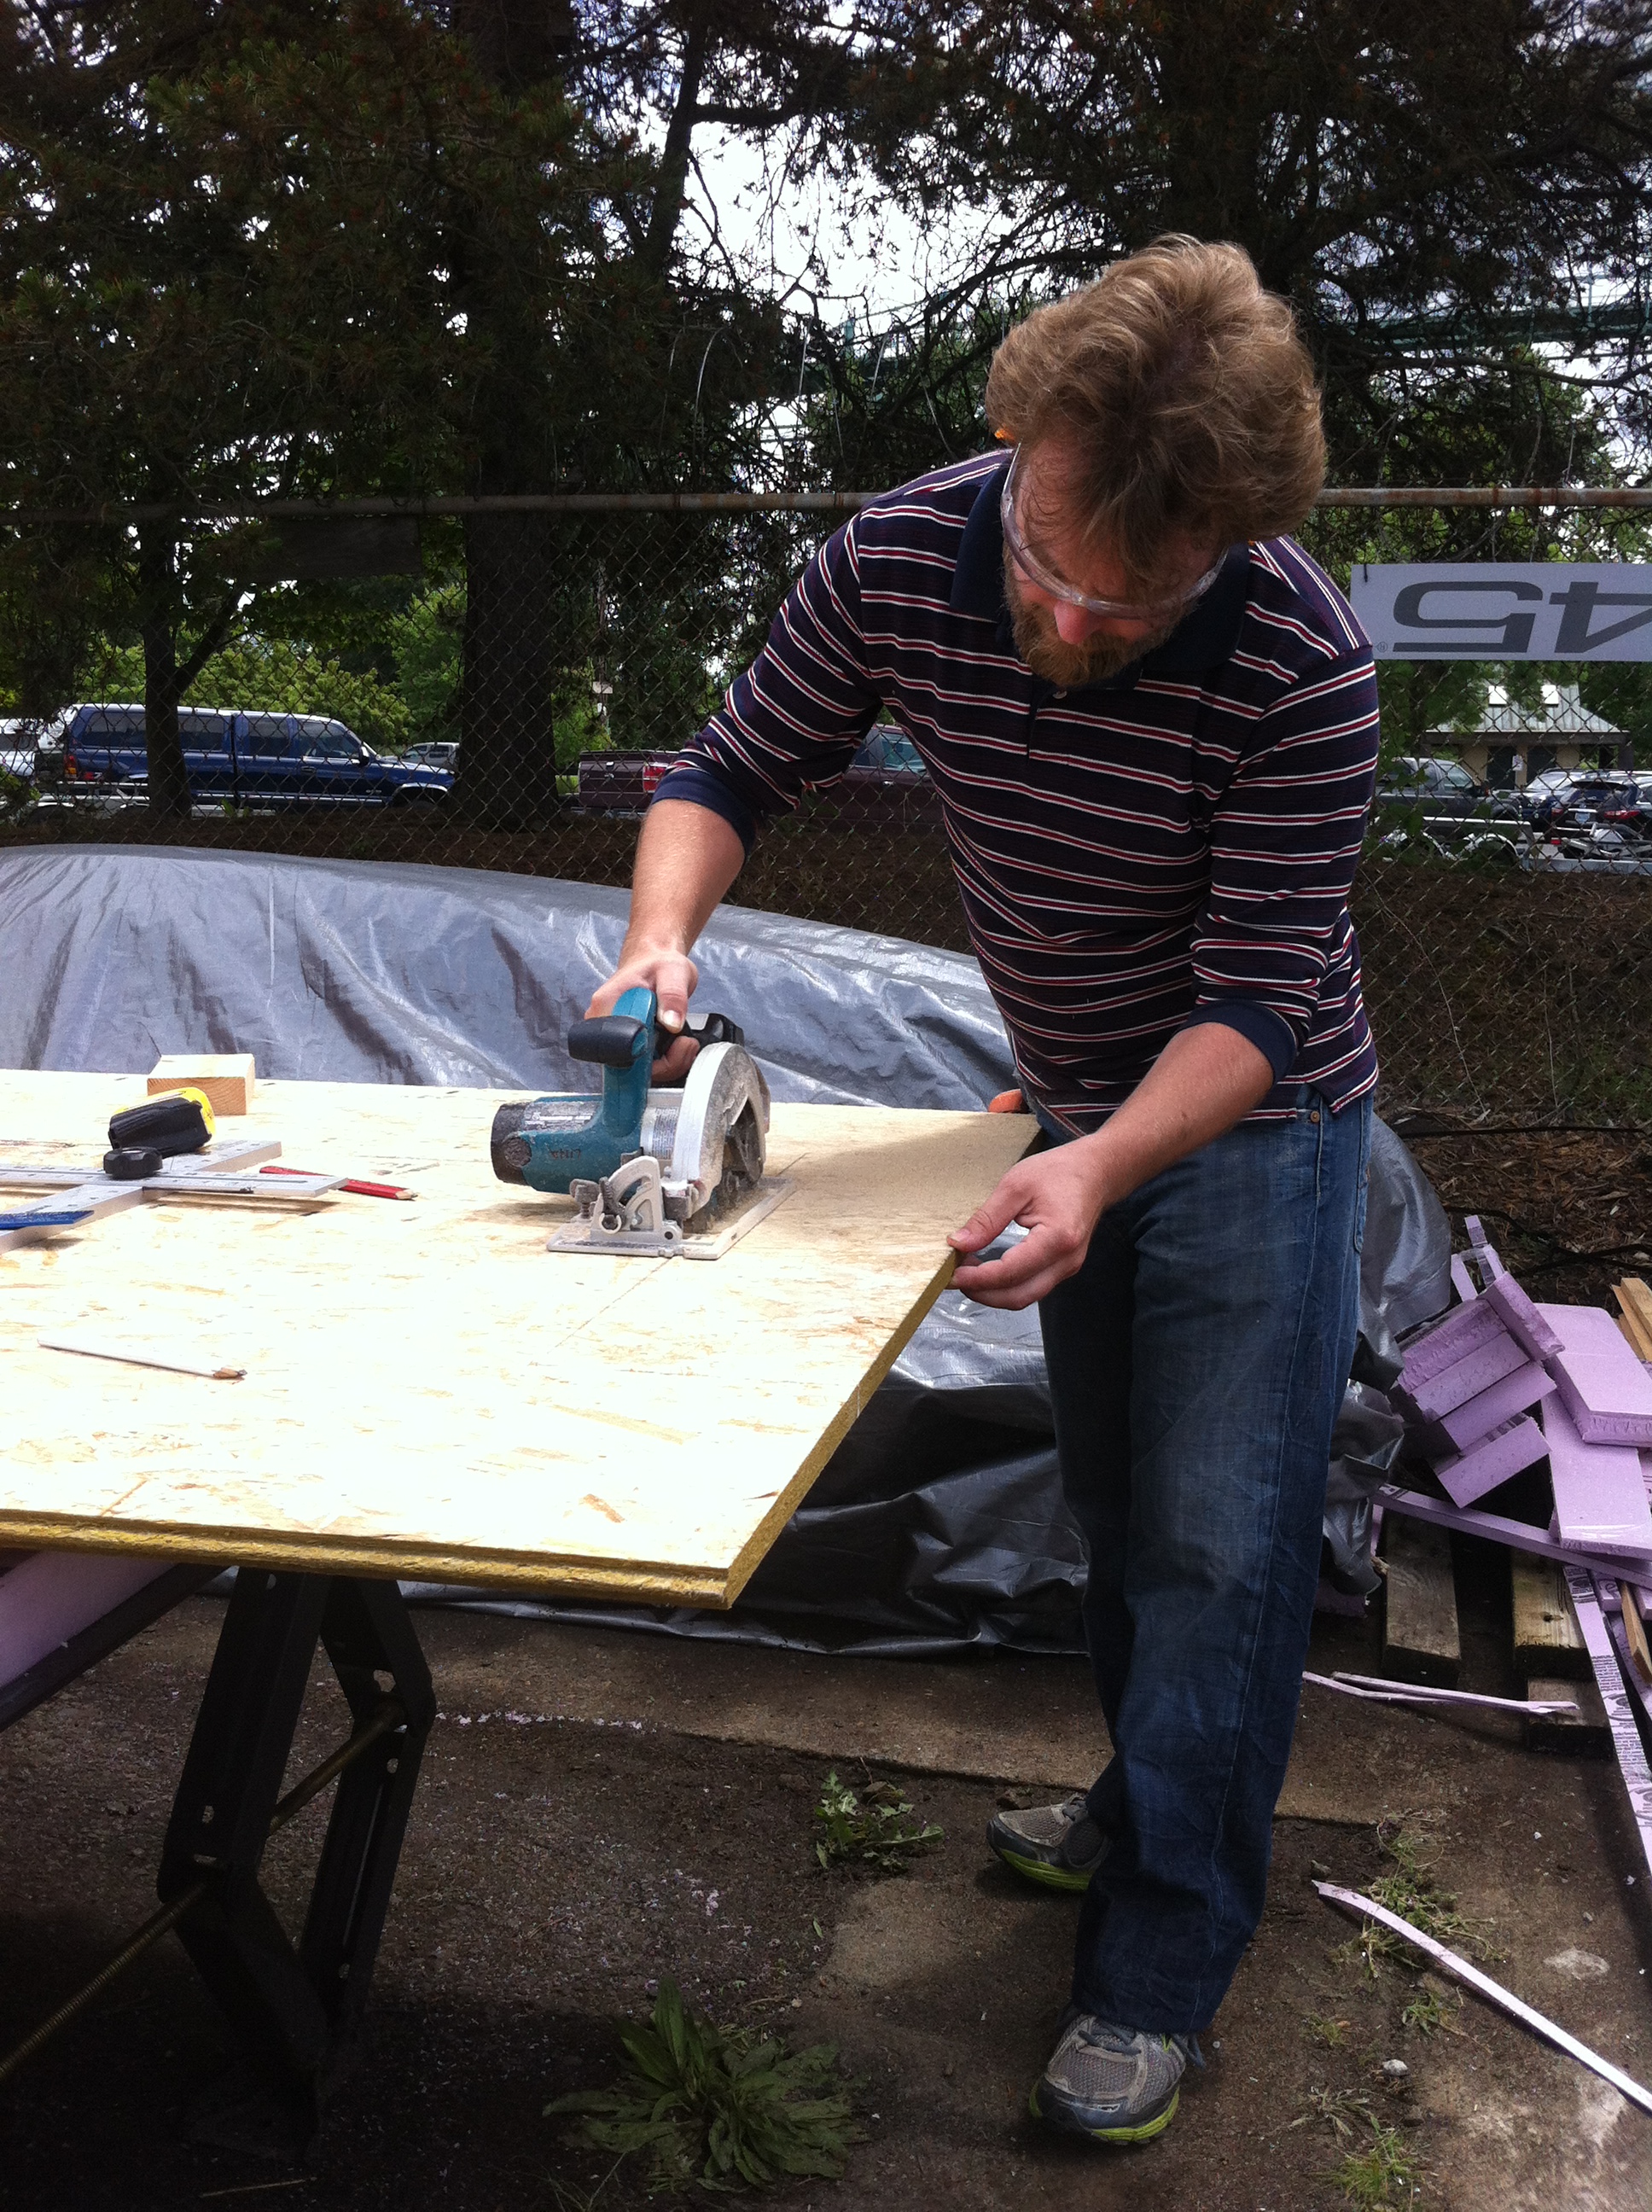
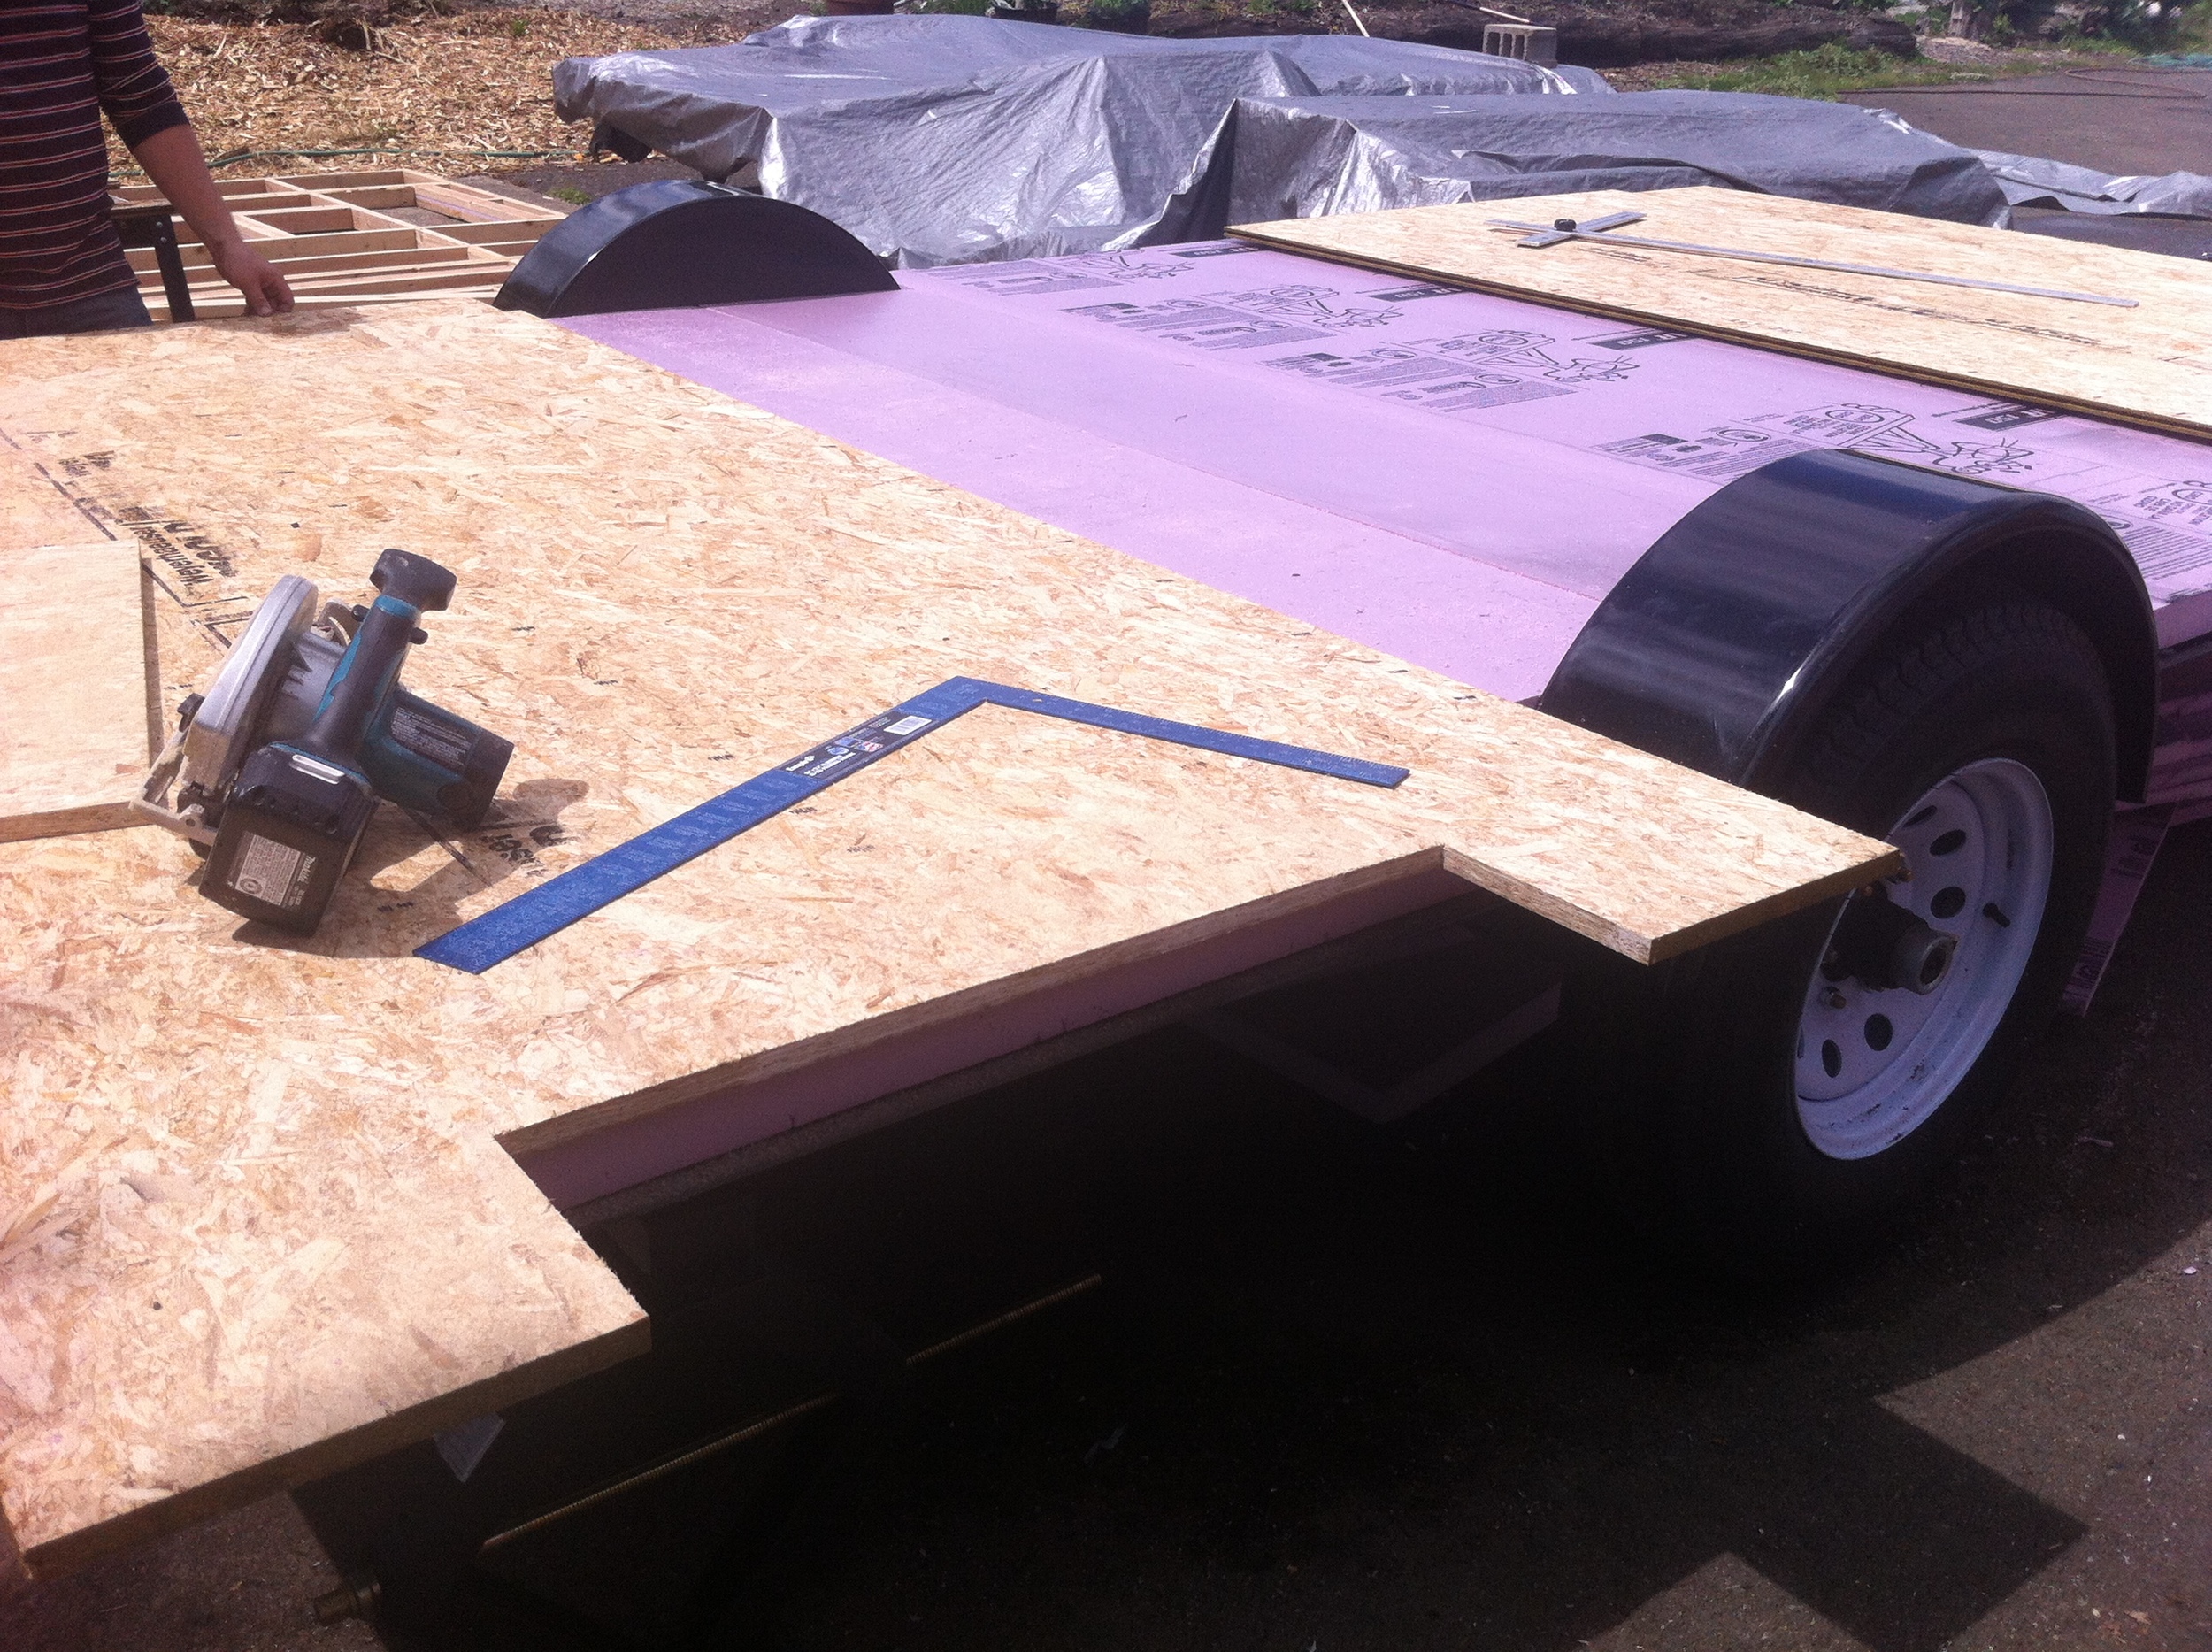
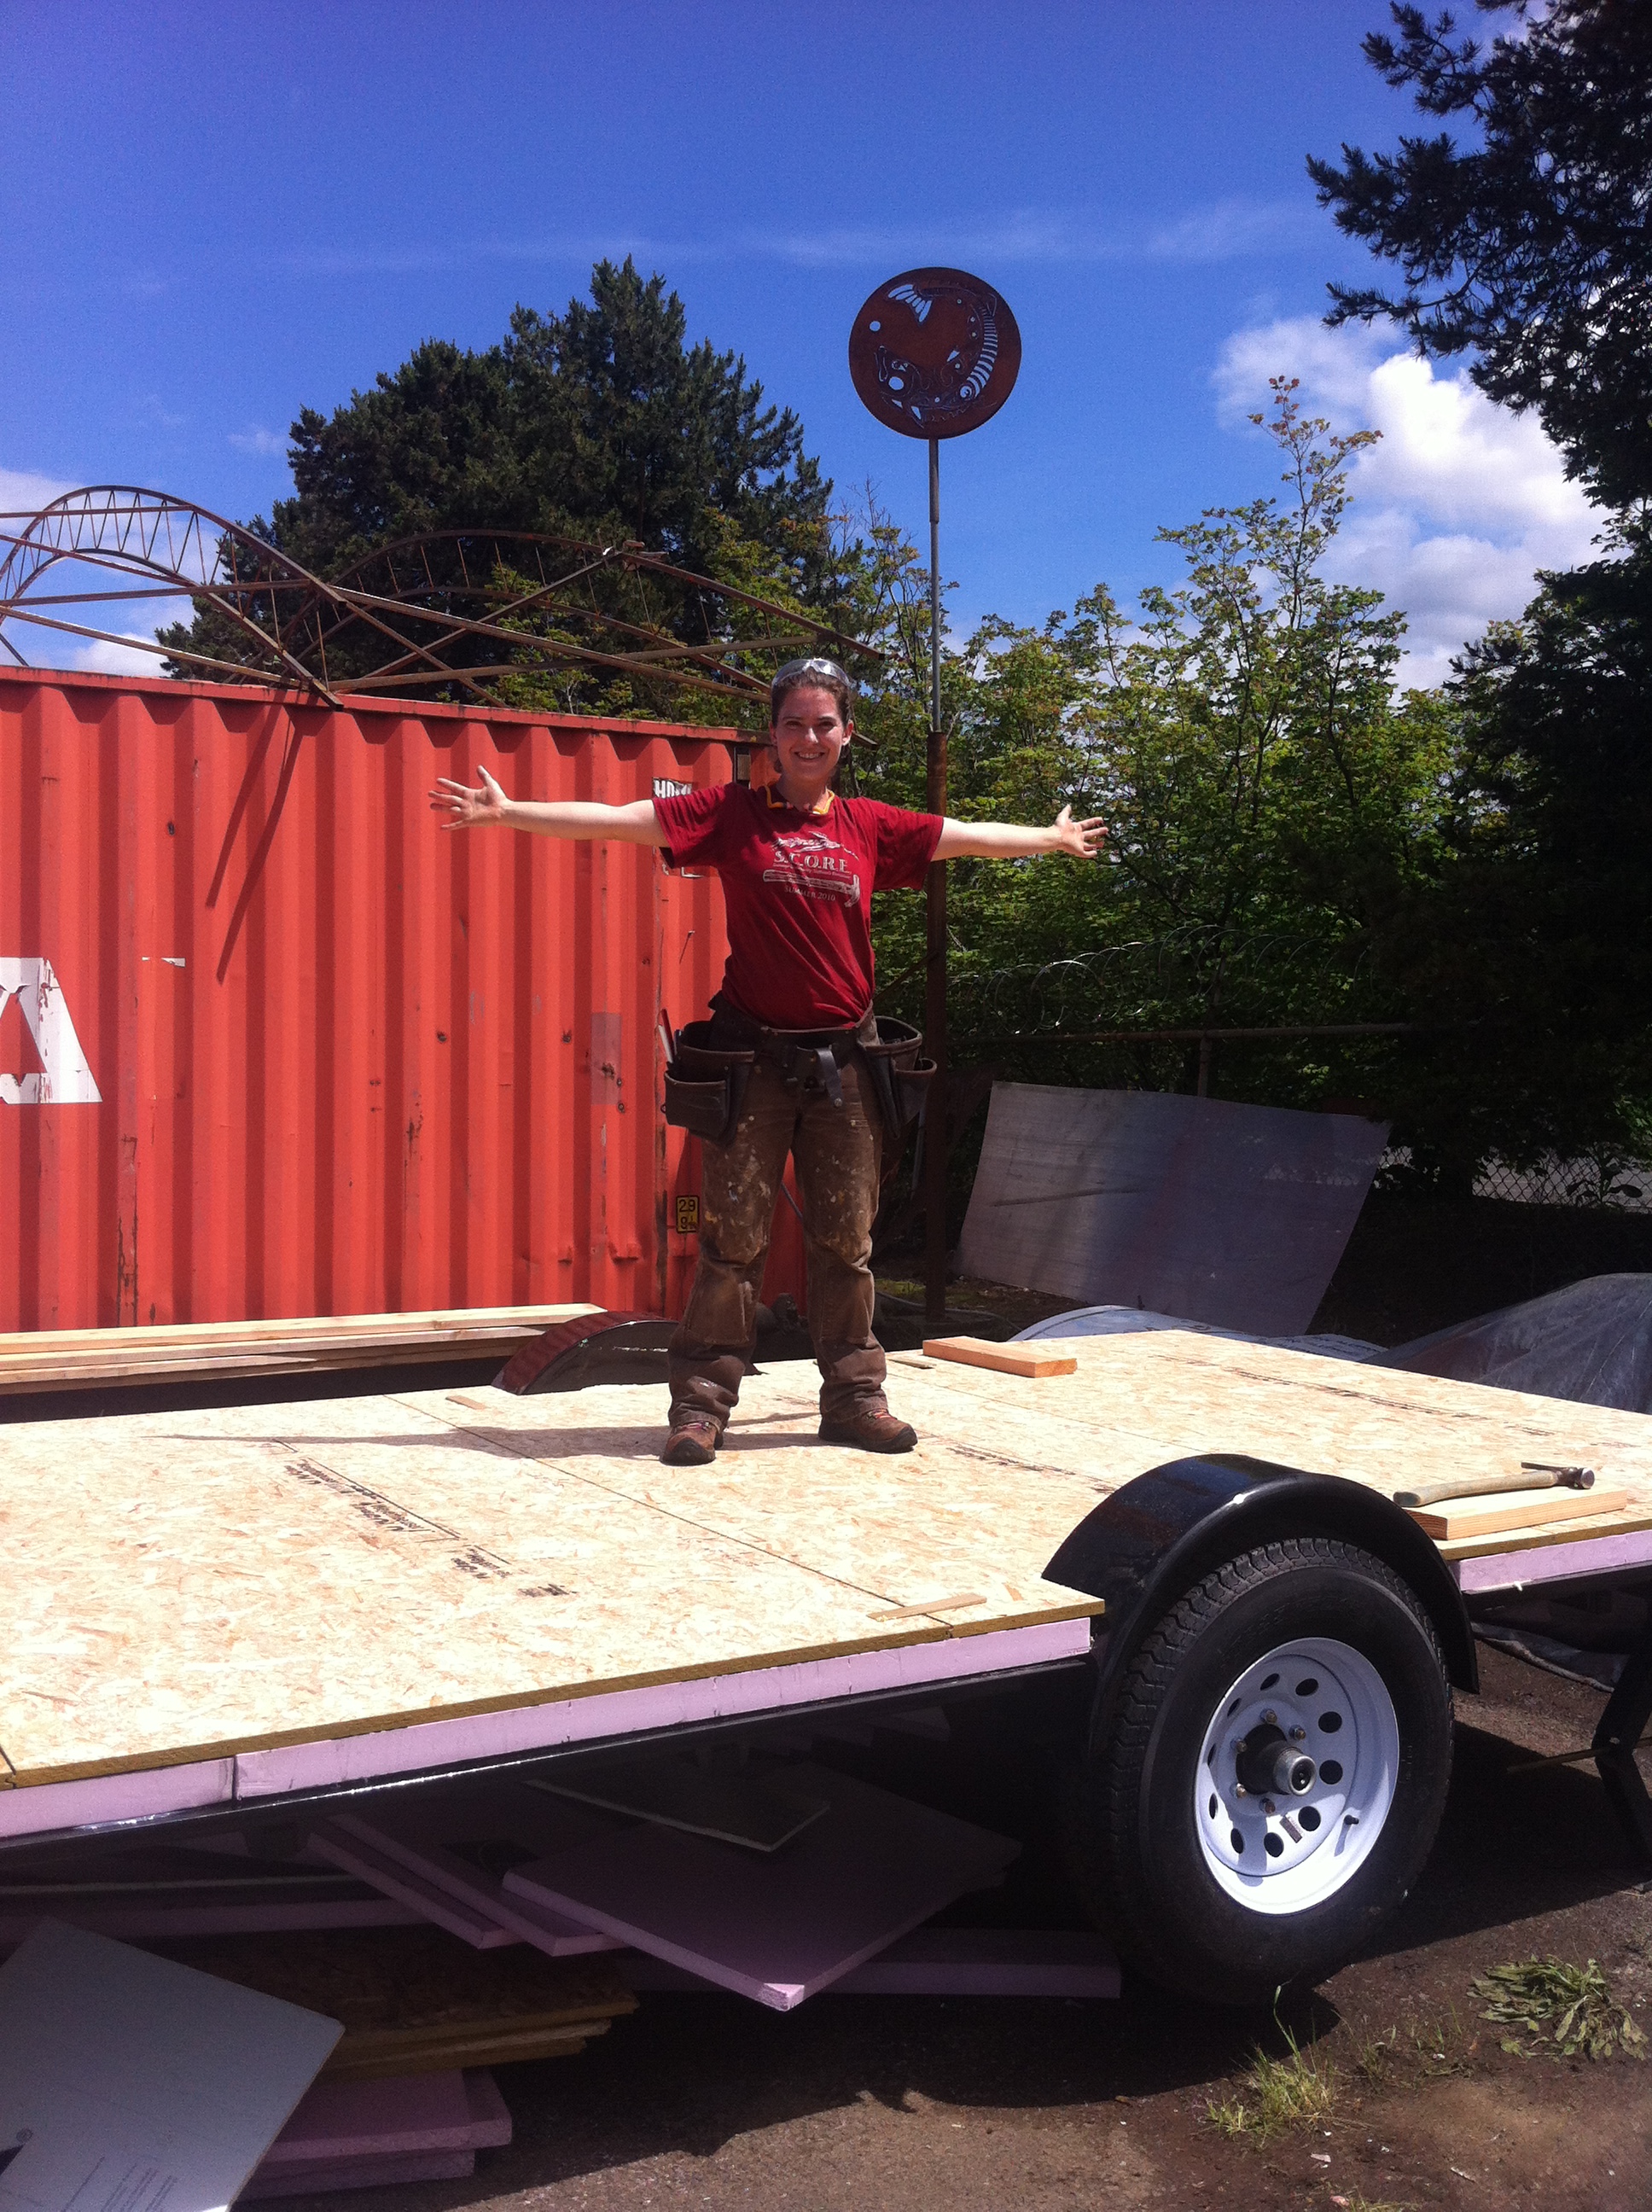
We then cut the ¾” Edge Gold to fit, starting with the piece we had to notch out for the wheelwells. We nestled the sheets on either end into that first sheet and cut off the excess. We didn’t have to cut the sides because the sheets of Edge Gold were 8 feet long, exactly the same length as the SIPs.
I’d originally planned to isolate my floor system from my wall system because it would provide a thermal break between them, my walls would be directly connected to my trailer frame, and it would be a better use of materials since my house was going to be 8’-6” wide. However, once my house was only 8’ wide I decided to just line them up and put my walls right on top of my subfloor. So we cut the sill plates and bolted them down through the trailer frame, securing them with carriage bolts. Ta da! Floorbox complete!
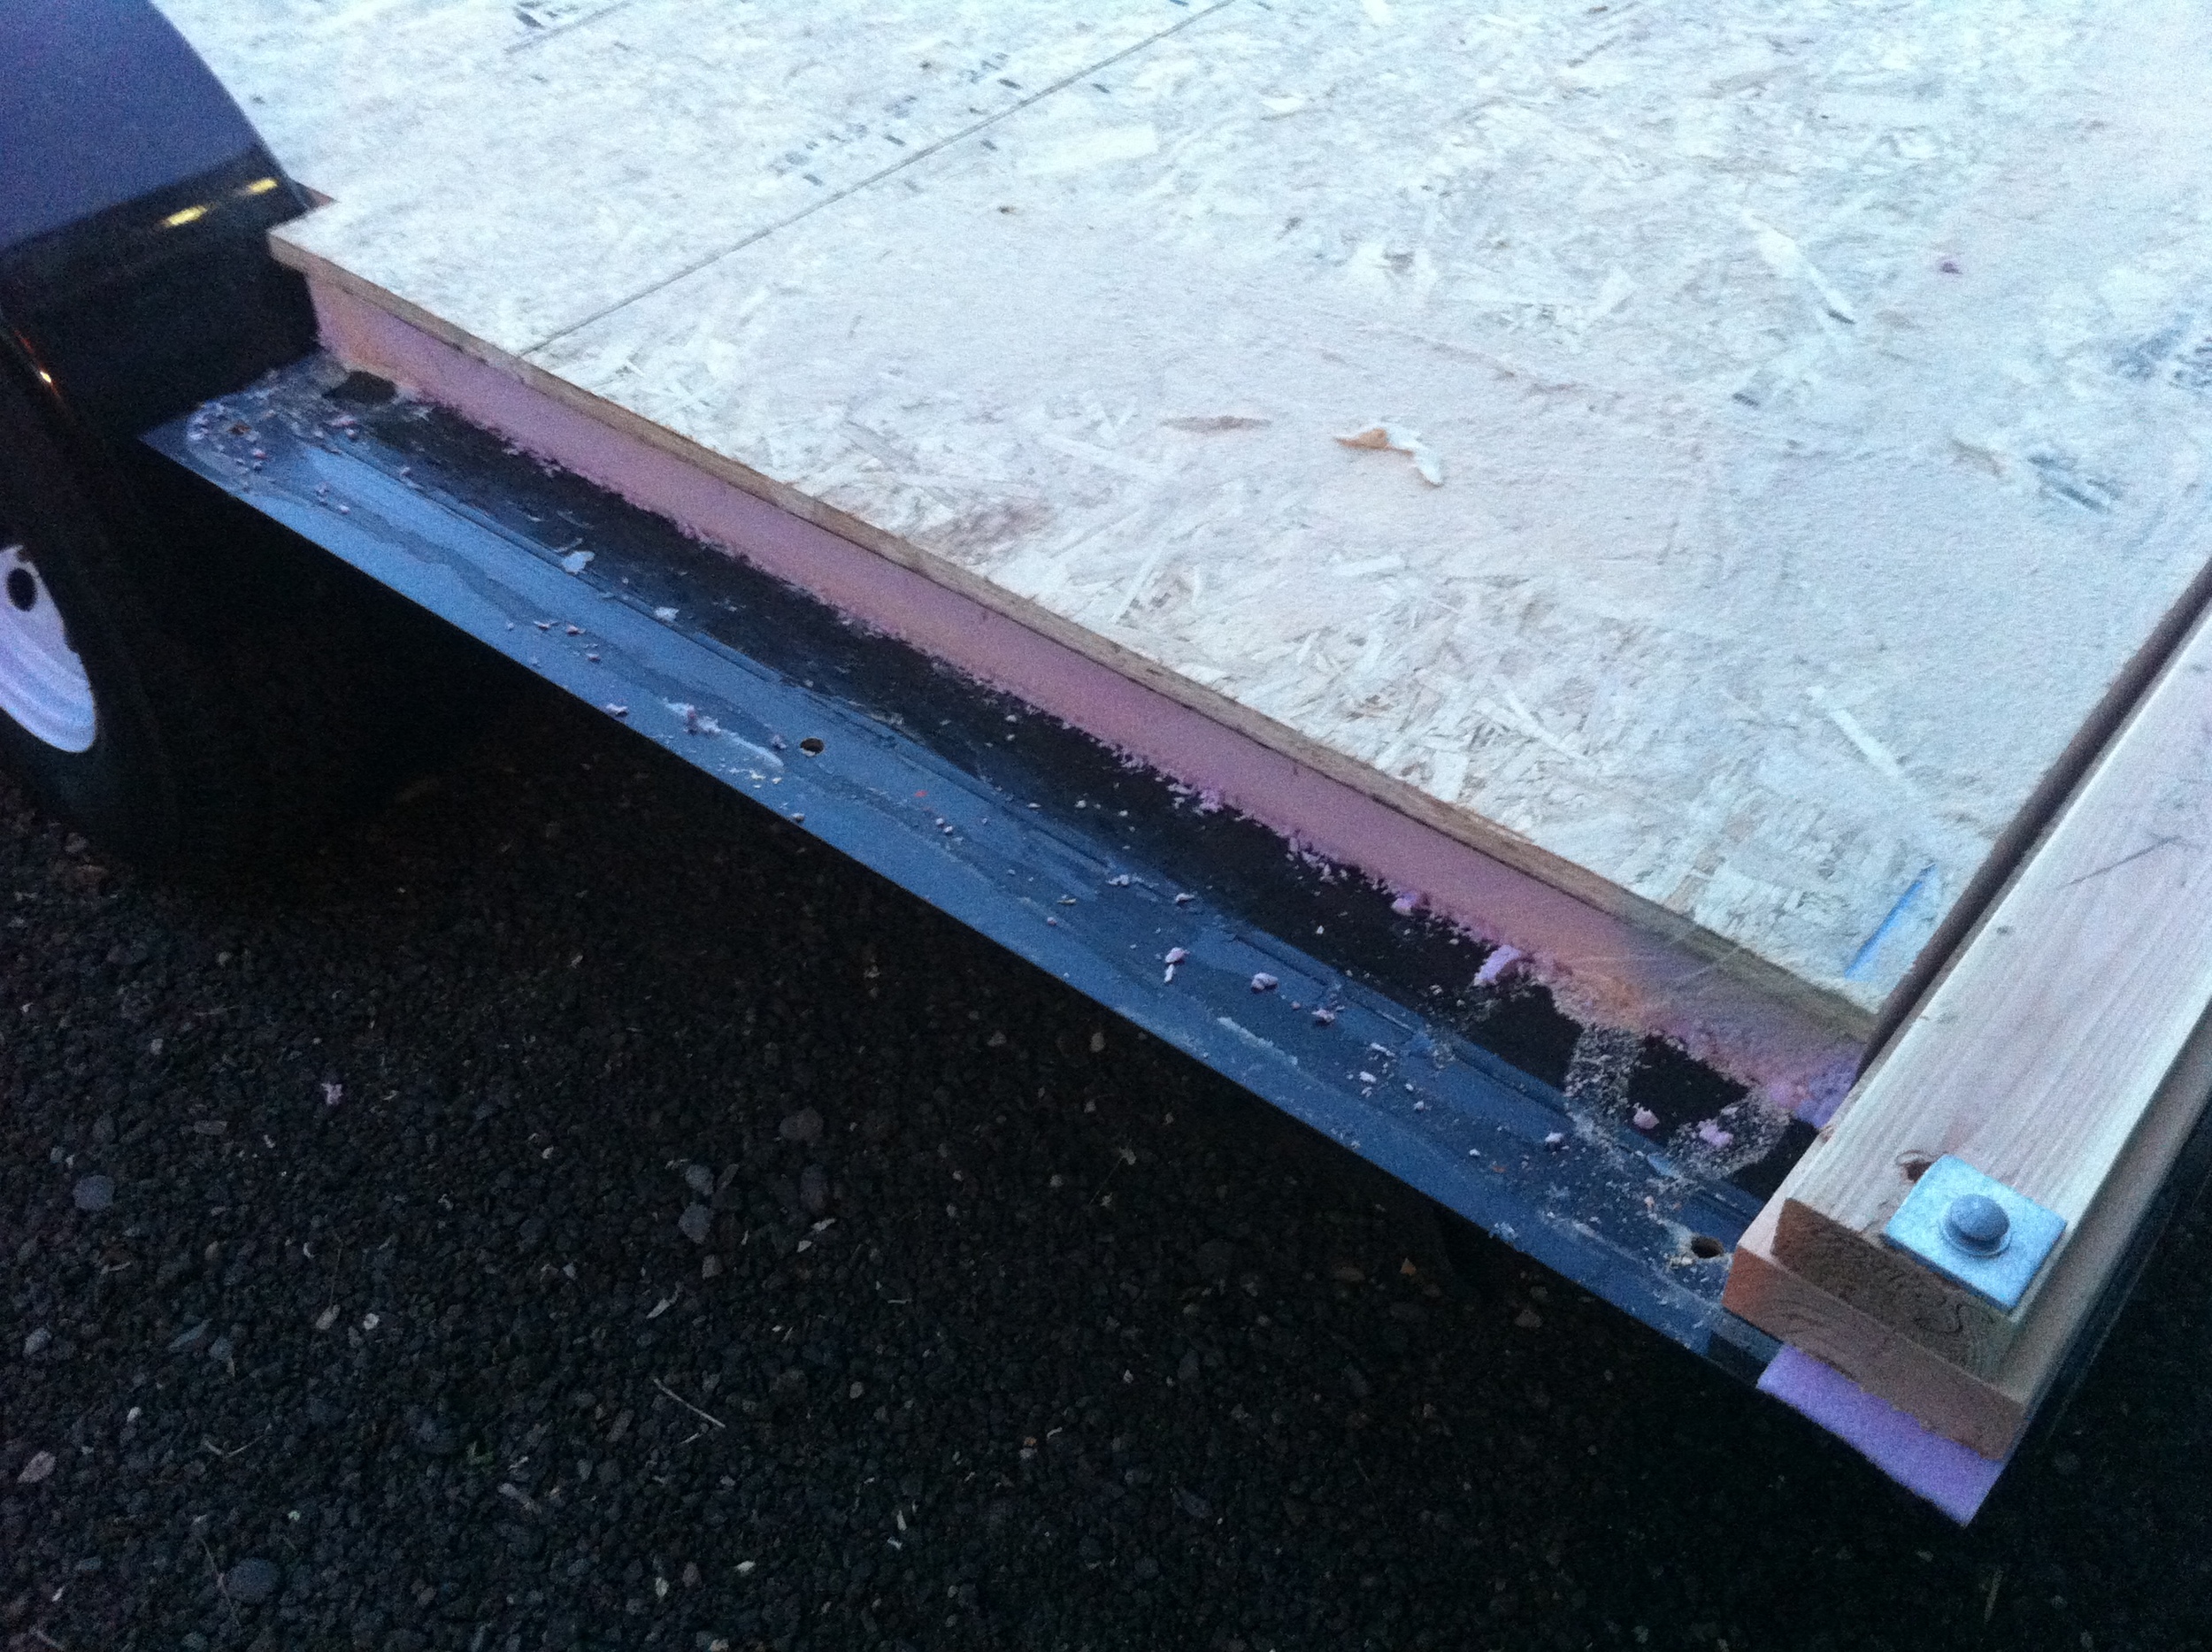
But I couldn’t sleep that night. I didn’t like the way the bolts were angled. And I didn’t like the fact that I’d put all that insulation into my floorbox only to run the subfloor out to the edge where it would get cold and make my feet cold. And I didn’t like that I didn’t have a solid nailer all the way around. And I didn’t like that the foam wasn’t well protected. I just didn’t sit right. I wished I’d used my original design of having the floor system inside the wall system rather than on top of it. I decided I’d better fix it while I still had the chance.
So this evening Patrick Sughrue of Structures NW, the supplier for my SIPS (structural insulated panels), helped me with my first remodeling project. We ripped a set of 2 x 6s to 4 ½ inches. Then we cut the foam back all the way around, put down a layer of sill seal then the 2 x 6s, followed by a layer of liquid nails and then the sill plate. We bolted these down to the trailer with the carriage bolts (which involved boring a couple new holes because some of the ones I’d requested were too close to the edge once I factored in the necessary spacing for my SIPs). We worked until dark and then called it quits. I’ll finish bolting down the rest of the bottom plates on Friday morning.
I feel so much better about this system that I’m annoyed with myself for not just doing this in the first place. My floorbox took much longer than it would have if I’d known then what I know now. However, I learned a lot in the process and I really enjoyed working with Alex, Christian, Laura, Jeff, Logan, and Patrick. I built my floor box in a way I’ve never seen done before and experiments sometimes require additional tweeking.
Most importantly, thanks to Patrick, I am now ready for My SIPs Wall Raising on Friday morning! Follow along!

