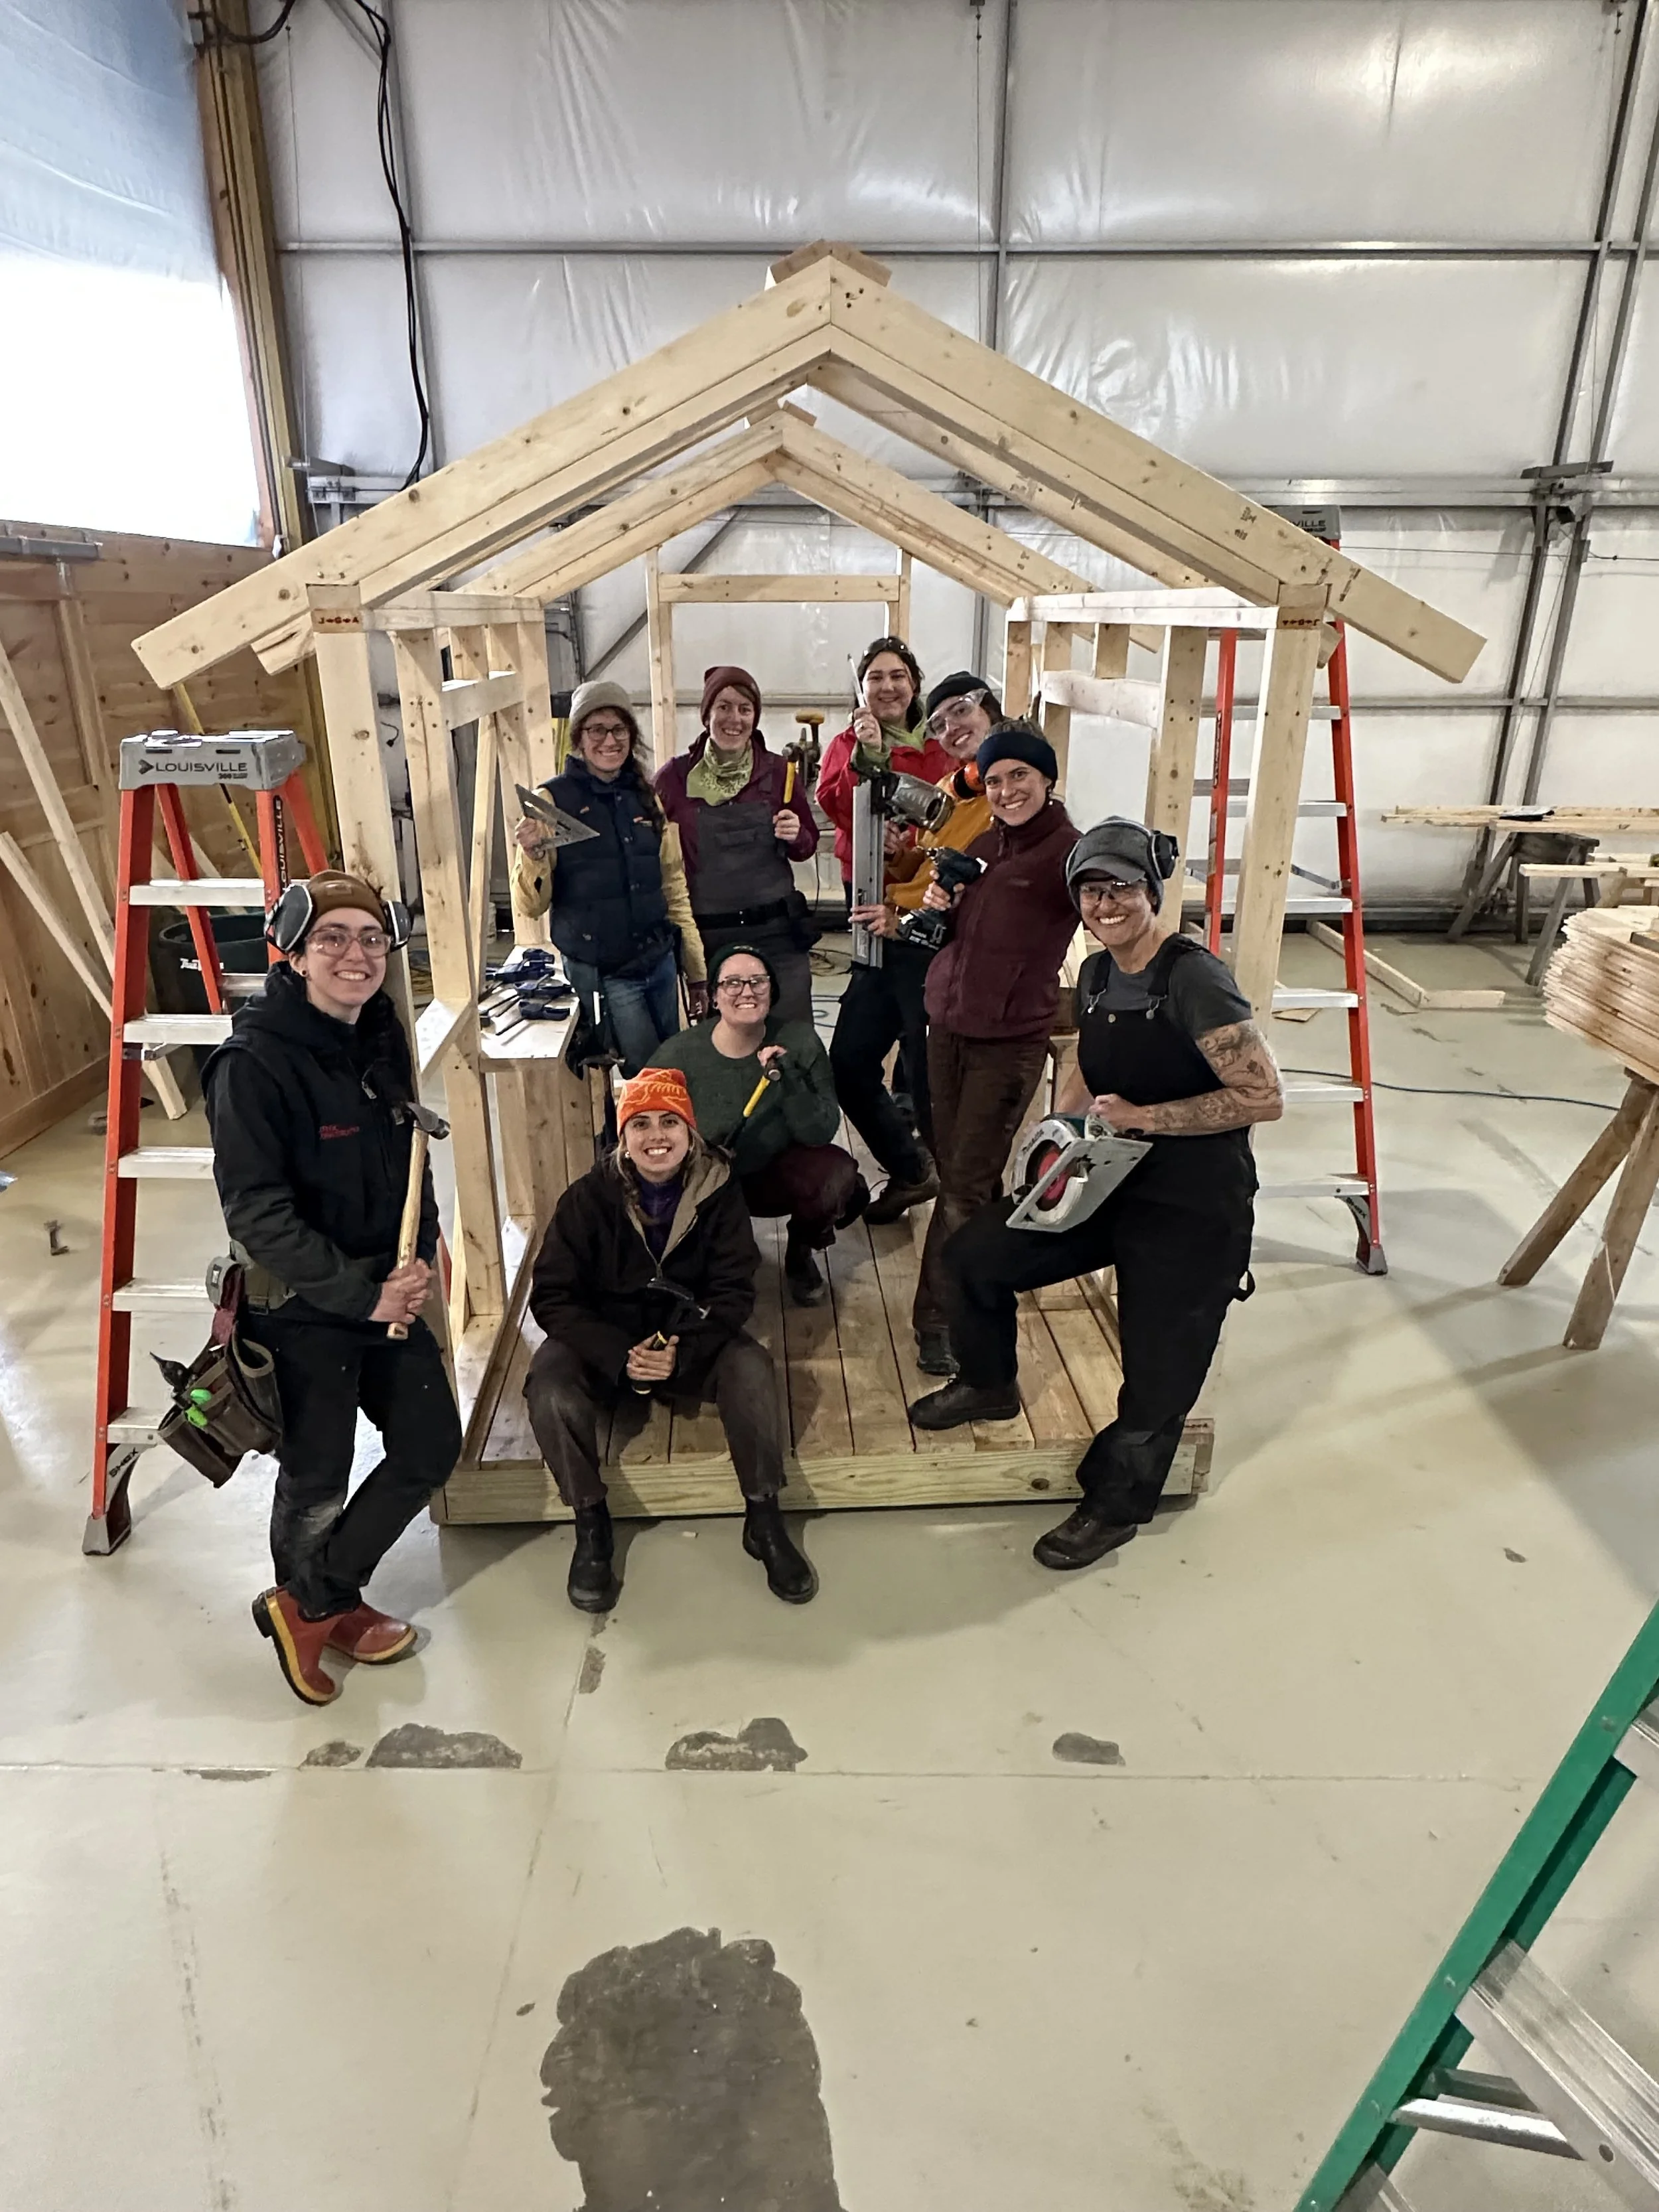
Today we got started around 9:00 on a beautiful sunny morning. First off, half of us launched into measuring and cutting studs for the first wall. The rest of us added 3 1/2 inches of 23" wide fiberglass insulation to the floor boxes (the joists are 24" on center). Fortunately it was faced and there were only 10 bays to fill, so it went quickly and painlessly.
While Jane picked up a few more supplies at the hardware store, we added a layer of reflective bubble wrap to the floor. The reflective material was an idea borrowed from some friends. When they were building their house they discovered that the local pet store was throwing away reflective bubble wrap envelopes that were used to transport tropical fish, so these friends started collecting it. They used it in their solarium, but had lots left over so Jane bought some from them. The reflective material works by reflecting heat back into the house when the shiny side is towards the interior of the house. It requires an air gap between the bubble wrap and the interior wall or floor in order to work properly, so we stapled it about an inch below the top of the joists. By the time we were finished we felt like we'd created a solar people cooker. The bright sun reflecting off the surface was making us shed all the extra layers we were wearing when we arrived at the job site!
As her friends continued with the wall framing, Jane and I ran around town in her trusty truck, on the hunt for a narrow door and a shower pan (turns out the shower surround we found by the side of the road that we thought would be perfect wouldn't do). We managed to find a 34" x 34" shower pan at a local plumbing supply store and got a deal on it because of a minor blemish that we never would have noticed if they guy hadn't pointed it out.
Finding a narrow door with either full or half lites that we could cut down to 78" didn't prove as easy. We had known there was a pretty good chance that we wouldn't end up using the sliding glass door Jane had envisioned. But we were thwarted when our back up plan to use a 24" door fell apart, too. As the stud layout came together we discovered that a 78" door was the tallest we could accommodate. The 24" door is metal and can't be cut down to 78." So we visited the ReBuilding Center, Habitat Restore, Builder's City, and Home Depot and had to return to the site without a door. The new doors we looked at today were wider and taller than we wanted, most of them weren't pre-hung, and they were all pretty expensive considering that any of them would need some modification. We decided to plan for a 28" door since that's the size Jane wants. We'll keep investigating our options and perhaps the right door will come our way.
We returned to find that we were nearly ready for a wall raising. I put metal flashing onto the trailer frame on the outside of the internal floor box and covered it with a membrane material that's usually used to prevent wicking from concrete into framing. In our case we're hoping it will protect the wood framing from the metal framing. We settled the walls into place on the exterior edges and bolted them down through HTT tension ties. As we all worked on nailing the tension ties to the studs it started sounding a whole lot like a construction site!
At the end of the day half the team worked on securing the top plate to the long walls and tying the three walls together. Meanwhile the rest of us cut cripples for above and below the long window for the window seat. I discovered that there's a big difference between working with dry wood and working with wet wood. The wood we had salvaged has been drying for years so it's super hard. My poor little Makita impact driver that has served me well for home improvement projects a a chicken coop build wasn't up to the task. Fortunately, tomorrow we'll be able to borrow a nail gun and that should help speed up the rest of the framing.
We're eager to get the fourth wall up tomorrow. Hopefully we'll get some sheathing on as well. The weather has been splendid but we know we're unlikely to be so lucky for long.


