rigid foam

Jill of All Trades

let there be (sky)light! We (almost!) finished the tiny house's exterior last week. Eli has found a professional painter with all the equipment to paint the tiny house in just a day. So on Monday I caulked big gaps and primed the battens and trim to prep for the painter. Simon - who is quite an artist in addition to being a great site supervisor - is letting some thoughts percolate for the time being about the design details for the upper portion of the gable ends. Of course, we still need to install the metal roofing, too, but I won't be able to do that by myself. Manda and Simon have been super busy over at the Cully Grove site since the framing has begun over there now. In the meantime, I shifted my attention to the interior of the tiny house and solo projects.

I started out the week by clearing out all the building supplies we'd been storing in the tiny house and cleaning it up. After sweeping and vacuuming, I caulked the floorplates to the floor, studs, and sheathing. I also installed the door knob so that we can close up the house at night. Then I got going again on the rough electrical. Eli did a walk-through over the weekend and had a few modifications and additions for electrical switch and outlet boxes so I set those in place Monday. The electrical additions required a few more holes to be drilled through the studs so I've become pretty handy with the right angle drill. (Manda informs me that it's actually a "hole hog," but I like the idea of Going Whole Hog on the Tiny House!)

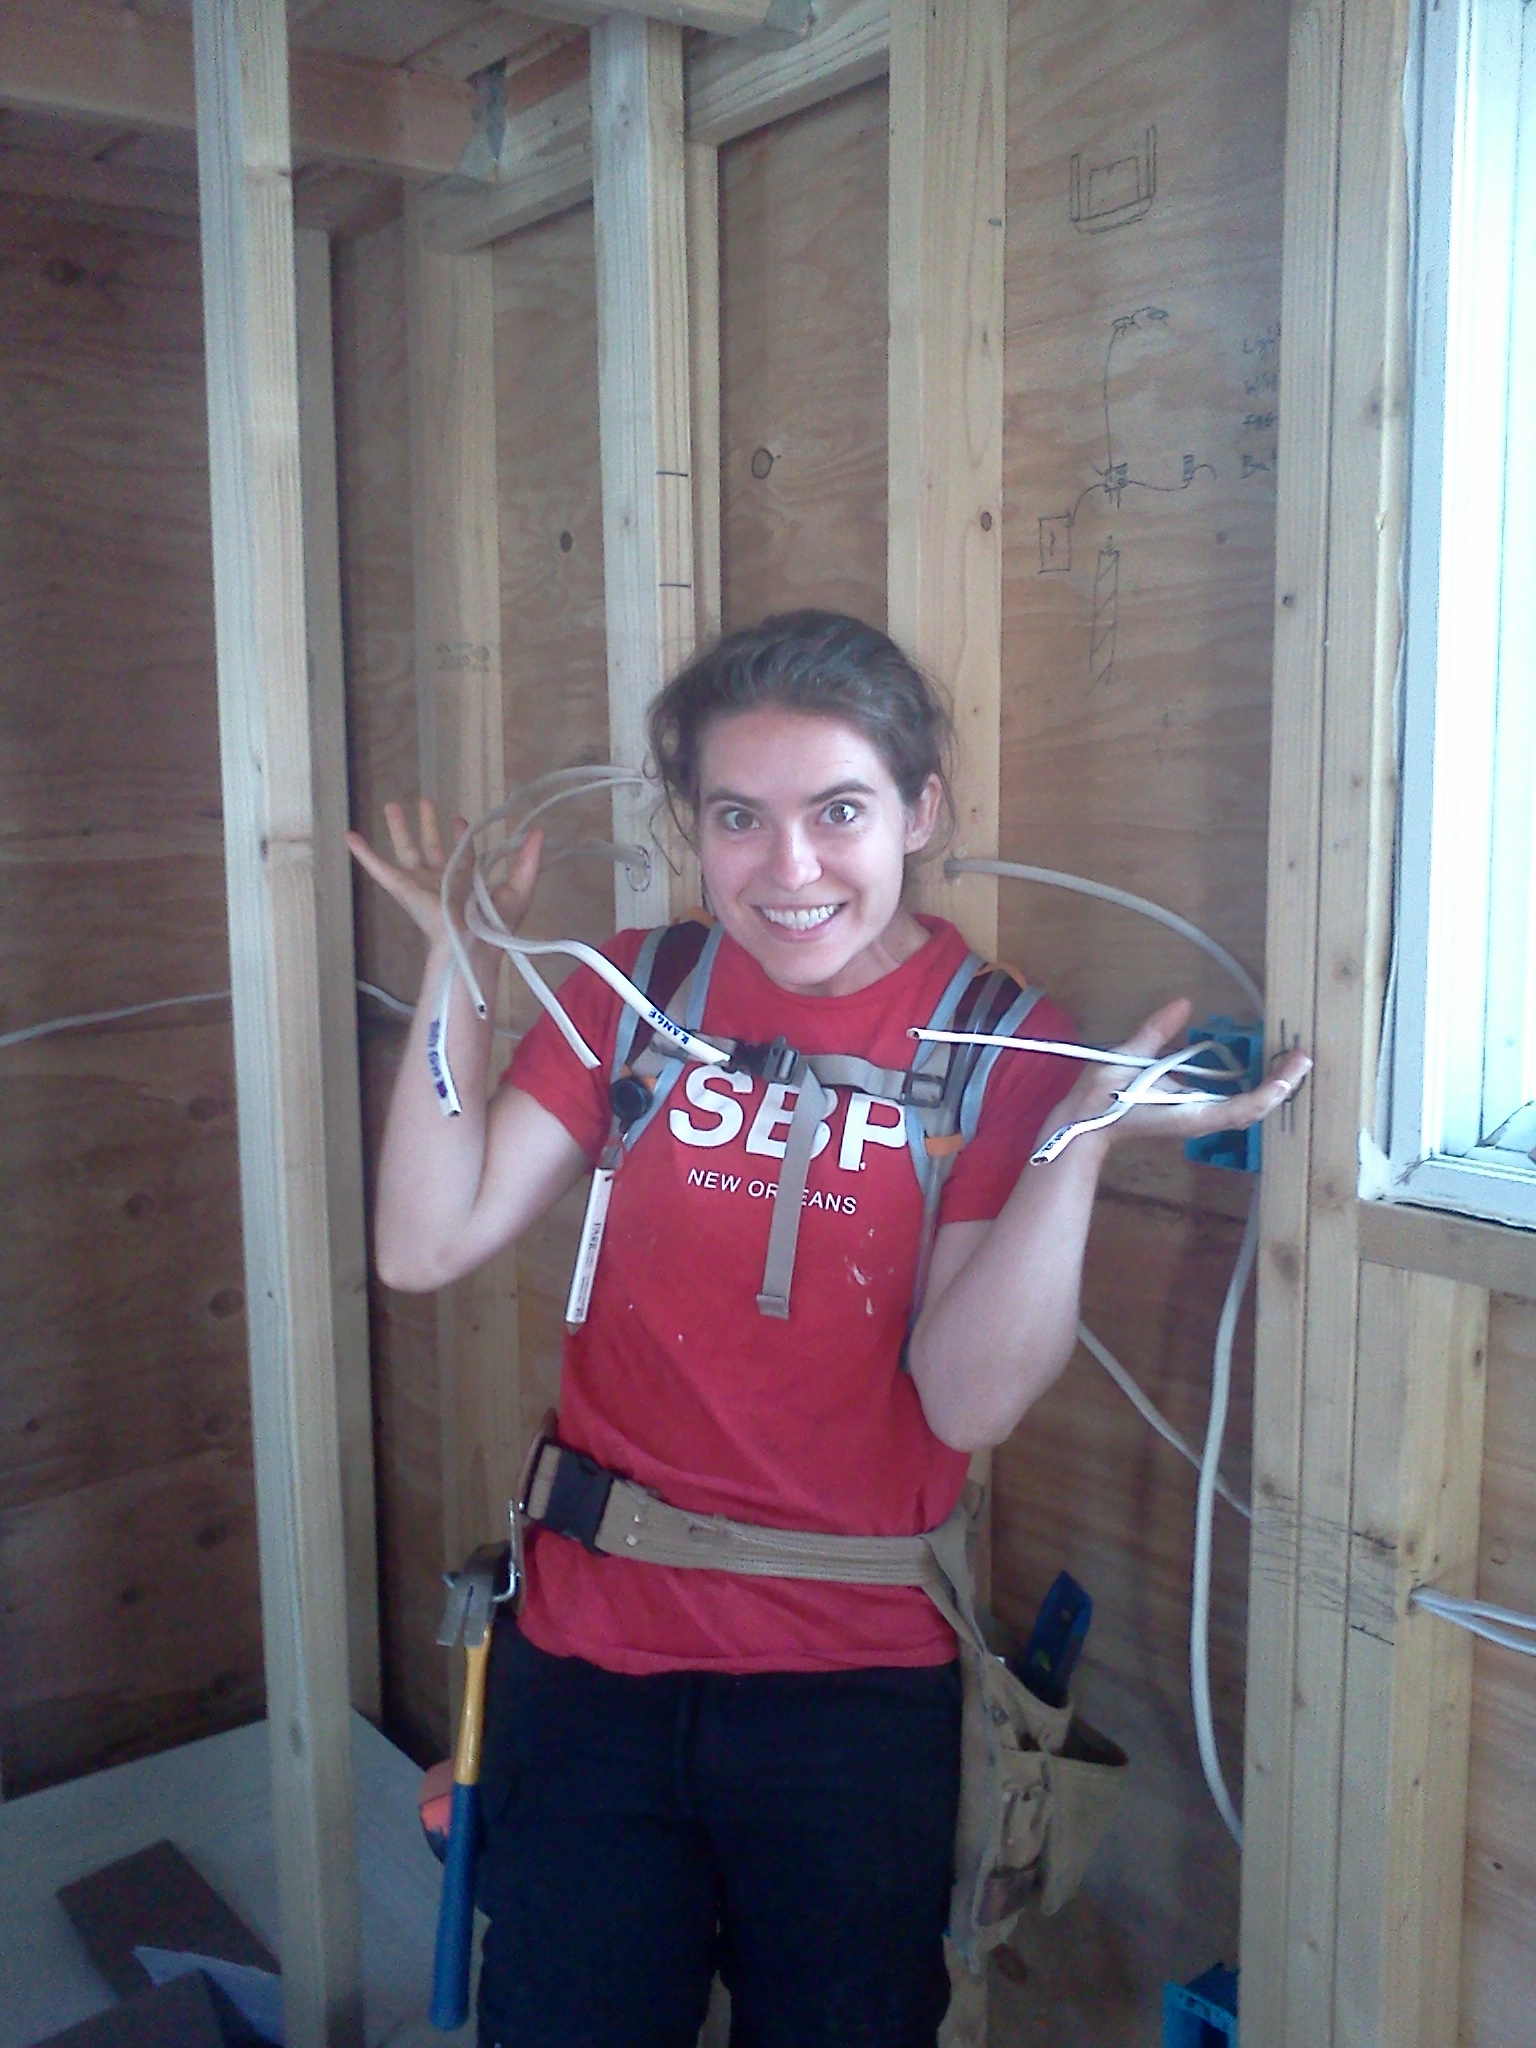
wiring fun

With the thumbs up from Eli I was able to pull the wire Tuesday. (I realized there was a good reason Eli suggested making my runs as straight as possible - it's much easier to actually pull the wire that way!) We're using a 12 gauge wire with 4 circuits. There's a dedicated circuit for the 10 gallon tank water heater and second for the range. A third circuit controls the bedroom and bathroom lights, outlet, and exhaust fan. The fourth circuit is for switches and outlets throughout the rest of the house. I've labeled the wires to make it easier for the electrician to connect everything once we've finished out the walls.

Running wire was a good logic puzzle and by the time I had to leave for my Real Estate Construction class on Tuesday, I had a long list of questions which Simon helped me answer on Wednesday. I enjoyed my crash course in electrical. Turns out I enjoy pulling wire and double checking that my switches and lights are all wired properly. Of course, now that I've got the hang of it, I'm finished with rough electrical, but I'm eager to give it a go again soon!

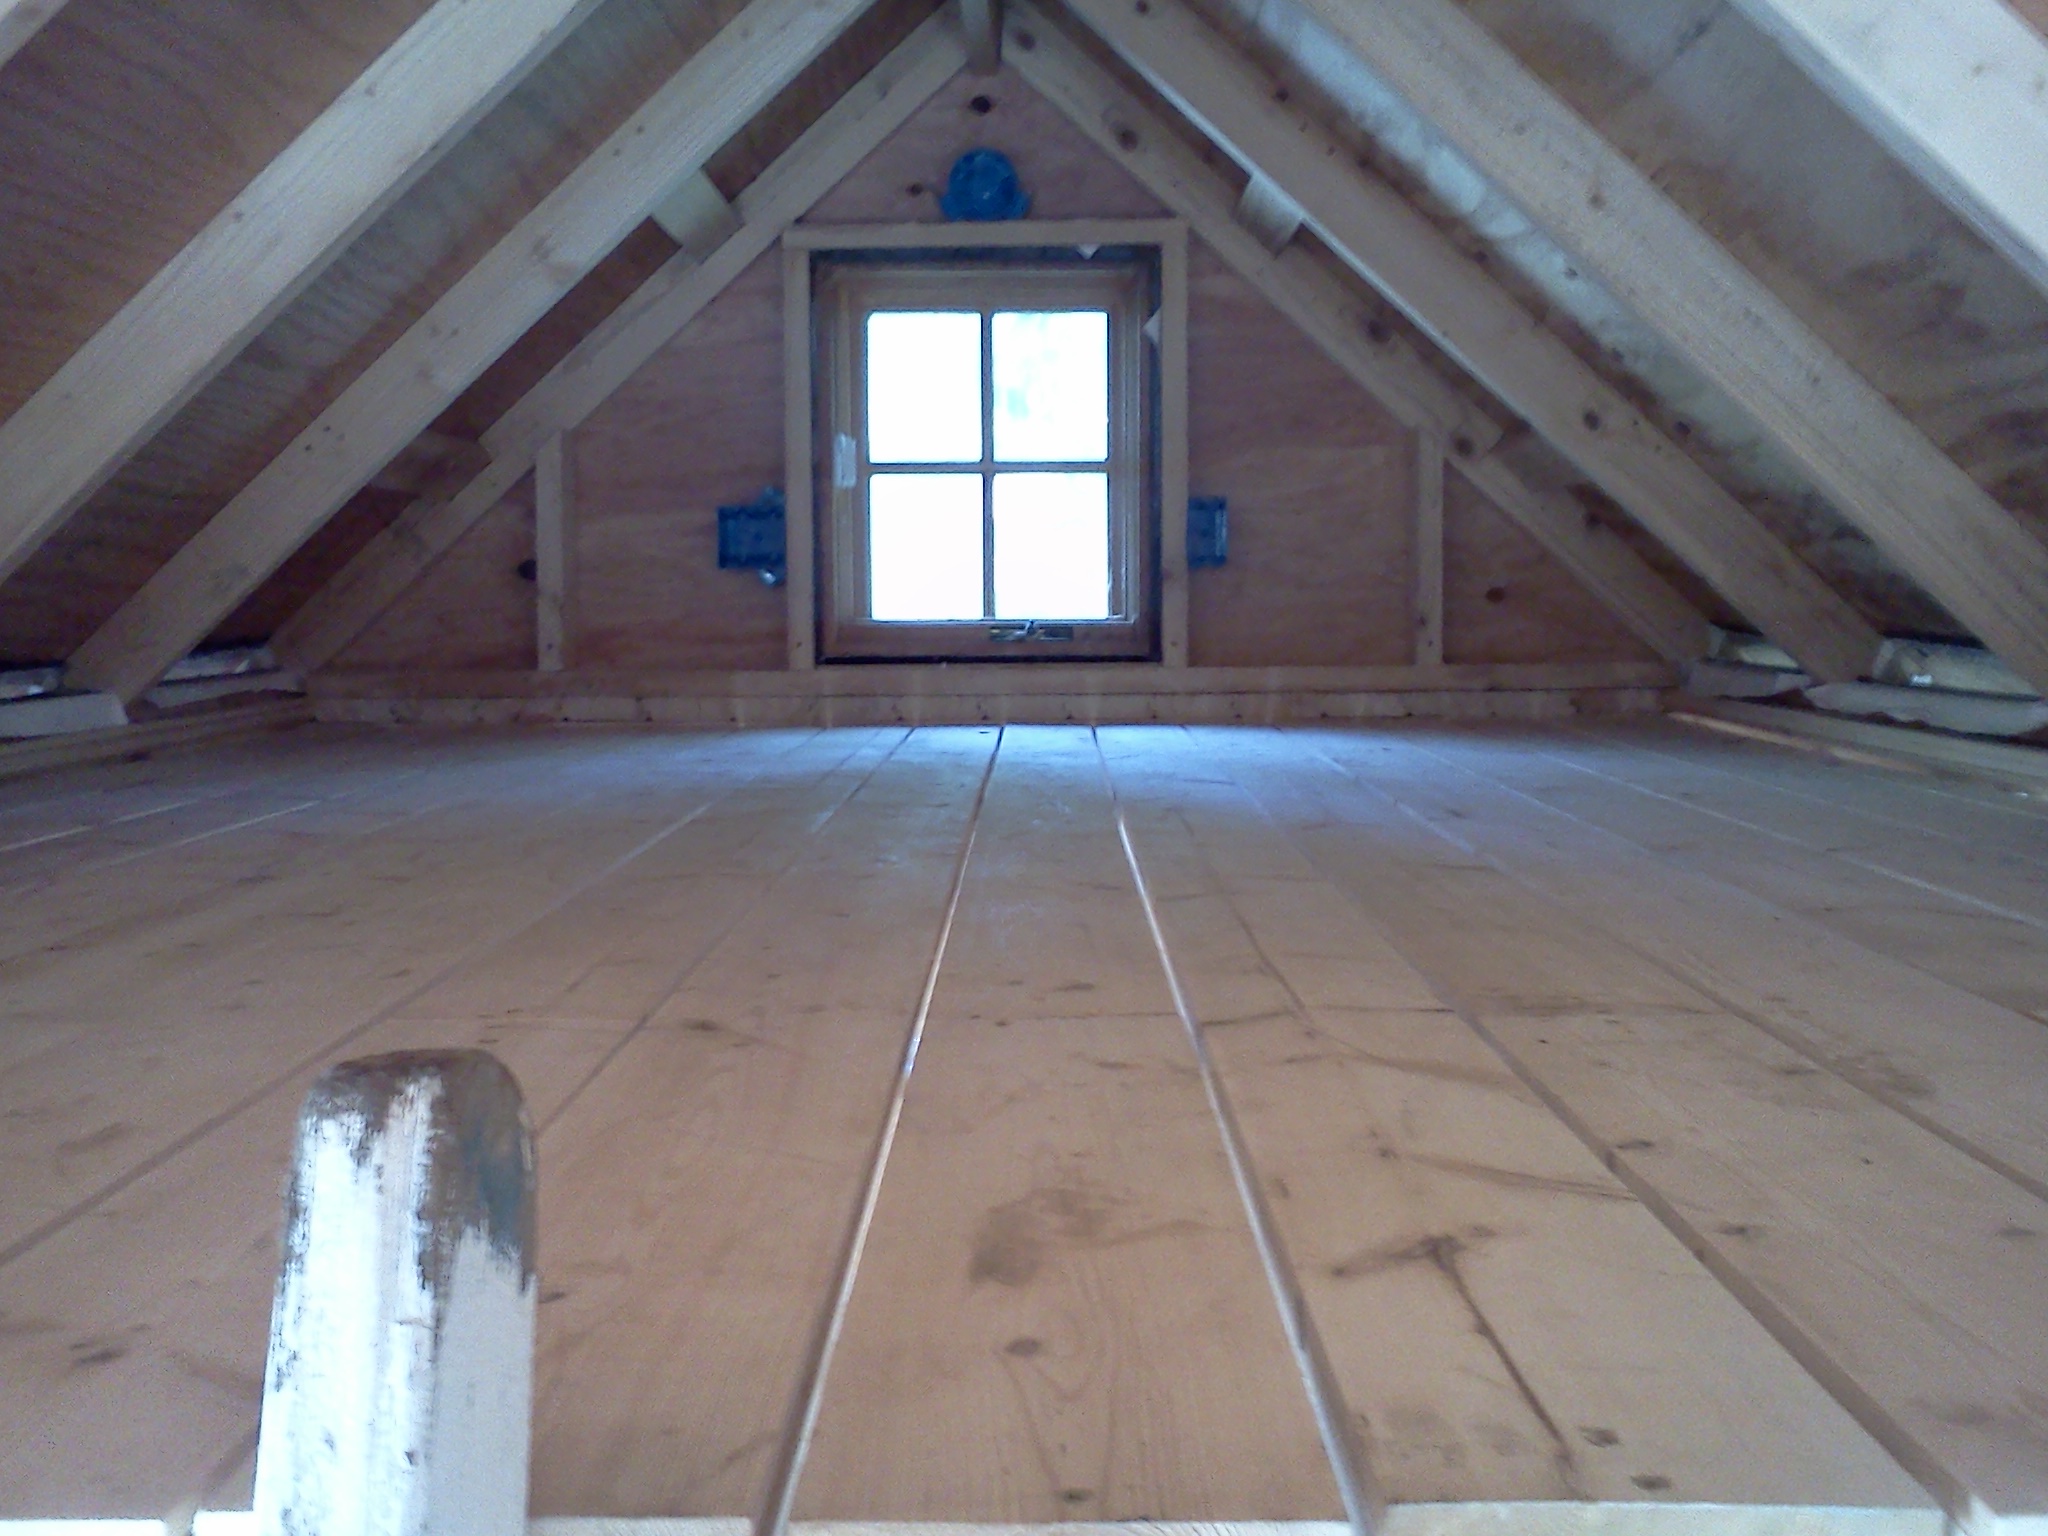
sleeping loft before the skylight

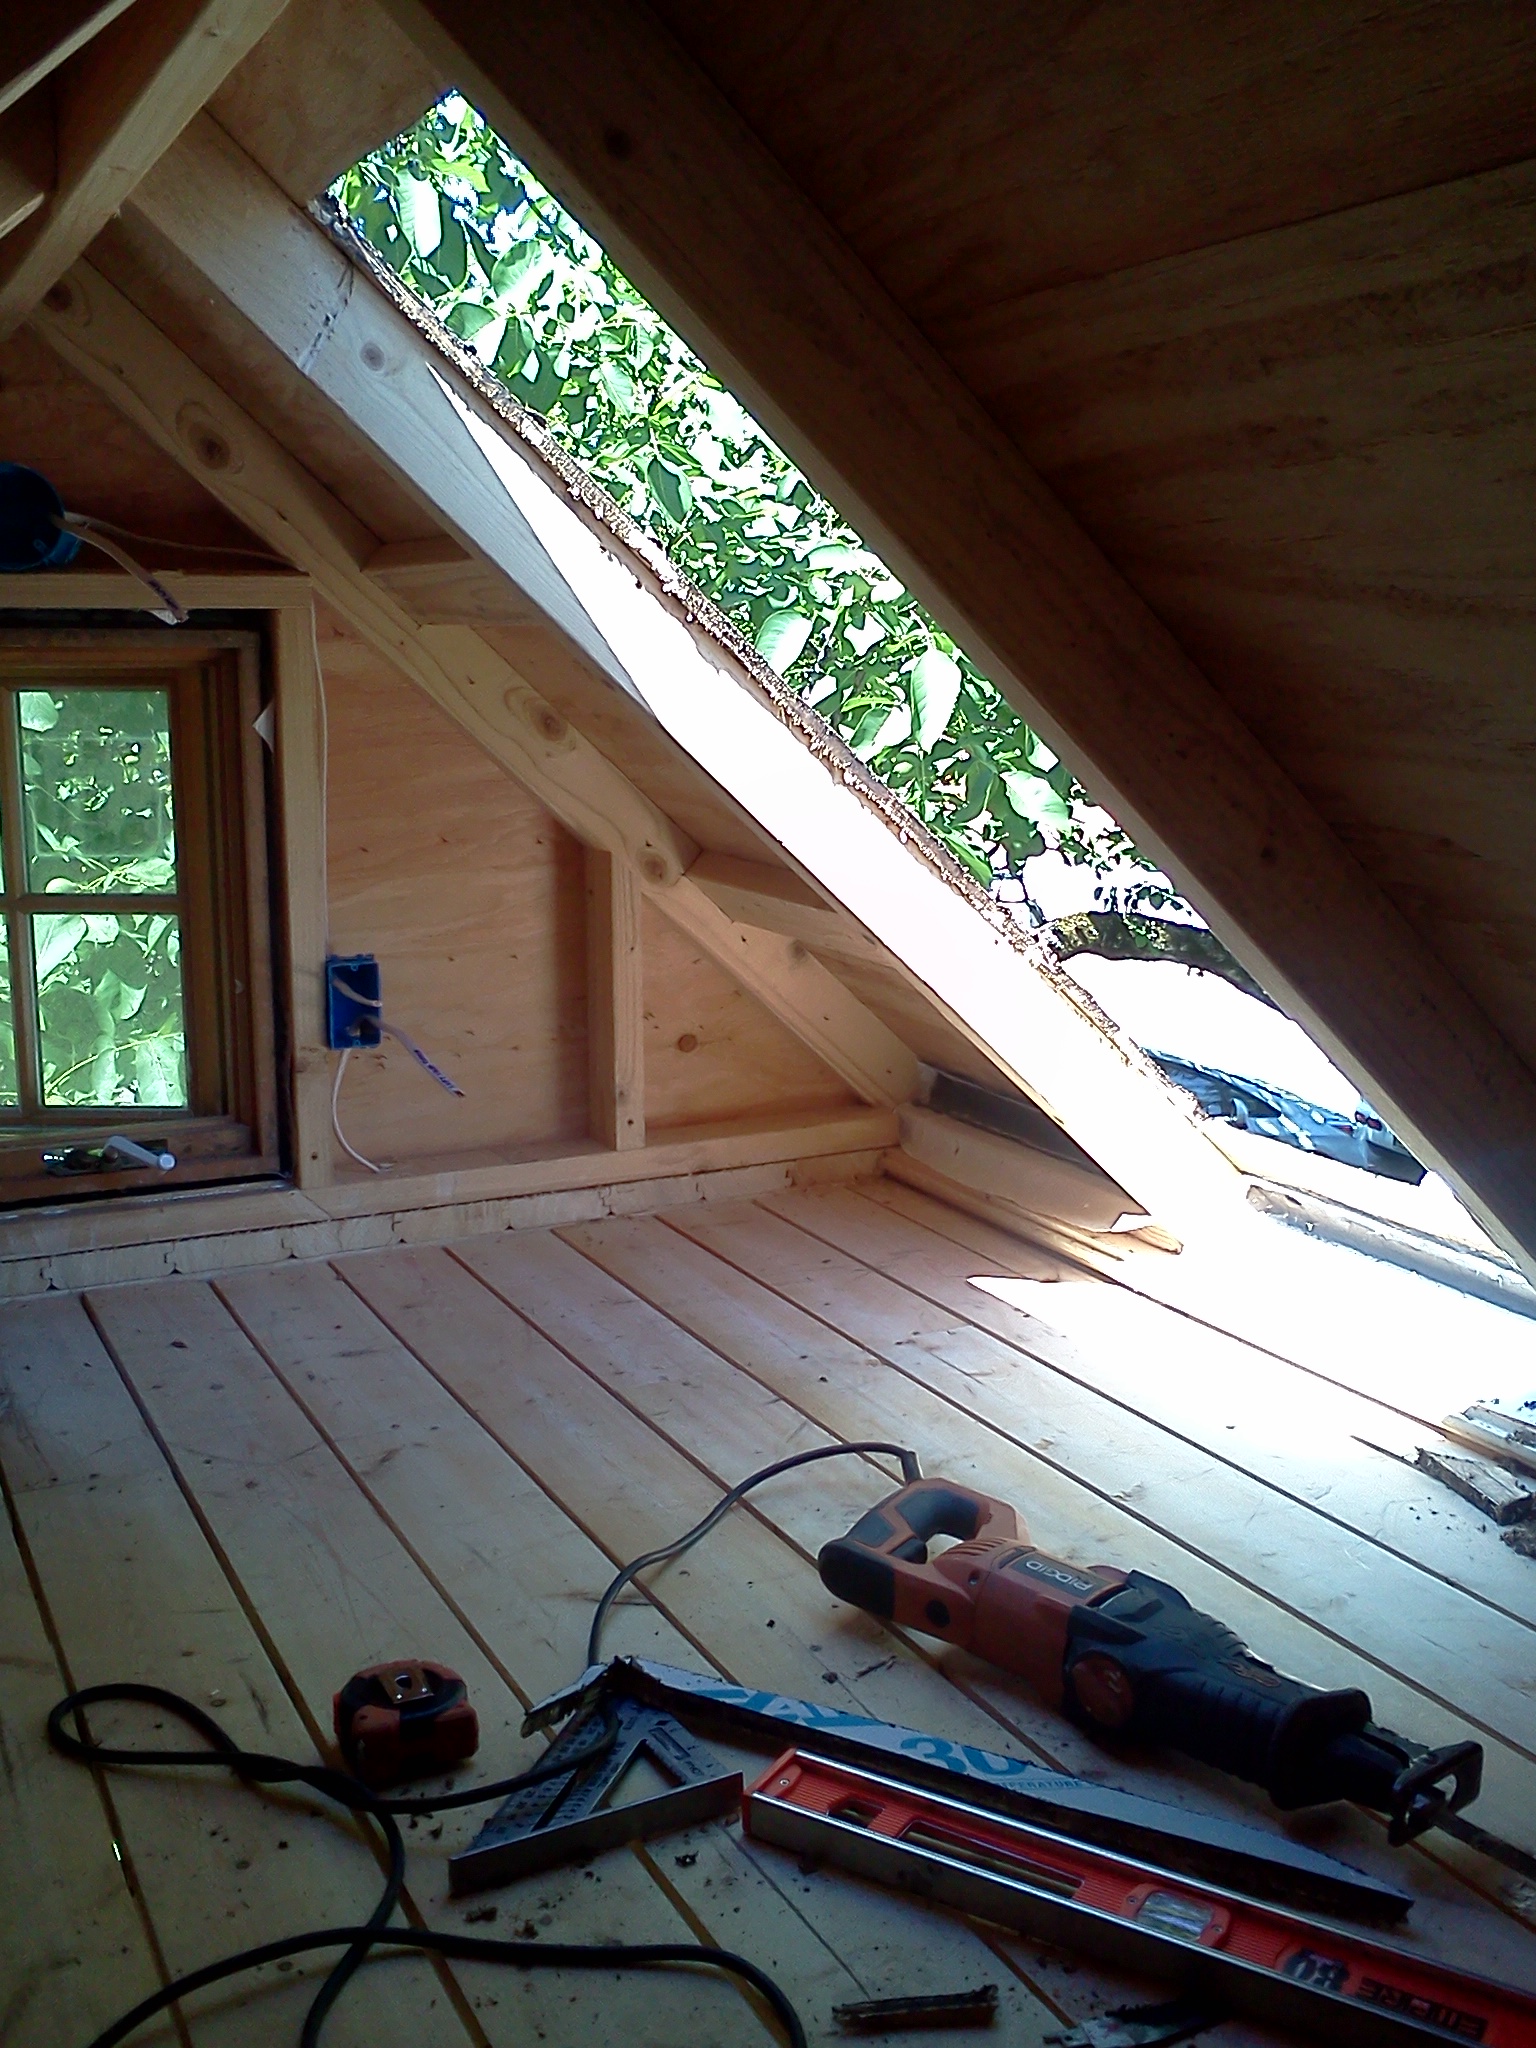
Eli also asked us to install the skylight over the sleeping loft so we can start on the roofing. I marked our rough opening, but I was nervous about using the sawzall, especially in such a confined space and at an awkward angle. The sawzall and the table saw are the two power tools I'm still not quite comfortable with because I hear horror stories of professionals doing serious damage with them. Certain power tools demand respect and I intend to be respectful! So I decided to wait for some coaching.

Fortunately, Manda had some down time at the Cully Grove site yesterday afternoon so she taught me how to use the sawzall safely. Simon helped us set the skylight in place and fix it to the roof sheathing. It's amazing how much the skylight opens up the sleeping loft. Once again, I'm convinced that skylights are the trick to creating a feeling of spaciousness. It's my new favorite feature of the tiny house!

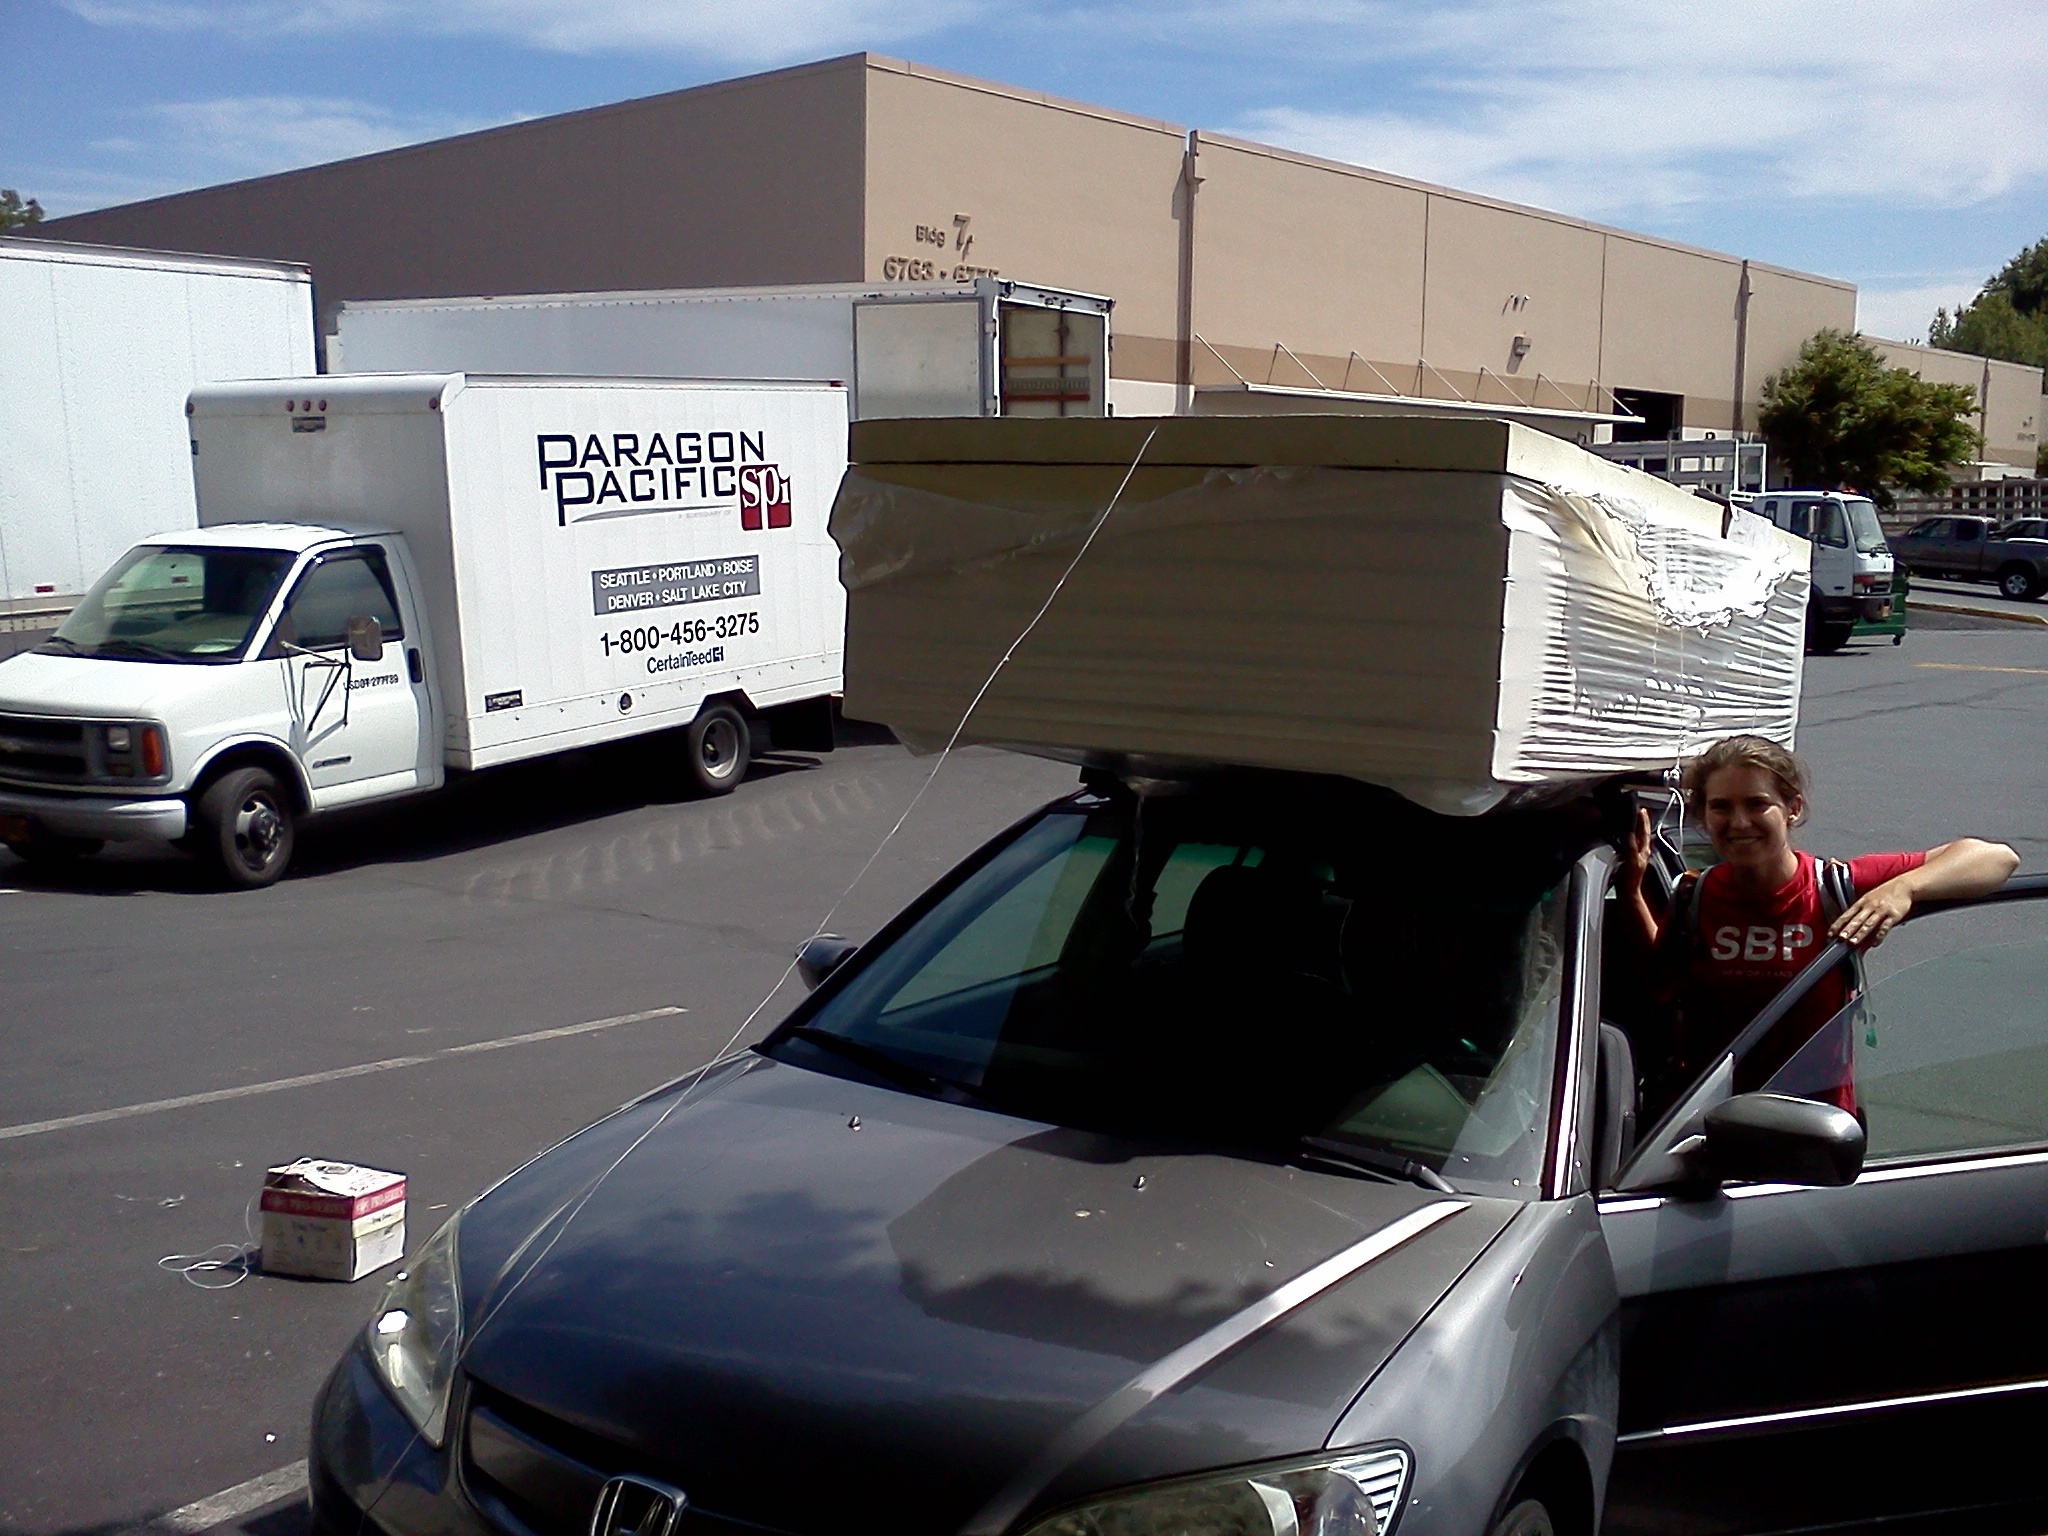
little shared car, big load

Today I did a supply run to pick up 14-3 wire for our 3-way switch, nail plates to protect our wire from puncture wounds when we install the interior finish, and the insulation for our ceiling and walls. Paragon Pacific has a crazy-wonderful selection of insulation, including this 3 inch rigid foam we'll use for our ceiling. I loved loading up the Getaround car with a heap of insulation. It reminded me of the IKEA commercials. Tee, hee!

I've realized this week that one of the strange things about building a tiny house is that I don't have a chance to perfect any of the building techniques. Just as I get the gist of hanging siding, running wire, or cutting rough openings with a sawzall we've finished up that step and moved on to the next one. I imagine by the end of the summer I'll be a true Jill of all trades. Fortunately, I anticipate there will be plenty of chances to apply what I'm learning to other tiny houses! I learned a lot this week and next week it's on to a whole new skill set...

Day 2: Tiny House Wall Framing

Today we got started around 9:00 on a beautiful sunny morning. First off, half of us launched into measuring and cutting studs for the first wall. The rest of us added 3 1/2 inches of 23" wide fiberglass insulation to the floor boxes (the joists are 24" on center). Fortunately it was faced and there were only 10 bays to fill, so it went quickly and painlessly.

While Jane picked up a few more supplies at the hardware store, we added a layer of reflective bubble wrap to the floor. The reflective material was an idea borrowed from some friends. When they were building their house they discovered that the local pet store was throwing away reflective bubble wrap envelopes that were used to transport tropical fish, so these friends started collecting it. They used it in their solarium, but had lots left over so Jane bought some from them. The reflective material works by reflecting heat back into the house when the shiny side is towards the interior of the house. It requires an air gap between the bubble wrap and the interior wall or floor in order to work properly, so we stapled it about an inch below the top of the joists. By the time we were finished we felt like we'd created a solar people cooker. The bright sun reflecting off the surface was making us shed all the extra layers we were wearing when we arrived at the job site!

As her friends continued with the wall framing, Jane and I ran around town in her trusty truck, on the hunt for a narrow door and a shower pan (turns out the shower surround we found by the side of the road that we thought would be perfect wouldn't do). We managed to find a 34" x 34" shower pan at a local plumbing supply store and got a deal on it because of a minor blemish that we never would have noticed if they guy hadn't pointed it out.

Finding a narrow door with either full or half lites that we could cut down to 78" didn't prove as easy. We had known there was a pretty good chance that we wouldn't end up using the sliding glass door Jane had envisioned. But we were thwarted when our back up plan to use a 24" door fell apart, too. As the stud layout came together we discovered that a 78" door was the tallest we could accommodate. The 24" door is metal and can't be cut down to 78." So we visited the ReBuilding Center, Habitat Restore, Builder's City, and Home Depot and had to return to the site without a door. The new doors we looked at today were wider and taller than we wanted, most of them weren't pre-hung, and they were all pretty expensive considering that any of them would need some modification. We decided to plan for a 28" door since that's the size Jane wants. We'll keep investigating our options and perhaps the right door will come our way.

We returned to find that we were nearly ready for a wall raising. I put metal flashing onto the trailer frame on the outside of the internal floor box and covered it with a membrane material that's usually used to prevent wicking from concrete into framing. In our case we're hoping it will protect the wood framing from the metal framing. We settled the walls into place on the exterior edges and bolted them down through HTT tension ties. As we all worked on nailing the tension ties to the studs it started sounding a whole lot like a construction site!

At the end of the day half the team worked on securing the top plate to the long walls and tying the three walls together. Meanwhile the rest of us cut cripples for above and below the long window for the window seat. I discovered that there's a big difference between working with dry wood and working with wet wood. The wood we had salvaged has been drying for years so it's super hard. My poor little Makita impact driver that has served me well for home improvement projects a a chicken coop build wasn't up to the task. Fortunately, tomorrow we'll be able to borrow a nail gun and that should help speed up the rest of the framing.

We're eager to get the fourth wall up tomorrow. Hopefully we'll get some sheathing on as well. The weather has been splendid but we know we're unlikely to be so lucky for long.

Day 1: Tiny House Foundation

Today was the first day of our week-long tiny house build and we're relaxing after a productive day. We've just finished a splendid supper and we're making our shopping and to do lists for tomorrow.

We started out just before noon with a feasibility test of sorts as we described our plans to Jane's friends who are helping with the tiny house build. They have more construction experience than Jane and me, so we were anxious to make sure that our design is build-able. We knew there would be some figuring out and some troubleshooting, but it was a little nerve-wracking trying to explain the construction details we'd basically invented. Since we wanted to maximize the space of the trailer we had a custom trailer built so we weren't able to rely on many of the design details that many other tiny housers have already developed. Fortunately, a few moments playing with 2x4s and 2x6s enabled us come up with a plan to move forward.

Our goal for the day was to get the foundation finished and we're very pleased we succeeded. We started out by building the floor box for the central portion of the trailer. We screwed eleven 75" 2x6s to the two 20 ft 2x6 rim joists. (We was pretty exciting about using the impact driver - what a fun new toy!) Then we flipped the whole assembly over and tacked 6 mm plastic and rolled aluminum flashing to the frame. The moment of truth came when we flipped the frame over again and settled it into place inside the trailer. With a few whacks of the sledgehammer it fit snugly into place. Once it was settled, we bolted the central floor box and the 2x6s on the other side to the trailer frame with 6" long 1/2" bolts. We'd special requested 5/8" holes drilled horizontally through the sides of the custom trailer frame at the corners and on either side of the wheel wells. The extra $5 per hole seems to be worth the time saved drilling through the steel ourselves.

We cut 1" extruded polystyrene insulation to fit in the bays. (Unfortunately, Home Depot made a couple of errors in the order and delivered some of the wrong materials, so we actually ended up with mostly 3/4" foam. We decided to go with it anyhow since we were eager to get the insulation in.) Once we had the rigid foam insulation in place, we spray foamed all the edges. We decided to wait on adding any additional insulation till tomorrow morning. The weather report is for clear skies so keep your fingers crossed for us!

As evening approached we worked out a revised stud layout that is a compromise between the plentiful windows Jane wants and her builder friends' insistence that we have more wall surface for increased shear strength. We marked the stud layout onto the sill plates on the exterior walls so that we can tackle it in the morning.

Tomorrow will be an exciting day as we'll be laying the subfloor and framing up the first of the walls. Stay tuned!