spray foam

Insulating My Vardo Roof

Fast Flashing Ceiling Friday I picked up Eave Caps for My Vardo Roof and Saturday we worked on Plan F. Yesterday we worked on Plan F: Take 2. And today we (finally!) insulated my roof box!

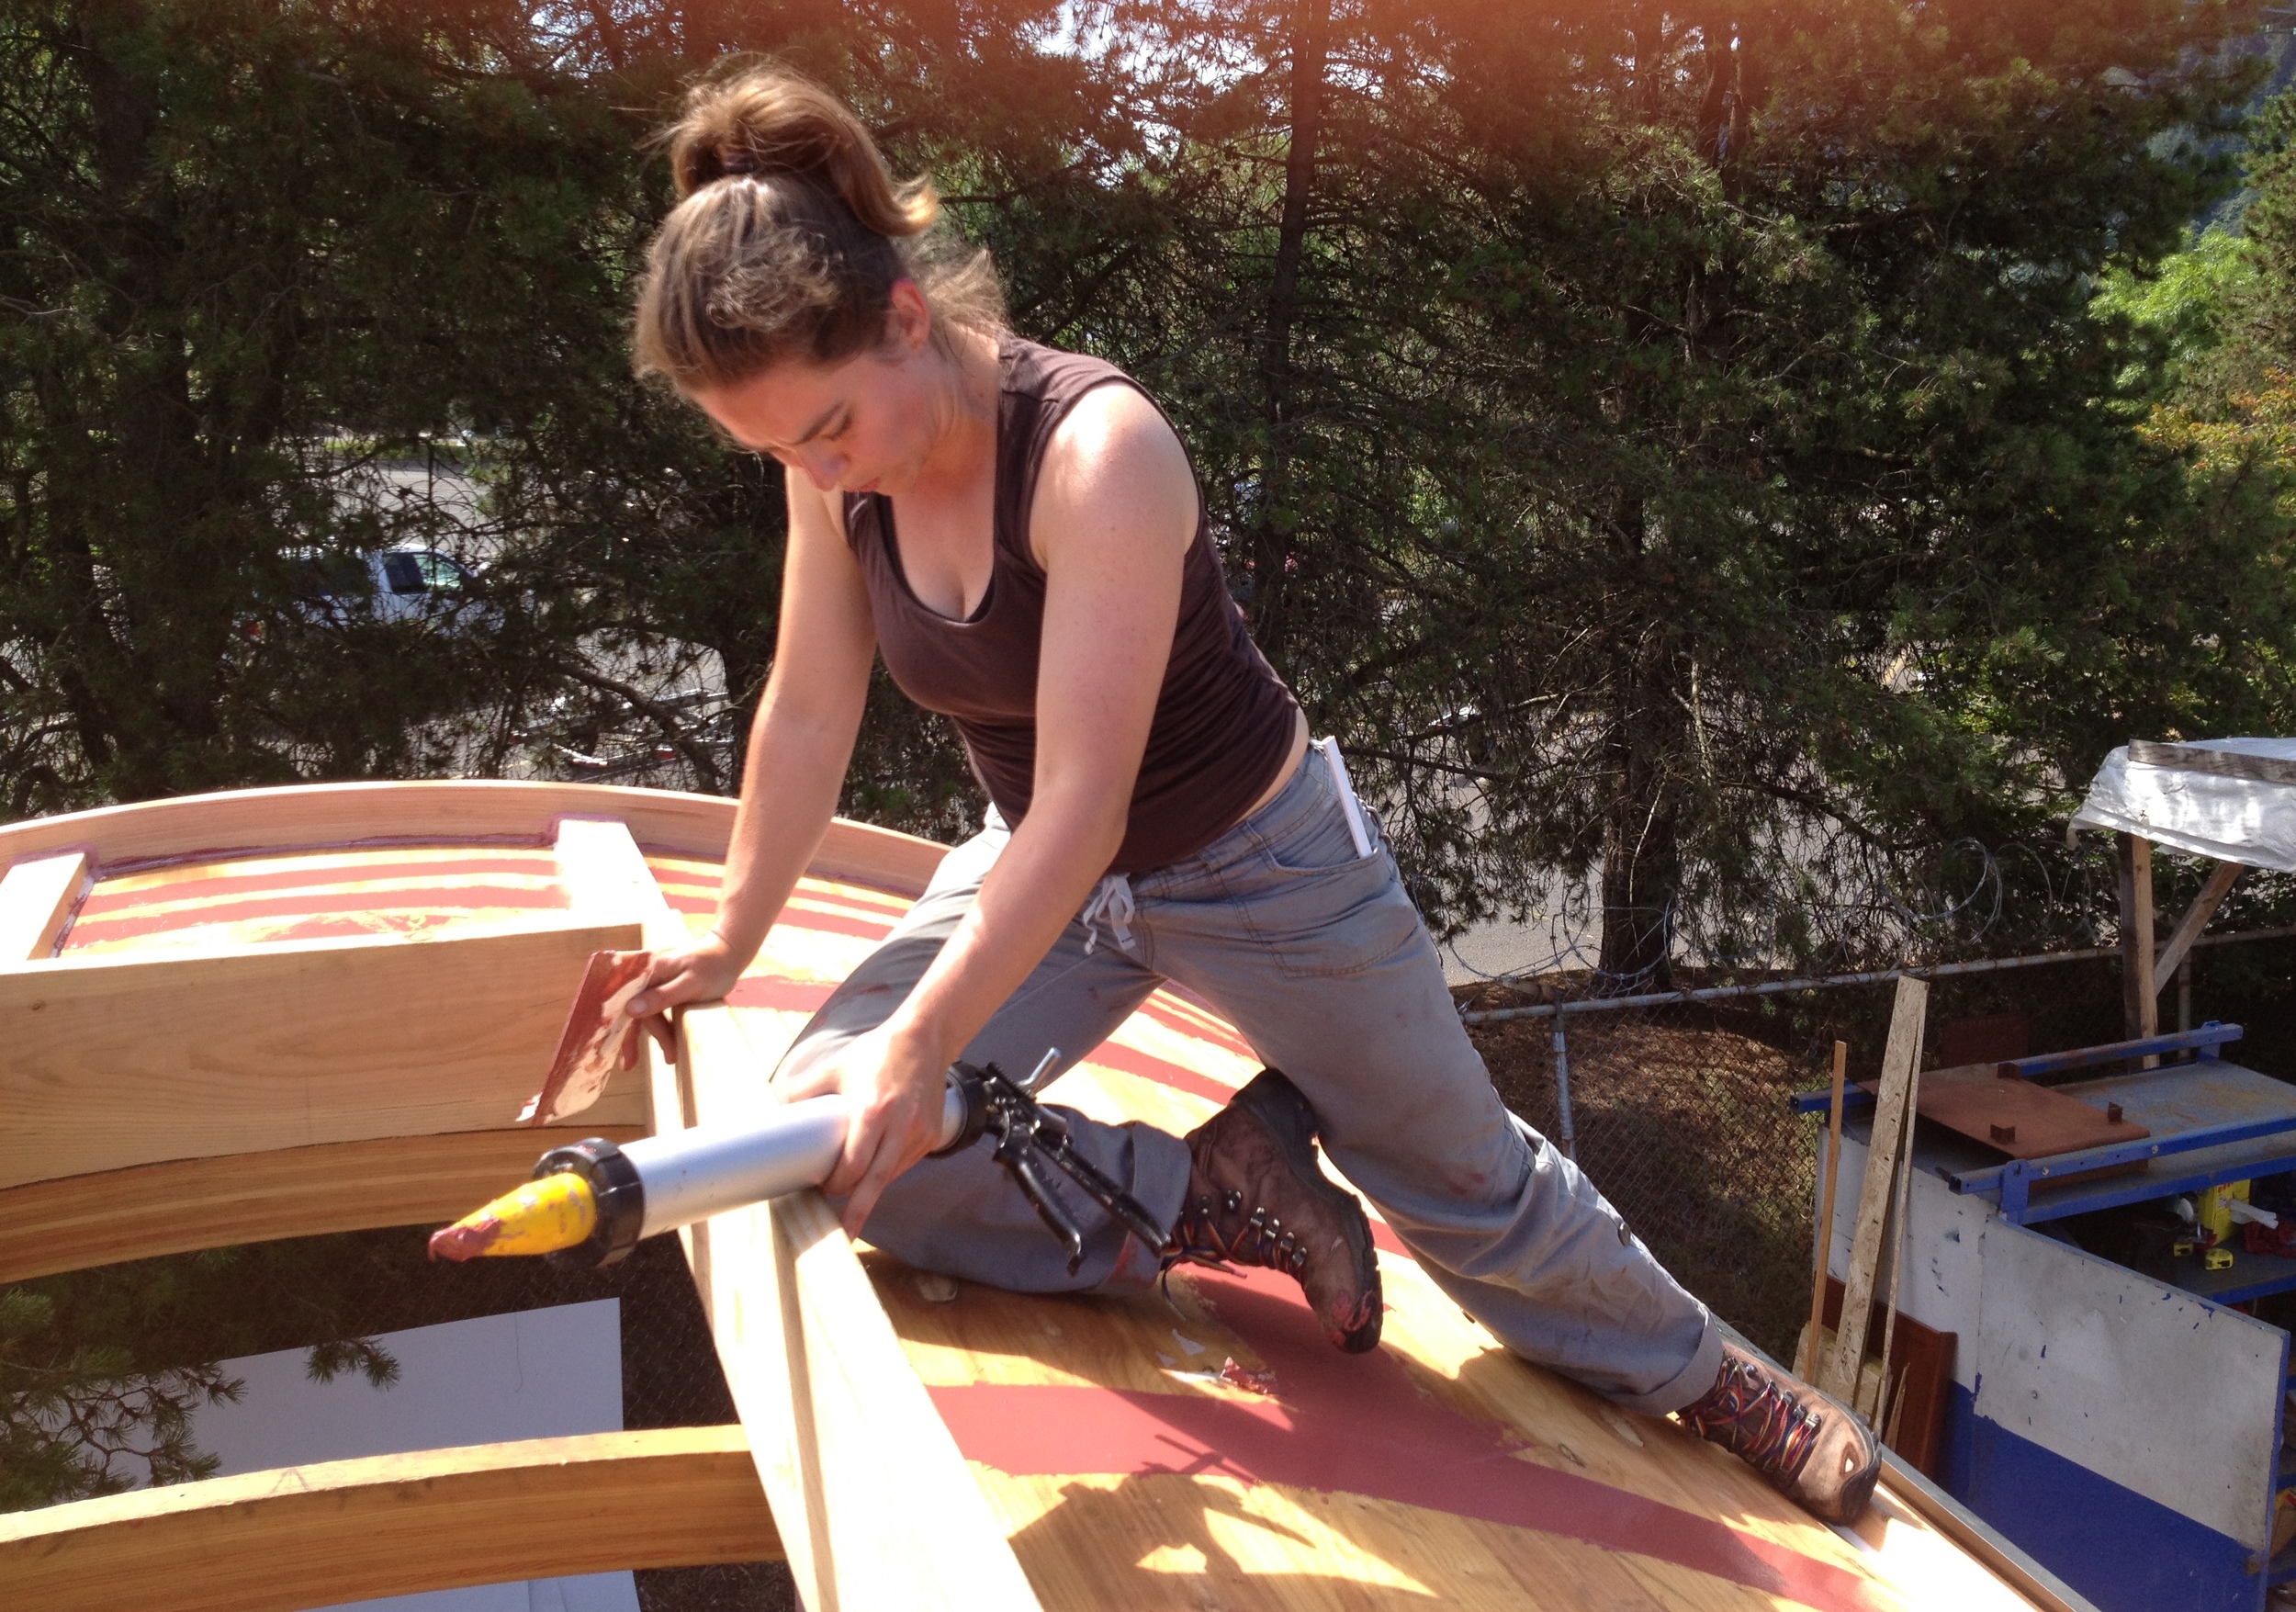
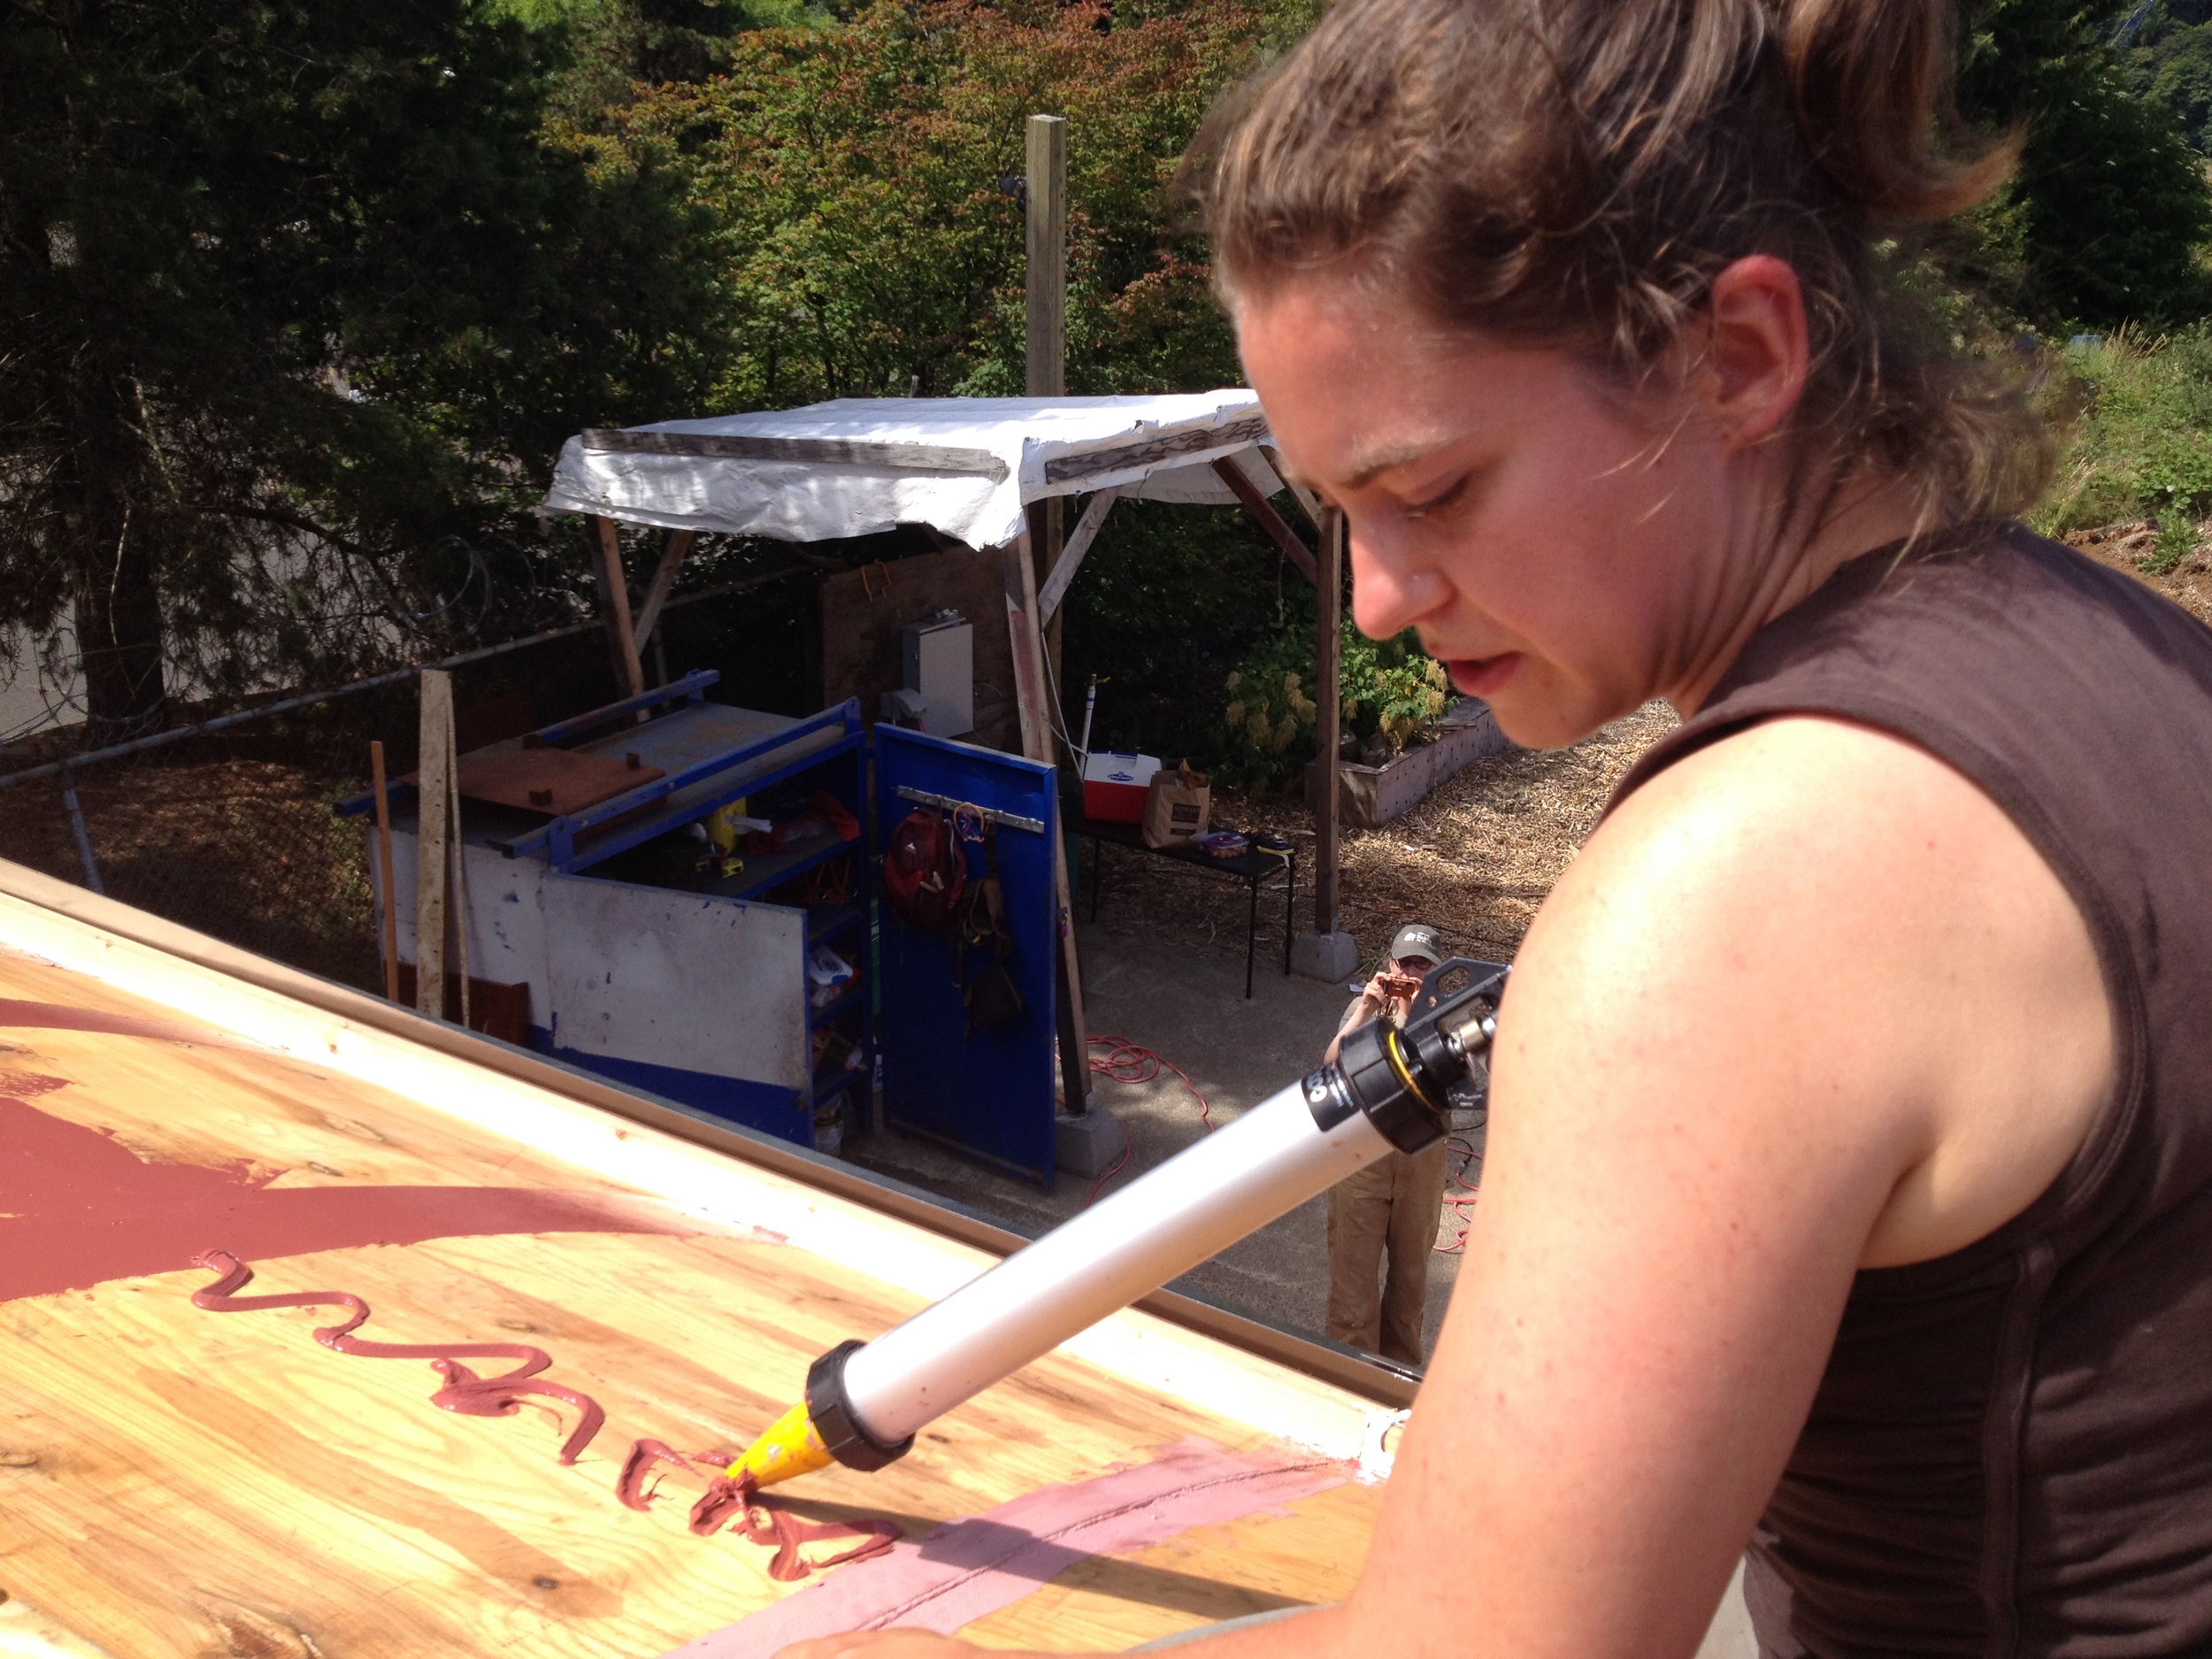
In the morning Matthew helped me air seal the ceiling. This involved running Fast Flash from the R-Guard system by Prosoco over all of the seams where we’d nailed the ceiling bead board. (You can read about my bead board ceiling in Ceiling Up My Vardo.) Matthew also helped me find the weak points in the ceiling panels by standing inside the house and looking for the spots where the ceiling was translucent. I was on the roof so I tested to see if I had the right spot by covering up the area with my hand. If I blocked the light I knew I’d found my target. (Though I had to remember to not block the area with my shadow since it was so sunny!) I covered these areas with Fast Flash, too. Once the roof was no longer see-through we were ready for the insulation.

covering the weak spots with Fast Flash for good air sealing

This afternoon Tony and Grae helped me install the insulation in my vardo roofbox. We cut 4’ x 8’ sheets of 1” expanded polystyrene (EPS) foam board to fit between the 2x6 at the eves and the outriggers surrounding the skylight box. We decided to leave the spots on either end of the skylight box at the front and back of the house till last because it’s such a nice place to sit and store tools without them slipping off the roof!

Once we’d dry-fitted the foam we removed it and spray foamed the edges. Then slipped the sheets of insulation into place. Once the first piece was in place we put in another 1” sheet of EPS on top of it. Fortunately, these sheets didn’t need to be cut, just tacked down onto the nailers and spray foamed at the edges. As we installed the insulation we discovered we’d installed the skylight box slightly askew, so we cut a couple long strips to fill in the gap. We’ll need to do the same for the sheathing.

My walls have 3 ½ of EPS insulation in the SIPS and my floors have 5 ½” of XPS (extruded polystyrene) insulation because I hate having cold feet. Ideally I would have had at least as much insulation in my roof as in my walls. So I ordered the Eve Caps for My Vardo Roof to be 3 ½” tall – 3” for foam and ½” for the sheathing. Unfortunately, I didn’t account for the losses created by the angles. So once we got the second piece of 1” foam into the roof we realized we wouldn’t be able to get more than 2” of foam inside the eve caps with the sheathing in there, too. (The fellow at Vinje’s mentioned when I picked up the Eave Caps for My Vardo Roof that he’d read my blog and he wasn’t sure I’d be able to get 3” of insulation in there. Glad he thought of it, but I wish I’d talked it through with him sooner!)

I am bummed that my roof isn’t better insulated, but as my fellow tiny house builders/energy auditors remind me, my decision to put skylights right in the top of my house pretty much negates the insulation I put in the roof. So I don’t have the best insulation to prevent conductive heat transfer. I’m going to count on that air sealing to help with convective heat transfer. My New Custom Skylight (which will replace the one I broke on my day of Hail and High Water) will help with radiant heat transfer.

all tarpped up (again!) and ready for this week's rain

I was hoping to get the sheathing up today, too, but the breeze tends to pick up in the evenings on our site and it seemed precarious for Grae and I to be lugging sheets of plywood up ladders, only to have the caught by the wind. Besides, I, for one, was getting pretty tired by this point. It was hot today! But it's expected to rain over the next couple days, so we decided to tarp the house up (again! But hopefully for the last time!)

As evening approached I took a break to get milkshakes for me and my build buddy Laura and then helped her with her siding a little bit before calling it a day. You can read more about Laura’s siding on and A Little Bit of Everything else on her blog.


Tiny House Insulation, Roofing, & Interior Walls

Tiny House Exterior The tiny house I'm building with Orange Splot, LLC has come along nicely in the past two weeks. Last week (between moving into My Summer Garden Cottage and getting the Tiny House On the Road and back to Olympia) I insulated the ceiling and walls. Manda and I also installed the metal roofing and flashed the gables and the skylight.

sealing gaps at the top of insulation and below the ridge vent with spray foam

I was a little nervous about getting up on the roof at first since I had a pretty epic fall off a ladder when I was 16 (and I have the scars to prove it). But I'm more afraid of falling than I am of heights. Once I was up there I was able to just enjoy the project and the view of the neighborhood. It was also awesome to hear Eli's three-year-old daughter squeal: "Look! Two women on the roof!" I love that this little girl is growing up with role models of women building houses. A few days ago when the office manager Chris pointed to the tiny house and asked Ozora whose house it was, she replied "Lina's House." Aww, shucks! I wish!

working with gravity: we taped seams then spray foamed the gaps


As for the insulation, I know many tiny housers are committed to using natural insulation like sheep's wool or denim batts. I appreciate that because the natural materials are renewable, less toxic, and support green industry. But in this case we're going for high R-value in the ceiling with 3 inches of rigid foam. We're using R-19 fiberglass in the walls because it's quick and inexpensive. The ceiling bays had few complications (just a carbon monoxide/smoke detector and an overhead light to work around) so the rigid insulation was pretty easy to install once I got myself a 3 inch blade. Manda also showed me how to work with gravity instead of against it when using expanding spray foam. We taped the seams where the rigid foam ran along the rafters and then sprayed the foam from above once we cut open the ridge vent. (This was a drastic improvement over my attempt to spray foam from below at the end of the previous day!) Even installing the prickly fiberglass insulation in the walls was pretty painless since I prepped ahead and was totally prepared. I had long sleeves, gloves, safety glasses, and a great face mask. I still plan to use fiberglass insulation as infrequently as possible, but at least I know for next time that a good mask makes all the difference.

Interior Paneling

This week on Monday I worked through a punch list of little tasks such as insulating the outlet boxes and tidying up our exterior materials. First thing Wednesday morning the plumbers roughed in for the shower and kitchen sink, so once they finished I was able to insulate the kitchen and bathroom. Yesterday I began on the interior finish which is a 5/8" tongue and groove paneling. It's thicker and heavier than I've seen in other tiny houses, but it's really beautiful wood. I think it will be gorgeous once we clear coat it.

Day 1: Tiny House Foundation

Today was the first day of our week-long tiny house build and we're relaxing after a productive day. We've just finished a splendid supper and we're making our shopping and to do lists for tomorrow.

We started out just before noon with a feasibility test of sorts as we described our plans to Jane's friends who are helping with the tiny house build. They have more construction experience than Jane and me, so we were anxious to make sure that our design is build-able. We knew there would be some figuring out and some troubleshooting, but it was a little nerve-wracking trying to explain the construction details we'd basically invented. Since we wanted to maximize the space of the trailer we had a custom trailer built so we weren't able to rely on many of the design details that many other tiny housers have already developed. Fortunately, a few moments playing with 2x4s and 2x6s enabled us come up with a plan to move forward.

Our goal for the day was to get the foundation finished and we're very pleased we succeeded. We started out by building the floor box for the central portion of the trailer. We screwed eleven 75" 2x6s to the two 20 ft 2x6 rim joists. (We was pretty exciting about using the impact driver - what a fun new toy!) Then we flipped the whole assembly over and tacked 6 mm plastic and rolled aluminum flashing to the frame. The moment of truth came when we flipped the frame over again and settled it into place inside the trailer. With a few whacks of the sledgehammer it fit snugly into place. Once it was settled, we bolted the central floor box and the 2x6s on the other side to the trailer frame with 6" long 1/2" bolts. We'd special requested 5/8" holes drilled horizontally through the sides of the custom trailer frame at the corners and on either side of the wheel wells. The extra $5 per hole seems to be worth the time saved drilling through the steel ourselves.

We cut 1" extruded polystyrene insulation to fit in the bays. (Unfortunately, Home Depot made a couple of errors in the order and delivered some of the wrong materials, so we actually ended up with mostly 3/4" foam. We decided to go with it anyhow since we were eager to get the insulation in.) Once we had the rigid foam insulation in place, we spray foamed all the edges. We decided to wait on adding any additional insulation till tomorrow morning. The weather report is for clear skies so keep your fingers crossed for us!

As evening approached we worked out a revised stud layout that is a compromise between the plentiful windows Jane wants and her builder friends' insistence that we have more wall surface for increased shear strength. We marked the stud layout onto the sill plates on the exterior walls so that we can tackle it in the morning.

Tomorrow will be an exciting day as we'll be laying the subfloor and framing up the first of the walls. Stay tuned!