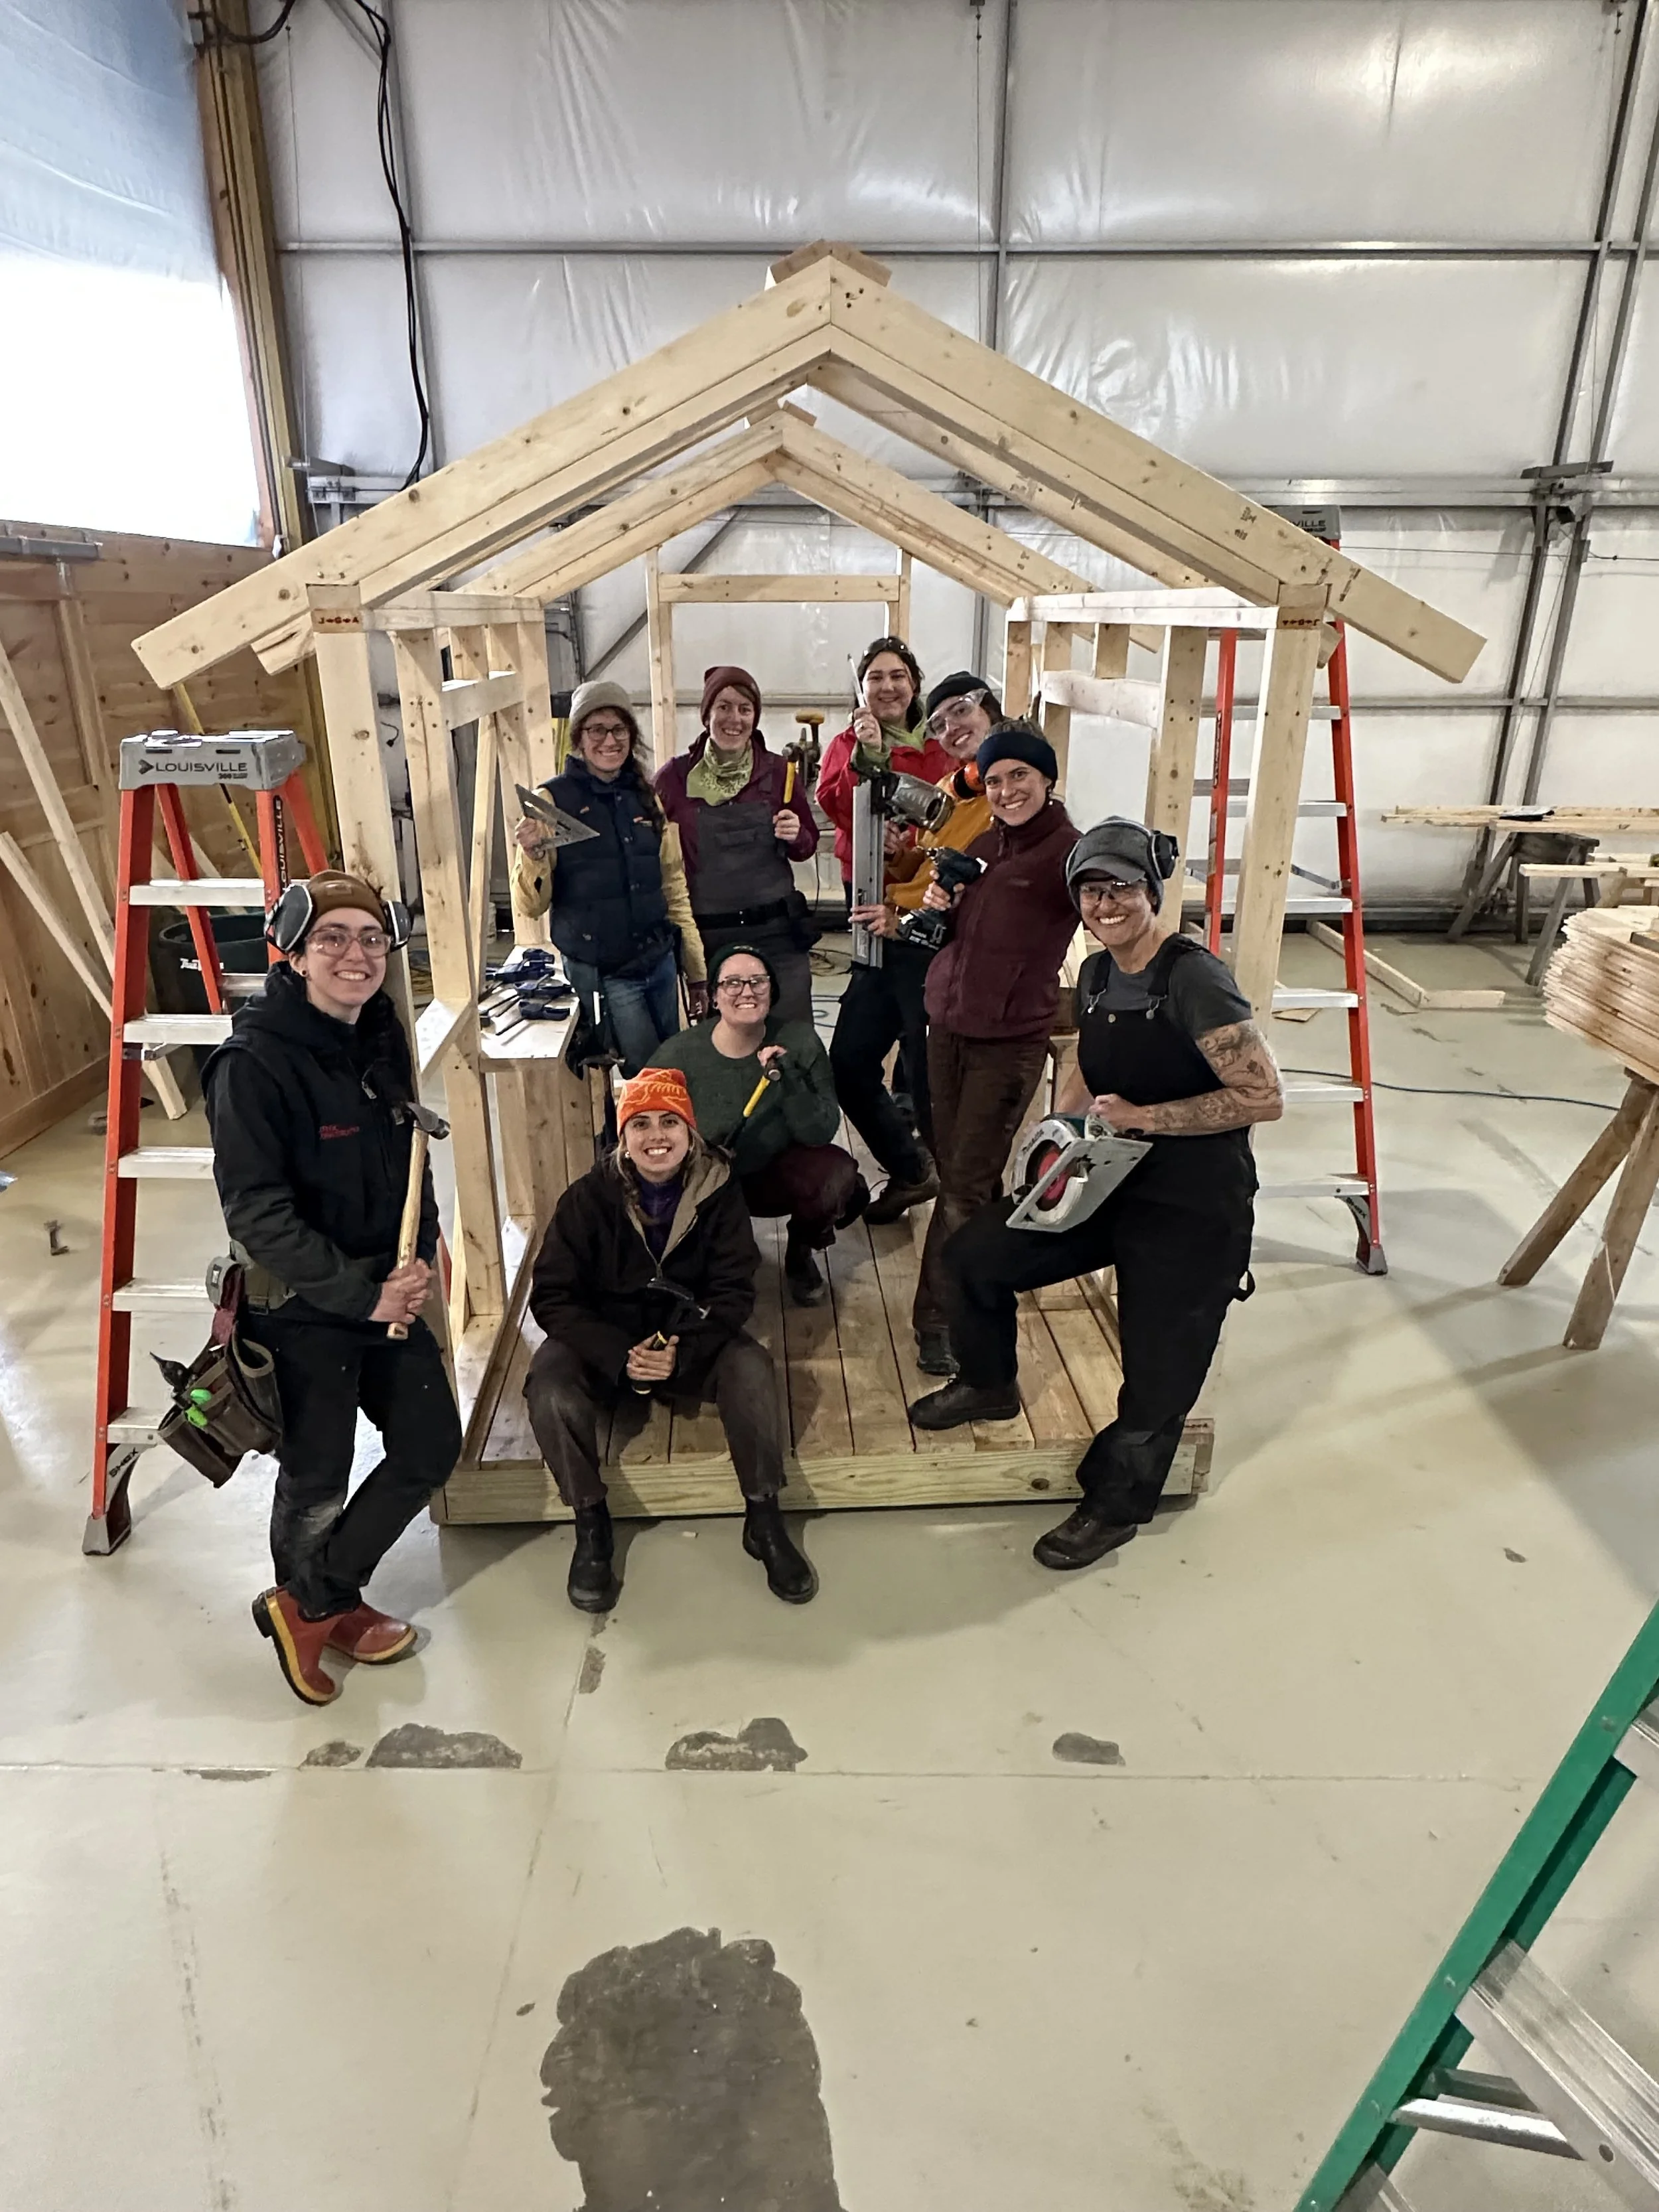
Today I got to the site early to take pictures of construction details so that we can recall what we've done after we've closed everything in. Then I finished insulating the gap between the interior floor box and the exterior wall with rigid foam insulation so that we could get our subfloor into place. Meanwhile, everyone else finished up the fourth wall and cut blocks, cripples, and headers. A neighbor saved the day by loaning us his nail gun and staple gun, so the framing went much more quickly today!
Ricardo and Zef (two of my classmates) and John (a fellow tiny house dweller) came by to lend a hand today as well. John crawled around under the trailer to seal all the seams with aluminum tape. (We should have done this before we put the floorbox into the trailer frame, so we're very grateful John was up for the task!) Ricardo and I made a trip to Builders' City to pick up the door we found while Zef and John got the 3/4" tongue and groove subfloor into place (at least temporarily - we'll need to remove part of it again to do our plumbing). It was pretty impressive to see how far the house progressed just while I was away on this errand!
This afternoon we got several sheets of 1/2" OSB sheathing up. Most tiny houses use a glue and screw method: gluing all the sheathing to the studs and then screwing them into place. Since we don't anticipate this house traveling far or often we decided to go for liberal use of glue and 1 1/2" staples. We wrapped up a little earlier than usual since we were at a good stopping point and the sky was looking threatening. We hope to get the other sheets of sheathing hung in the morning so we can move on to roofing on Tuesday.
We have been brainstorming plumbing, electrical, and roofing details this evening. Lots of decisions to make tomorrow!


